- SWX Content
-
Home
- Commerce
- Commerce 2
- Landing Page 1
- Landing Page 2
- Landing Page 3
- Landing Page 4
- Landing Page 5
- Landing Page 6
- Landing Page 7
- Landing Page 8
- Landing Page 9
- Landing page 10
- Landing Page 11
- Landing Page 12
- Slideshow - Boxed Width
- Slideshow - Full Width
- Slideshow - Fullscreen
- News - Rich
- News - Default
- News - Card
- News - Focus
- Layouts
- Services
- Products
- More
- Contact
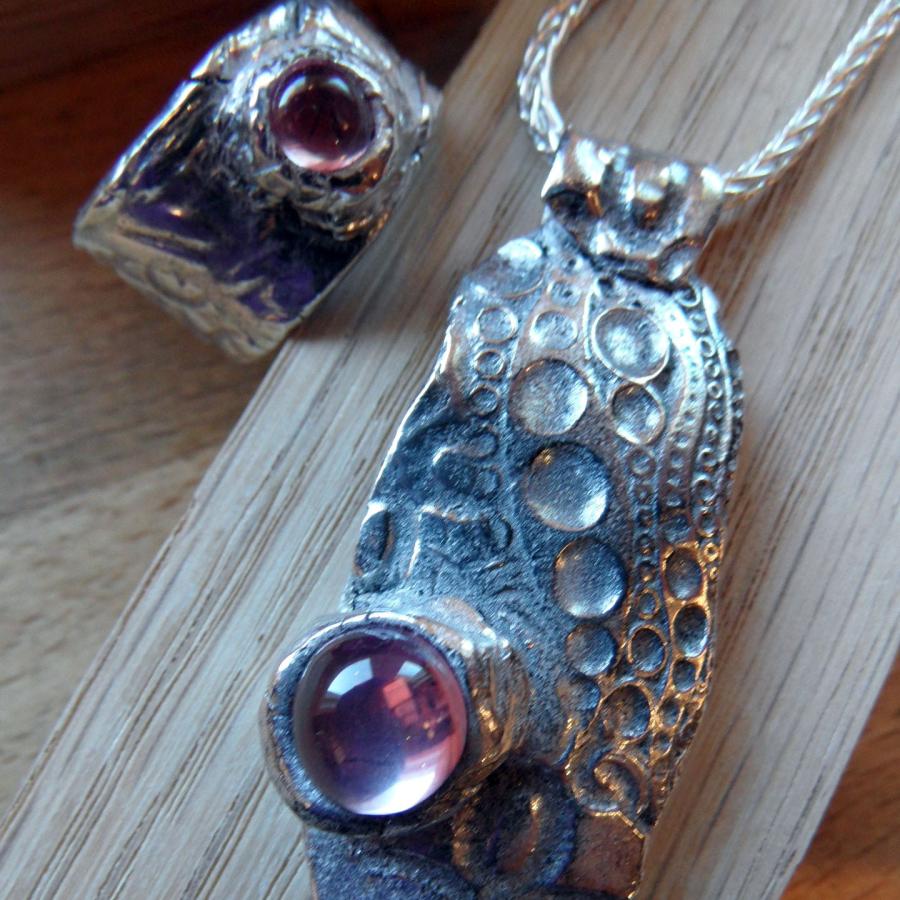
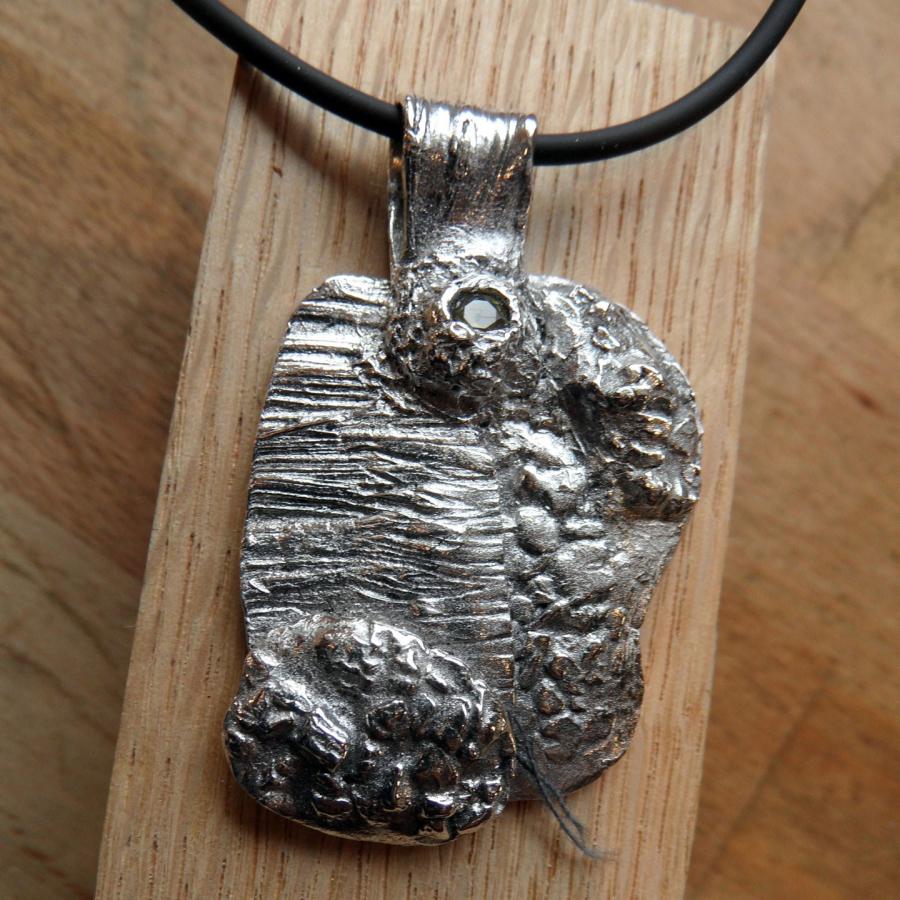
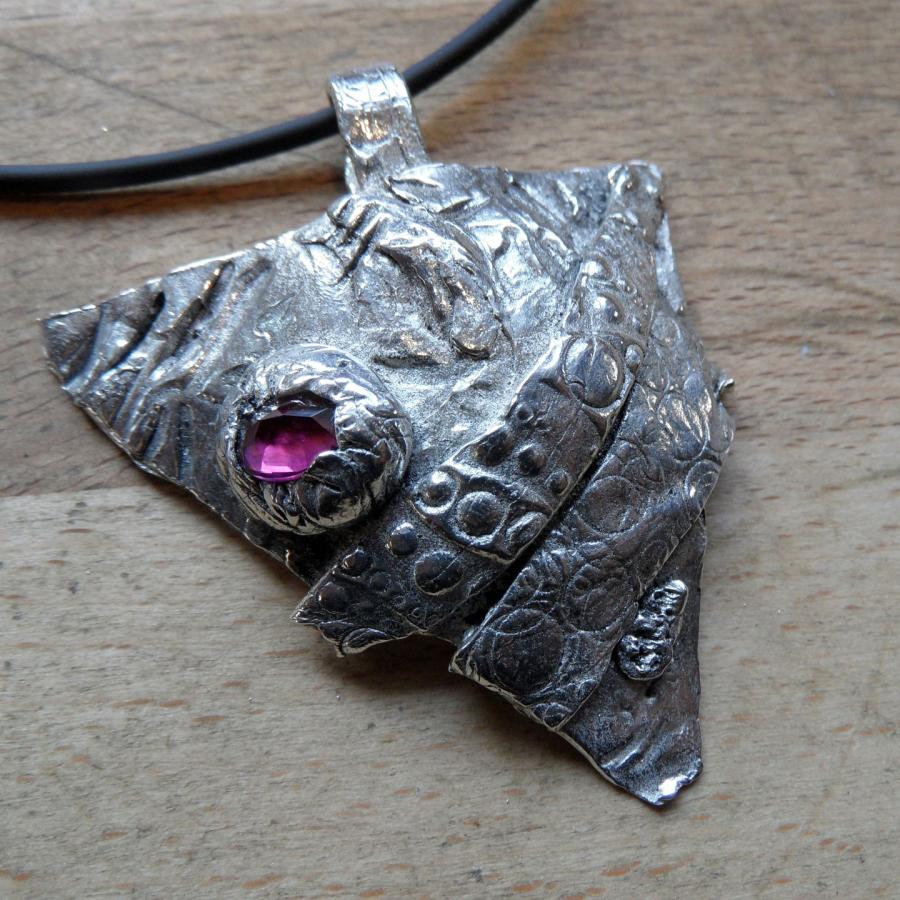
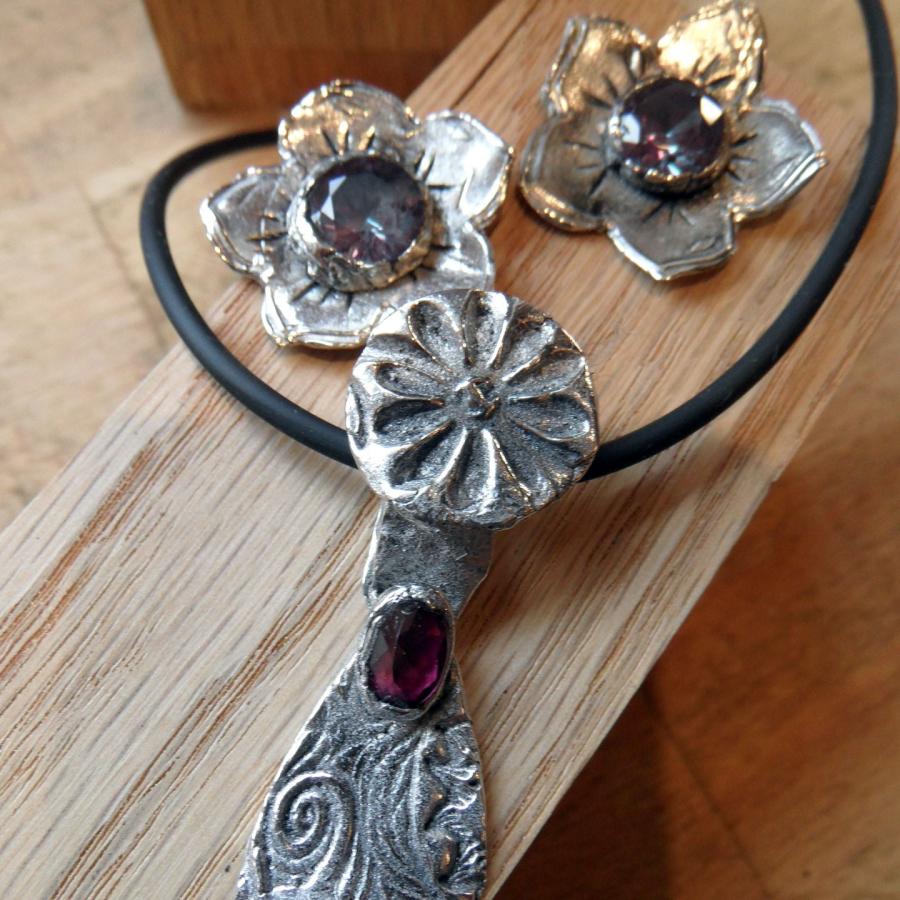
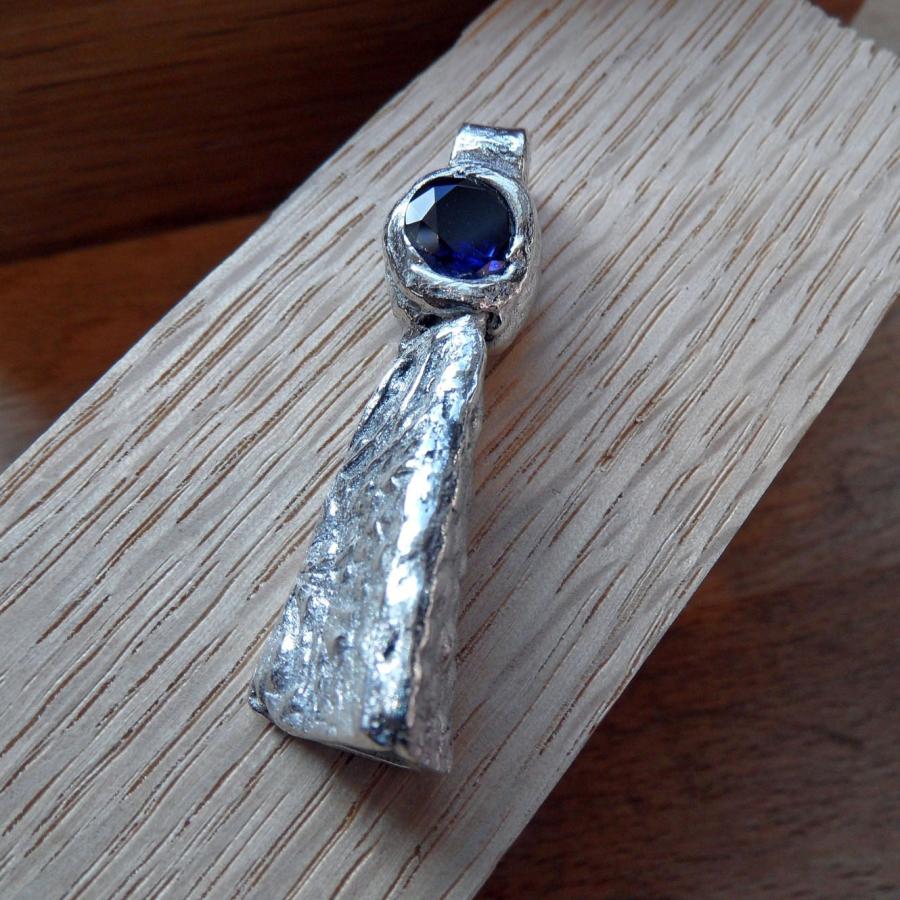
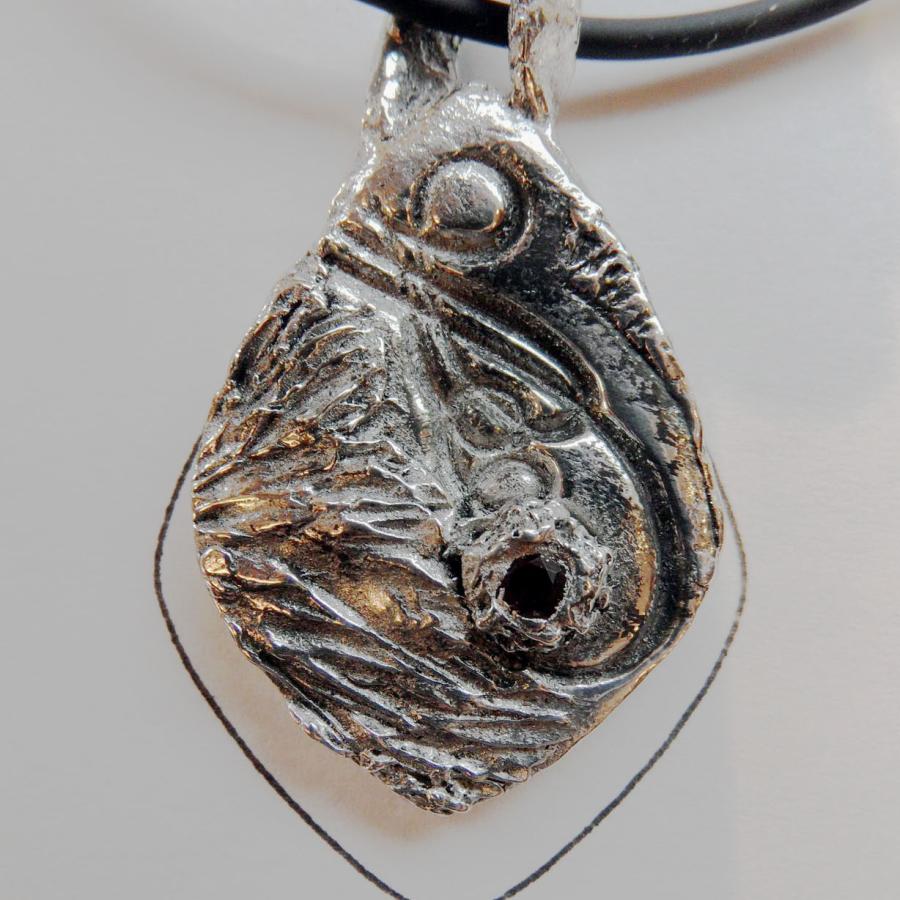
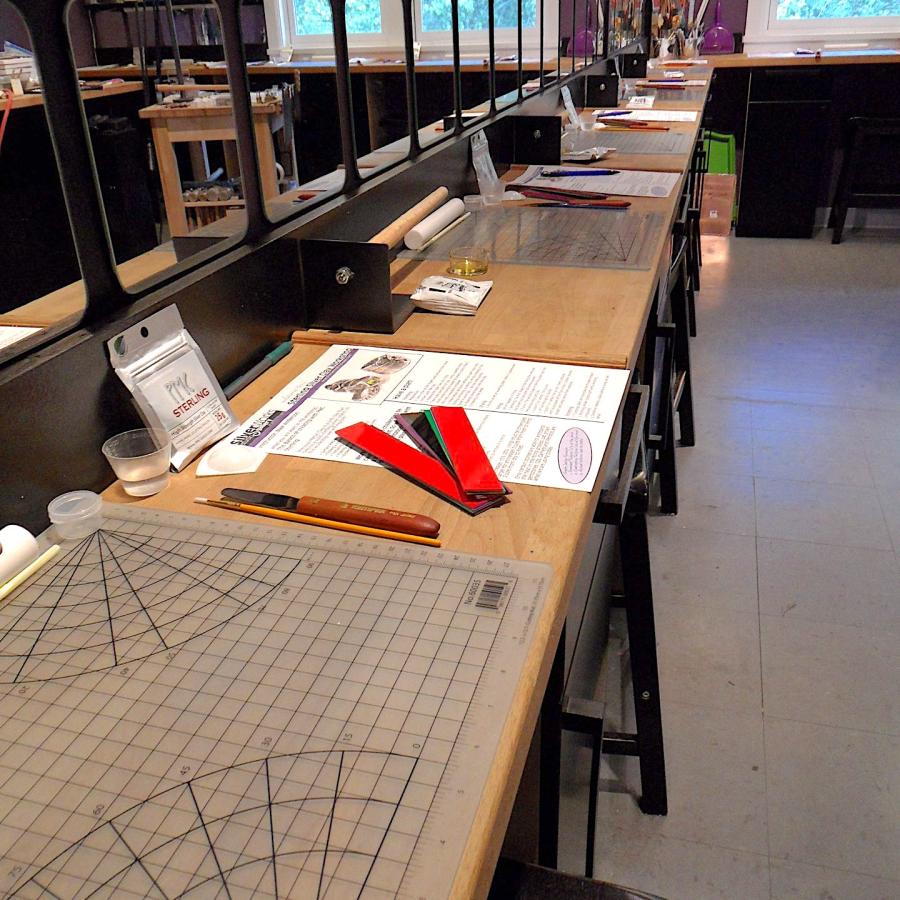
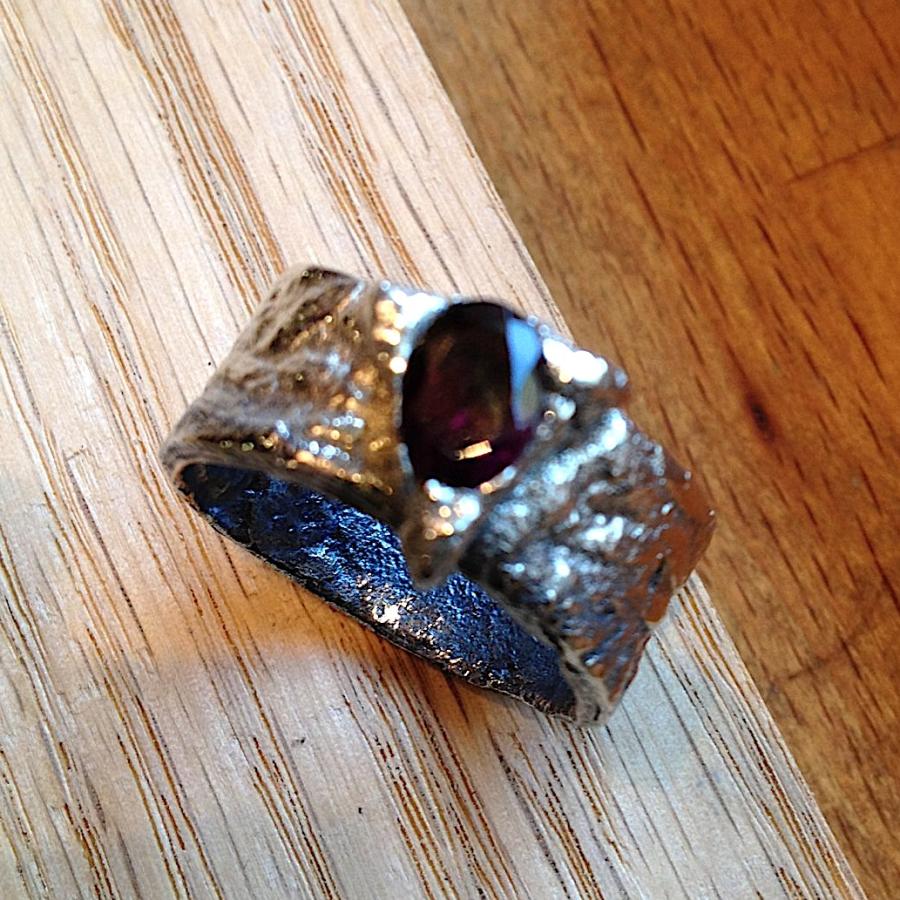
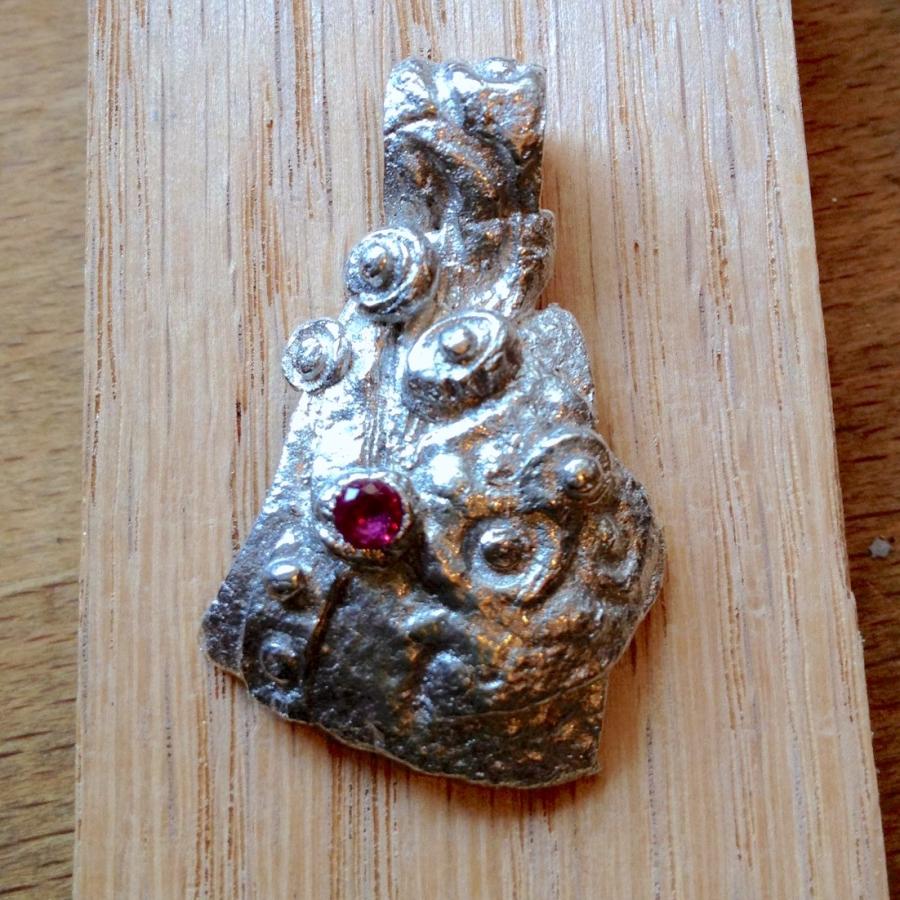
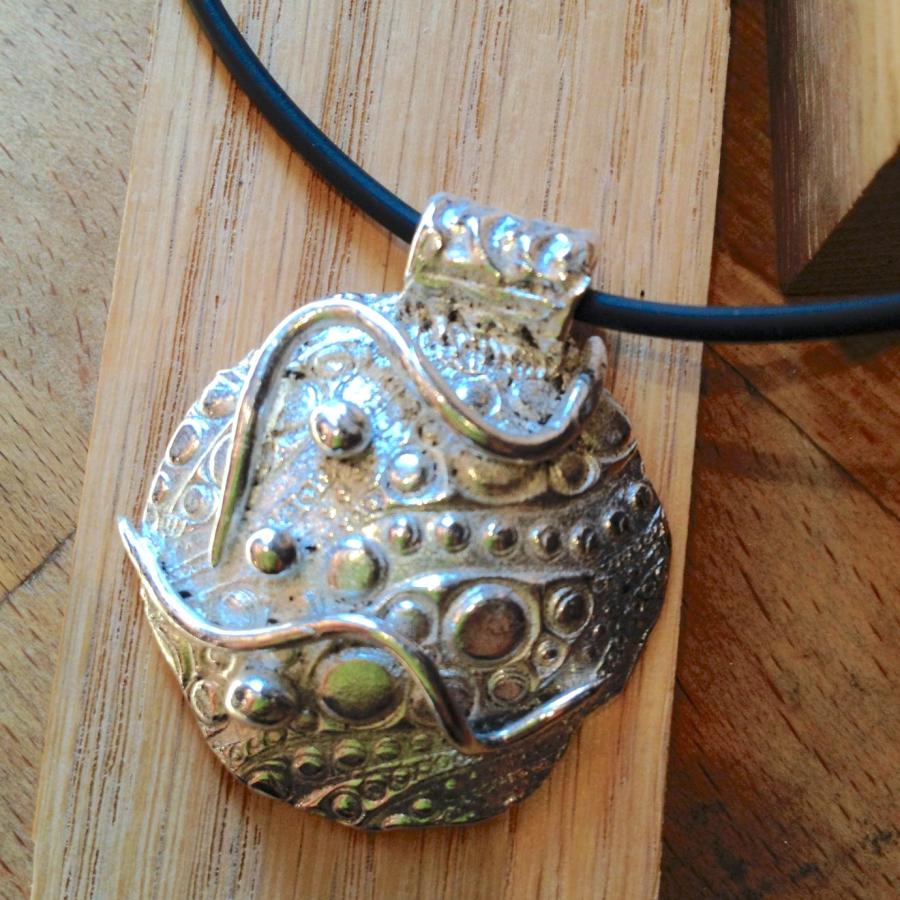
Fun things emerged from the new Sterling Silver Clay class. This crazy material seems like magic... sculpt the clay and when it emerges from the kiln it is a solid piece of silver jewelry. After a demonstration and some practice clay, each student brought their own brand of creativity to the challenge.
None of these students had ever used this material before!
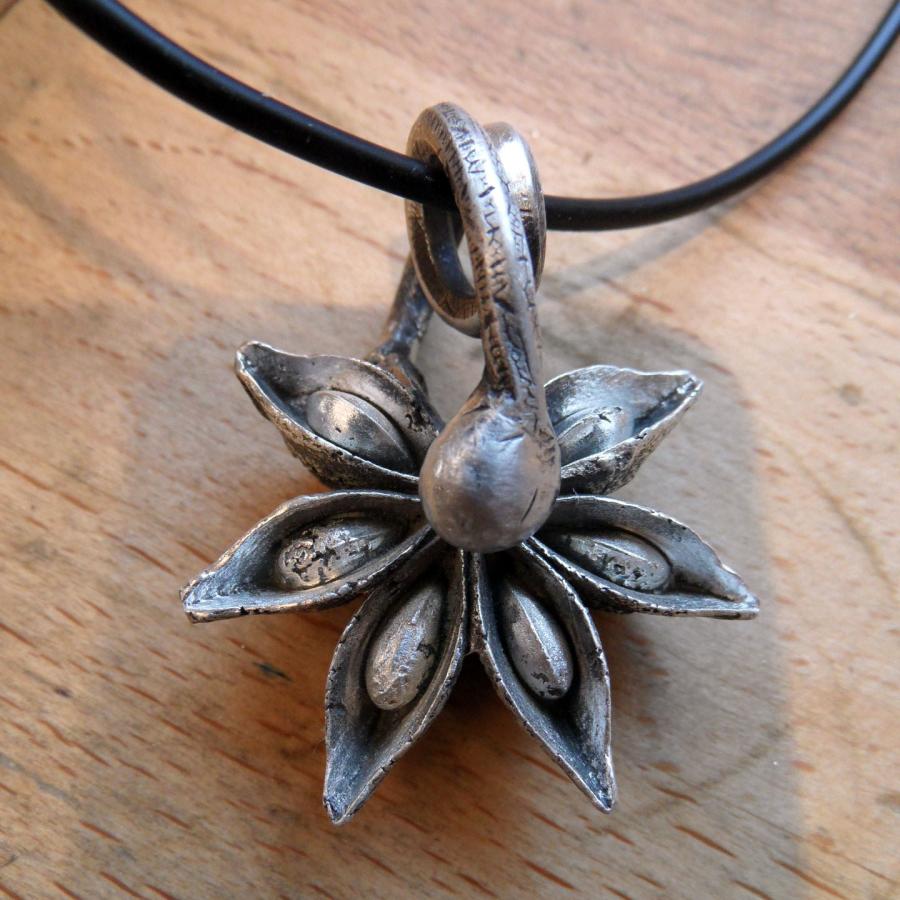
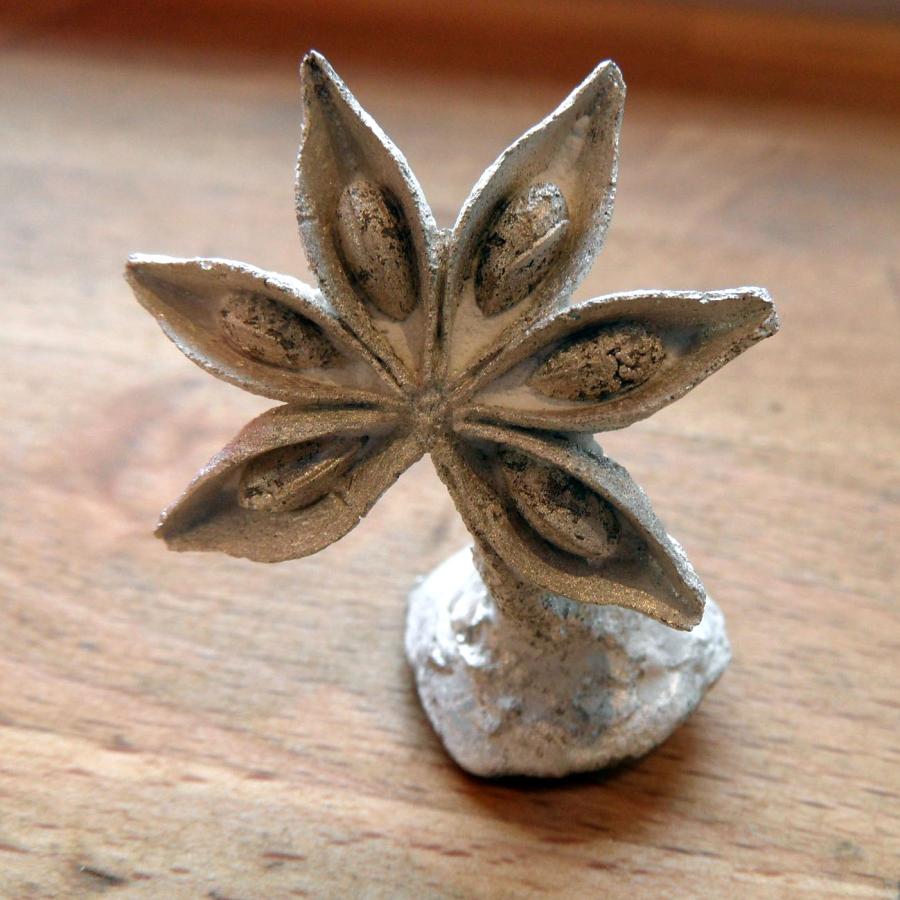
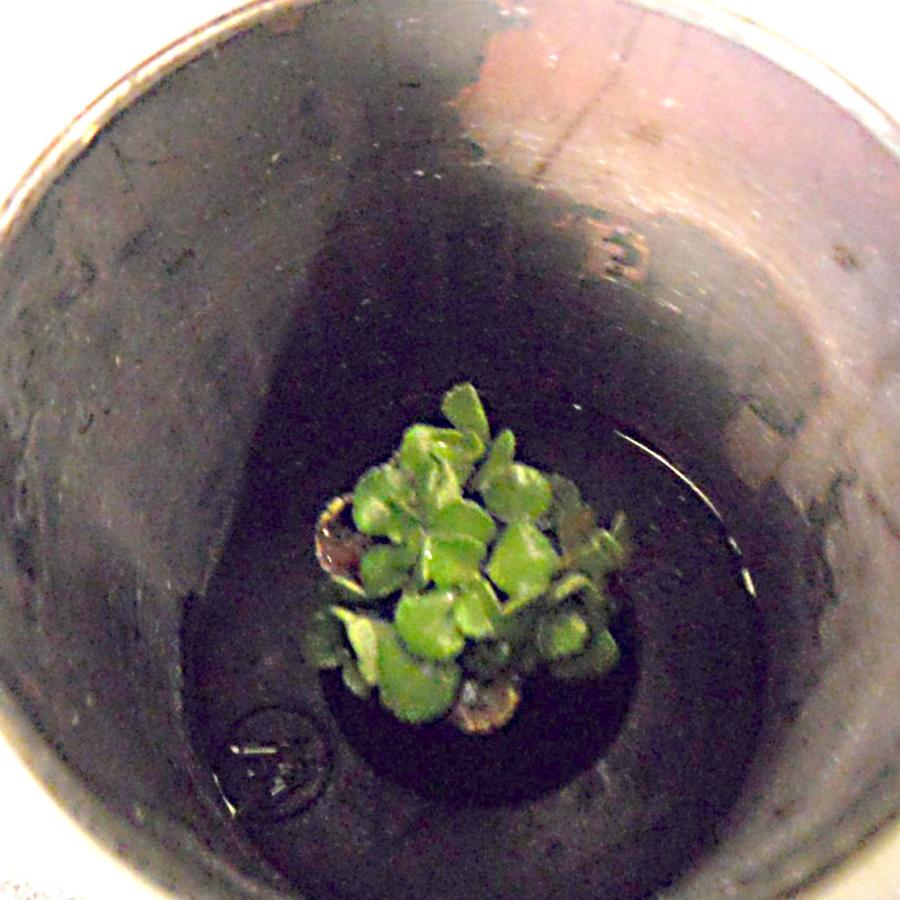
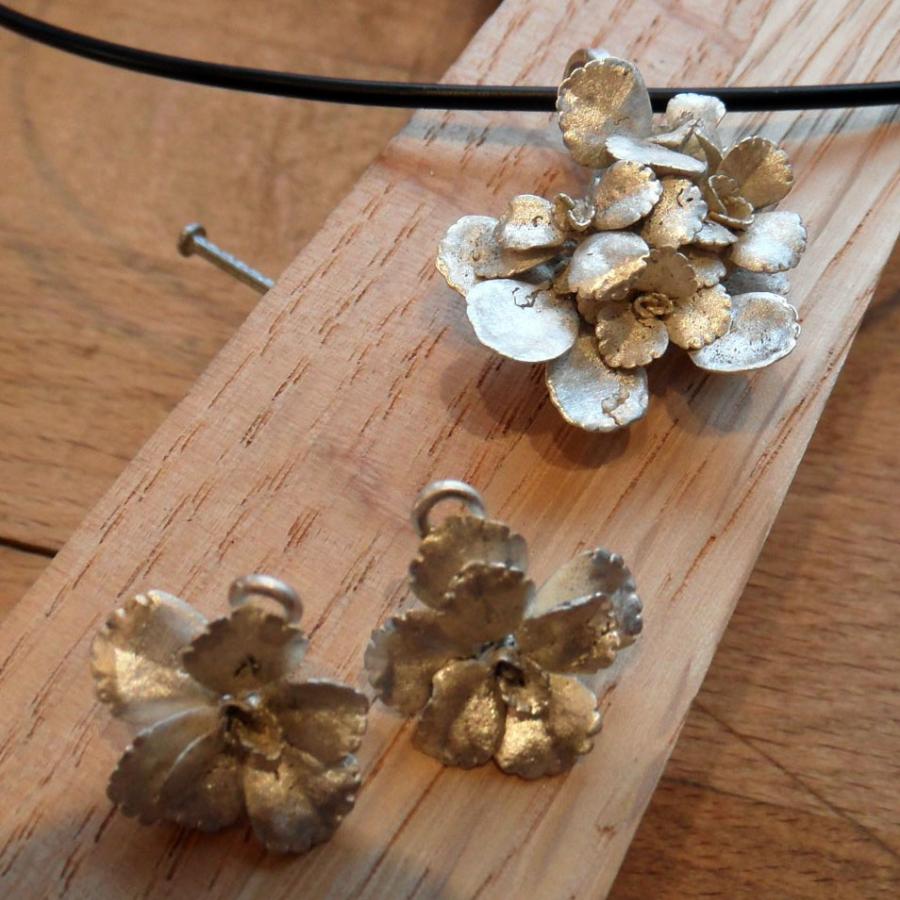
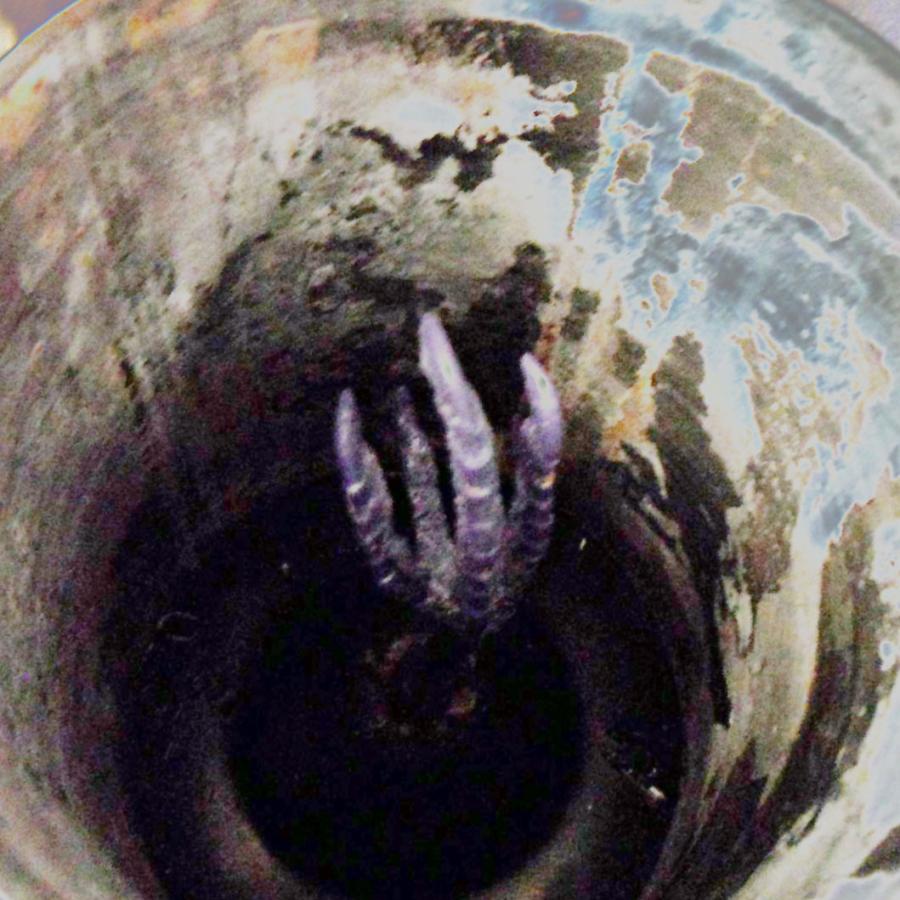
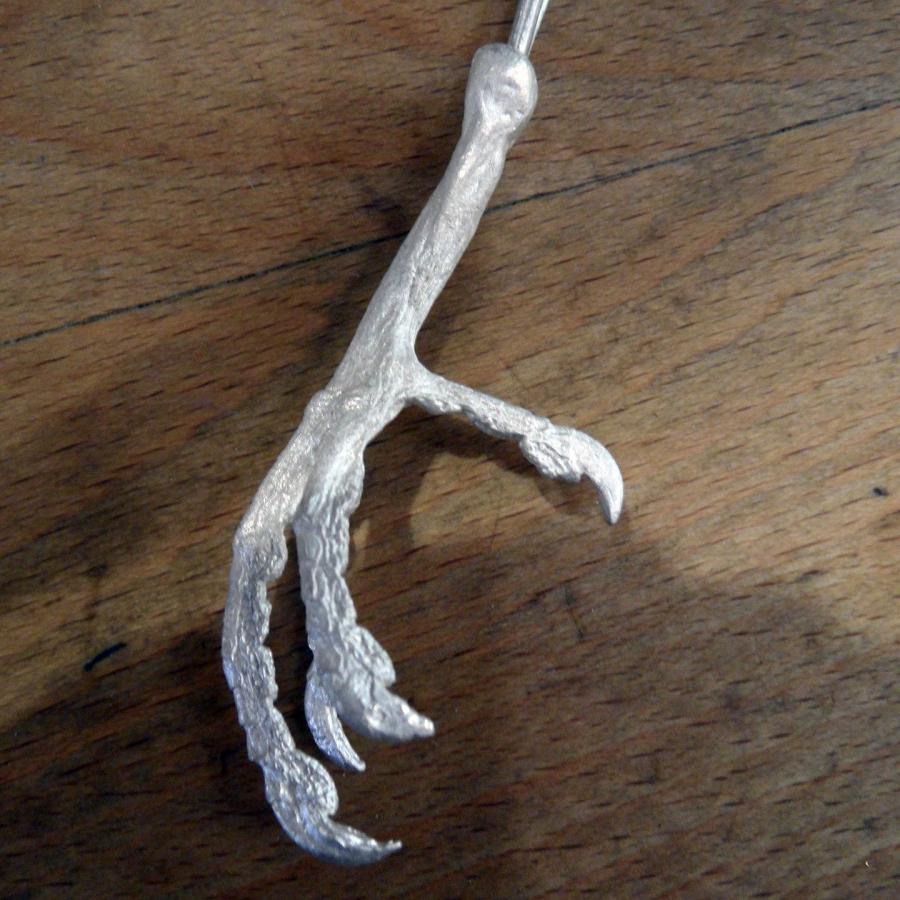
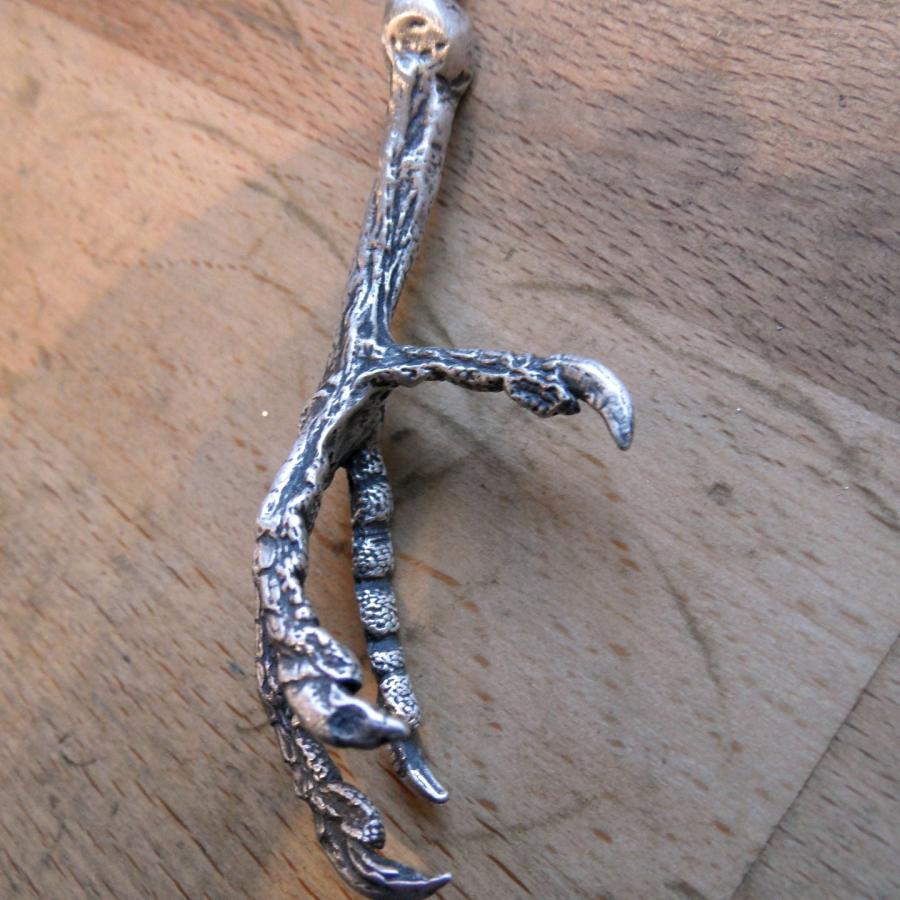
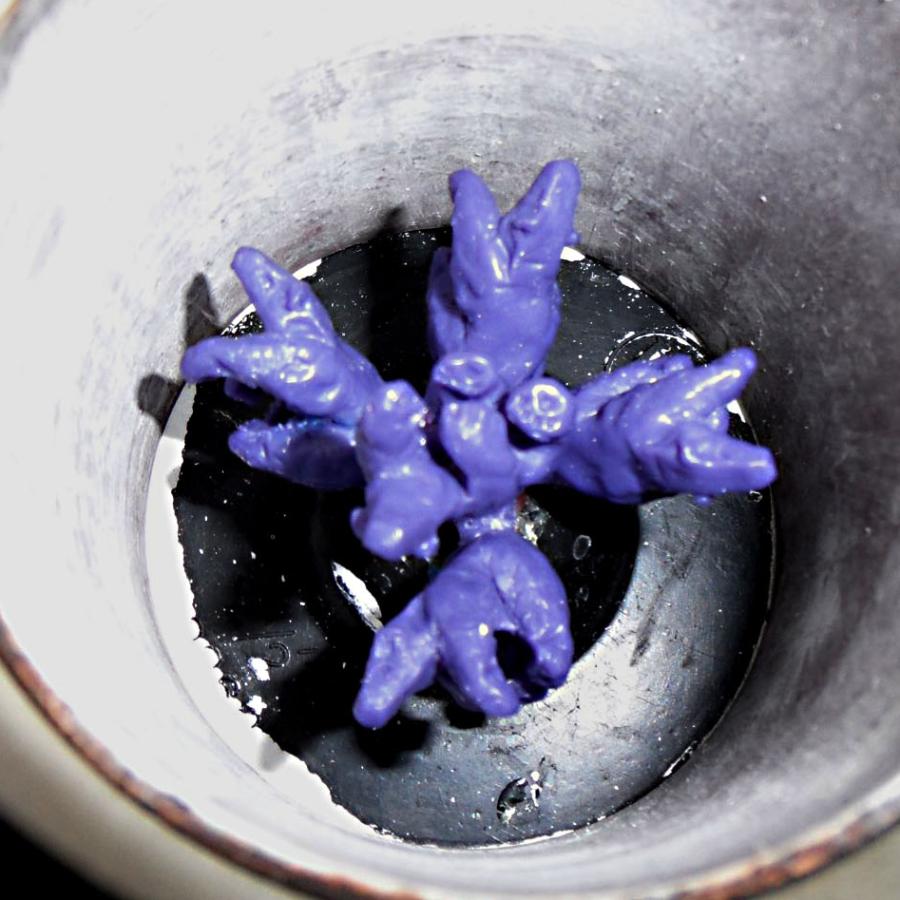
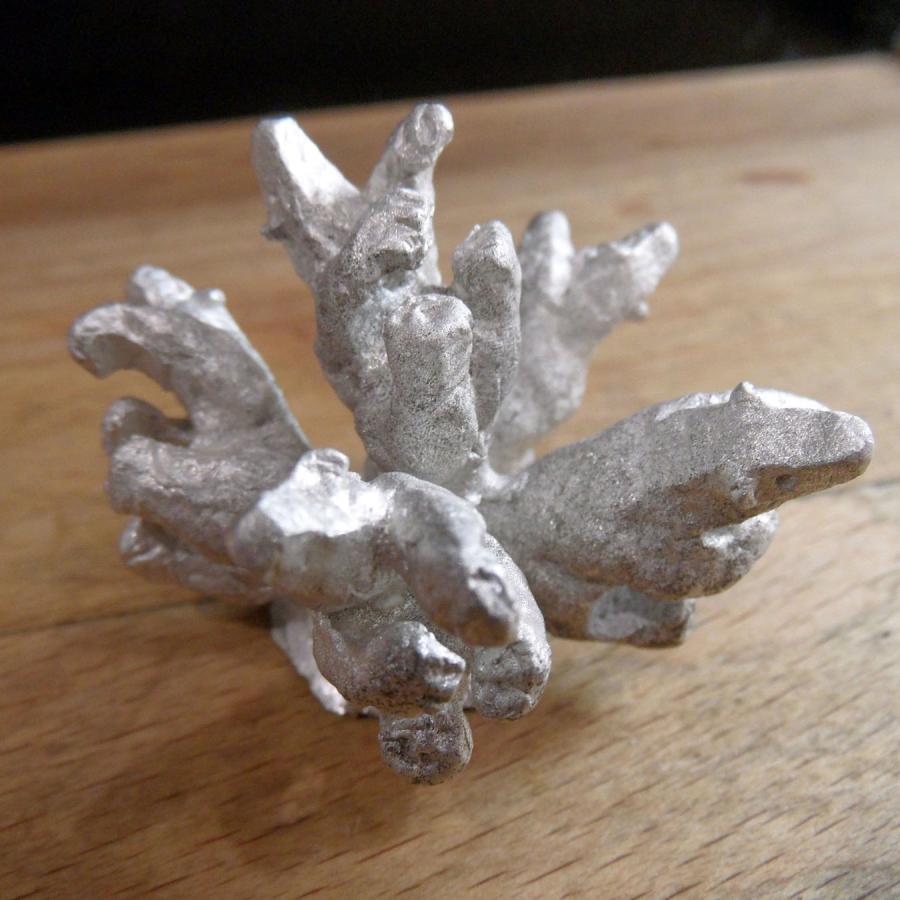
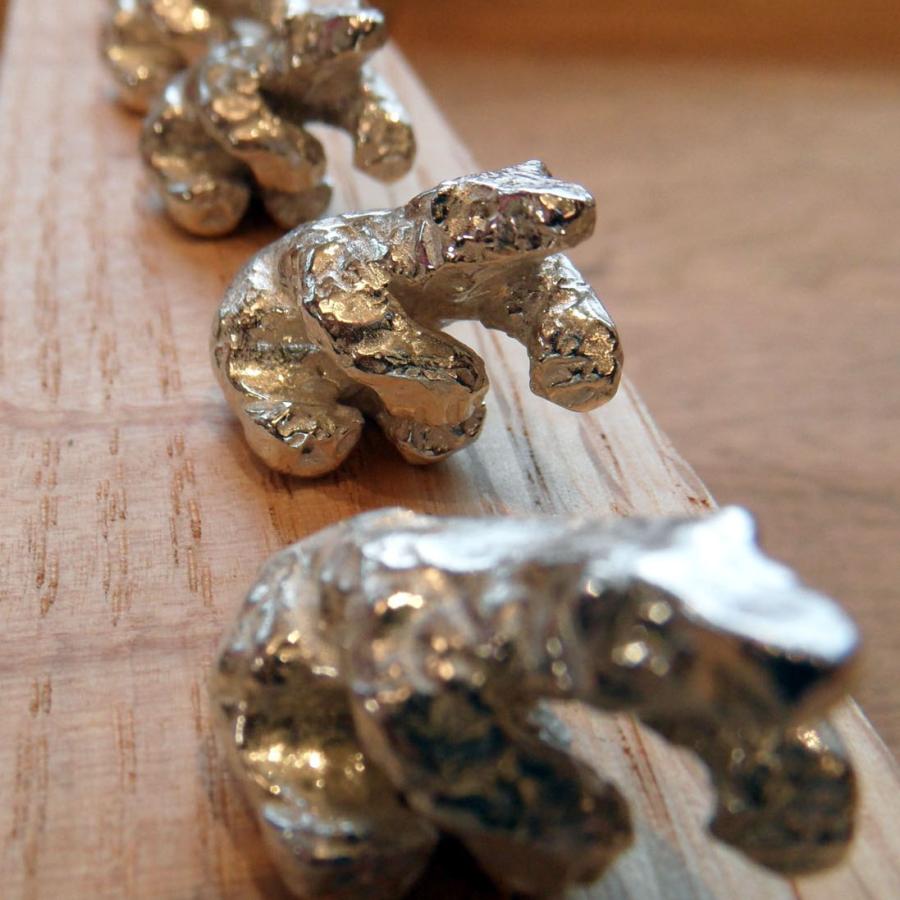
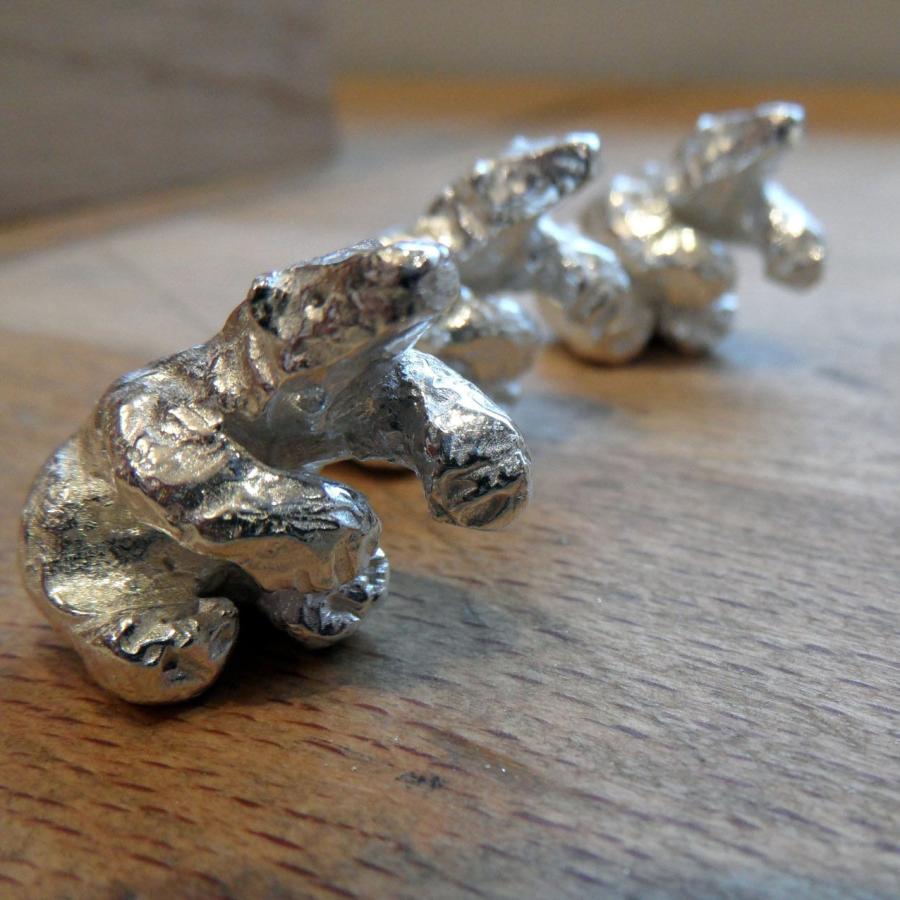
A particularly special class due to its objective being exploratory. Casting Continued: Organics, explores the concepts of what makes a cast-able original and turns it on its head. Seeds, plants, insects, and other sculpted forms can be burned out to create a mold for the molten pour. The duplication process is also addressed. This class had some unique candidates (yes that is an actual bird claw).
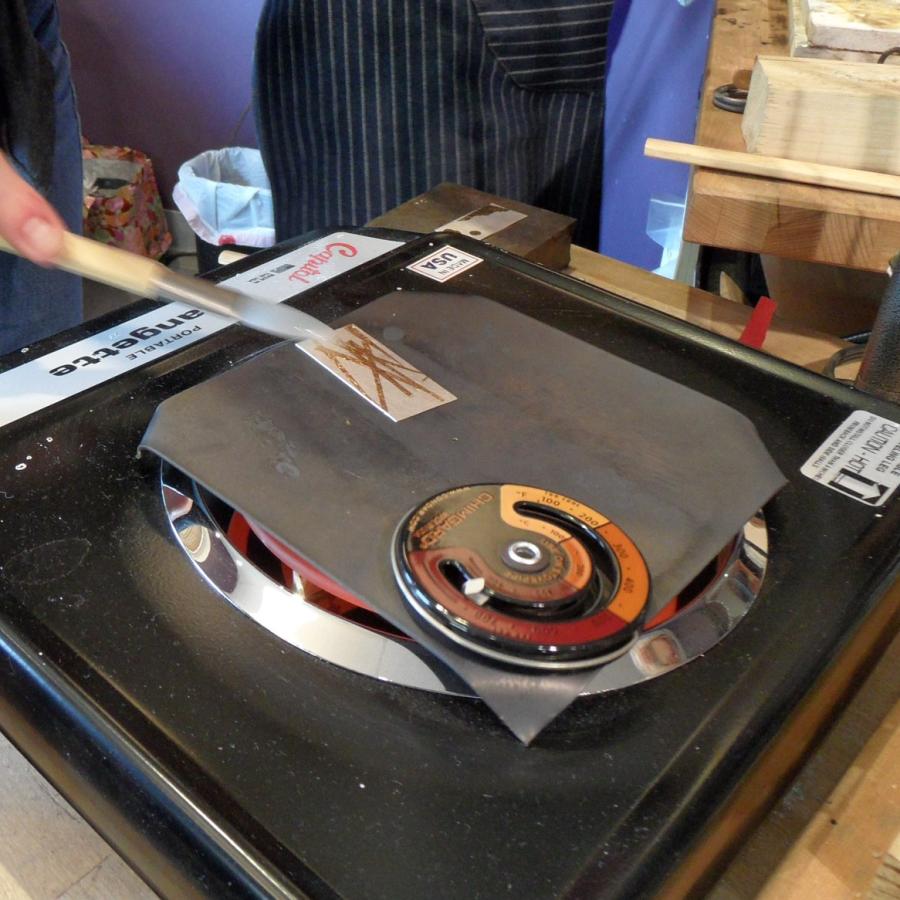
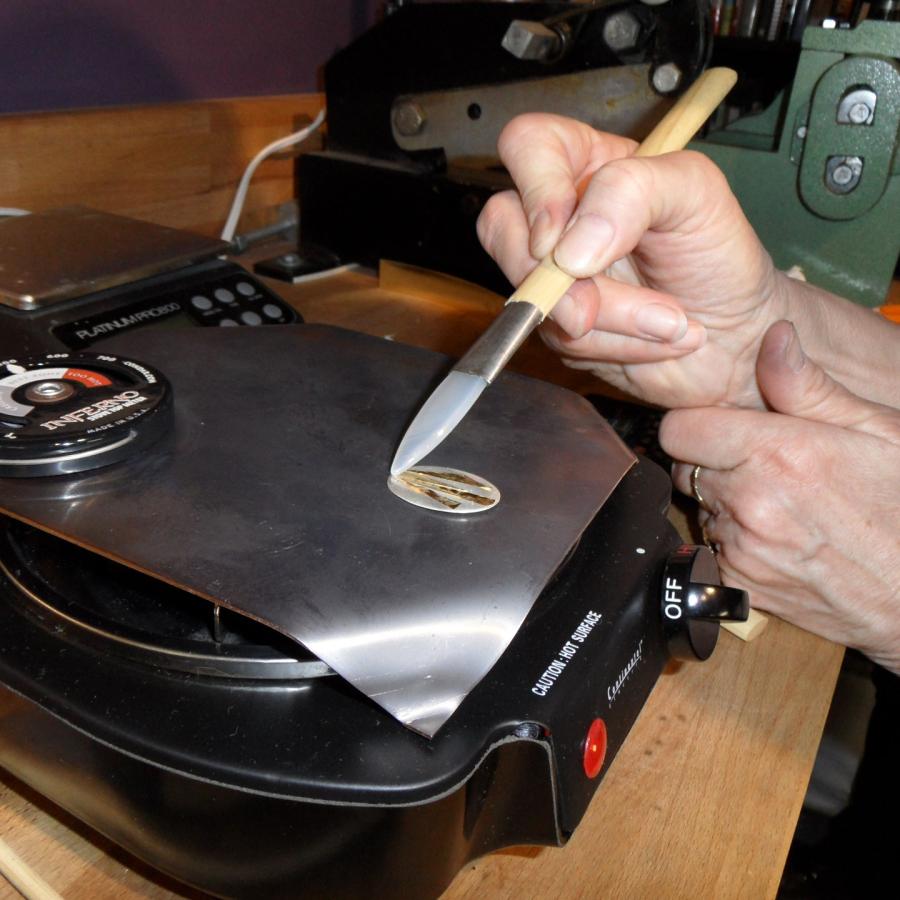
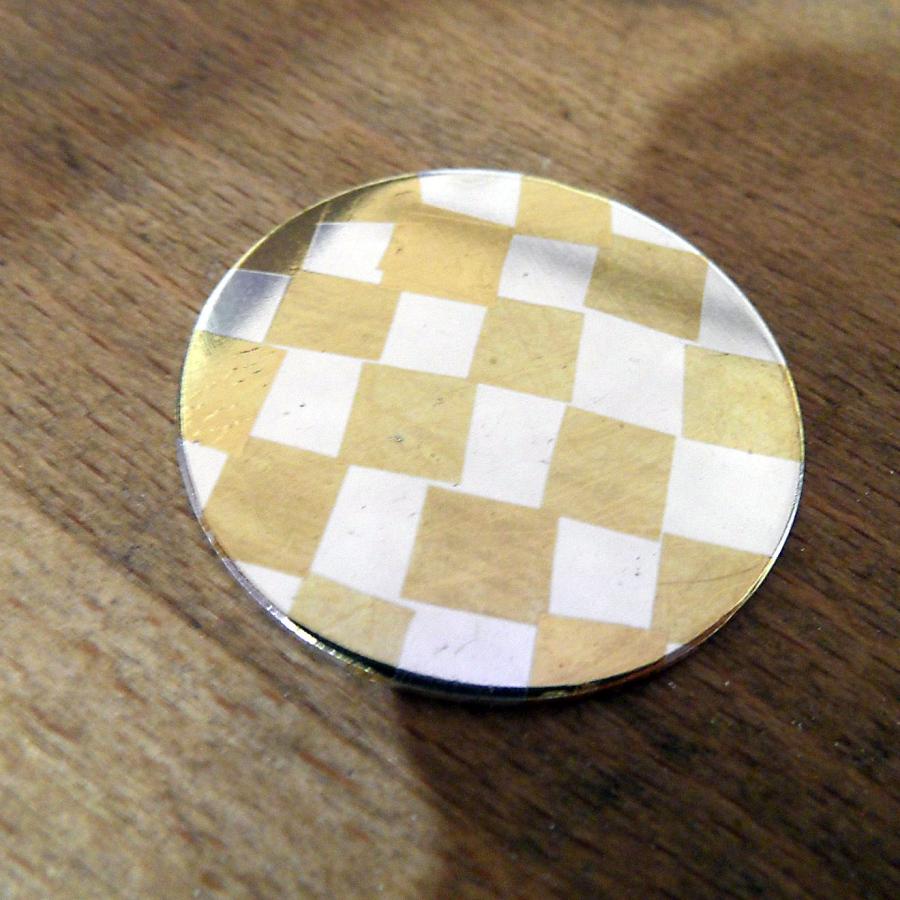
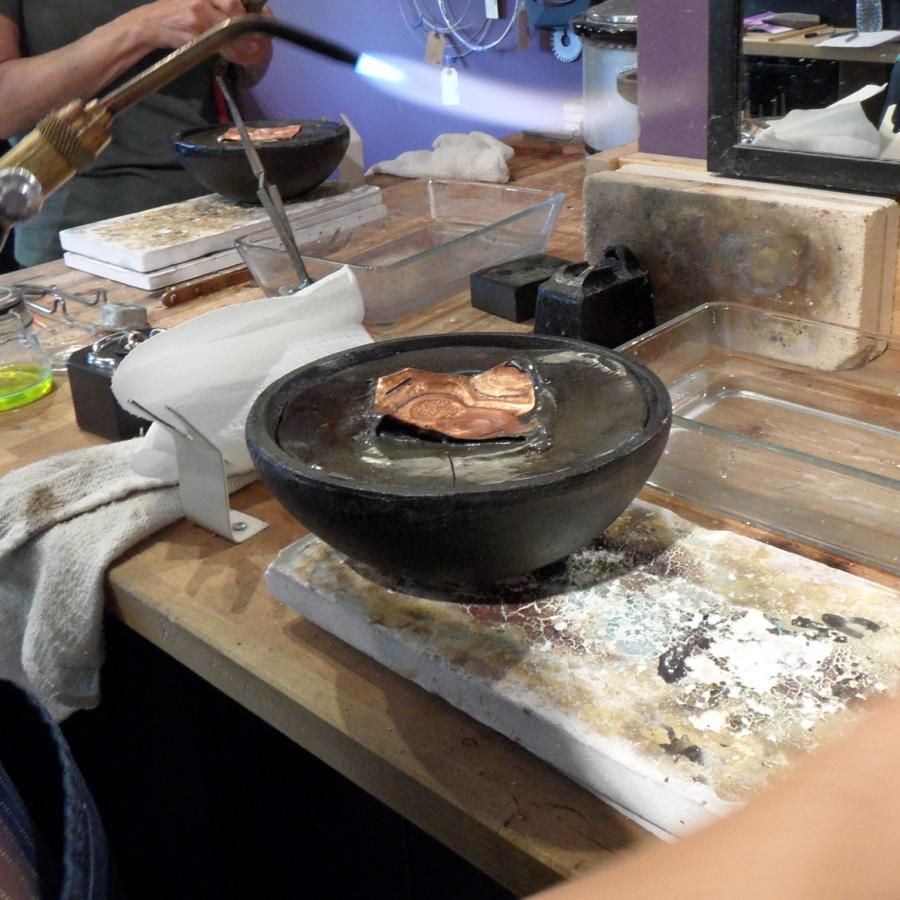
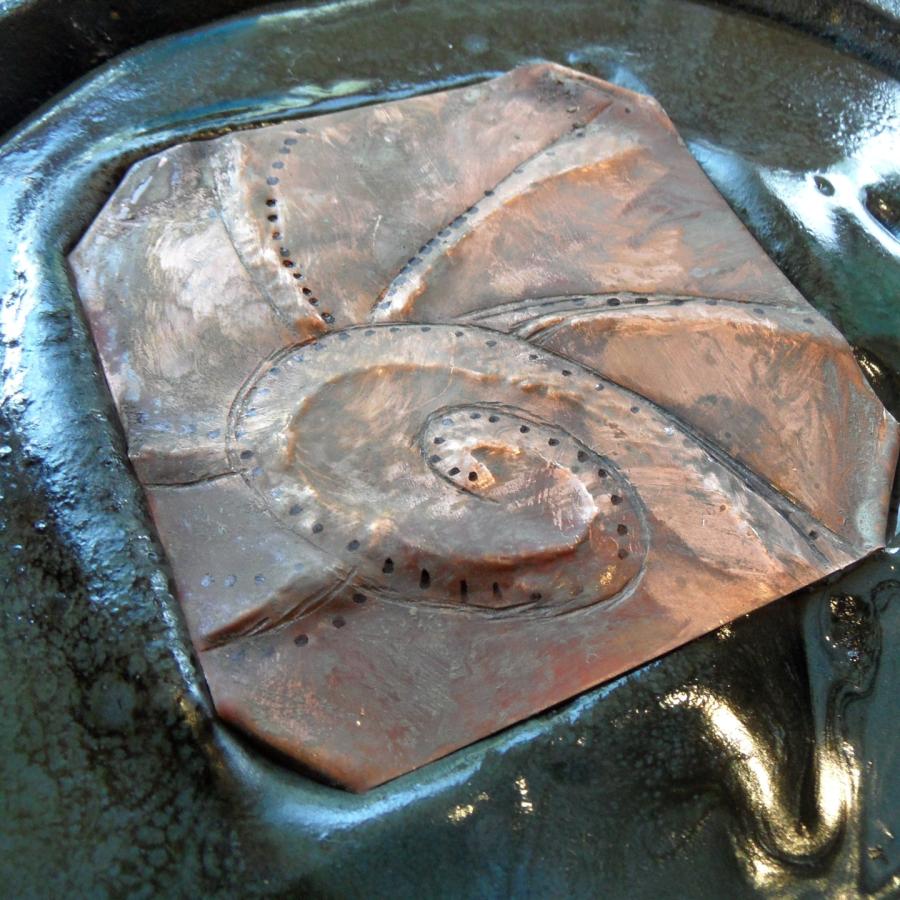
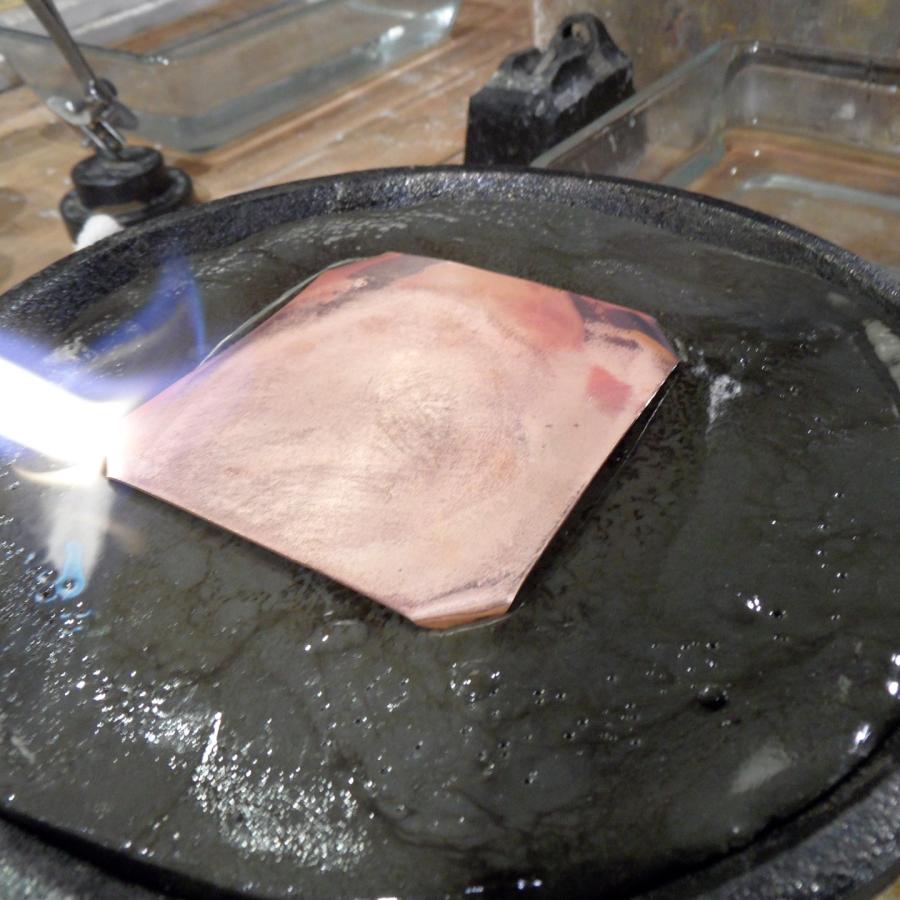
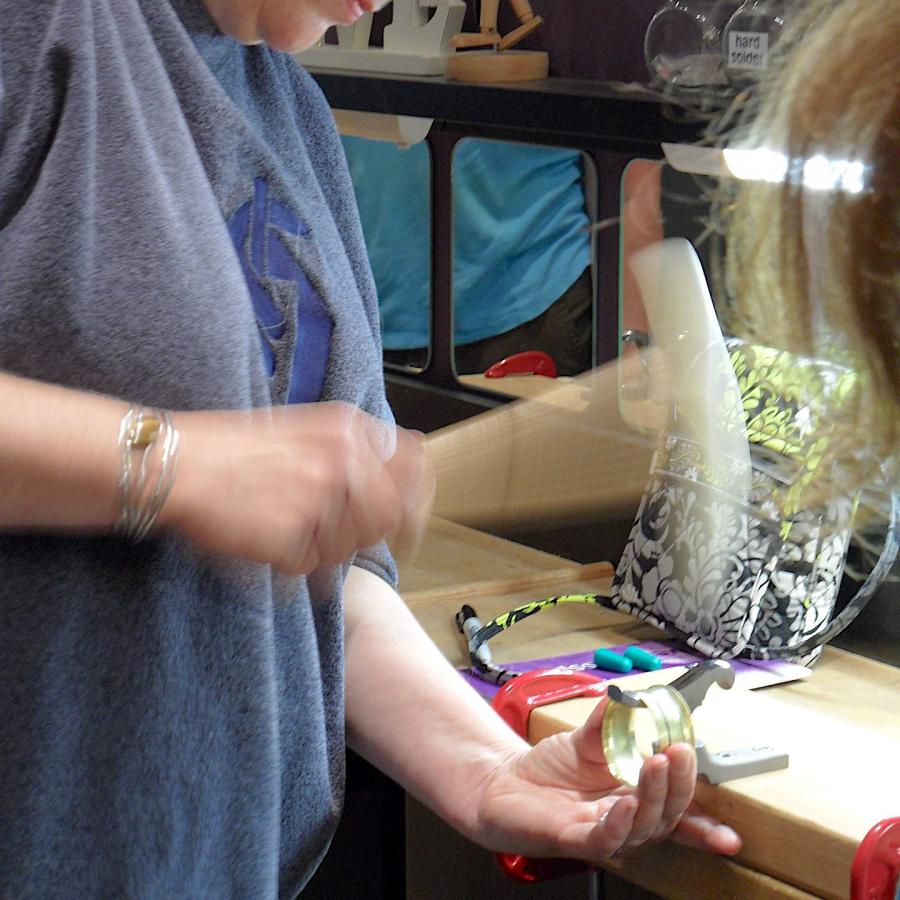
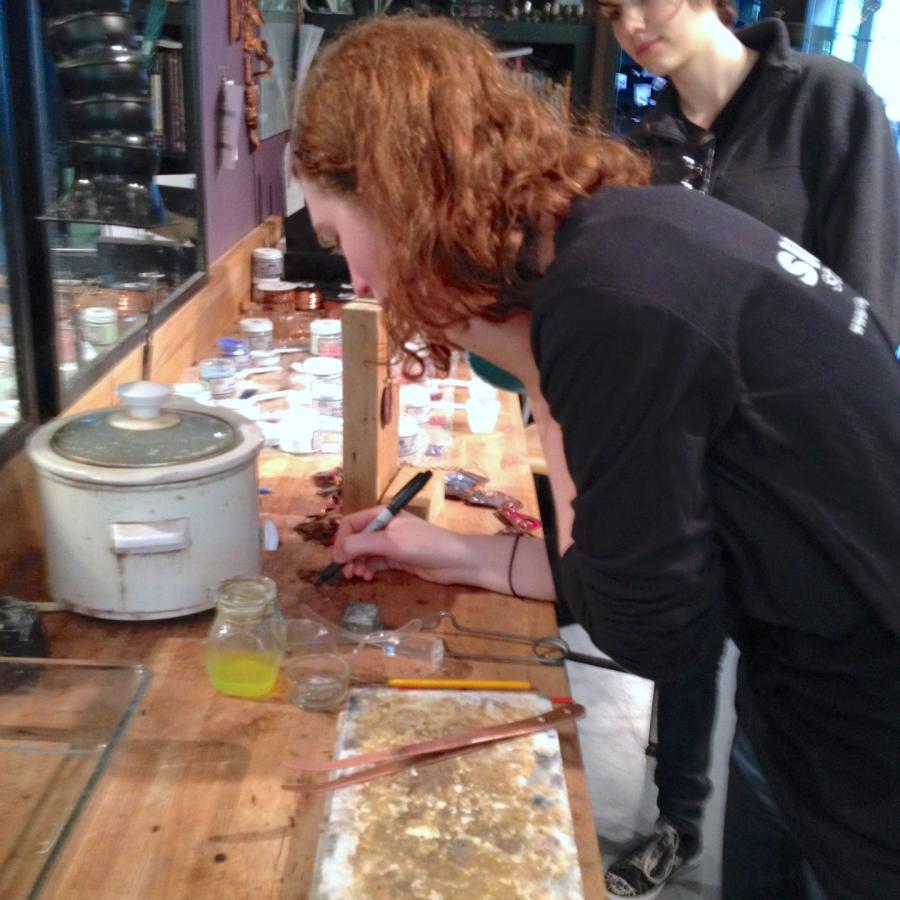
Had a blast yesterday with the Keum-boo workshop. This surprisingly easy technique was on the menu for this week’s Silver Passport Workshop. Ancient tools and a not so ancient heat source reminiscent of days in the dorm room had us all magically inspired as we watched that gold foil bond into its silver host.
Well, I find it magical anyway;-).
Like any other technique that requires a base of understanding before embarking on it, I tried to demystify Keum-boo with a simple explanation and a few key terms (Diffusion Bonding, and Depletion Silvering). Once my presentation and Demo was done it was up to each student to experiment with their first panel, and then play, play, play.
And play they did!
Keum-boo, also Kum-boo or Kum-bu is Korean for "attached gold"
What is it?
An ancient Korean gilding technique used to apply thin sheets of gold to silver, to make silver-gilt.
November 24th, 2012 is “Small Business Saturday”.
Who knew?
While I am all about supporting small businesses, (especially SilverWorks!) I find it interesting that someone thought it appropriate to put it the day after Black Friday.
So instead of risking getting trampled at Walmart to save $20 on a space age toaster, why not wait a day and go to your favorite Mom-N-Pop and buy something truly special.
I’m just sayin.
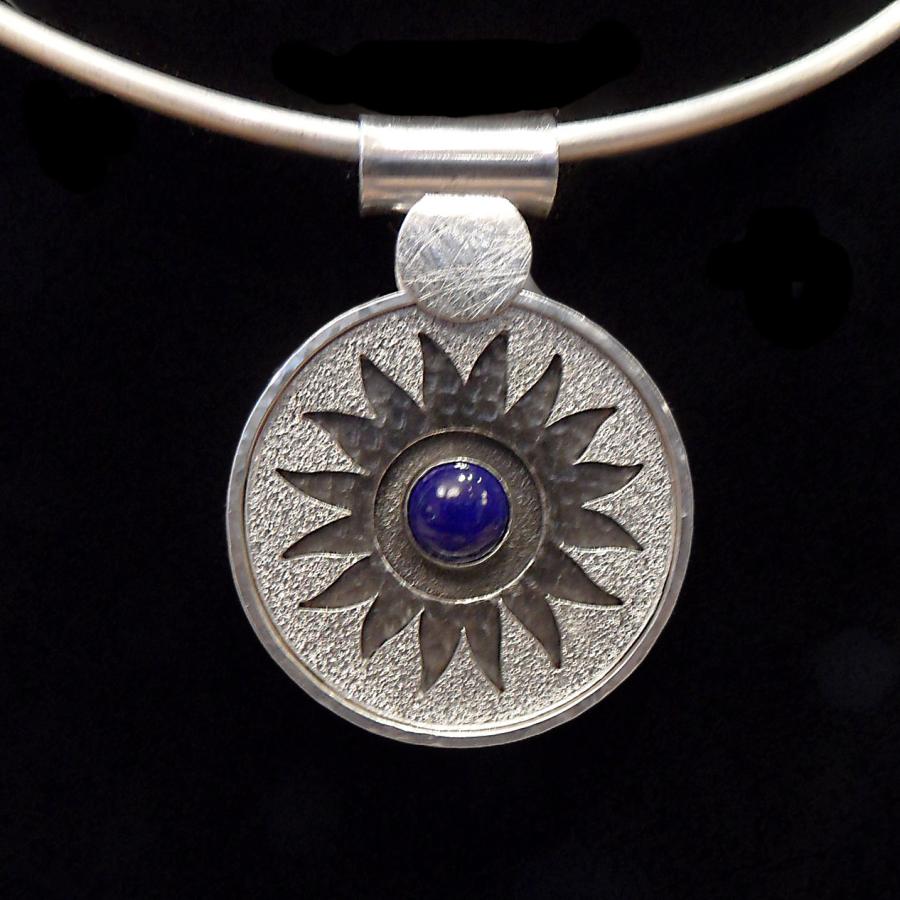
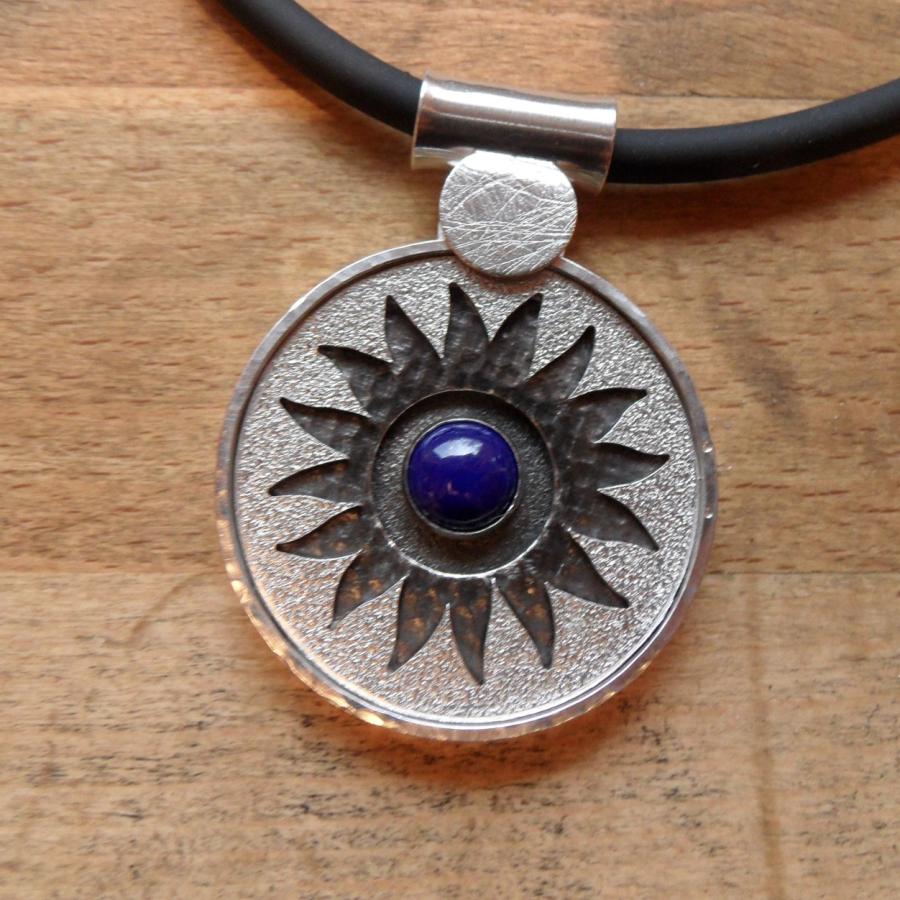
It is my great honor to create the gift that Glen Echo Park Partnership for Arts and Culture is presenting to Katey Boerner for her services as executive director for 10 years.
The commission required incorporating the partnership’s logo into wearable art.
Logos are always a bit of a challenge but this one translated nicely into a sunflower like form. Lapis was used to incorporate one of the signature colors of the logo.
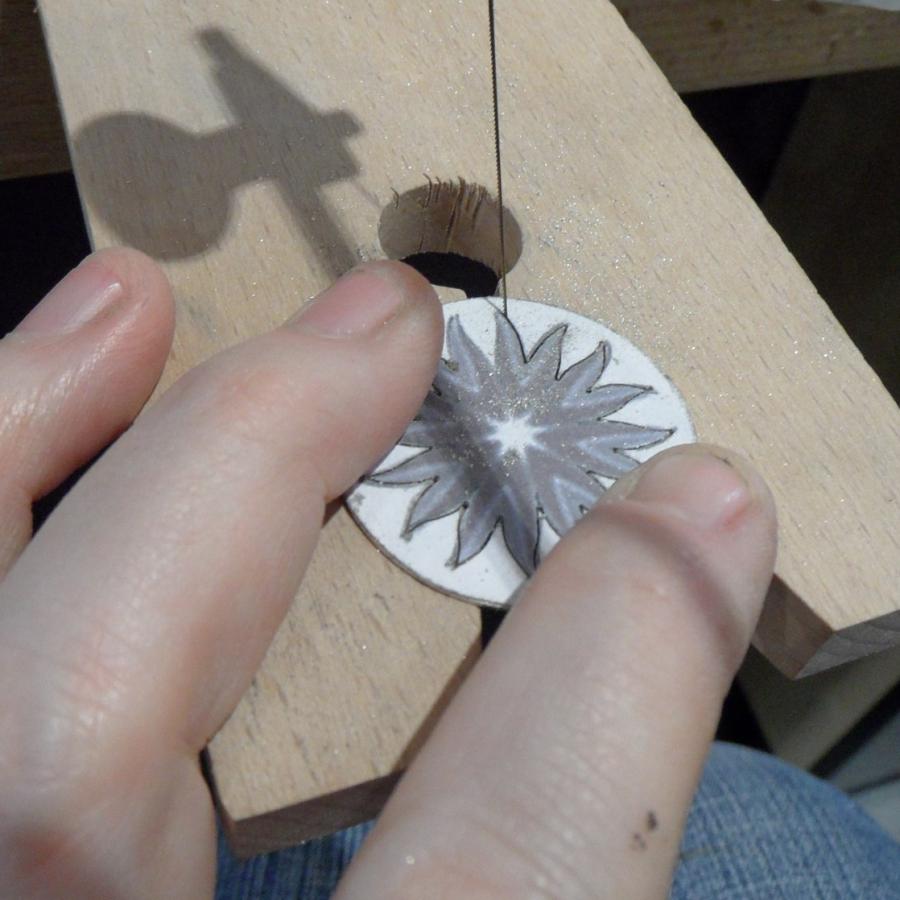
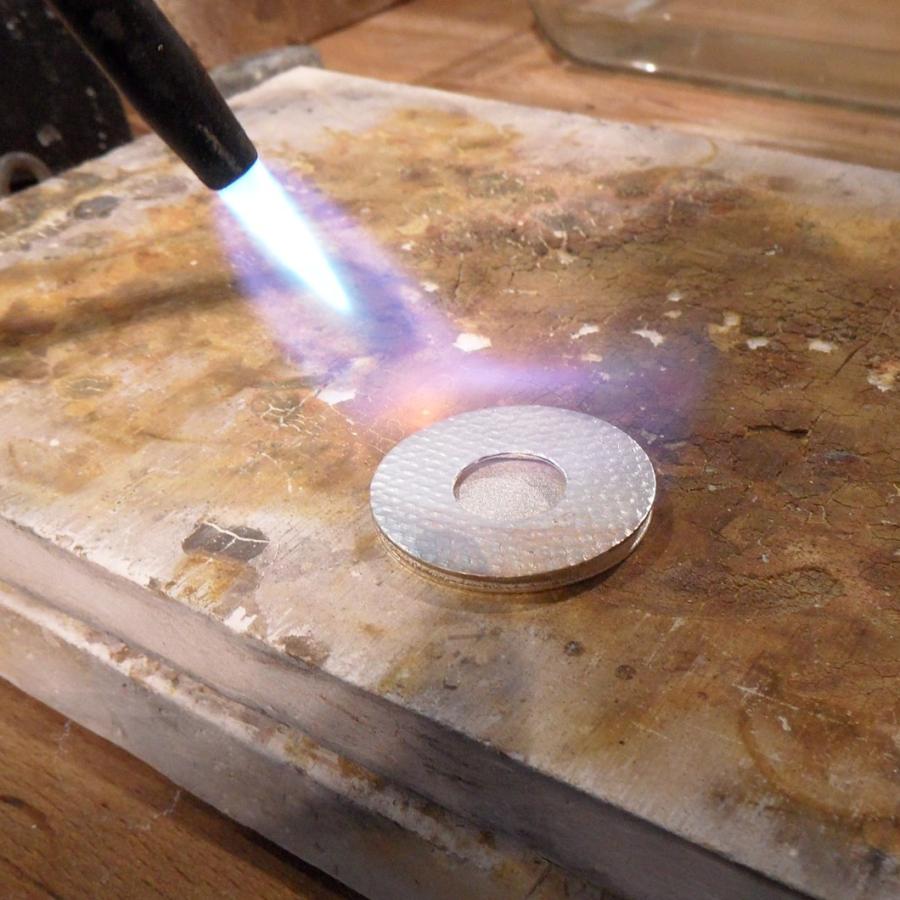
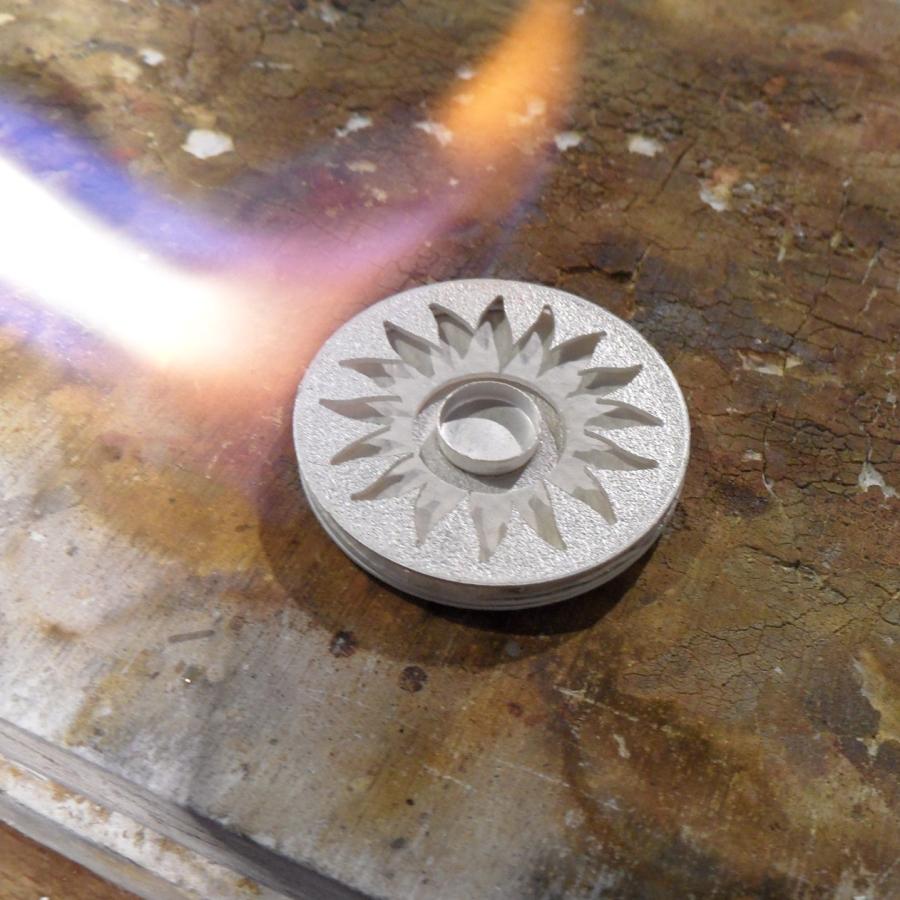
The front panel was textured using the Rolling mill with sandpaper as the texture then cut into a disc. I printed out the logo and used adhesive to attach it to the disc.
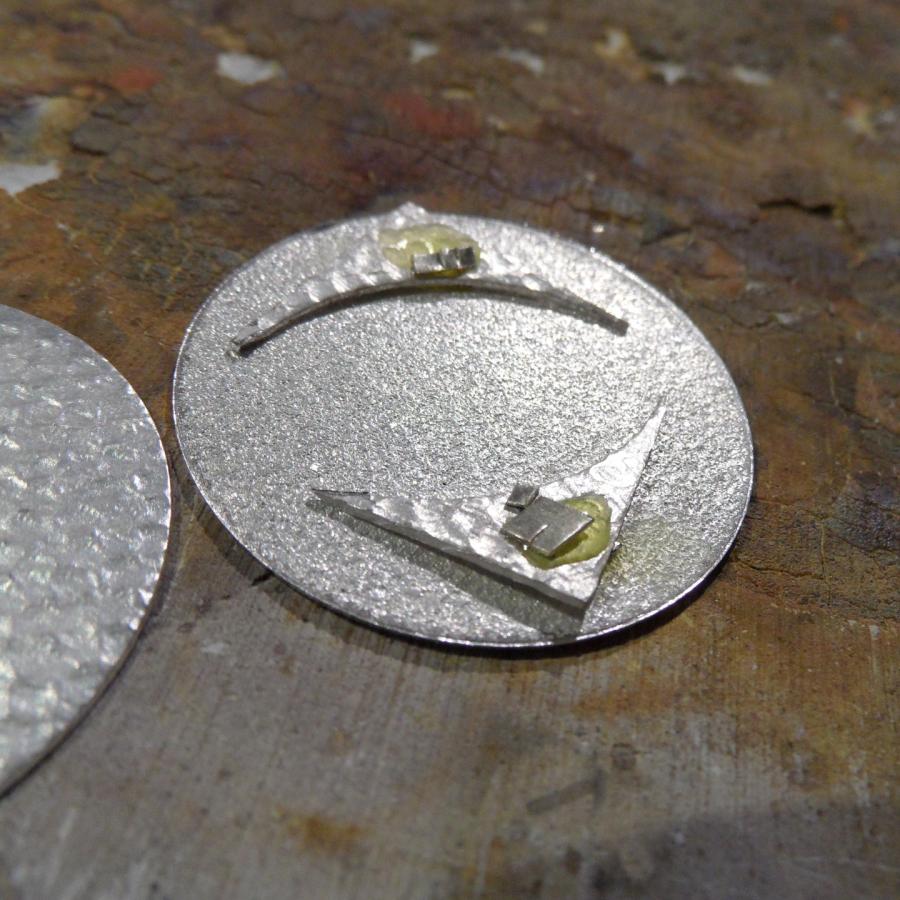
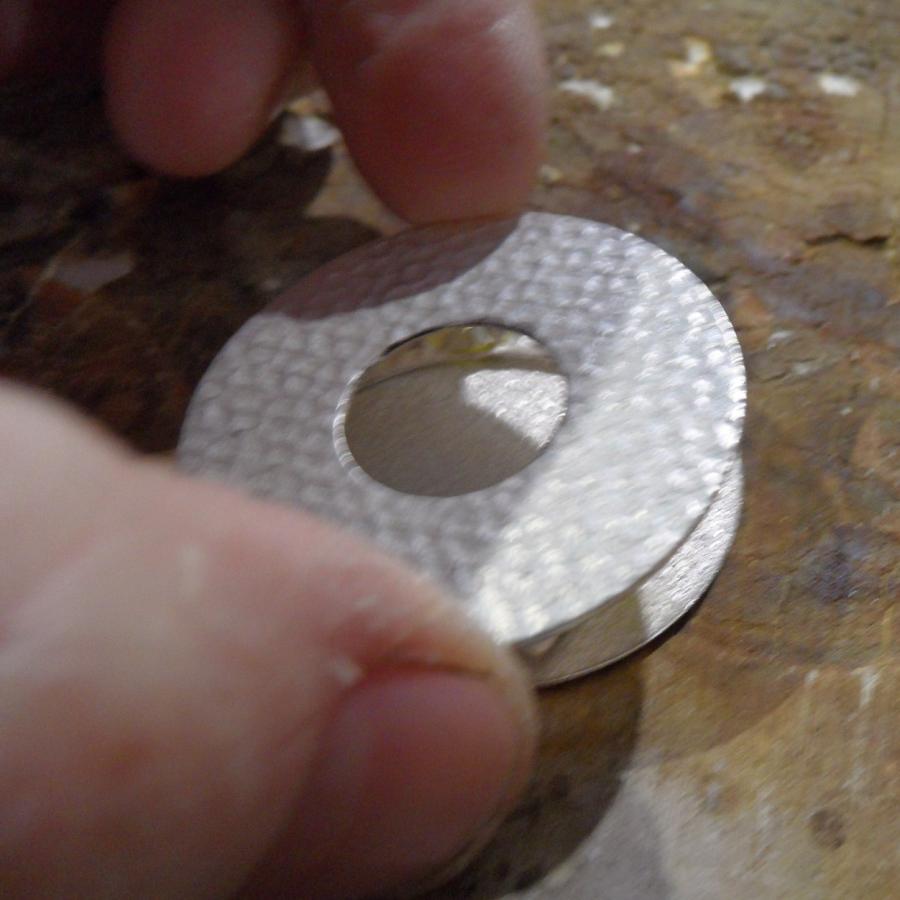
Four textured layers make up the piece. Each one is shimmed to create distance and depth. The positive shape that was cut from the panel was used for the back (no picture). This will then be stamped with the words, “10 YRS GEPPAC”. Rectangle wire was used to make the frame. Tubing was flared to create the bail. The inner two panels were oxidized to bring out the textures, and the shape of the logo.
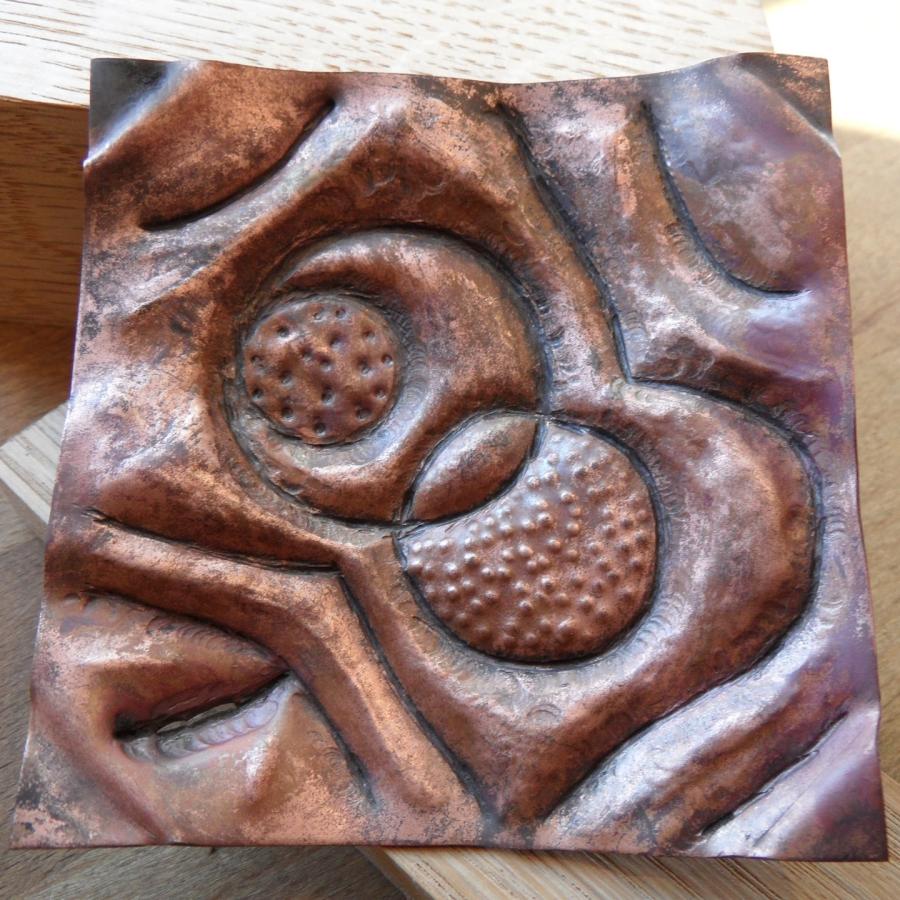
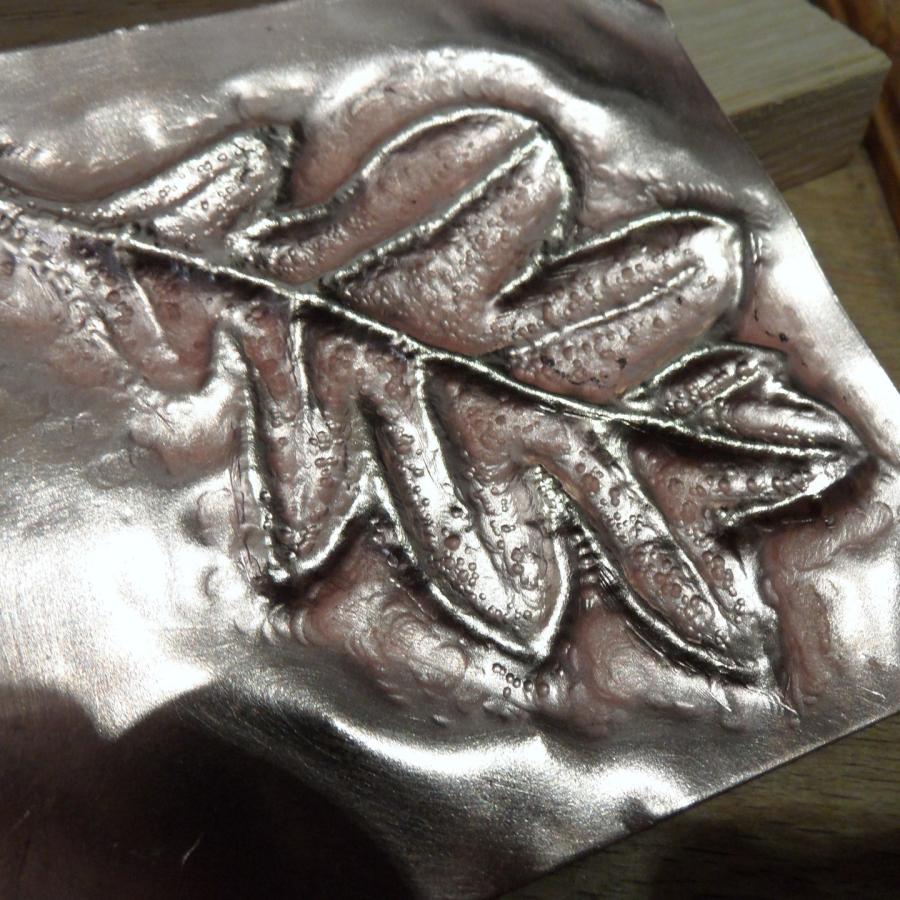
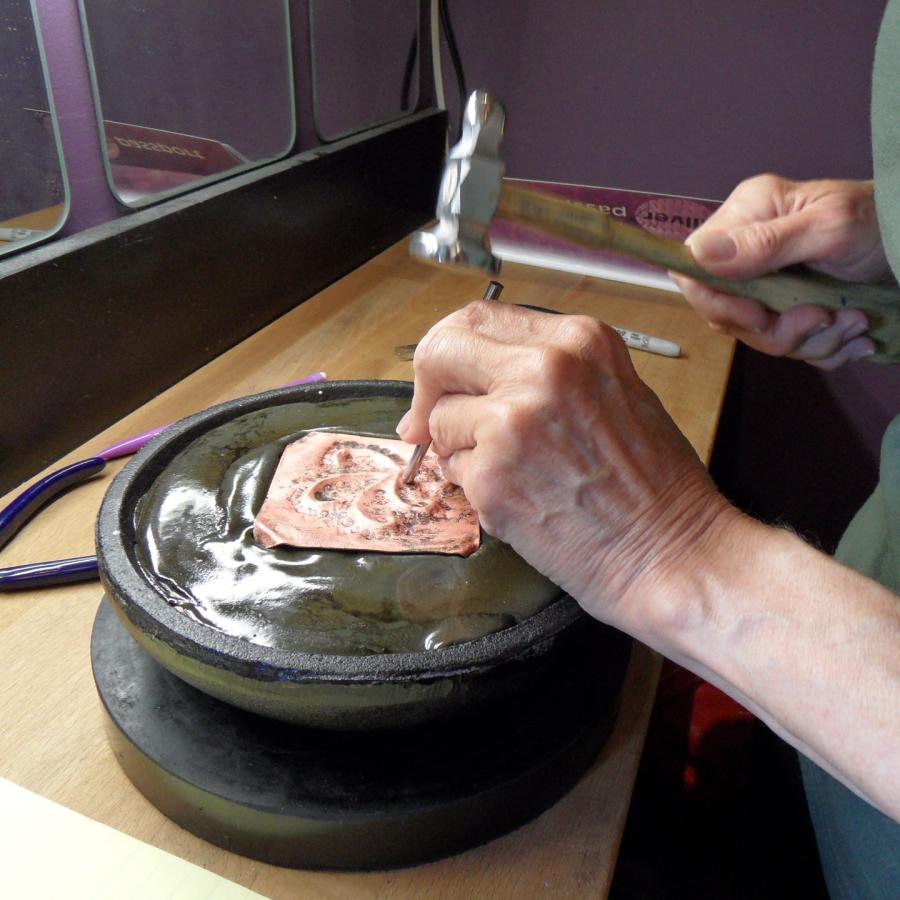
Here are a few samples from the Chasing Workshop this week. A little messy, as this technique uses a support medium: Pitch. But very fun once you get the hang of it.
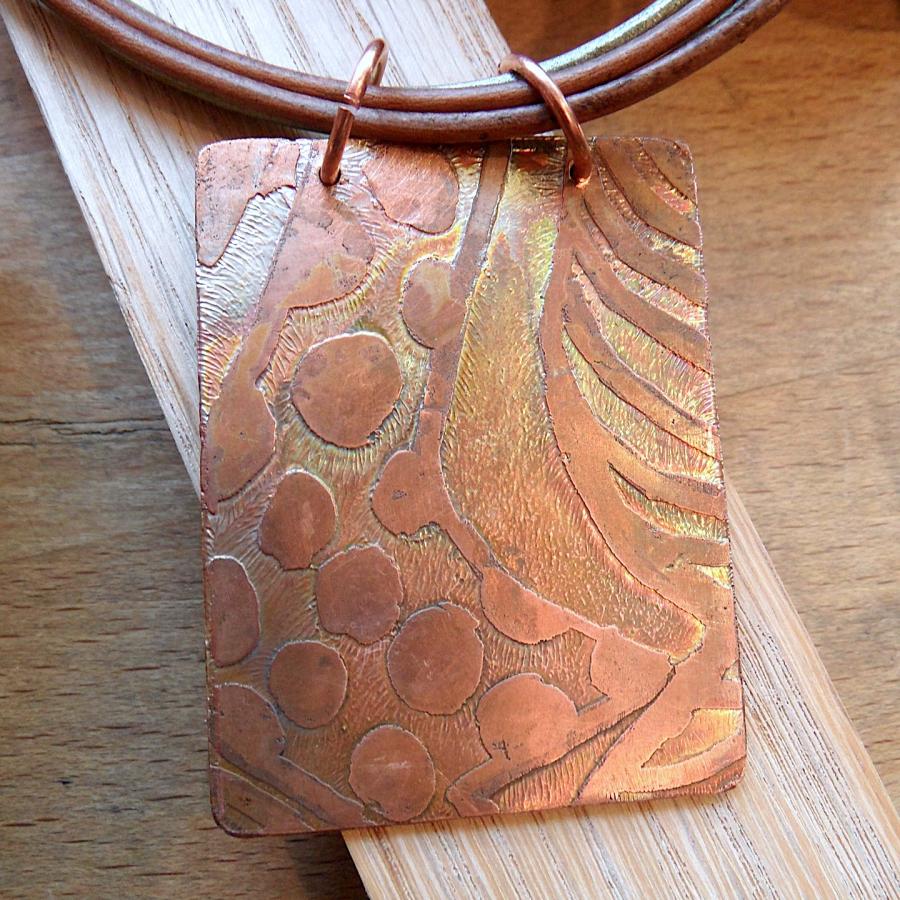
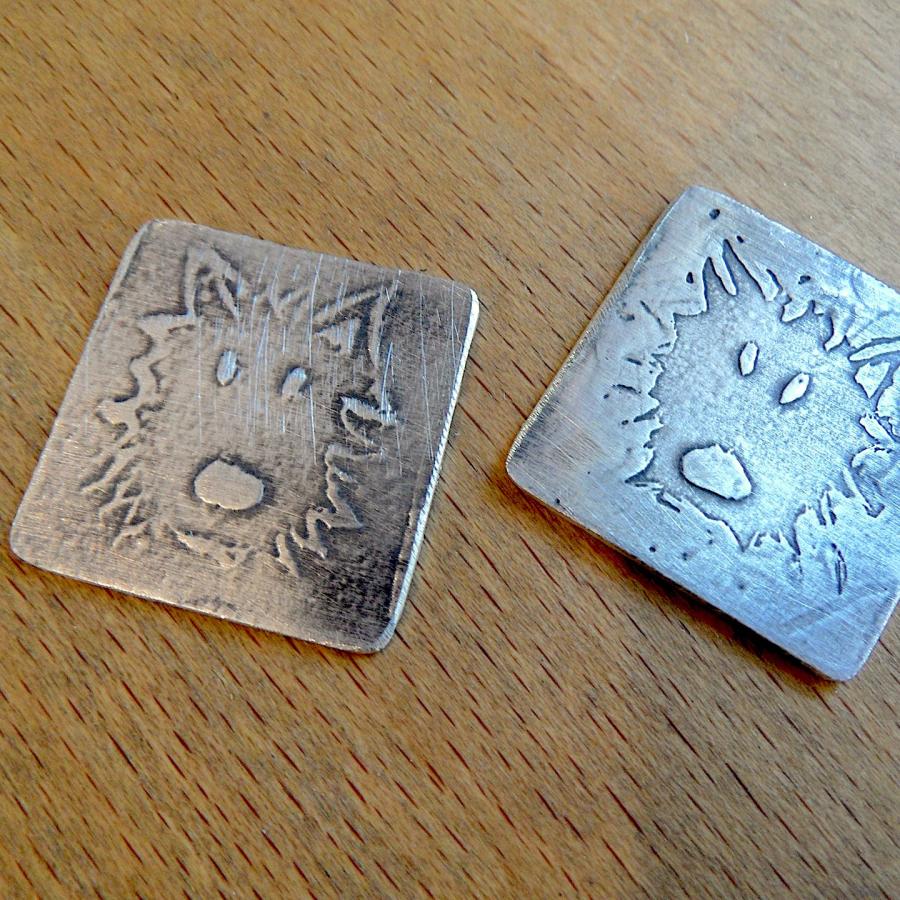
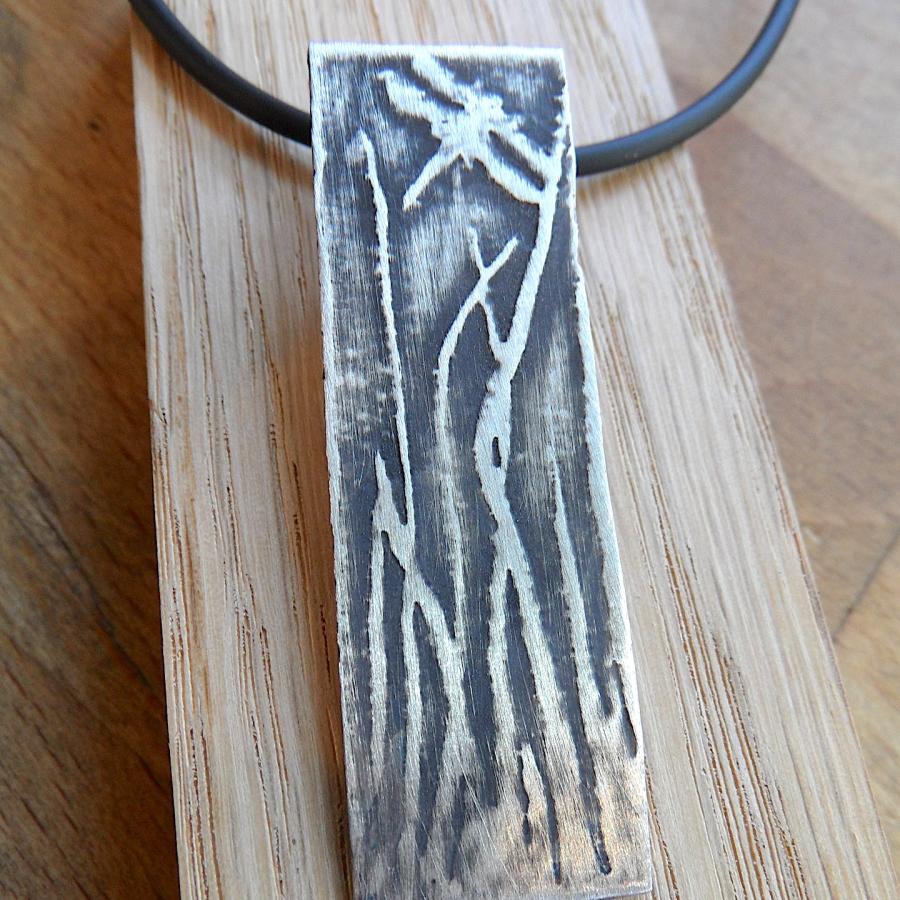
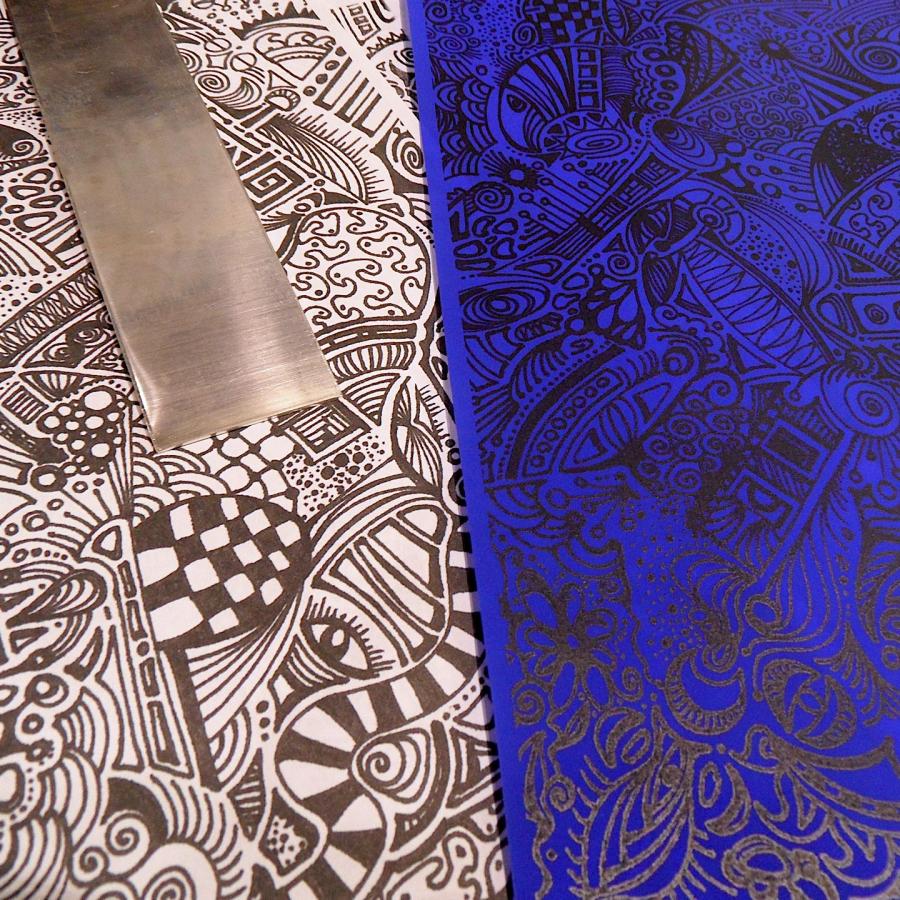
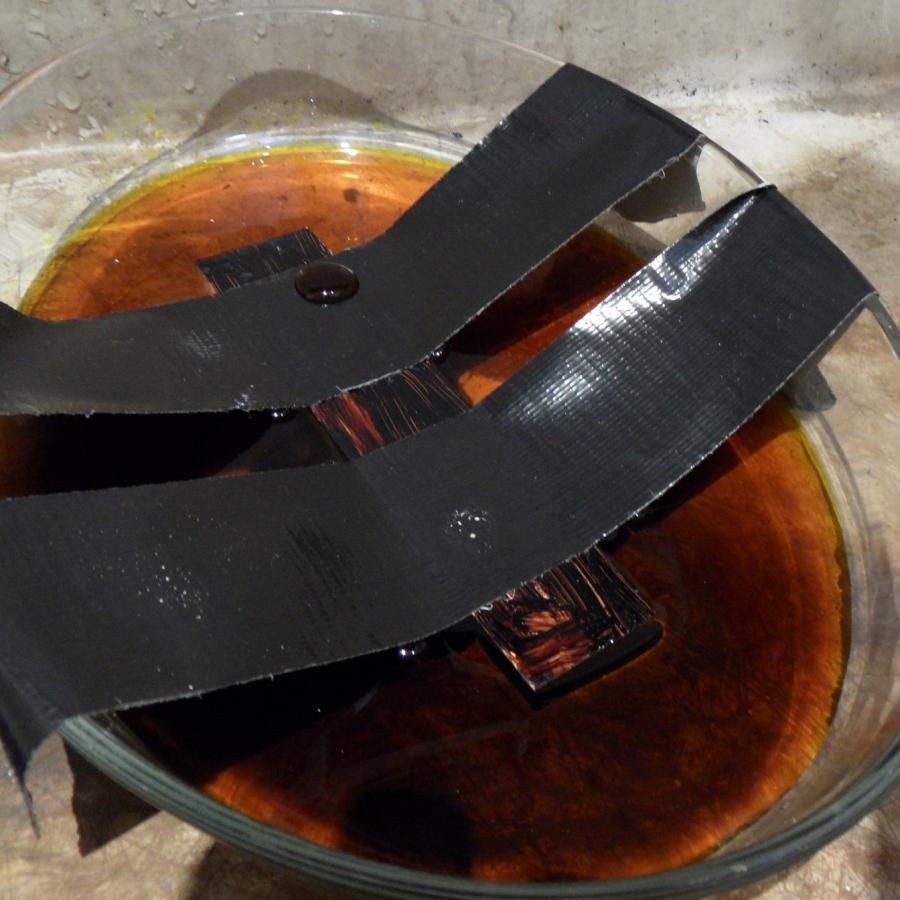
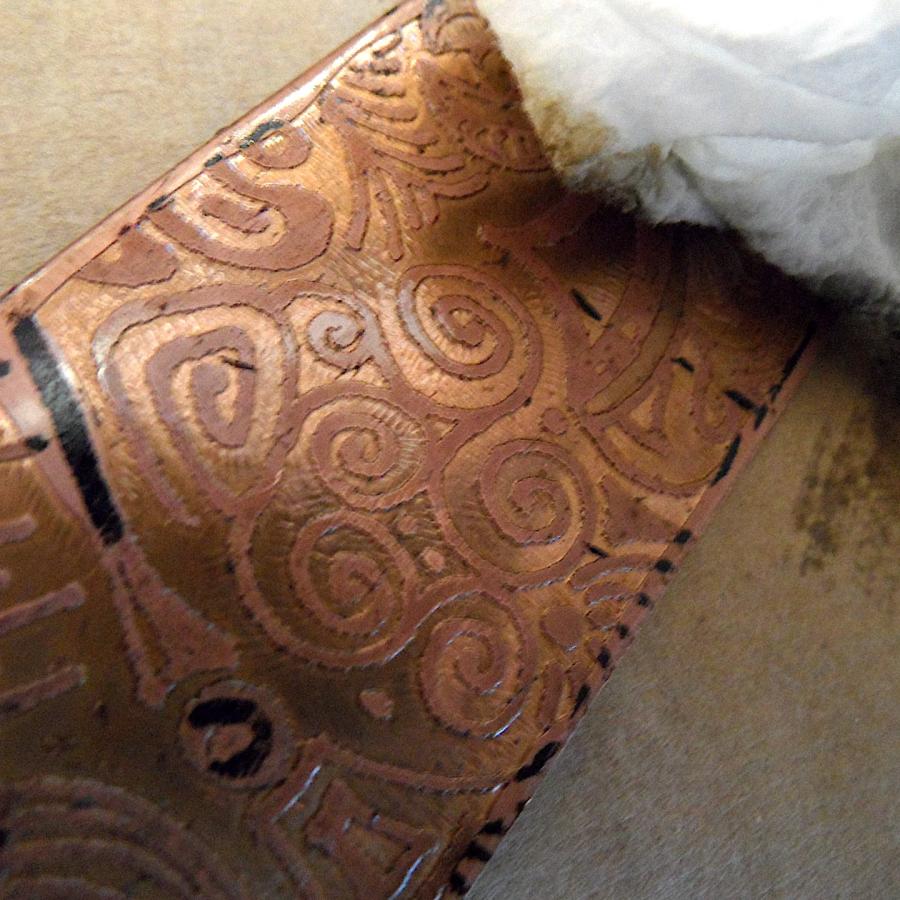
Here are a few samples from the Etching Workshop this week. A somewhat tricky technique of transferring an image to metal, once practiced it can be a very satisfying addition to your smithing tool box.
I am introducing a very new workshop to SilverWorks.
I know... those of you that have seen me snub my nose at the precious metal clay phenom are probably thinking...
Wha?
But when they finally introduced a “sterling” version recently of the product my ears definitely perked up.
Why?
Because you can smith with it.
What does that mean?
Those of you that know basic (and advanced) torch skills (I call you fabrication artists) can use your smithing skills with this product. In other words you are not dependent on treating it like a “craft”, and I am using that in the low-brow, Micheals kind-a-craft sense. Instead, you can create some real art treating it like an artistic medium (not just something you stamp). You can solder to it and form it after firing and add your other sterling formed pieces.
Much more flexible for the artist than the original PMC stuff.
Do I still sound like a snob?
so sorry;-)
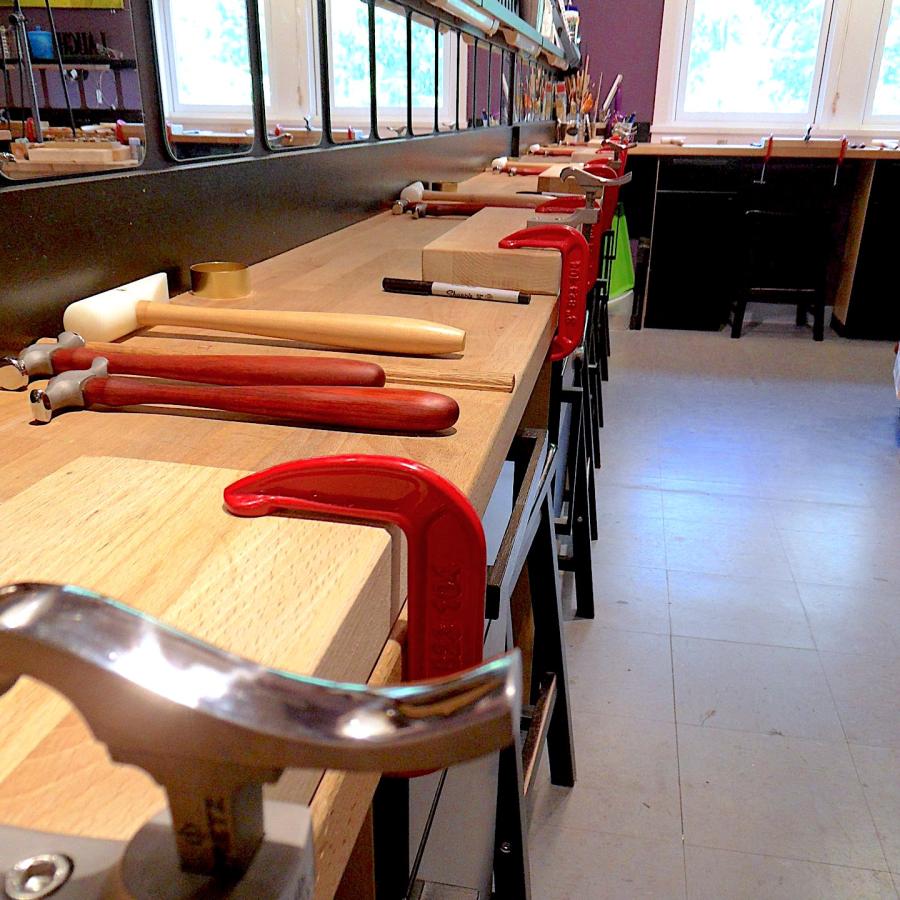
Ok, I couldn’t help but REALLY spoil my students. I mean... what studio teaches a beginning forming class using FRETZ hammers and stakes.
But I couldn’t resist.
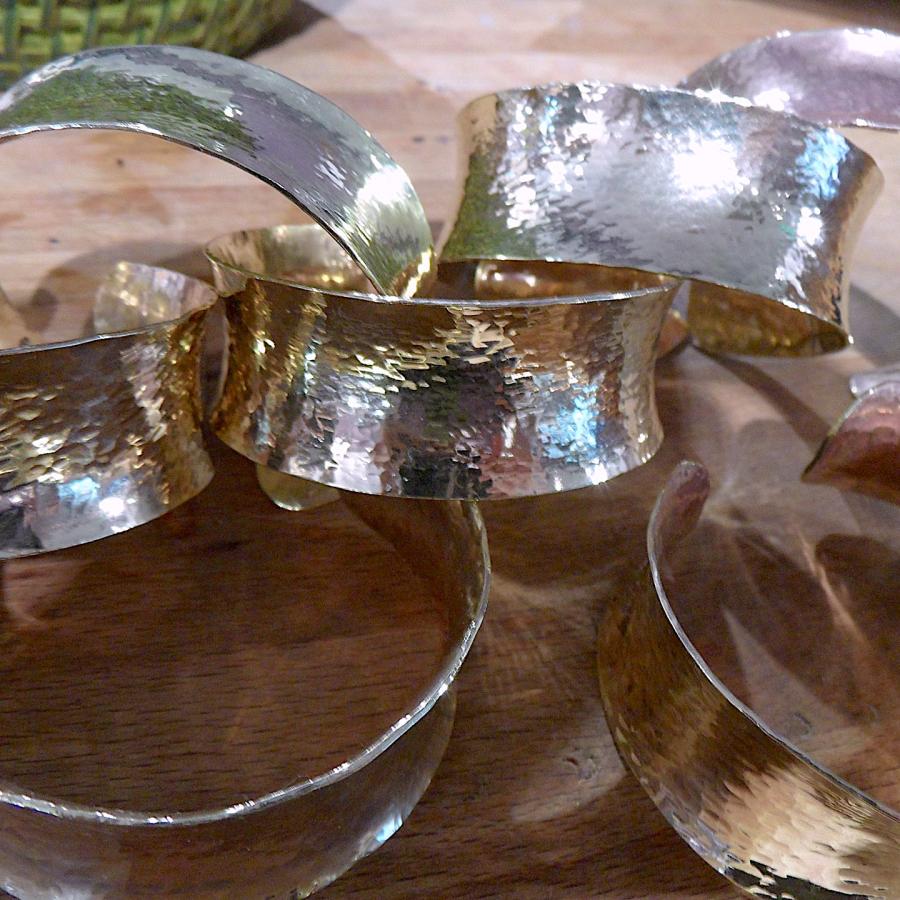
And the results were fabulous!
Now the great thing is that anyone who takes the Forming workshop can come into the studio and use the stake and hammers. Next Forming WS is 2/27!
Can’t tell you how excited I am about the Silver Passport Workshops. But I have to be honest ... I am being selfish!
Every technique I revisit (forming, etching, chasing, etc...) is expanding me as an artist. Yea it takes a lot of work to prepare 13 new workshops, but what great work it is! Creating the samples, workshop timing, ordering tools and supplies... all of this takes thought and preparation.
Love it.
So, hopefully you will join me for a technique that has been calling your name. Wednesdays, AM or PM.
Yea... well... there’s studio stuff to do.
And it is all SOOOO fun!
In preparation for all the Silver Passport Workshops, I get to revisit some techniques that I haven’t done in a while. It’s the best job in the world when you can use your work as an excuse to do something so fun. The worst problem is pulling myself away from one technique to move onto the next, when I could spend years immersed in each of these great techniques. I seriously had to stop myself in the middle of finishing a chased pendant with a lapis in order to have enough time to complete samples for the other techniques. There aren’t enough hours in the day! (or in a “staycation”)
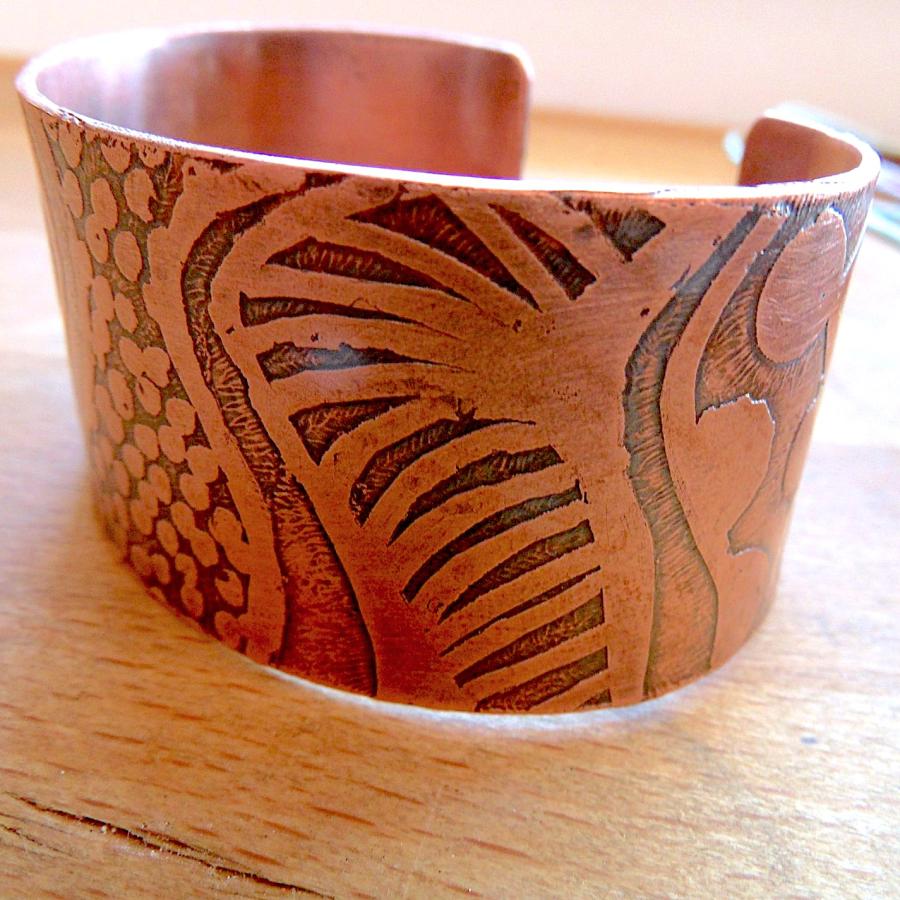
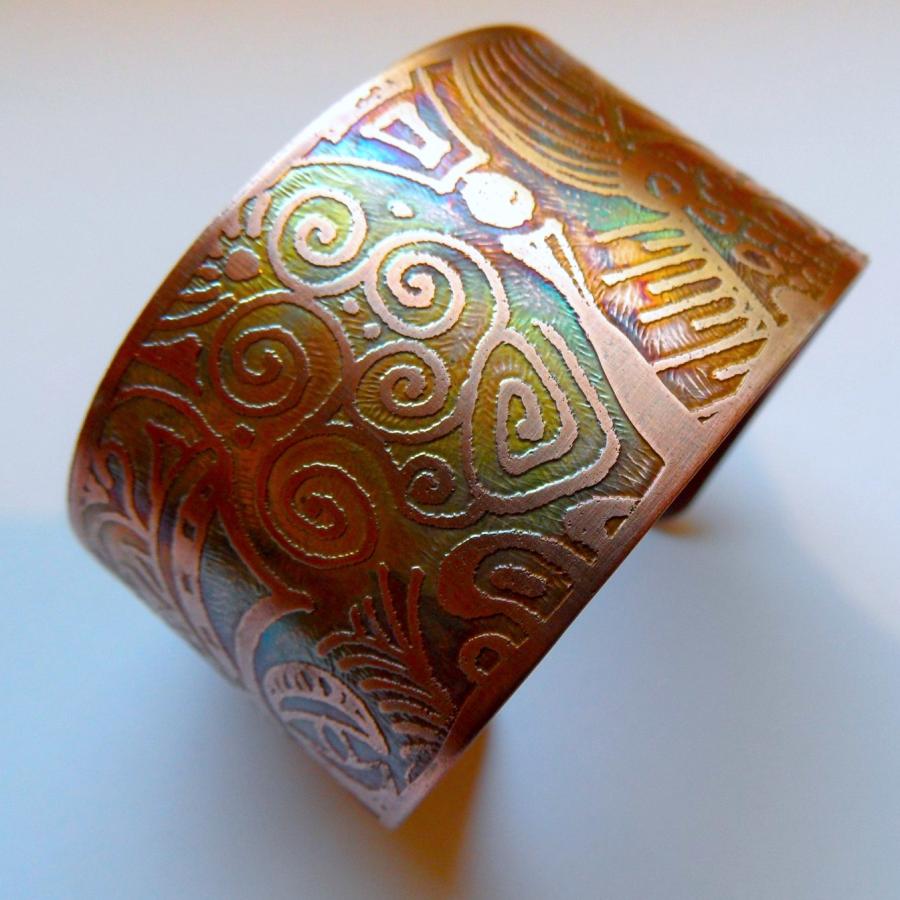
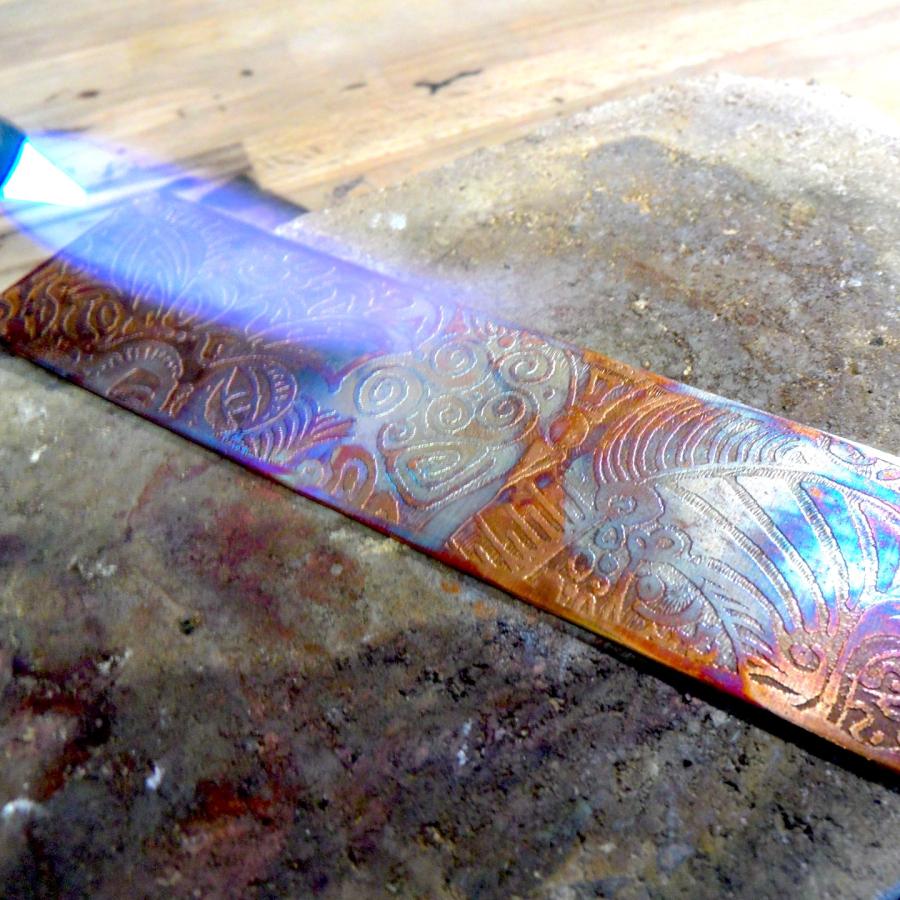
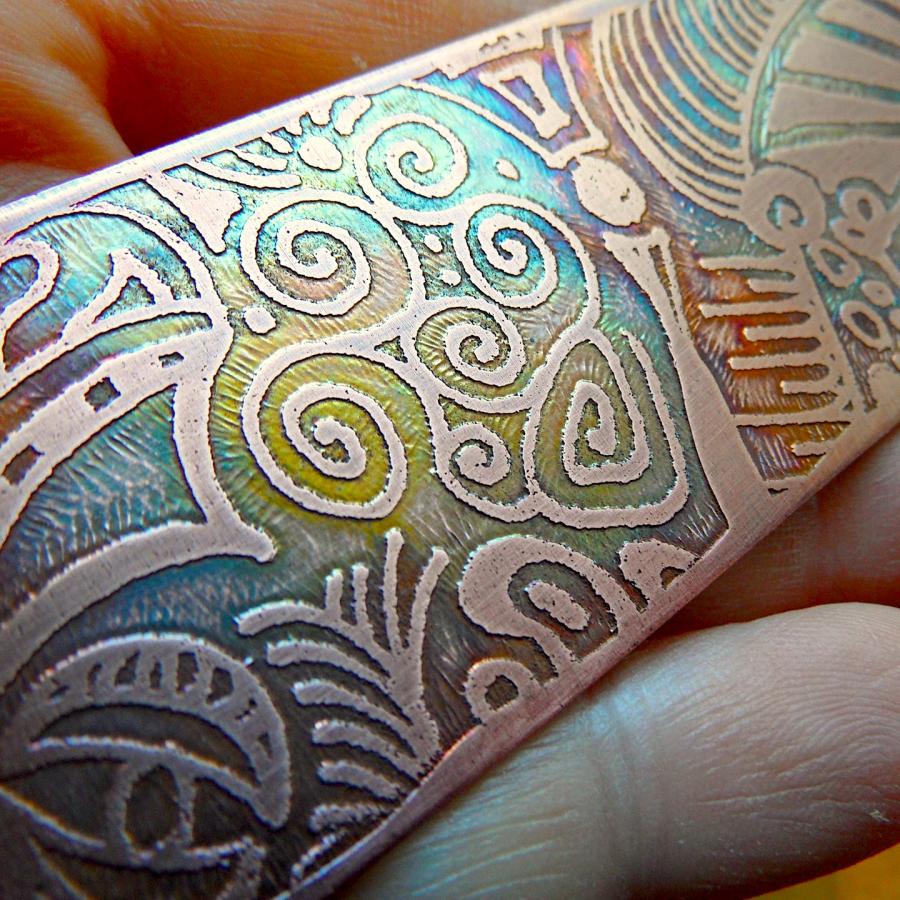
Check out this copper etched bracelet with a torch patina. How fun is that!!
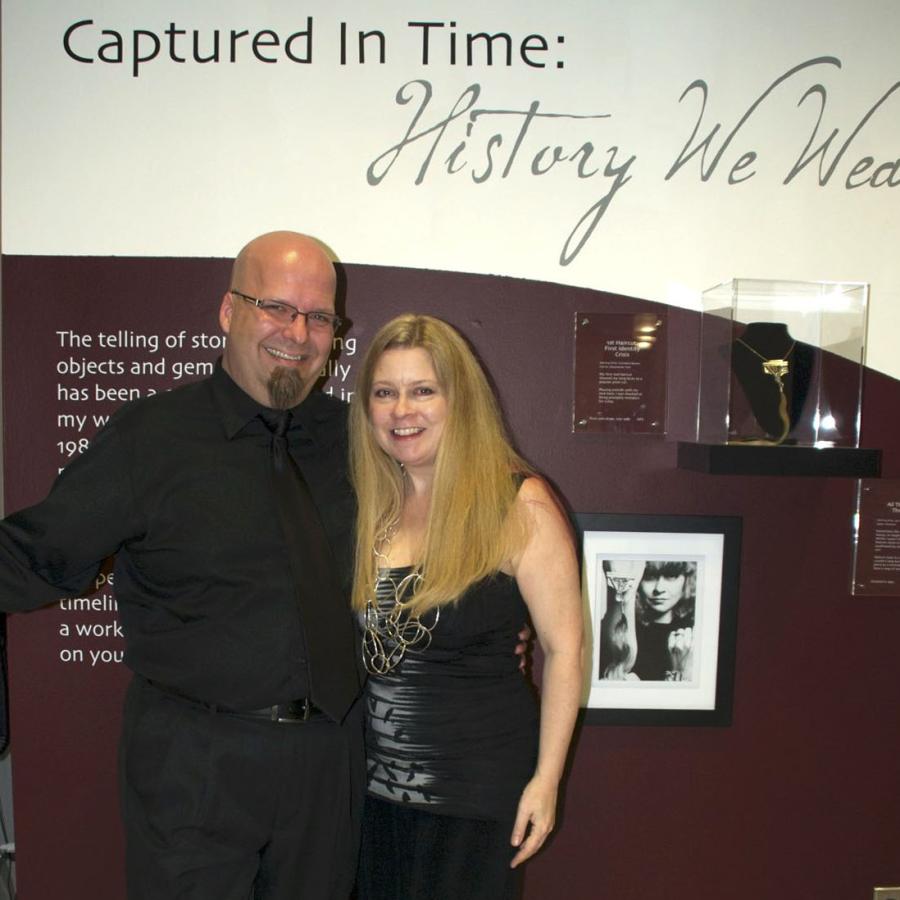
There was a great turn out and reviews from “Captured In Time: History We Wear”, the show this year. If you missed it you can still see the collection online here. Thanks again to all that helped with the details.
A fun little workshop that gives a little insight in the ways in which good design is a series of decisions rather than just something random, was attended tonight in my studio. This workshop was a very distilled down “rules of design”.
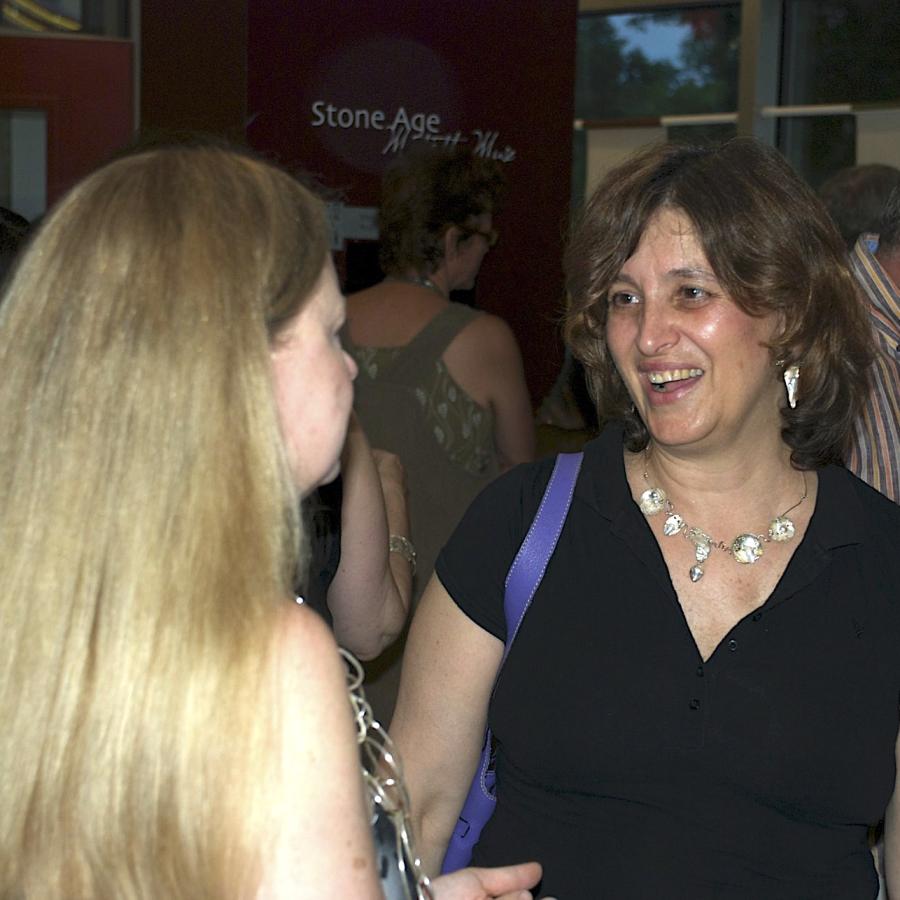
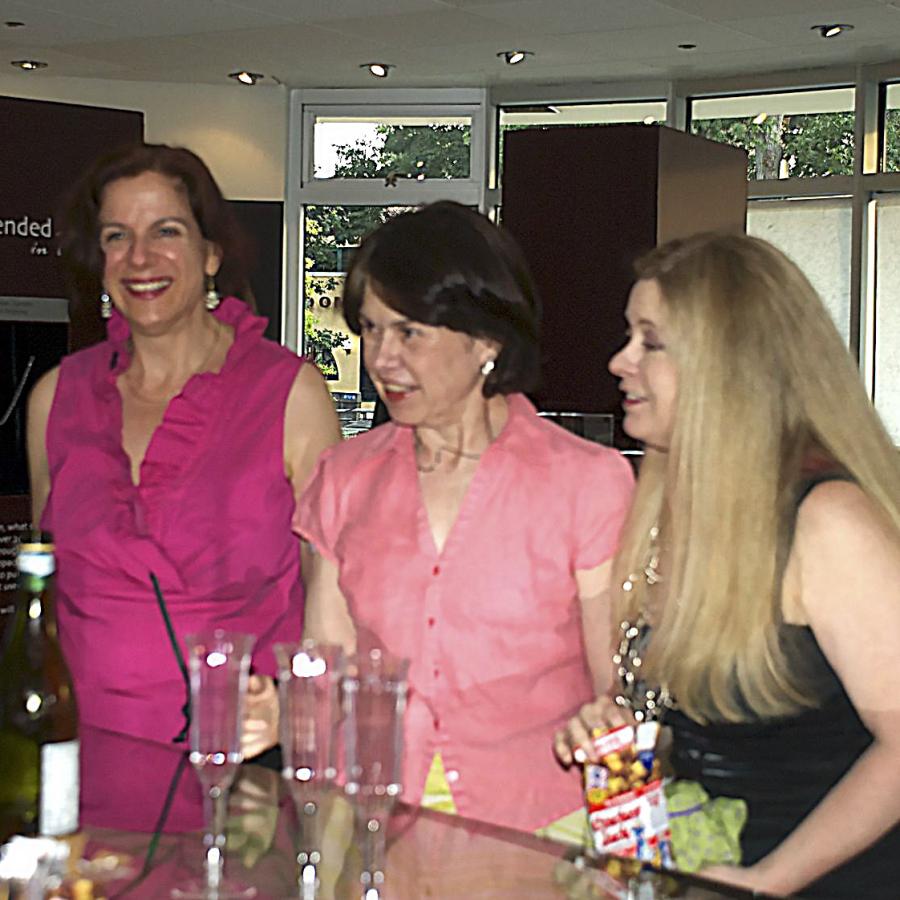
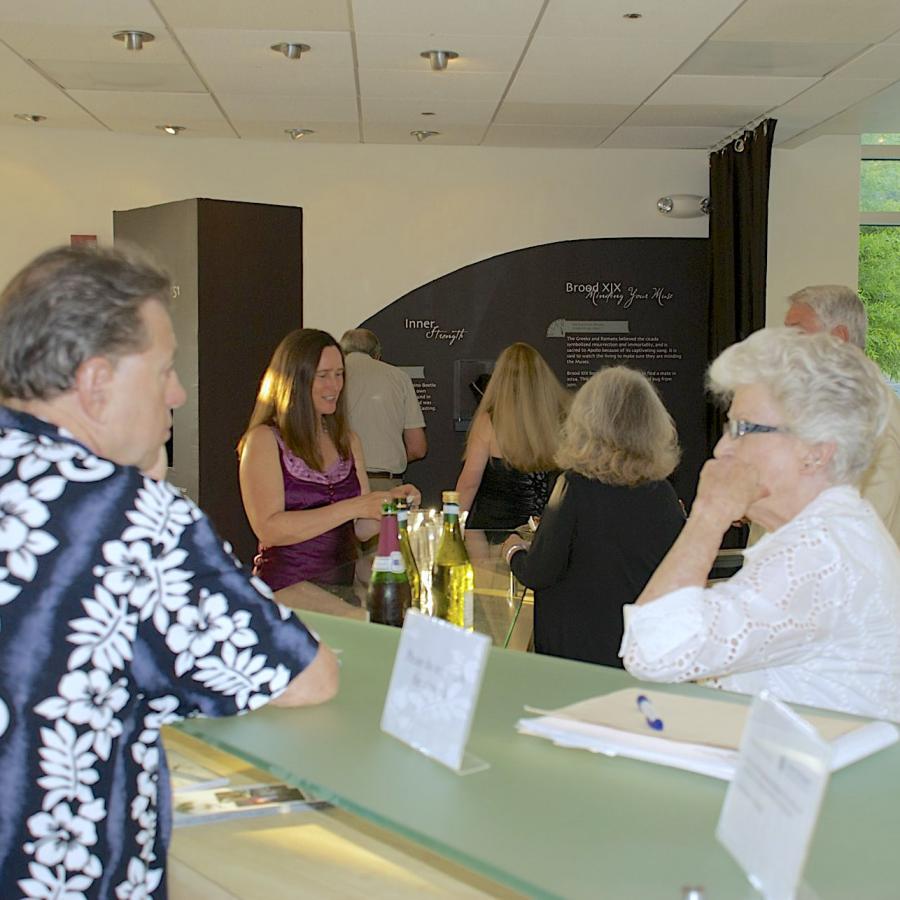
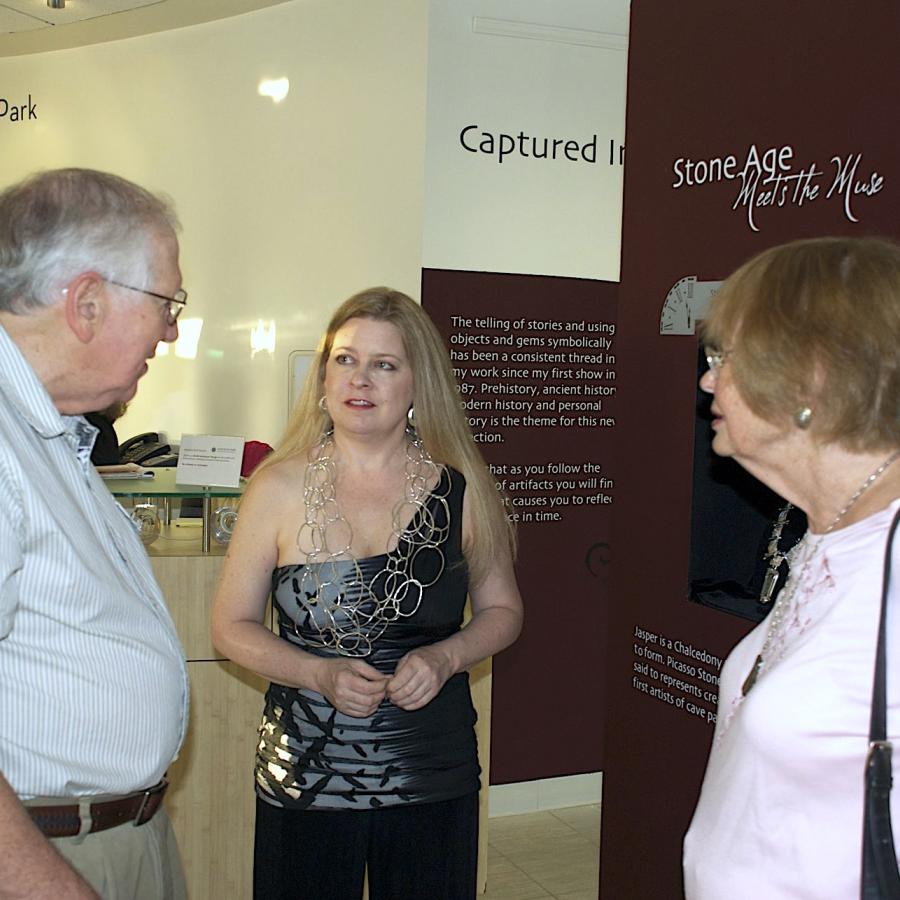
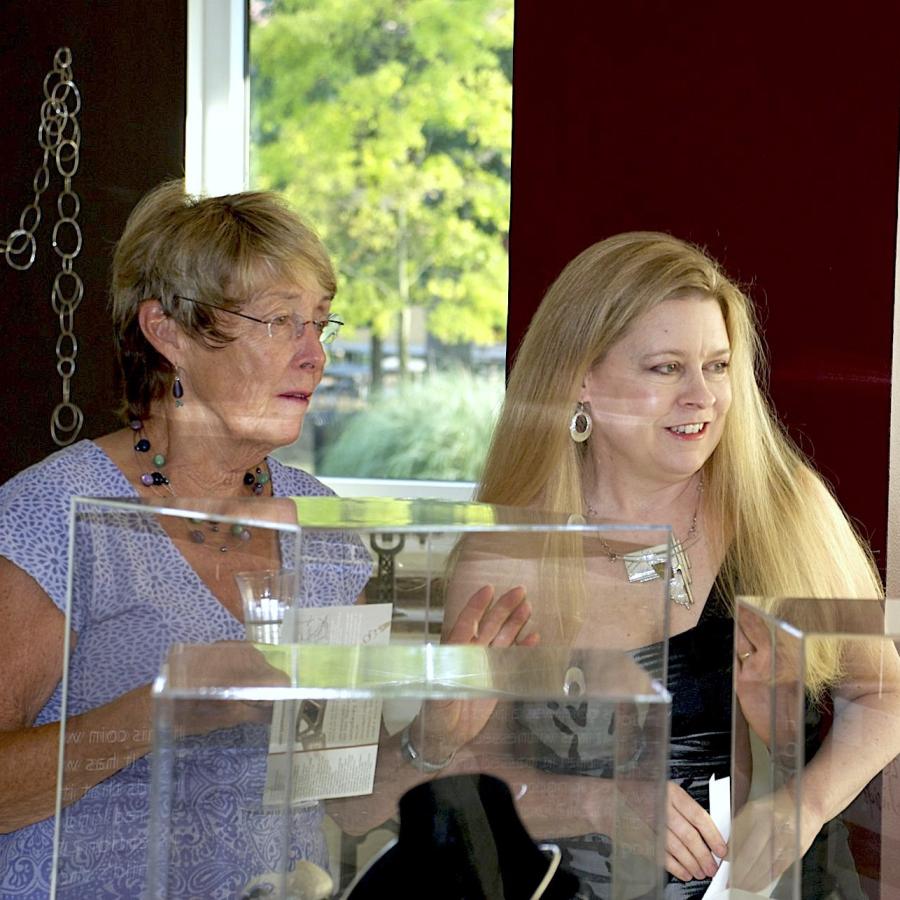
What a great turnout as over 200 people came through in what for me is always a blur. Thankfully I have pictures that others took to prove that the event actually happened, that I was actually there, and standing (on 6 inch heels I might add).
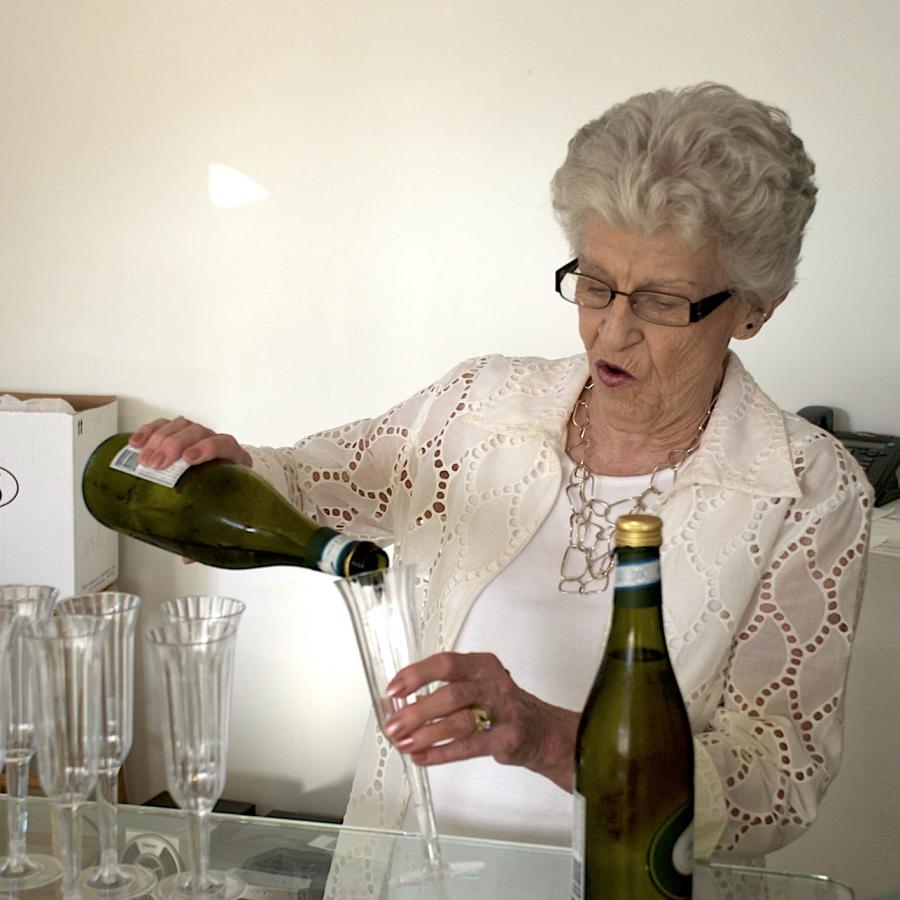
It was such a joy to have both my sister and bro-in-law, and my mother in attendance and helping decant champagne and hand out cracker jacks (yes I said cracker jacks).
Show runs until Aug. 5th.
Artist talk is July 29, 5pm in the Popcorn Gallery
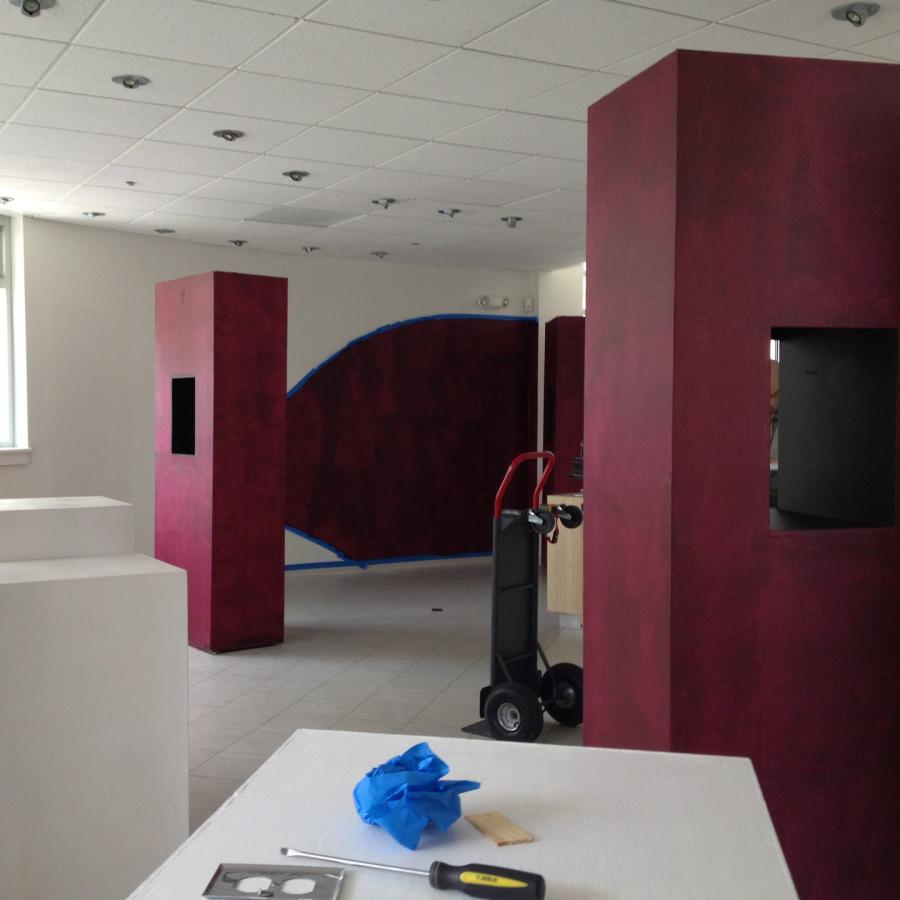
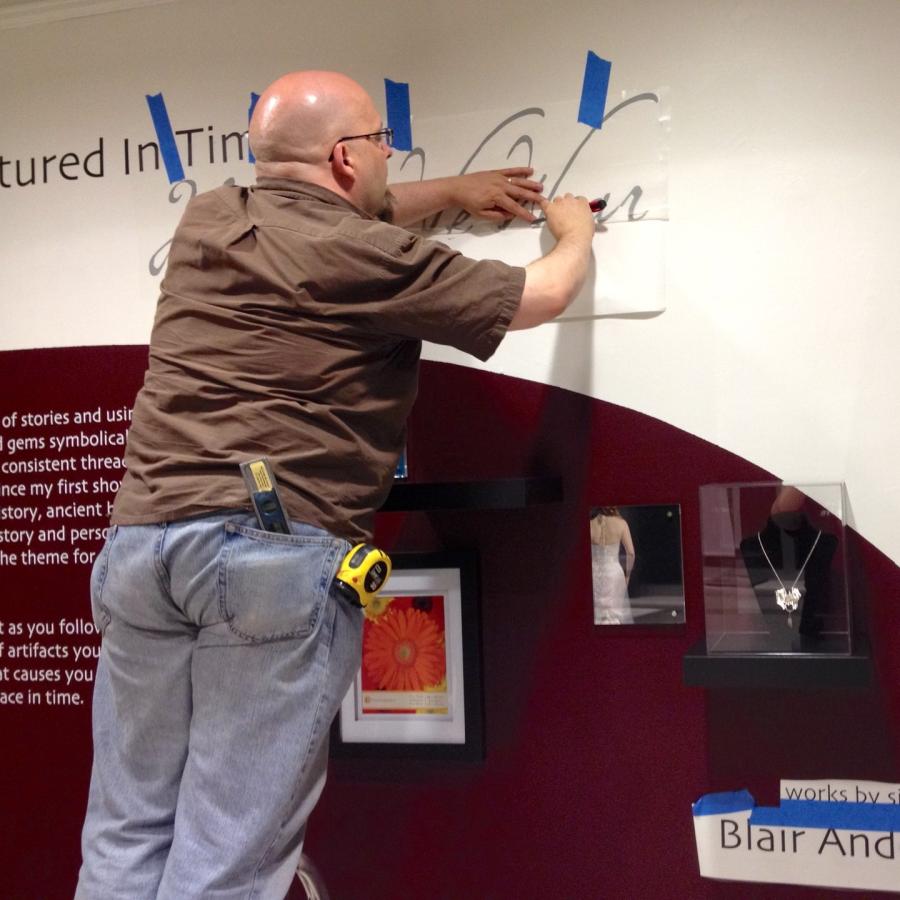
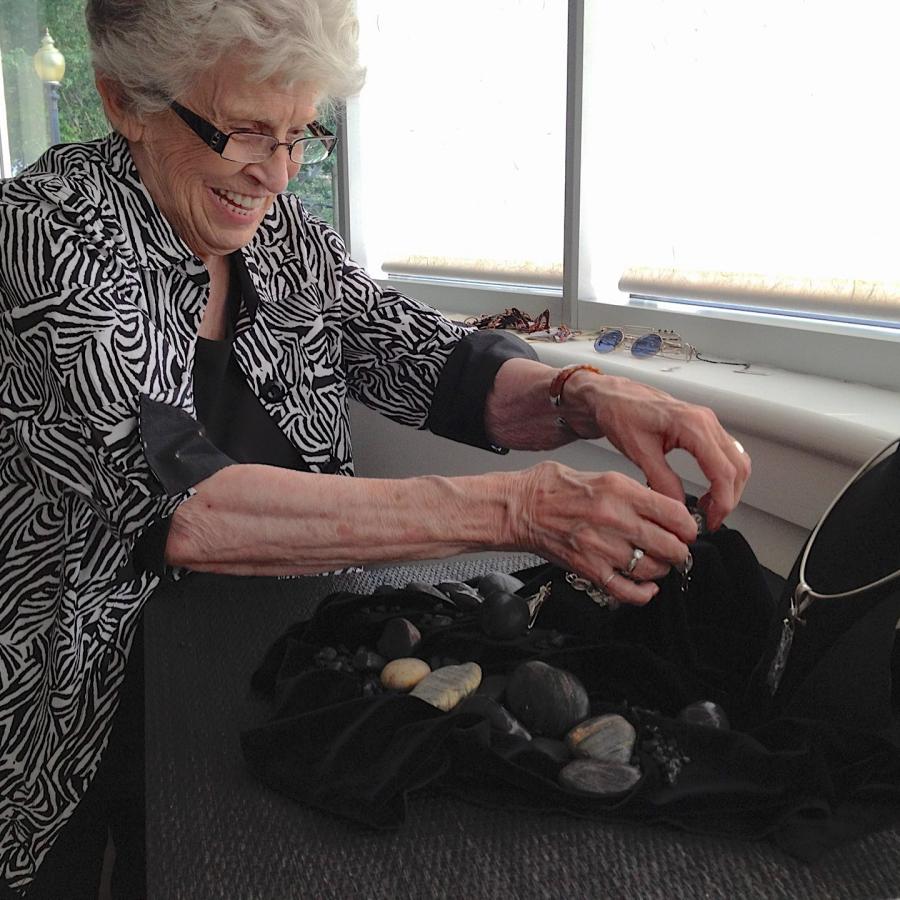
Thanks SO MUCH for all your help those of you who so generously gave of your time in helping mount this show.
Elaine Speiser
Constance Beck
Nancy Cohen
Marta & Bill Tompkins (sis & bro-in-law)
Jane Callihan (mom!)
my fabulous husband Bryan
my fabulous studio assistant Mawadda Alaswadi
From painting walls to weeding vinyl text and all the rest, this show couldn’t have happened without your help.
Just a few days before my show and I have spent the last four days in my studio without power. The storm that raged through friday took out power all over the region, including the park.
The other bonus is we have reached record hot temperatures (100+/-). So no electricity means no air conditioning.
Undeterred I am however obsessively finishing some final touches on pieces that I really wanted to have done. Forced to use “stone age” techniques (how ironic given the themes of the show) I can use my torch, but must do every other task without power (drilling, polishing, grinding, pickling). And must do it while it is light out, or by flashlight.
Age of Discovery, which used a swatch of material from the space shuttle was completed without electricity. Funny, huh?
What an adventure!
Show work still underway as I continue to go through my list of artifacts to create a unique piece to represent each one.
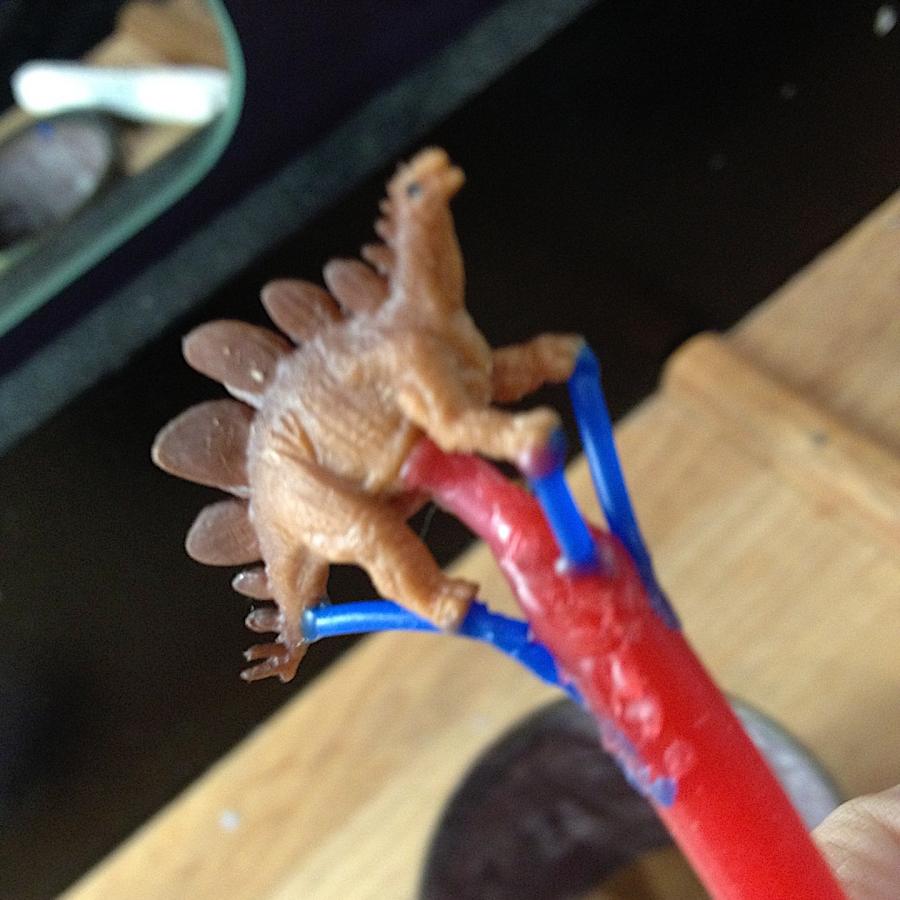
This playful piece utilizes the art of Lost Wax, but with a twist... casting a plastic toy.
Some plastics are a problem because they create toxic fumes in the burnout, but this tiny guy doesn’t pose much of a threat. Sprue him up and we will see!
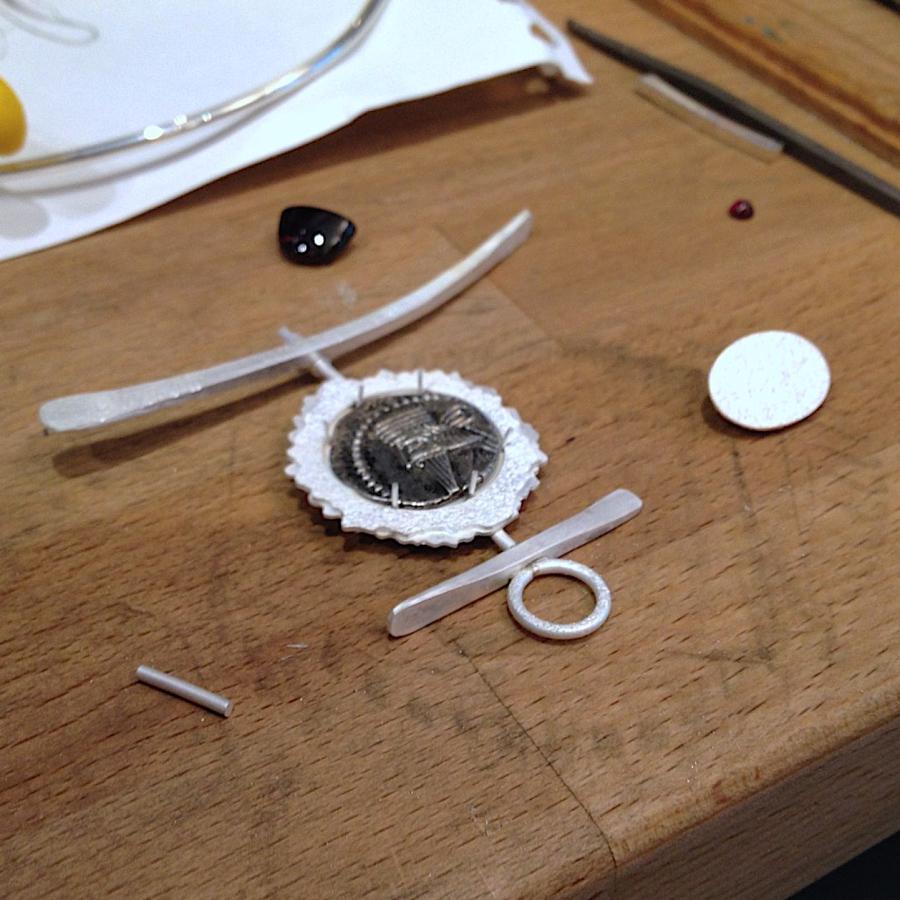
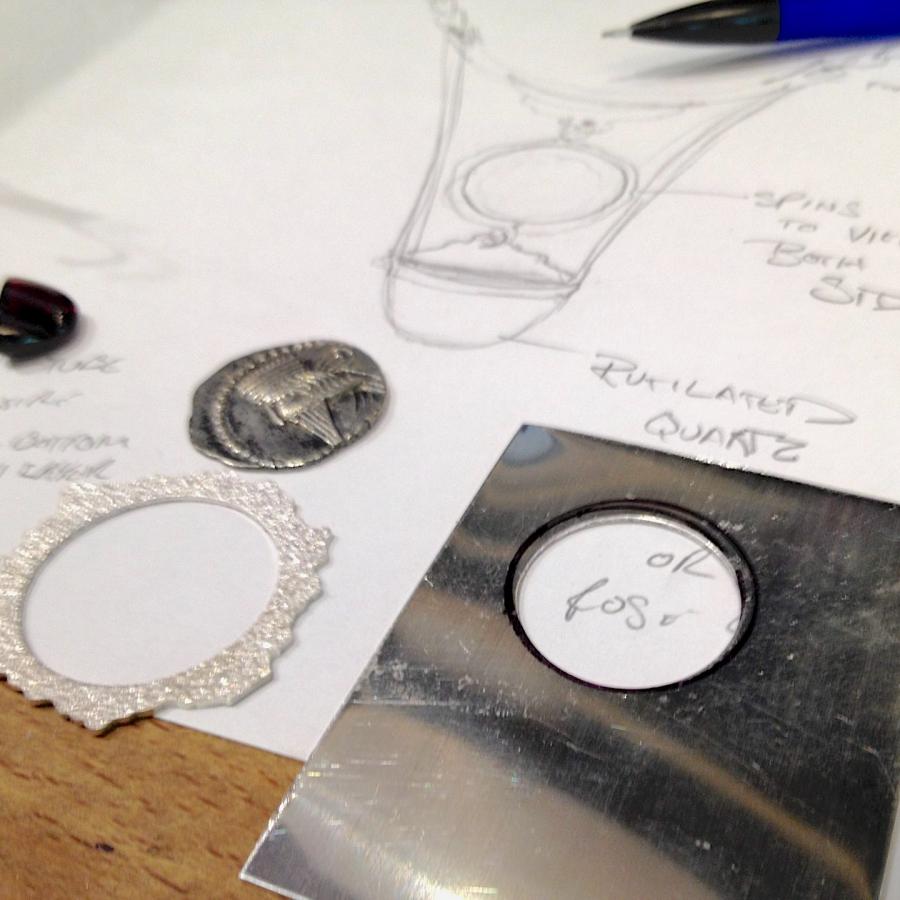
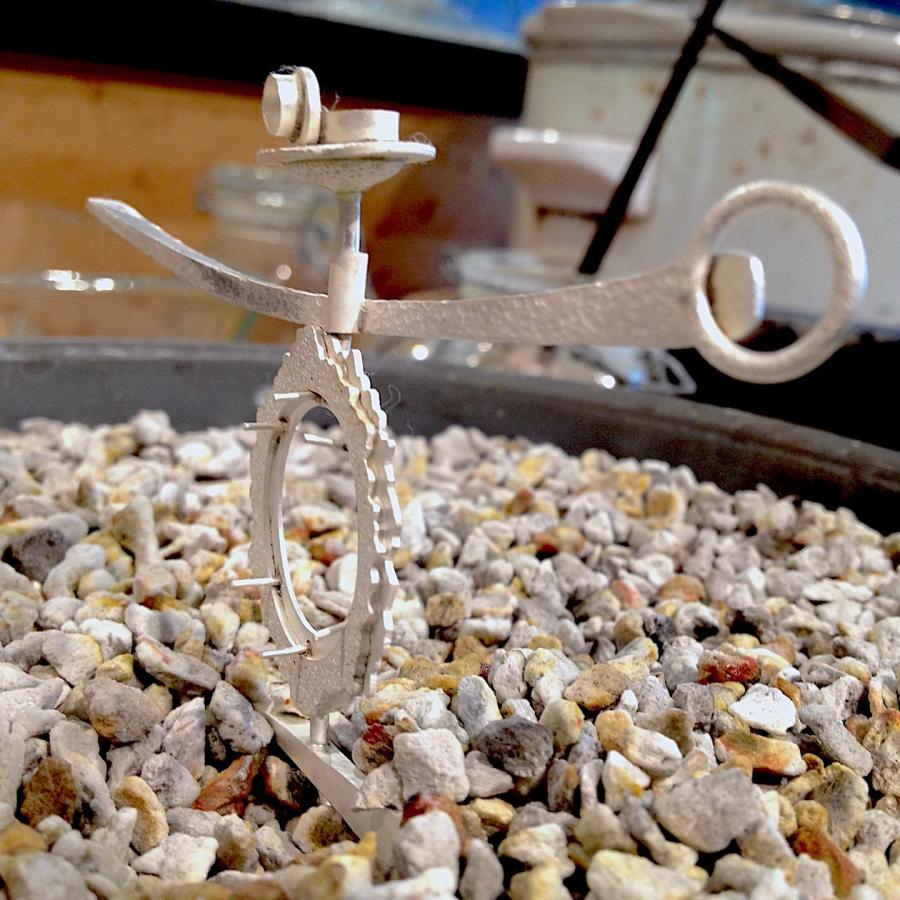
The artifact that inspired the theme for the show has remained elusive to composition until now. Here we are finally in process.
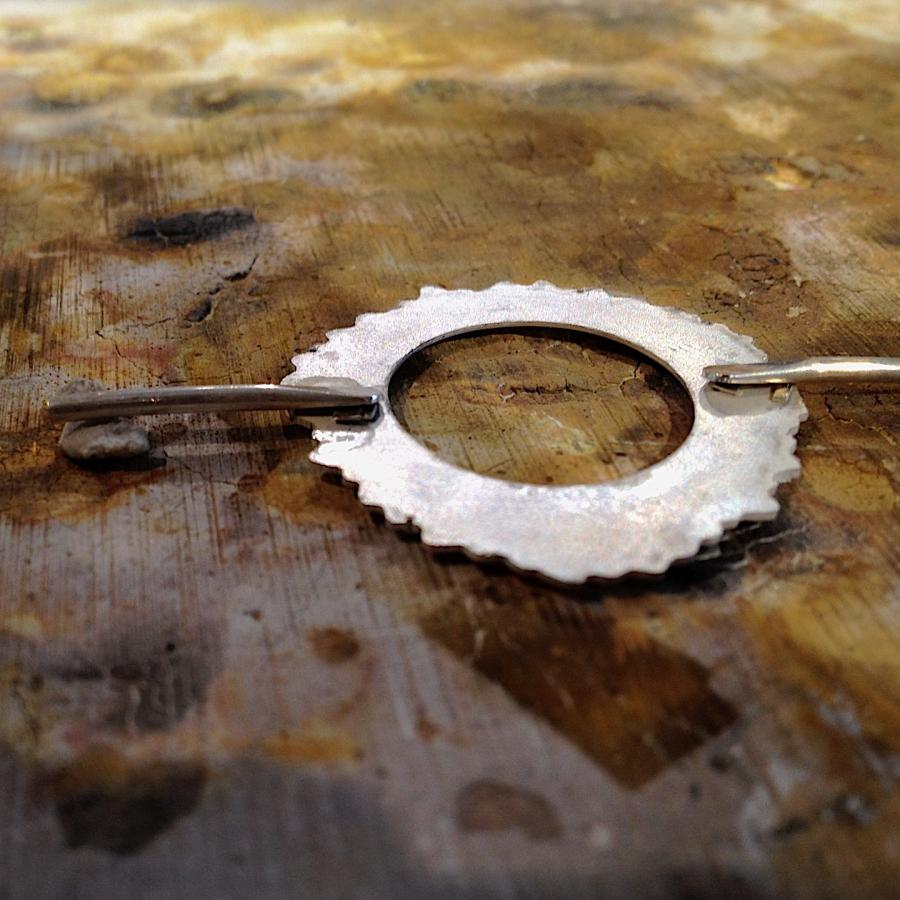
The piece became a simplified version of the original sketch which almost overpowered the focus of the coin. Each artifact has presented a special challenge both technically and creatively. This one demanded to be center stage, so I employed very simple lines that almost reflect the writing on the coin, while making the focal rotational so you can view both sides easily.
A lot goes into the creation and promotion of a body of work. I am so fortunate to have a partner who not only emotionally supports me in my artistic journey, but also brings some very important skills to the party.
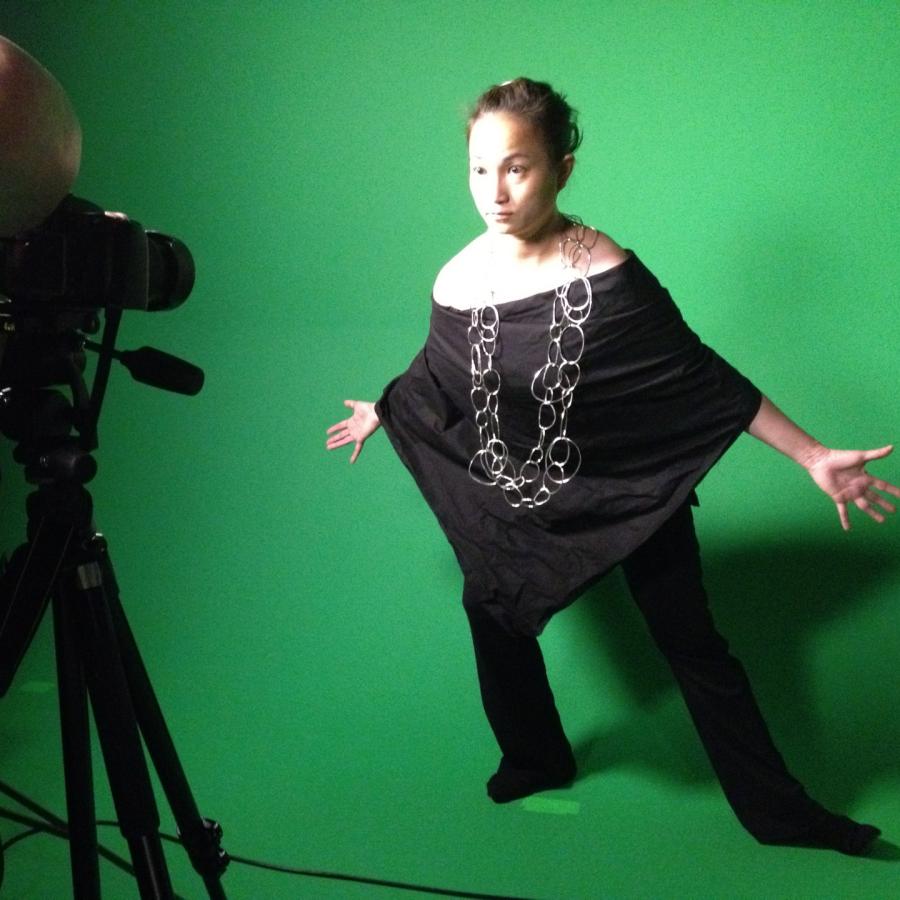
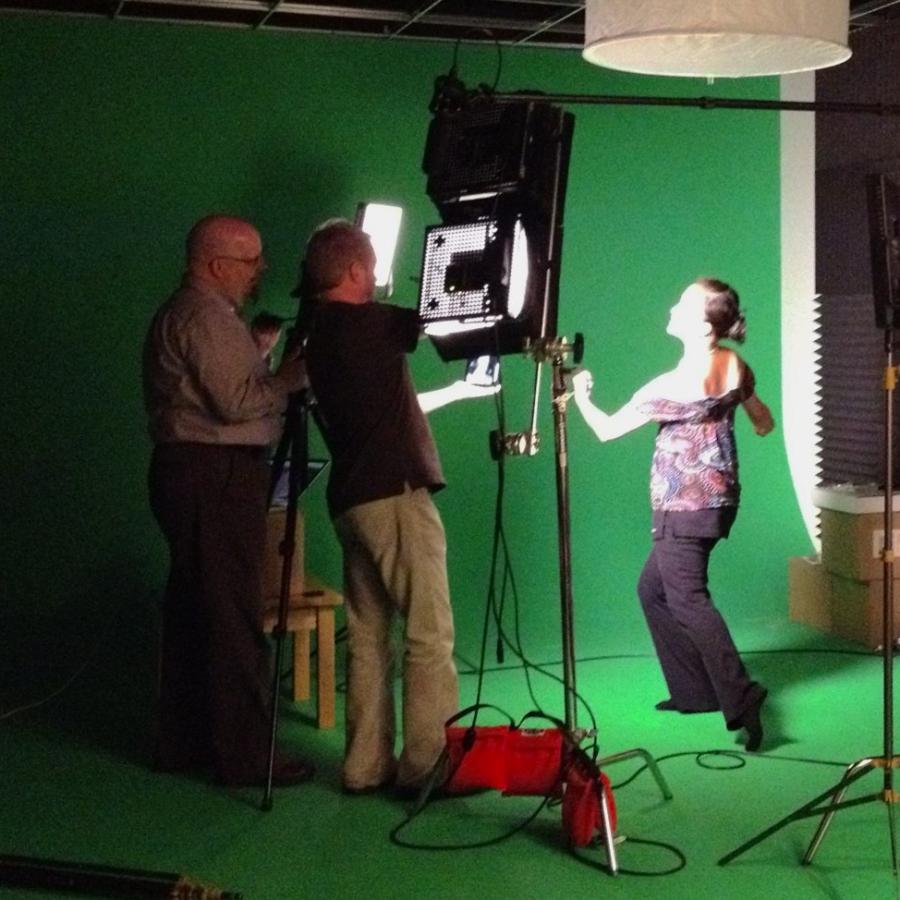
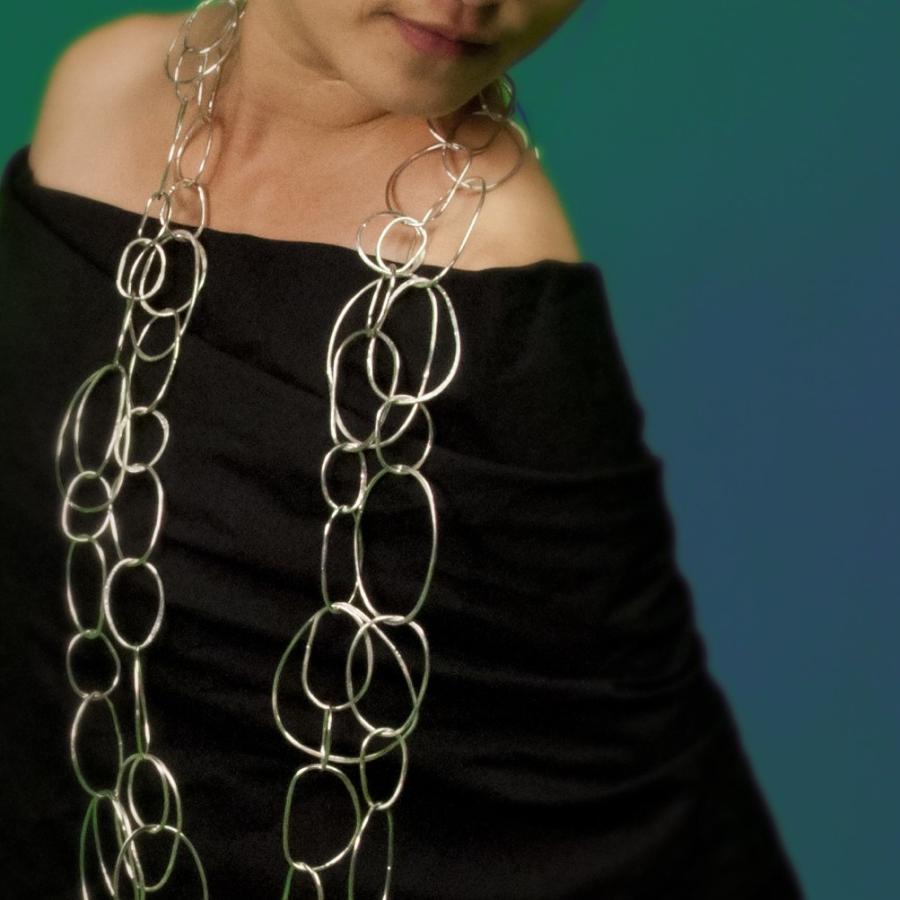
Tonight Bryan is photographing the work on our model (and friend) Pinling Lin. These photos will then be post-produced and used for my book for this year’s collection.
The great thing that Pinling brings to the table (other than being beautiful) is that being a dancer, she knows how to move her body to convey the right tone for the work.
You can see the show here.
Starting the work for the show in July, “Captured in Time: History We Wear”.
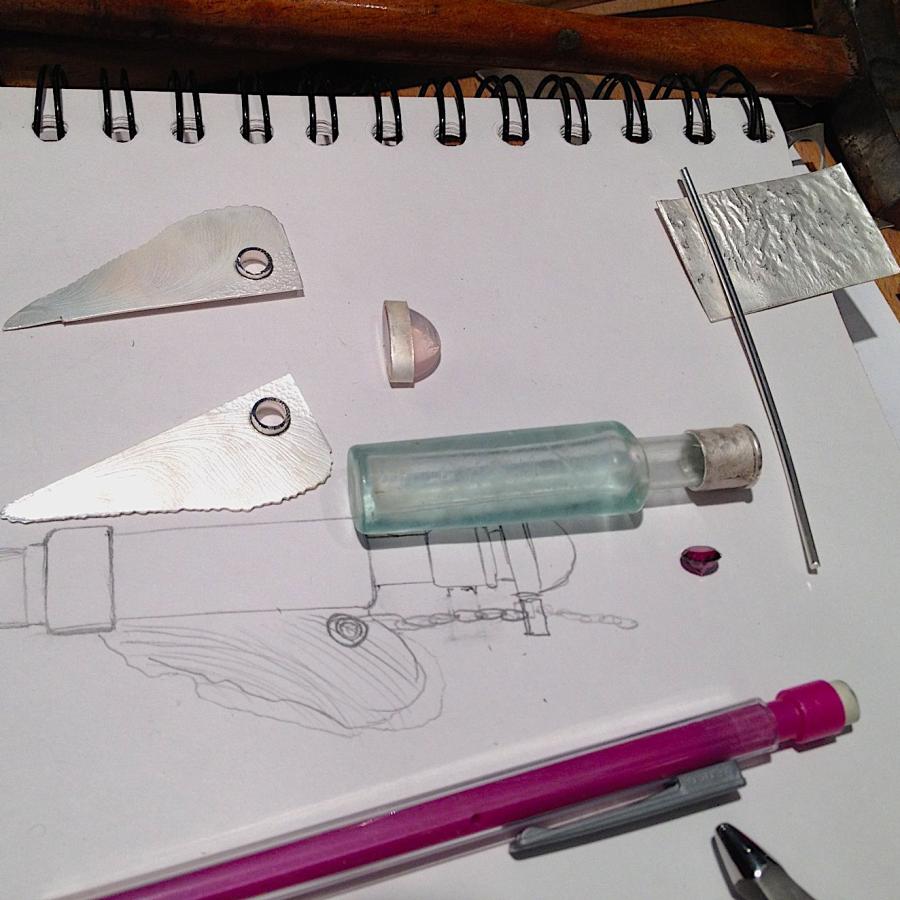
This piece uses an 1880’s opium bottle from Hawaii.
Other “relics” that I am using...
- roman coin & glass
- titanic coal
- beatles tickets
- swatch from Christo’s Gates
- and more!
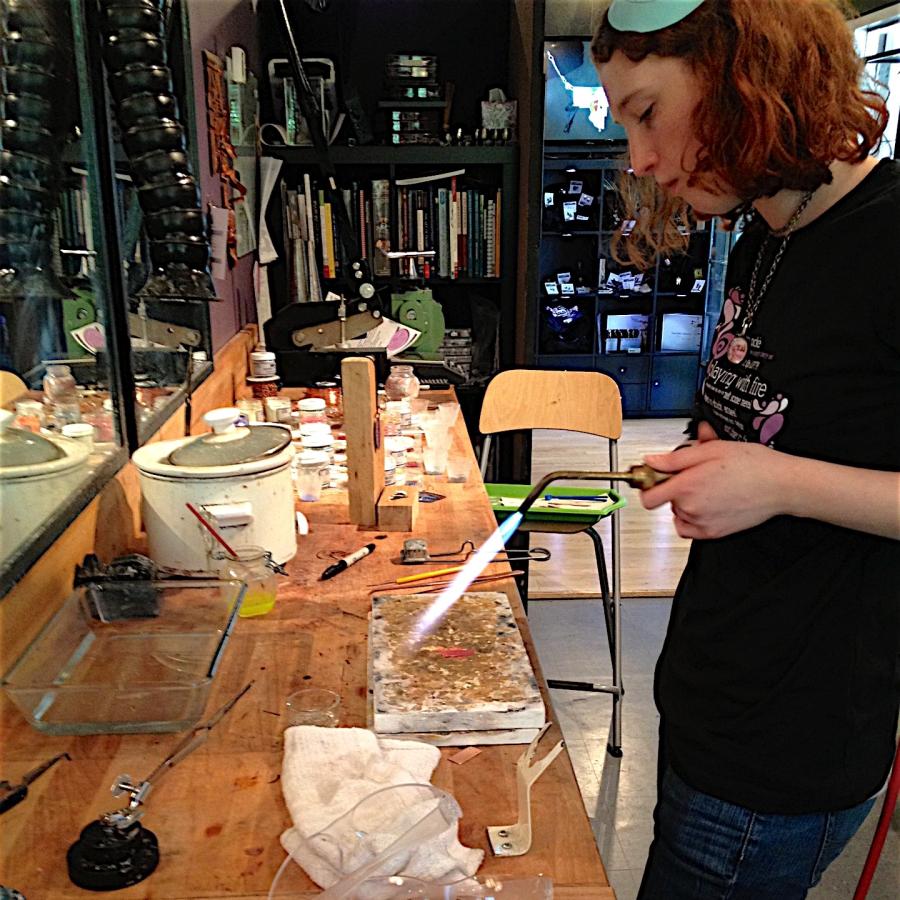
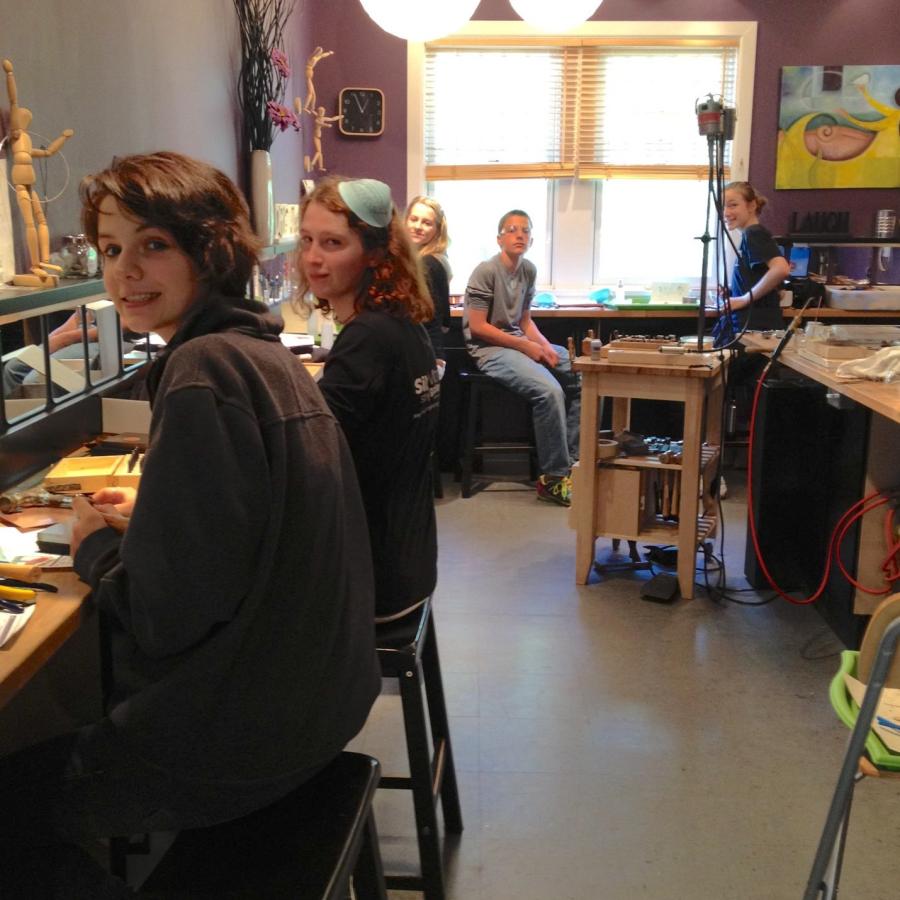
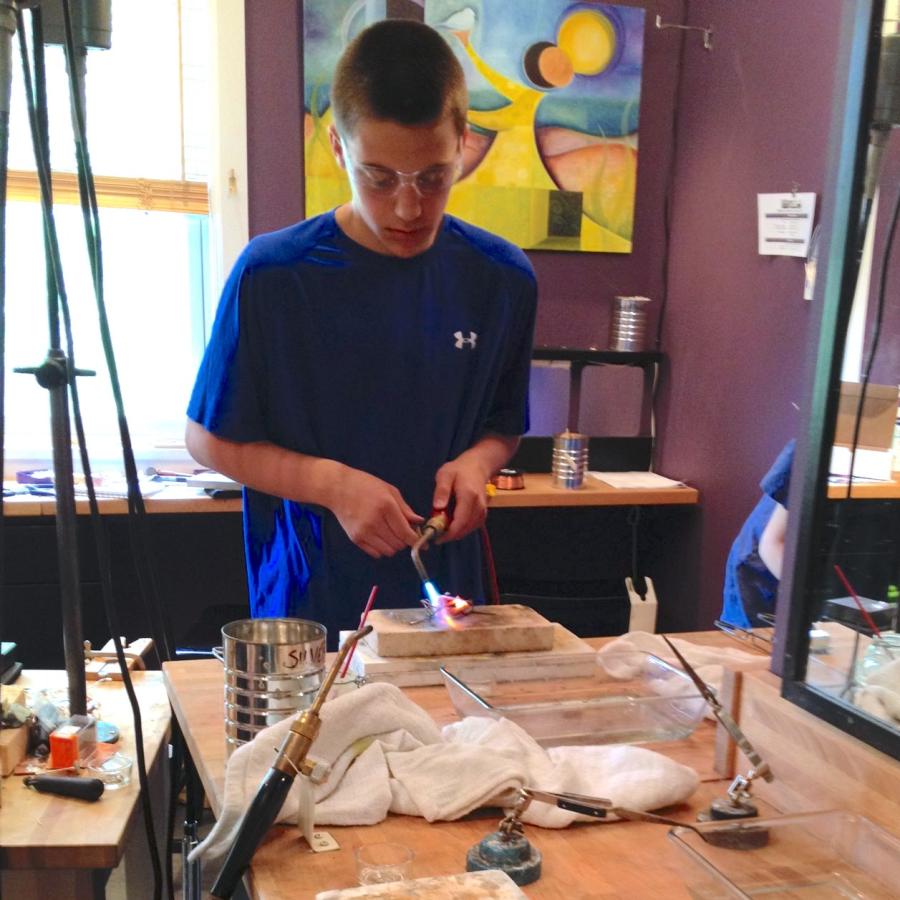
What do you get when you mix 6 teenagers with fire?
Teen Smithing at SilverWorks.
What fun we had as these teens kept me on my toes. It always surprises me how much faster they learn the craft than their adult counterparts. And what creativity! One of them even made a fork! This group was especially nice and I ended up adding a copper enameling component on the last day just to mix it up a bit.
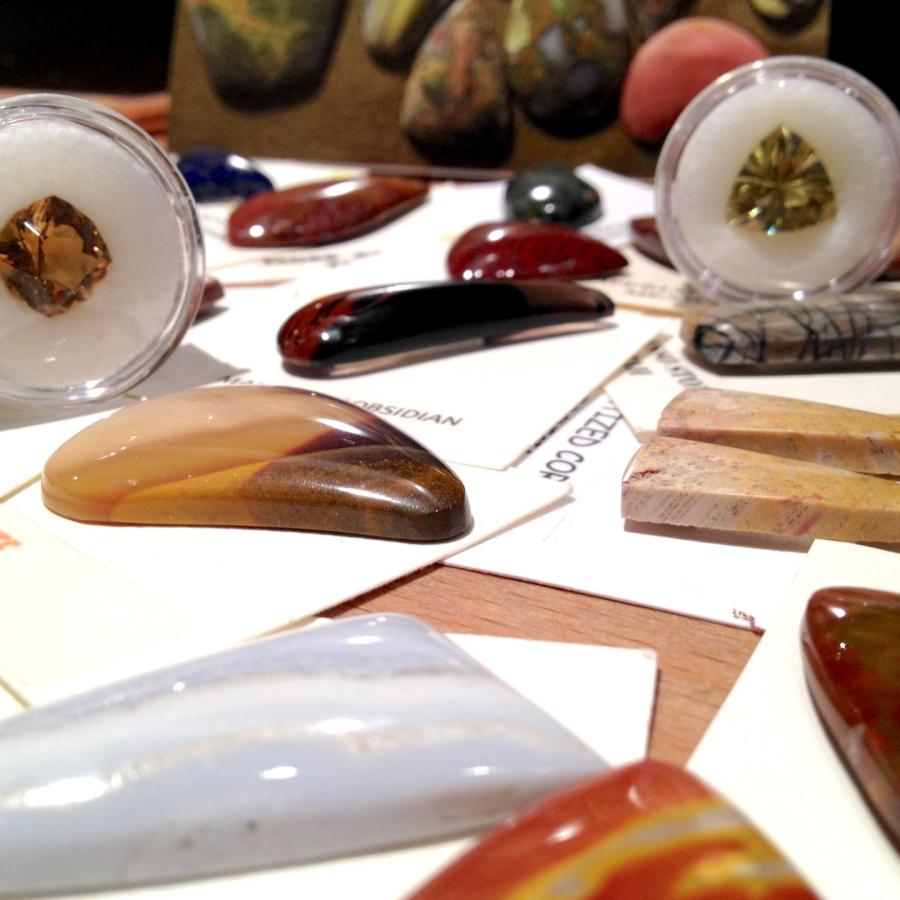
Took a few hours this sunday to visit the rock show in Gaithersburg. Mostly a giant science fair for rock hounds, a few “gems” were to be found.
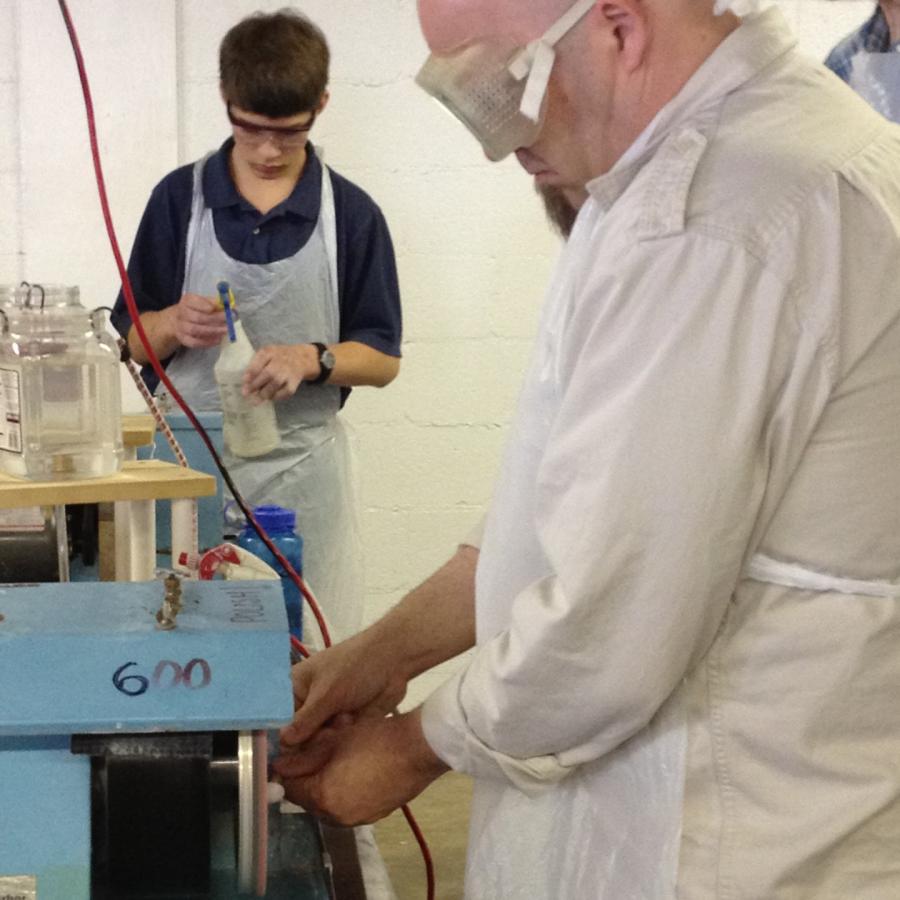
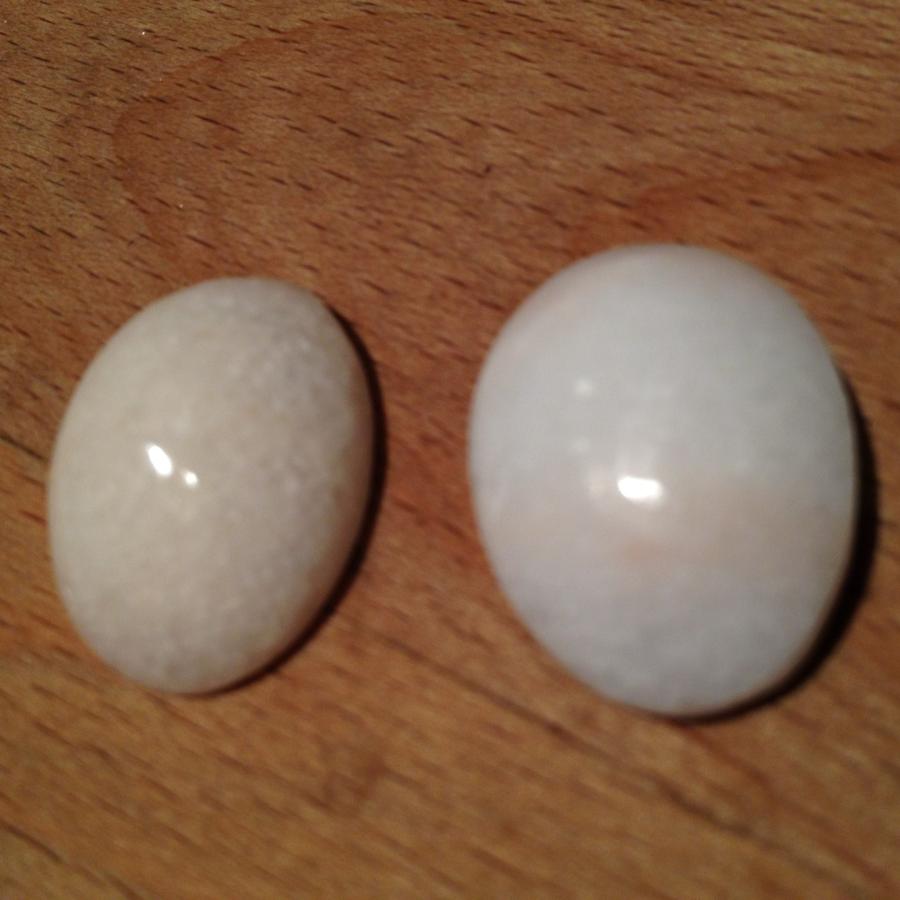
And in a true child at heart spirit, Bryan thought it a great idea to participate in the “grind your own cabochon” activity.
I felt a little embarrassed that we were the only adults doing what seemed to be set up only for children, we had a great time being “kids”. It was really informative gaining an understanding of how the lapidary art is done.
Open studio is a great way to get some practice in, and for me it is fun to see my students improve, collaborate, and just have fun.
But it is still my studio and my creative home, and so even though I share it, I do have a few rules.
Most of them are common sense, like taking care of the tools and cleaning up after yourself. Stuff like drill bits and sawblades get broken and that is ok, it is part of the general use of the studio.
But one rule that may not be so clear, even though you find it here, and I explain it in your first open studio, somehow people forget or miss it.
It is about the silver resources.
Most studios don’t have resources on hand for purchase. Typically you get your own from a supplier. But I know how nice it is to have access to different gauges in case you get an inspiration while in the studio. This means I share my silver.
What it doesn’t mean is I pay for your scrap.
I know that may sound snarky. But due to the price of silver you understand.
When using silver sheet everybody generates a certain amount of their own scrap. It could be from cutting discs, or other shapes, or melting, but there are always some scraps.
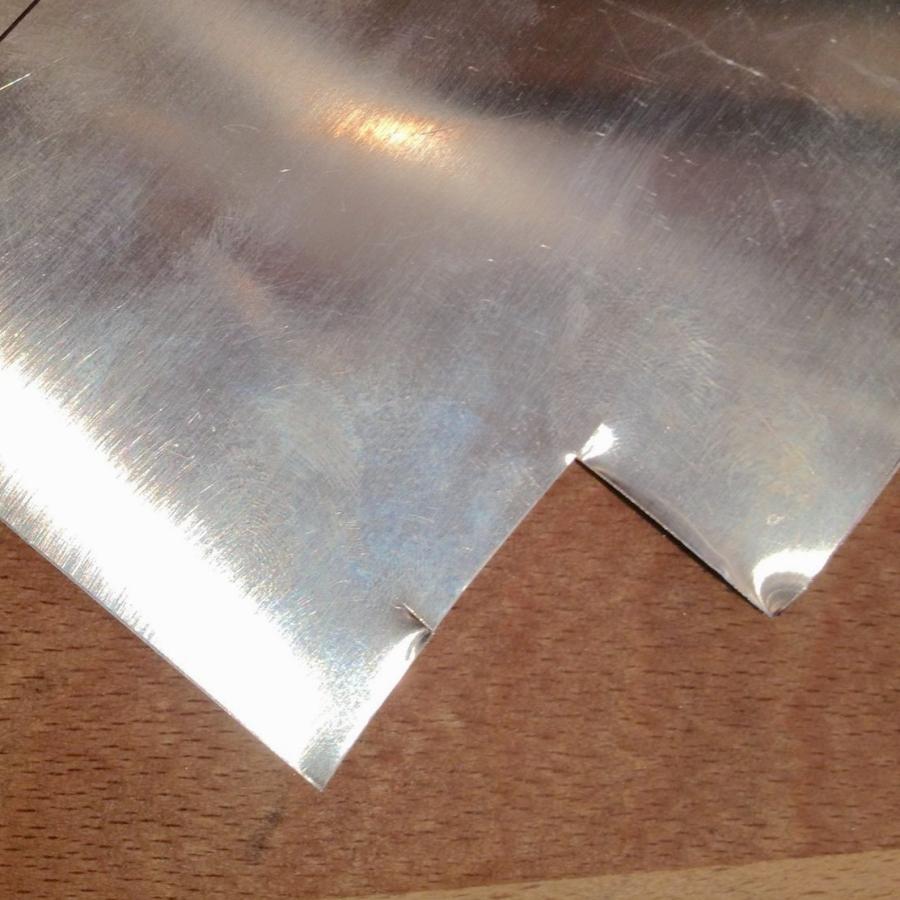
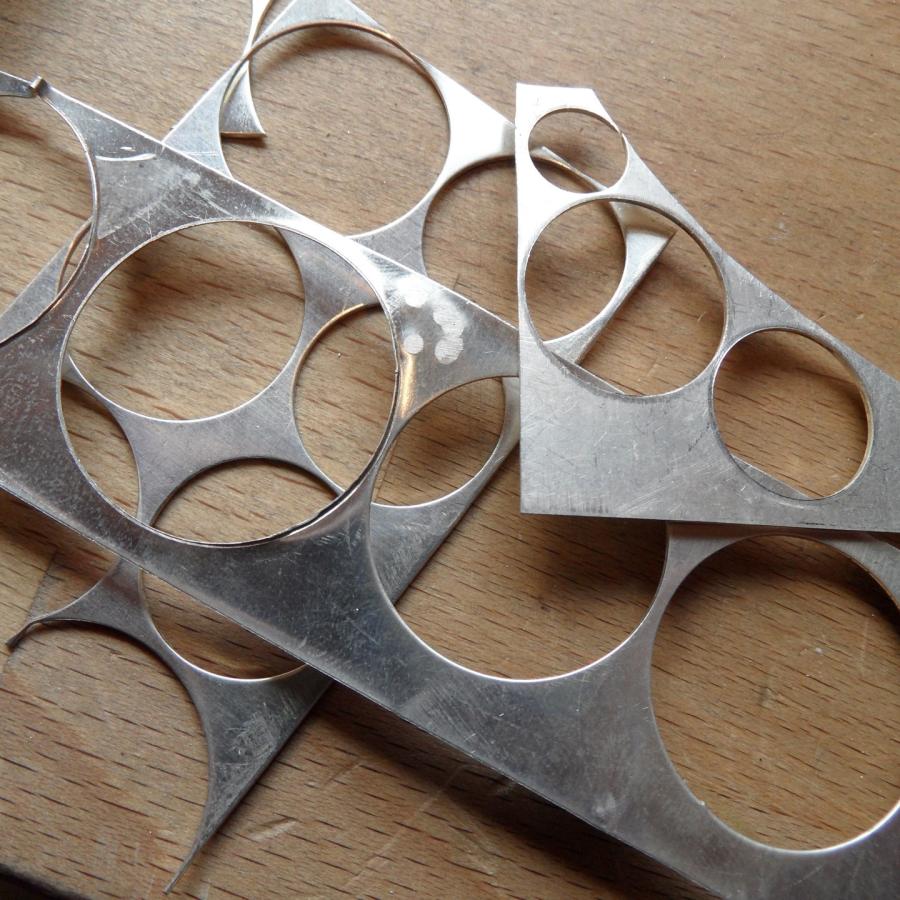
I buy my silver in 6x12” sheets. When you cut from my stock please always cut a strip from the sheet using the bench shear, and then you can cut a square from this using your hand shear (and then put the remaining square back). This ensures there are no unusable pinched edges (scrap) left for me to try to use. And please do not cut triangles or circles and put scrap back for me to find. You pay for your own scrap.
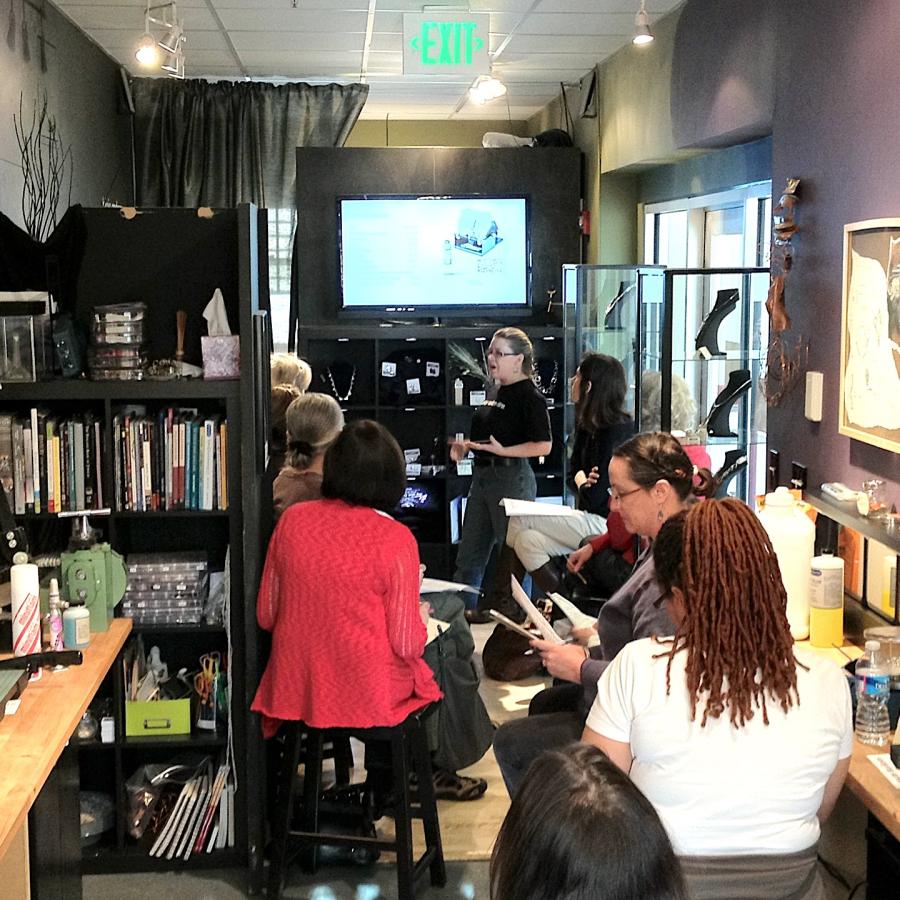
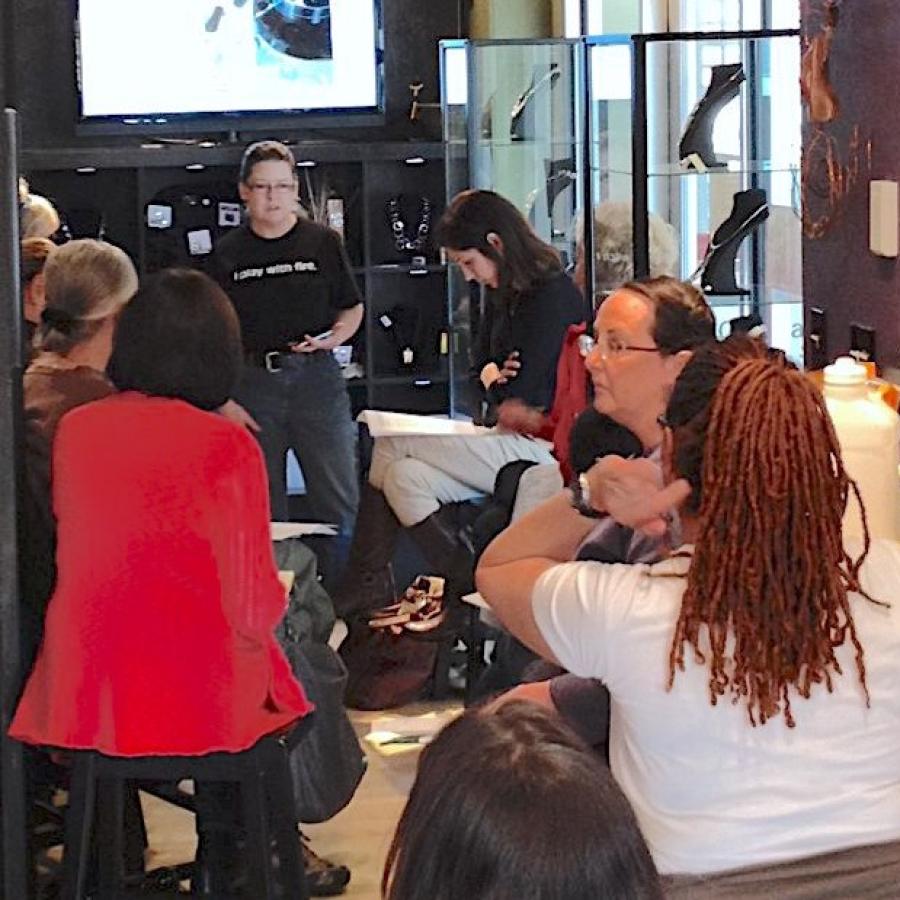
A rare photo of this side of the studio with students crammed in for my Setting Up Your Studio class. Mostly visual presentation that walks through the basics of the things one needs to consider to set up a studio, I also did a quick demo of neutralizing pickle, and included Bryan connecting a torch to a tank. We also encouraged students to try connecting themselves. It is not as scary after you do it once.
