- SWX Content
-
Home
- Commerce
- Commerce 2
- Landing Page 1
- Landing Page 2
- Landing Page 3
- Landing Page 4
- Landing Page 5
- Landing Page 6
- Landing Page 7
- Landing Page 8
- Landing Page 9
- Landing page 10
- Landing Page 11
- Landing Page 12
- Slideshow - Boxed Width
- Slideshow - Full Width
- Slideshow - Fullscreen
- News - Rich
- News - Default
- News - Card
- News - Focus
- Layouts
- Services
- Products
- More
- Contact
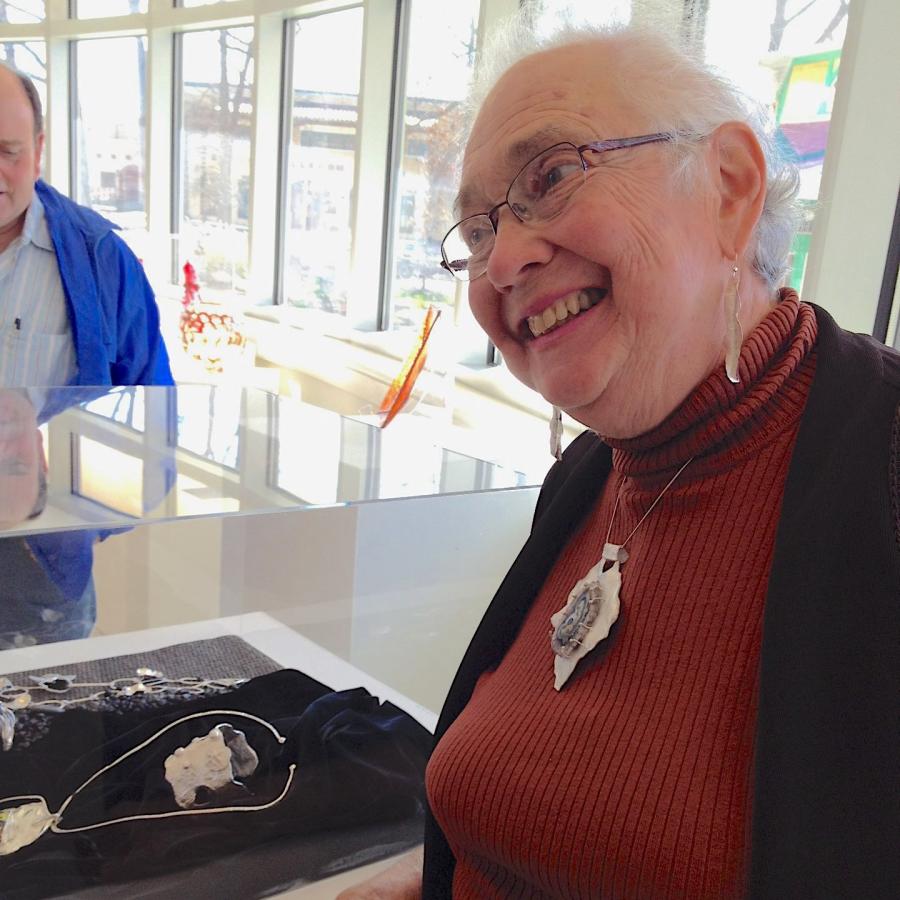
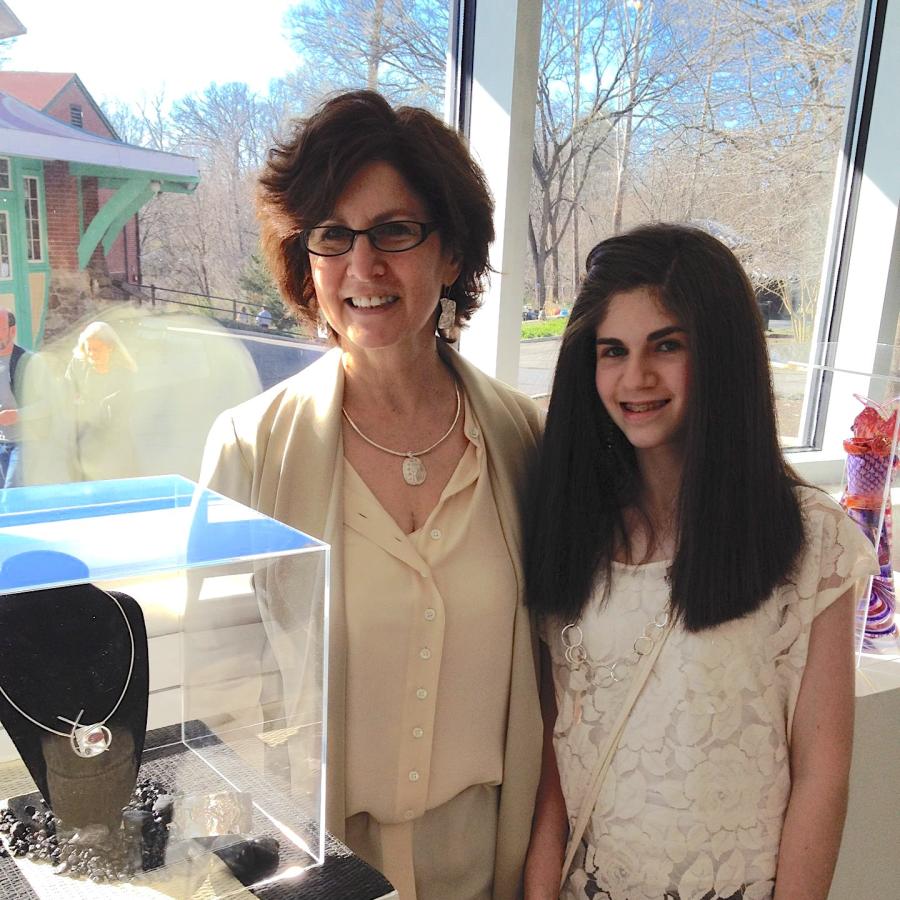
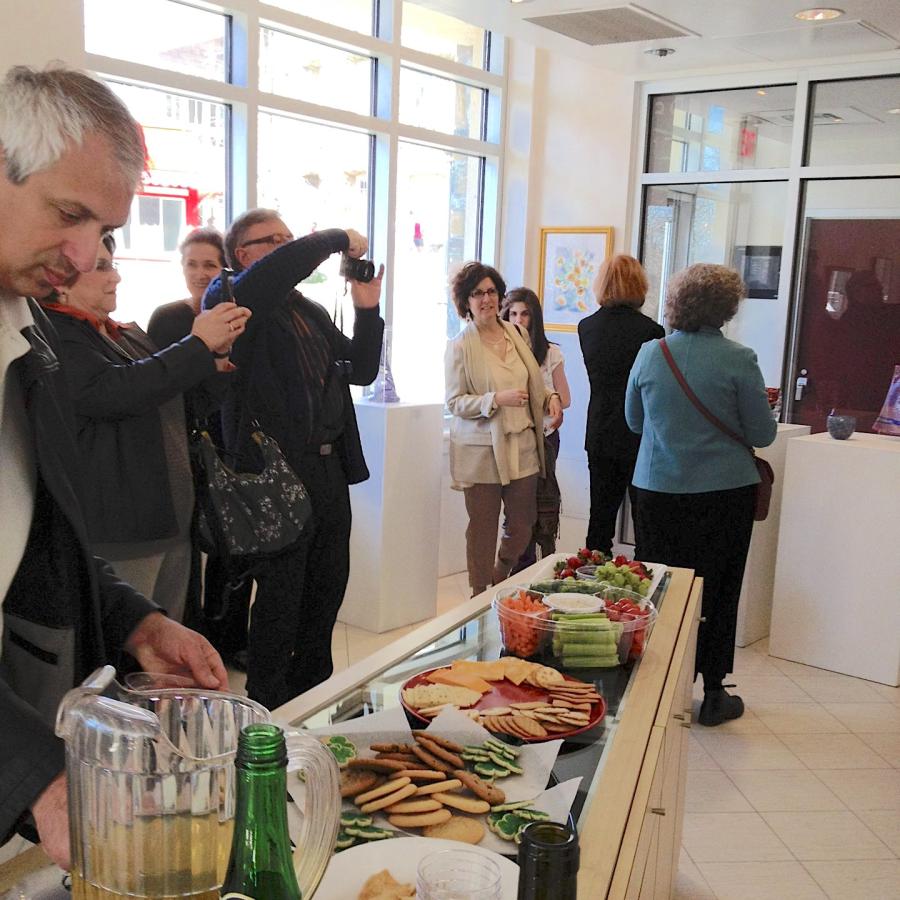
A great turnout to this show. Kudos to Glen Echo Park to choose to hold a show that features the best of the student work from the various studios in the park.
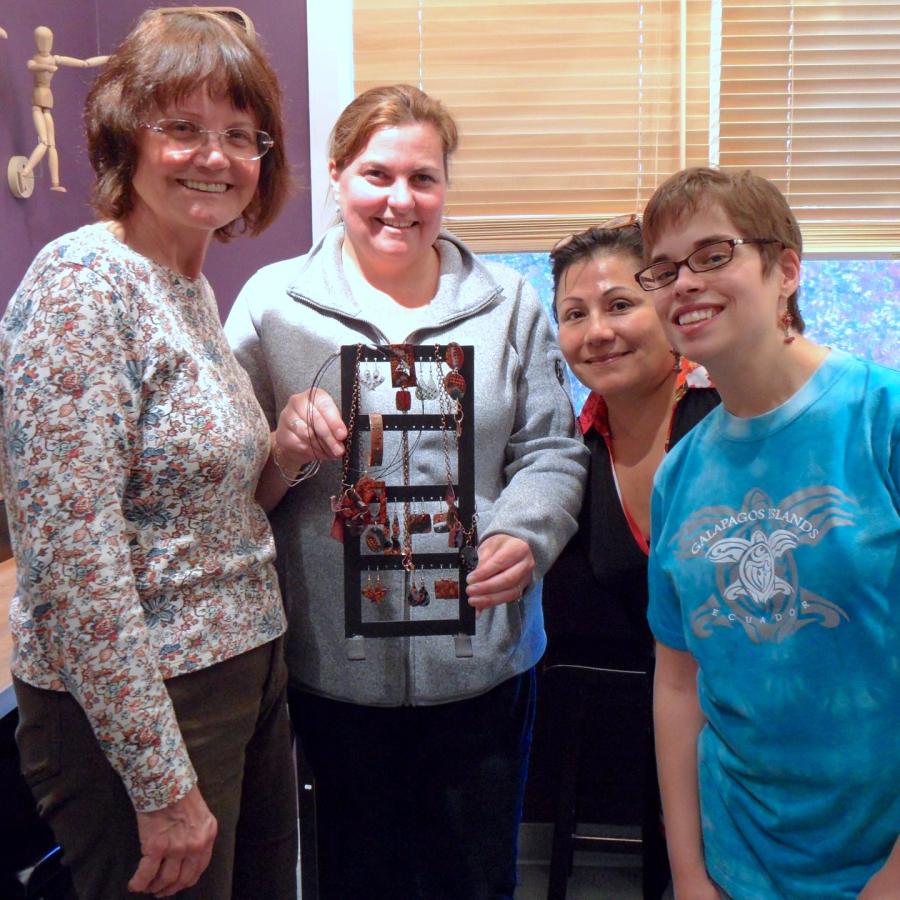
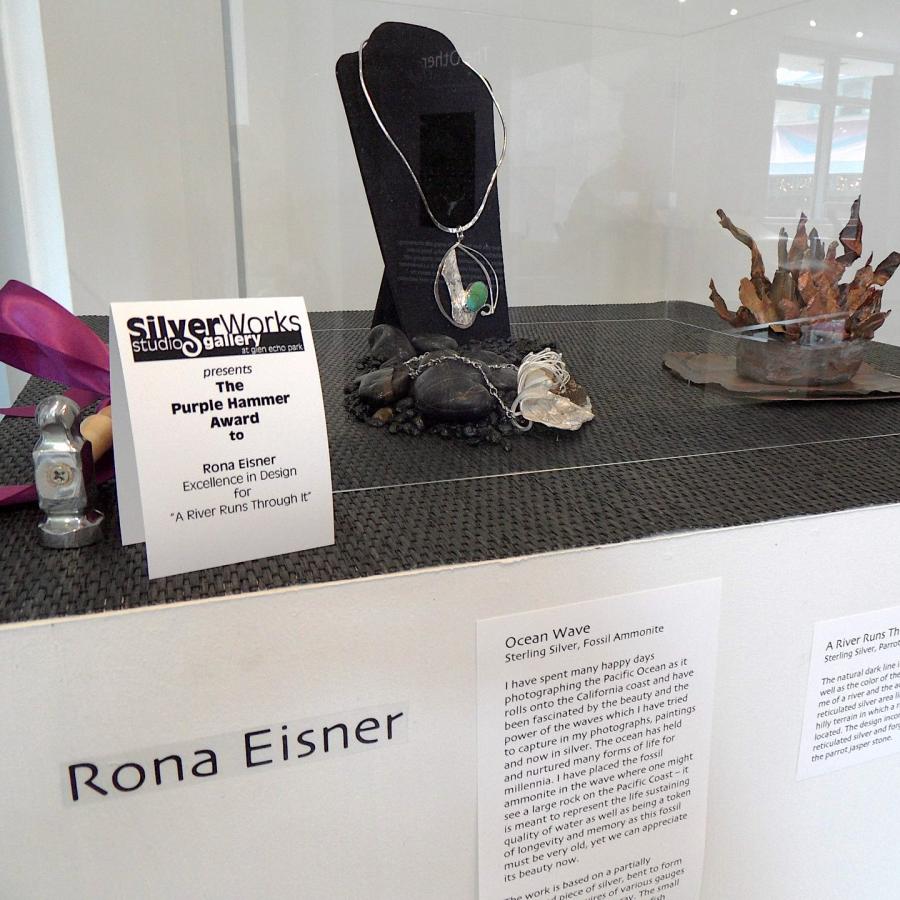
The students from SilverWorks were, Rona Eisner, Constance Beck, Nancy Cohen, and Lili Borensztein.
The show continues until March 25
Popcorn Gallery Hours are Sat & Sun 12-6
more info at Glen Echo Park Popcorn Gallery.
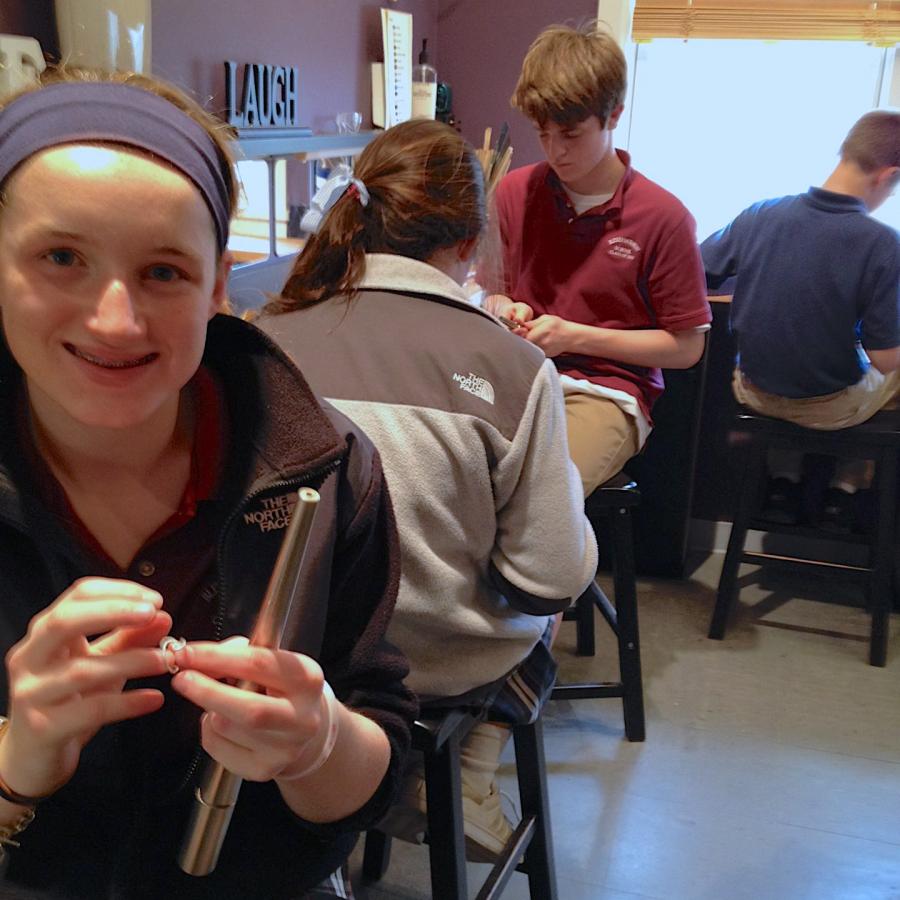
Have to catch my breath after a workshop with the fine kids from Sacred Heart. Although two, one hour sessions is too short for ten kids with torches, they were great and made it possible for us to power through two whole projects. One was the famous little wire ring that represents all of my students’ first ever solder joint. I managed to get 10 kids (and one adult) to complete the ring with me hovering over each one individually, in turn. They also managed a pair of wire earrings all to be dispersed as gifts for mom, sis, or even a girlfriend.
Thanks kids for being such a pleasure to work with, your welcome to come back to my studio any time! You were awesome!
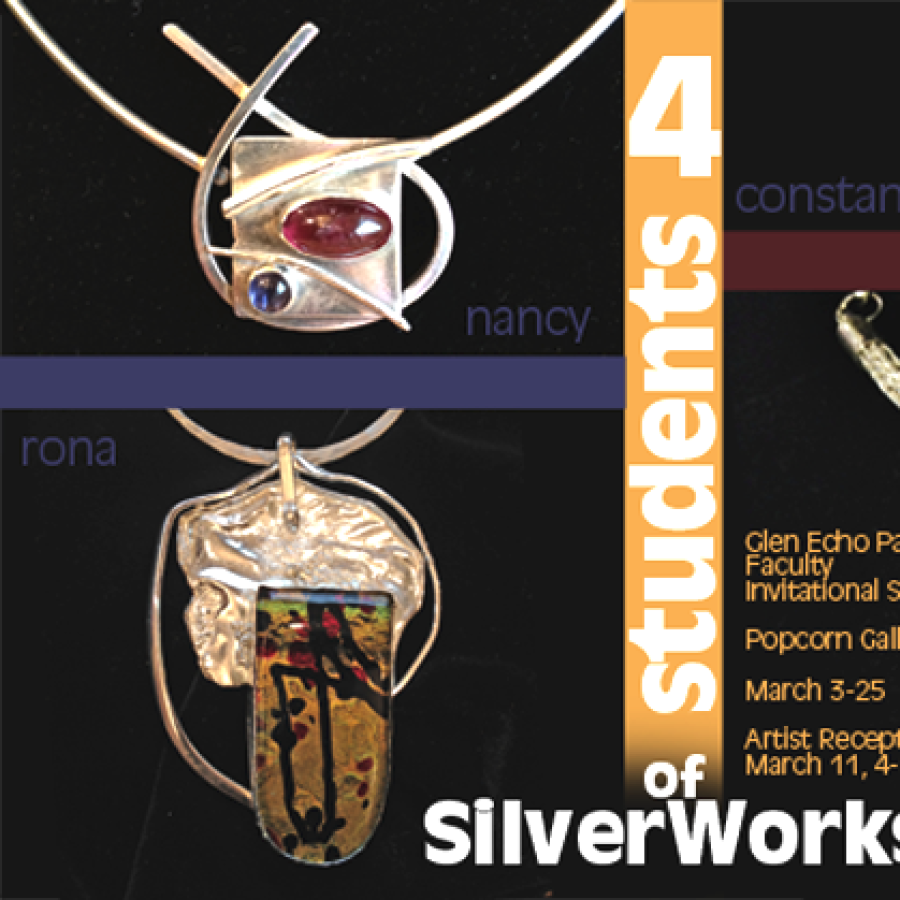
I am pleased to present a few of my students in the Glen Echo Park Faculty Invitational Show. The first of its kind, each of the studios here at the park we allowed to select a few of their students in a show that displays the variety of wonderful things that can be learned here at the park. The show displays sculpture, stone carving, pottery, glass blowing, glass fusion, and of course jewelry.
The students from SilverWorks are, Rona Eisner, Constance Beck, Nancy Cohen, and Lili Borensztein.
Two of these ladies began their creative journey since late 2010, Nancy and Constance less than six months ago! Meet your fellow students at the artist’s reception, Sunday March 11, from 4-6pm, Glen Echo Park Popcorn Gallery.
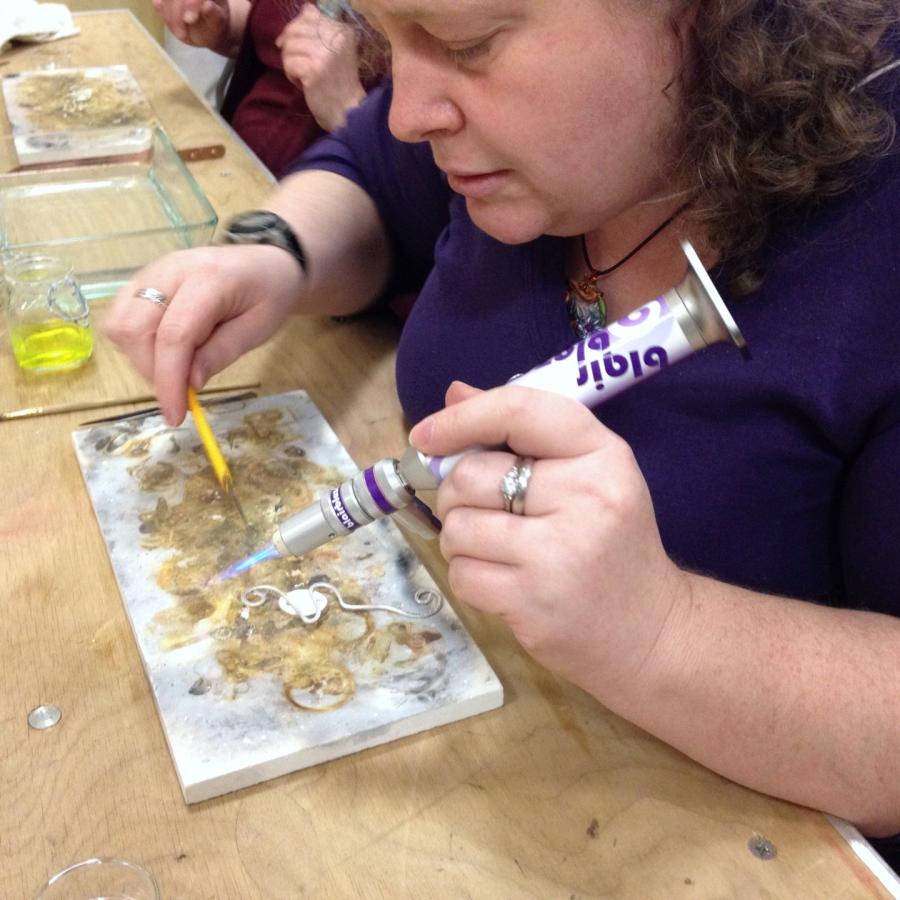
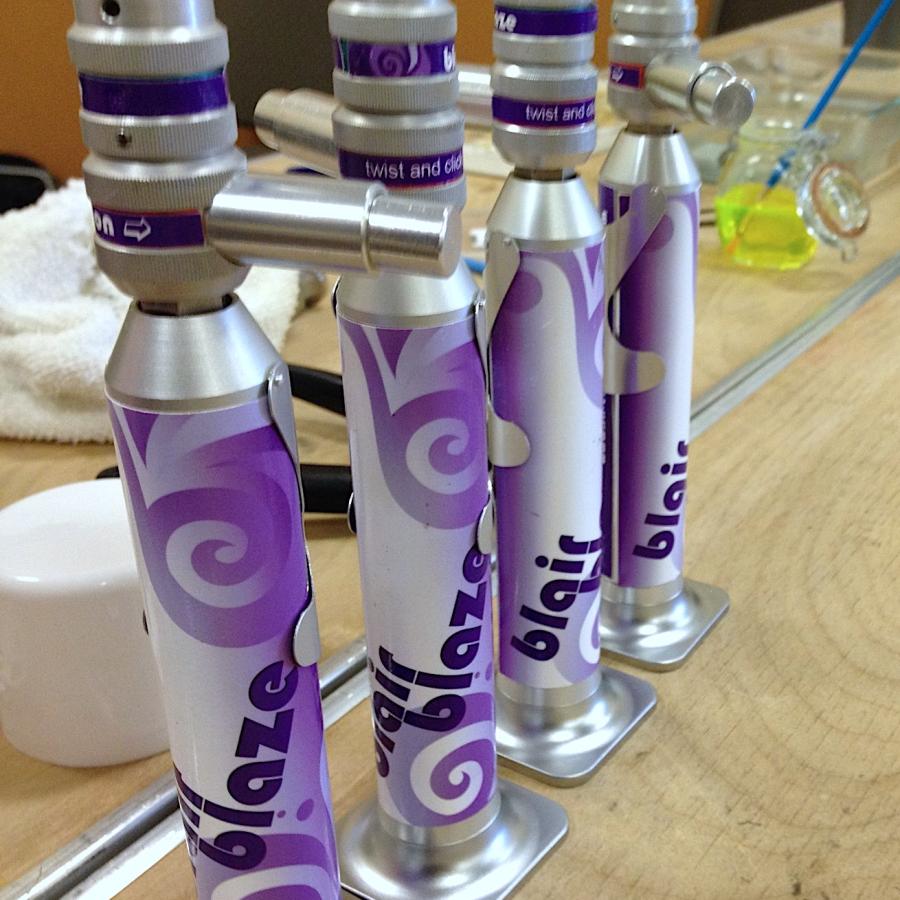
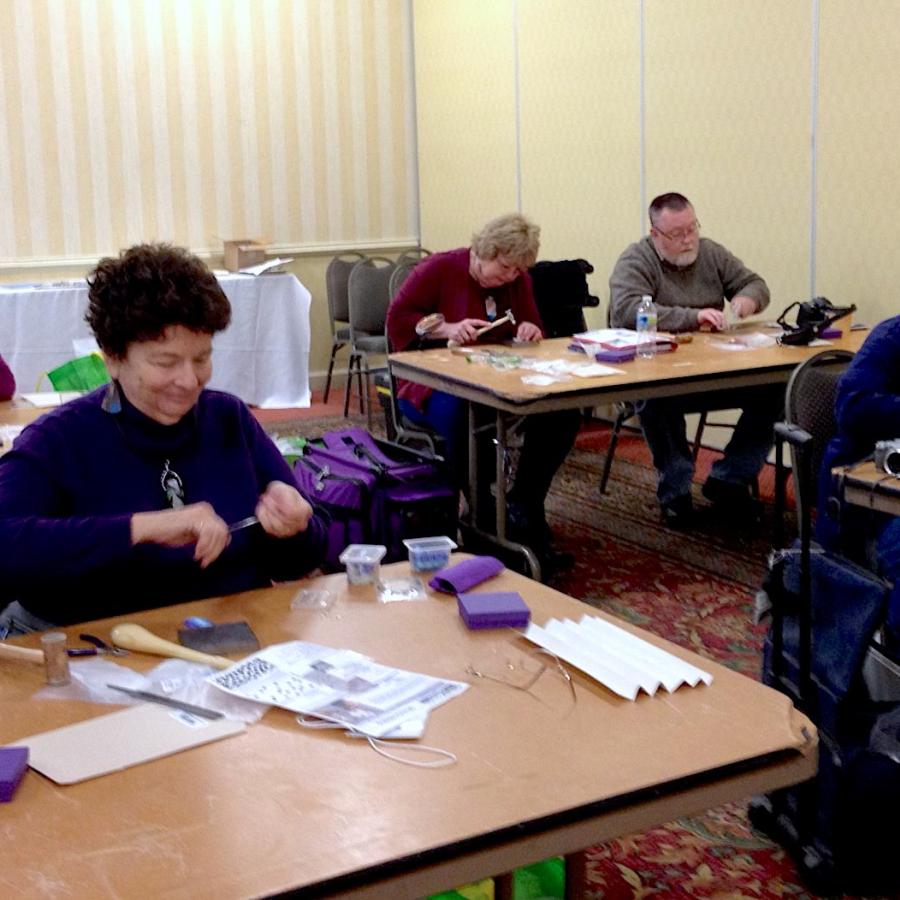
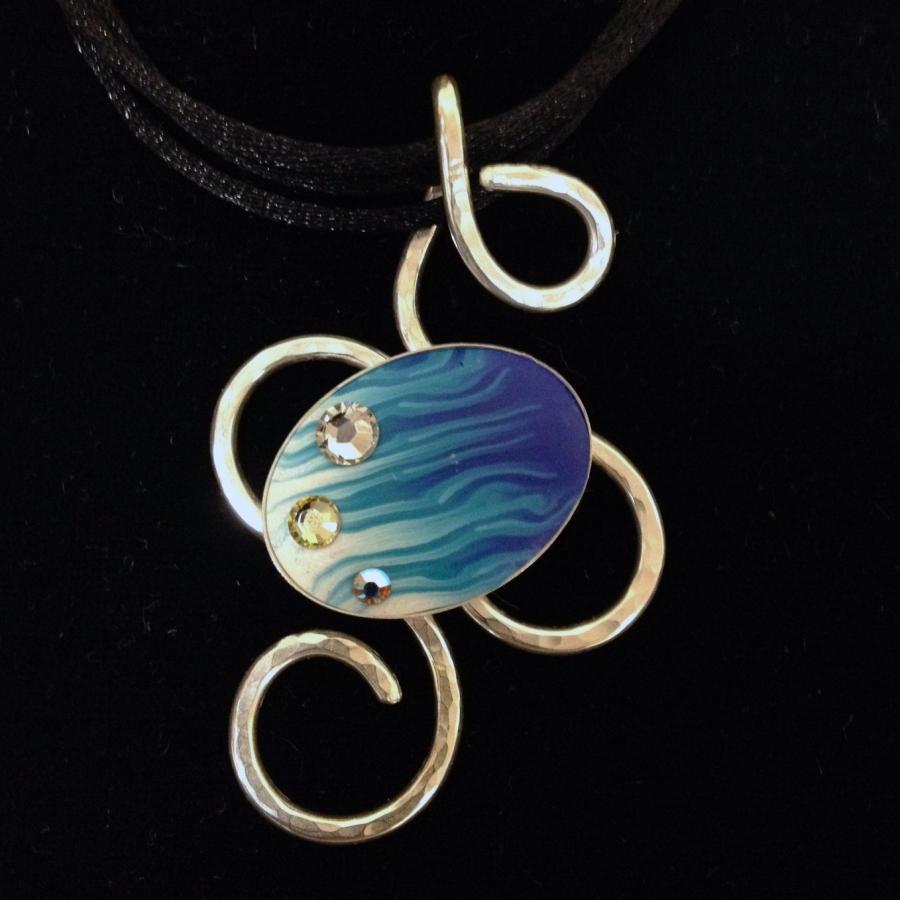
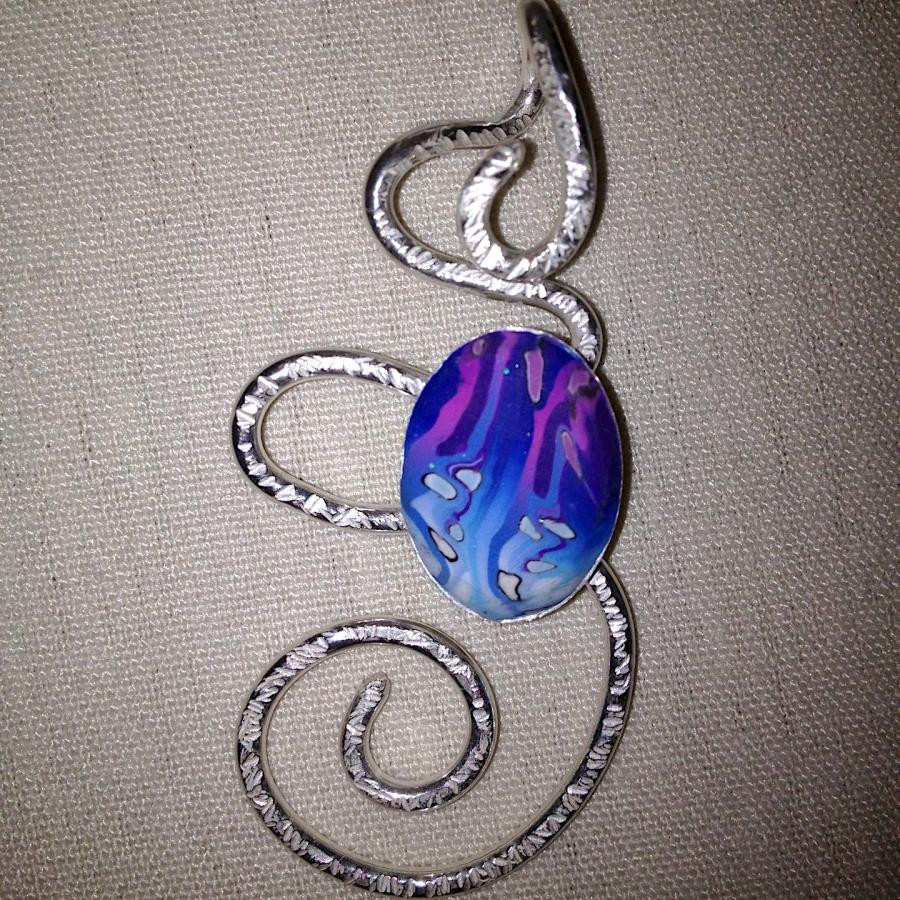
I had an interesting opportunity to cross over into a new art form with a workshop called SilverSmithing for the Poly Clay Artist. A conference where folks come from all over the US (and a few overseas) to play with clay under the instruction of some of the rock stars in this art form. In a four hour workshop I taught the basics of smithing and the students produced three pieces of jewelry including a pendant that they could fill with their chosen poly clay technique. It also gave me the opportunity to test run the new BlairBlaze torch!
Hammer, hammer, hammer, bang bang! Those are the sounds coming from the studio during a Fold Forming class. Here is a group getting out their frustrations on some 24 gauge copper.
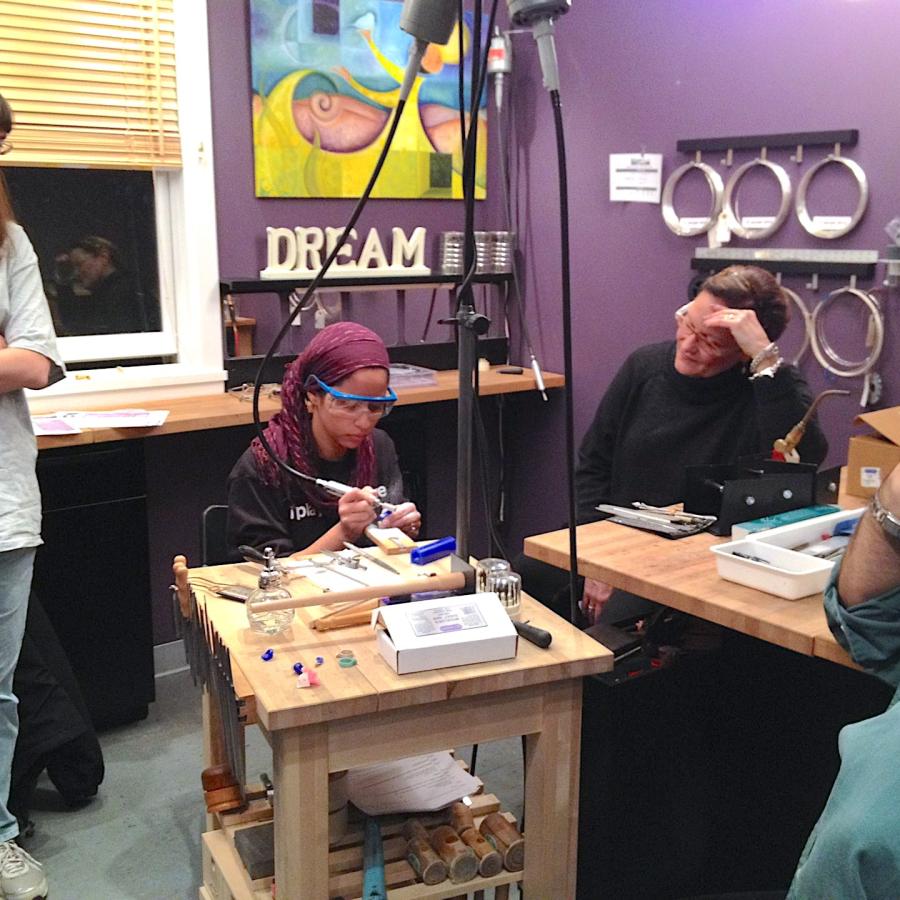
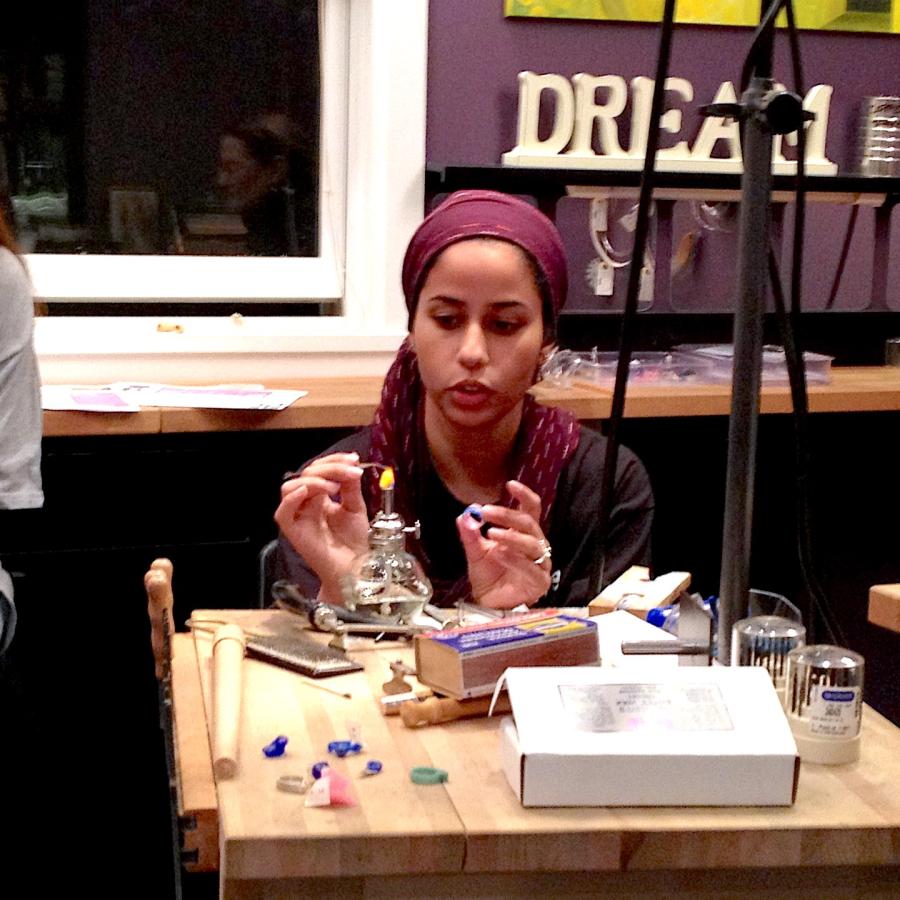
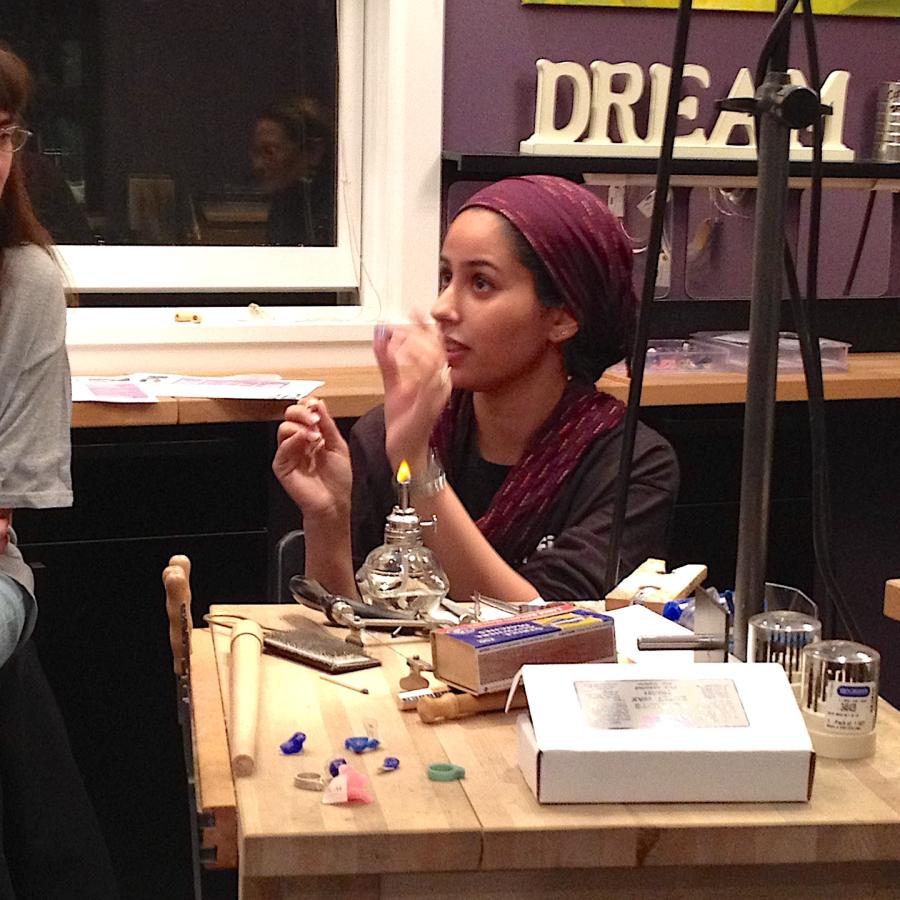
A great group for this month’s Lost Wax Casting Class. Here Mawadda demonstrates addition and reduction.
2012 is bringing some new options for those who have been adding to their studio skills.
I am pleased to announce that anyone in 2011 who took a Copper Enameling WS at SilverWorks can now practice their skill in 2012 in Open Studio.
On the 2nd Saturday of every month, SilverWorks will run the enameling kiln from 12-6 and all enameling supplies will be set up. Similar to regular Open Studio, we will supply all the tools, and unlimited torch use. The difference will be the addition of all the enamel “you can eat”. To keep it simple for studio users, as well as cover the basic cost, Copper Enameling Studio fee will be $12 per hour (regular open studio is $10).
Book your Open Studio time online as usual.
As a convenience, copper materials (chain, blanks, sheet and wire) will be available in the studio for purchase just like silver materials.
Regular Open Studio folk need not worry. Those days are still available for regular Open Studio. As always, reservations are first come, first served.
Copper Enameling Open Studio starts January 14.
Exceptional group today in the Using Stones Workshop! Can you believe that these folk are “beginners”? It is hard to tell with so many great designs!
Have to brag again about my fabulous students that make me look so good. Check out these beginner projects... yes these are their first projects! The class is Lost Wax Casting and it is loads of fun.
Yes, ‘tis the time of year to make all those gift potentials! Here is a glimpse of a slice that was seen at the Strathmore Museum Show. My normal studio folk got to see me really focused in production mode to fill the happy void that happened on the last day of the show. Thanks to all my open studio students for letting me request quiet for a few hours of fast paced work!
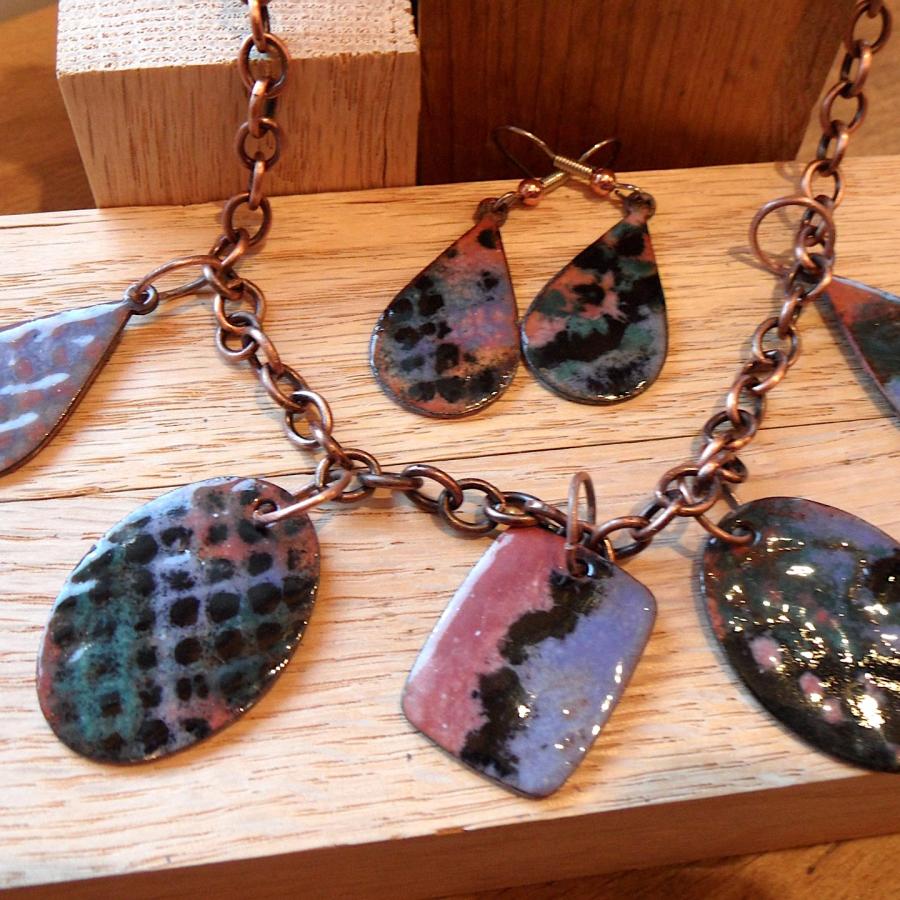
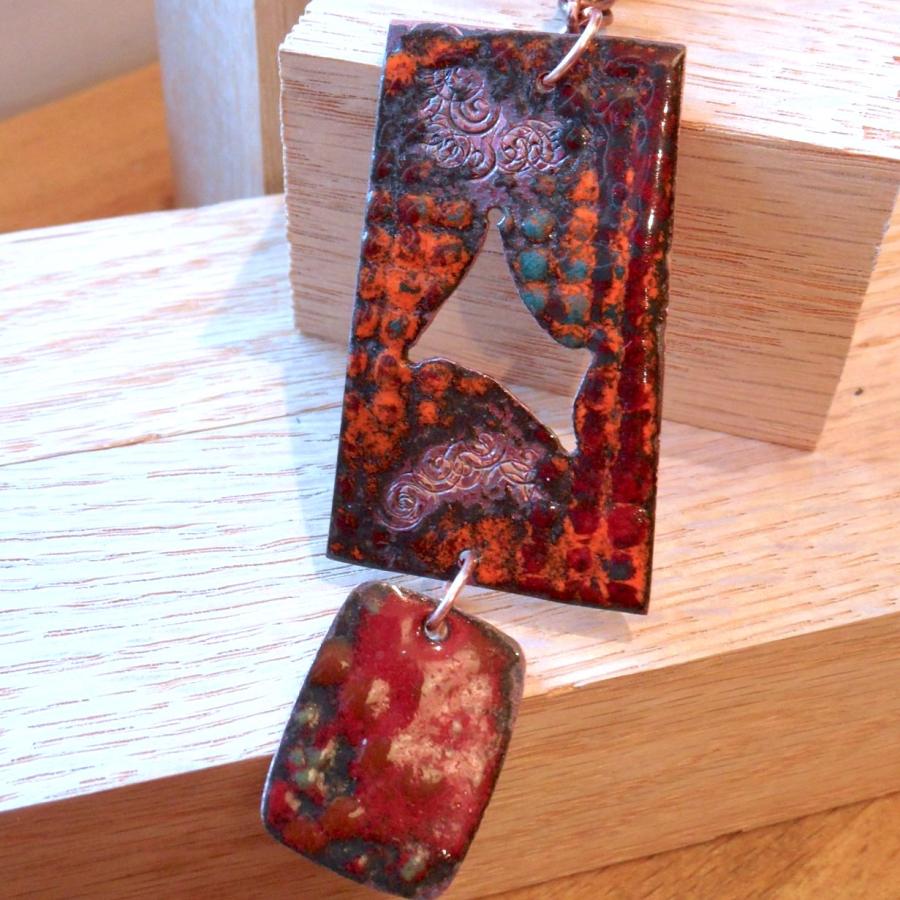
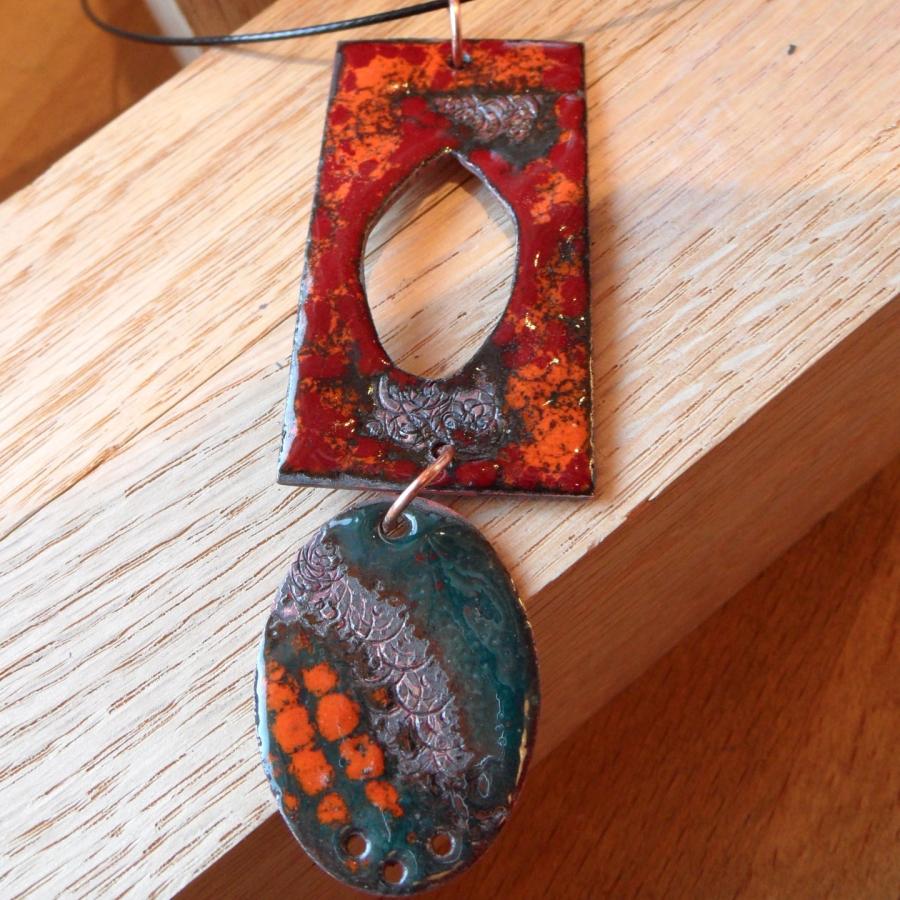
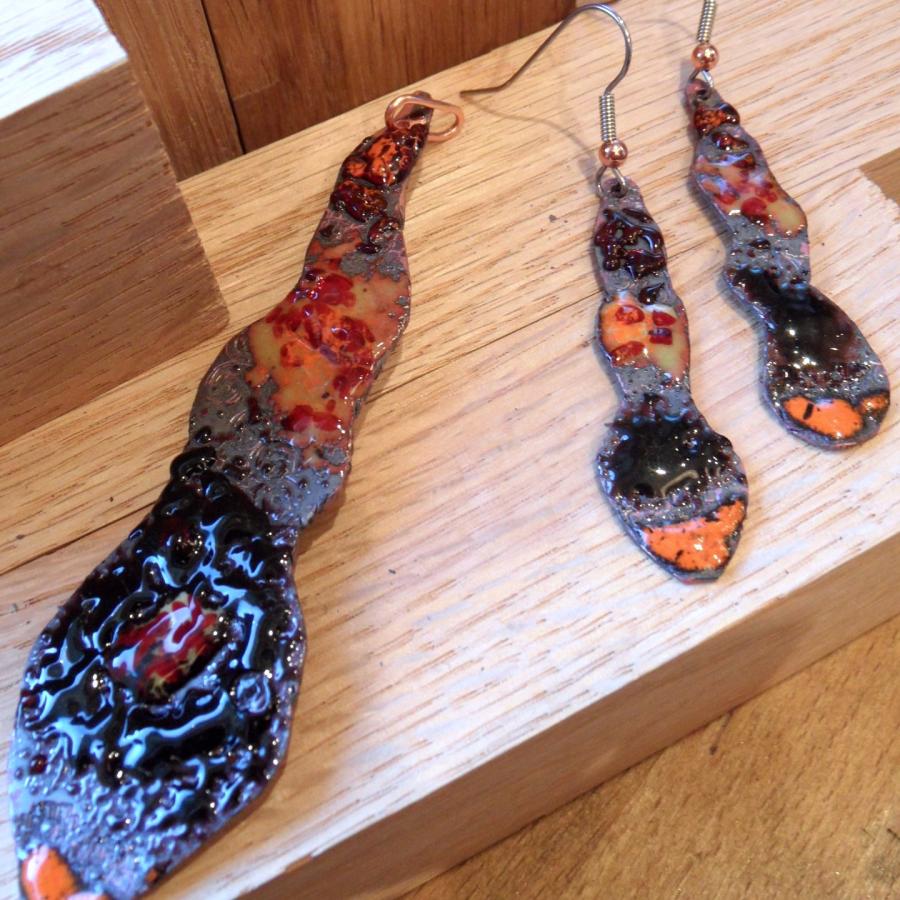
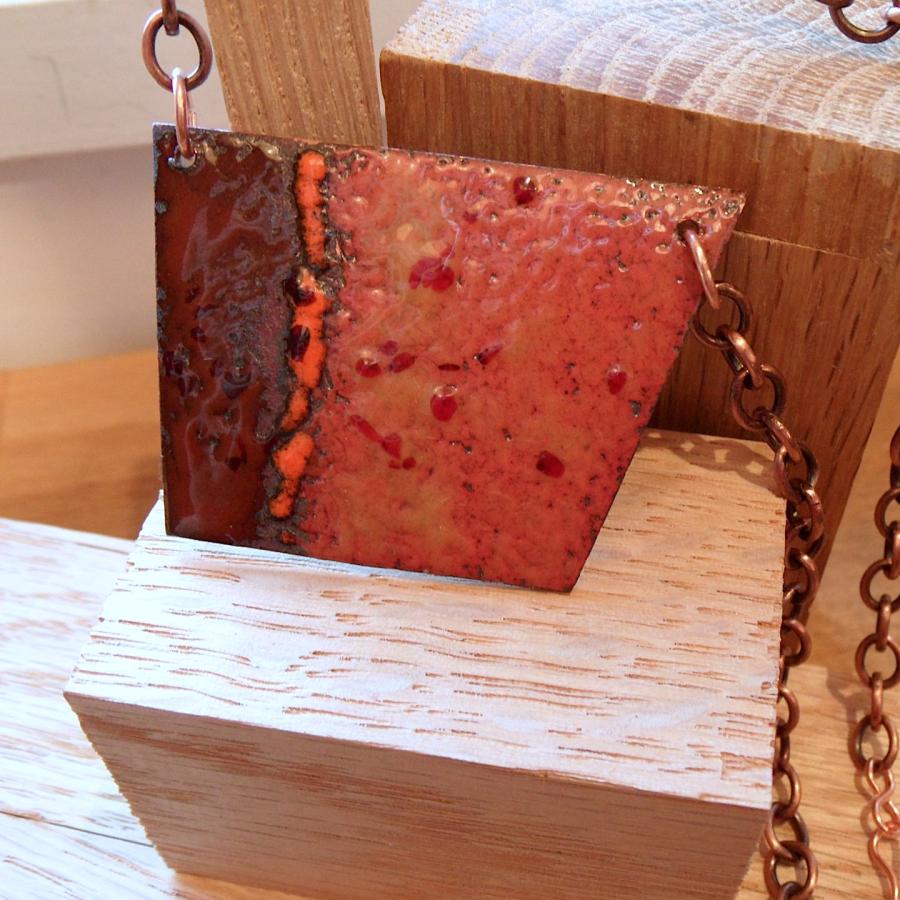
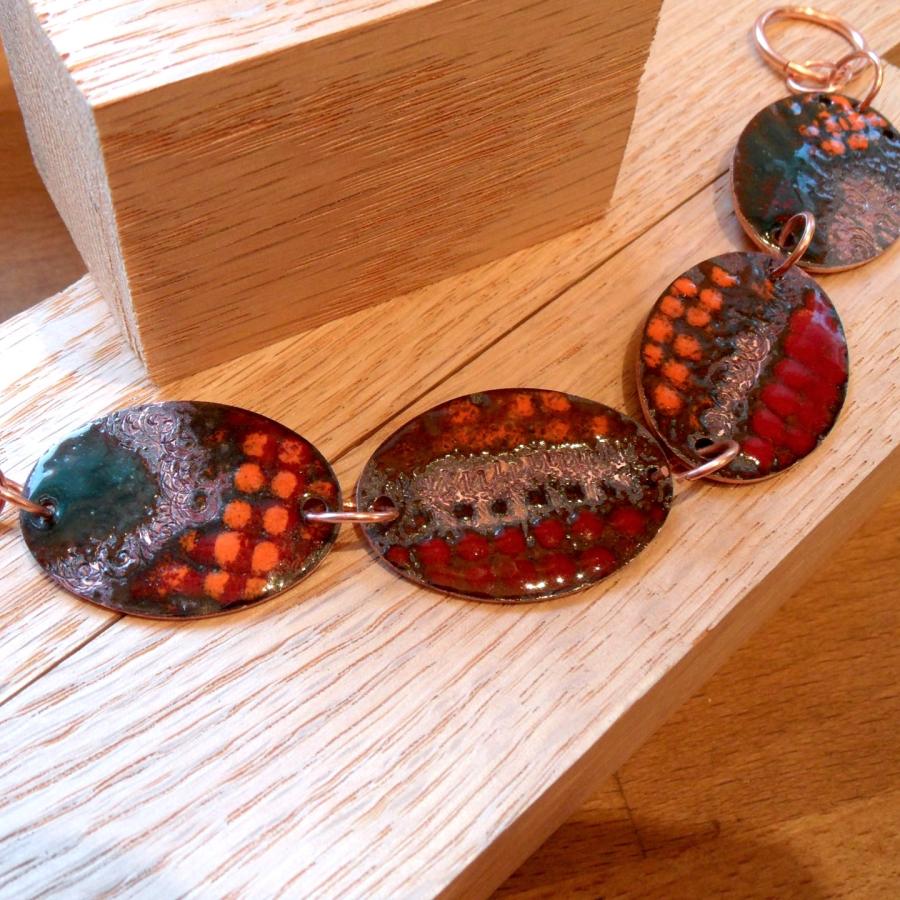
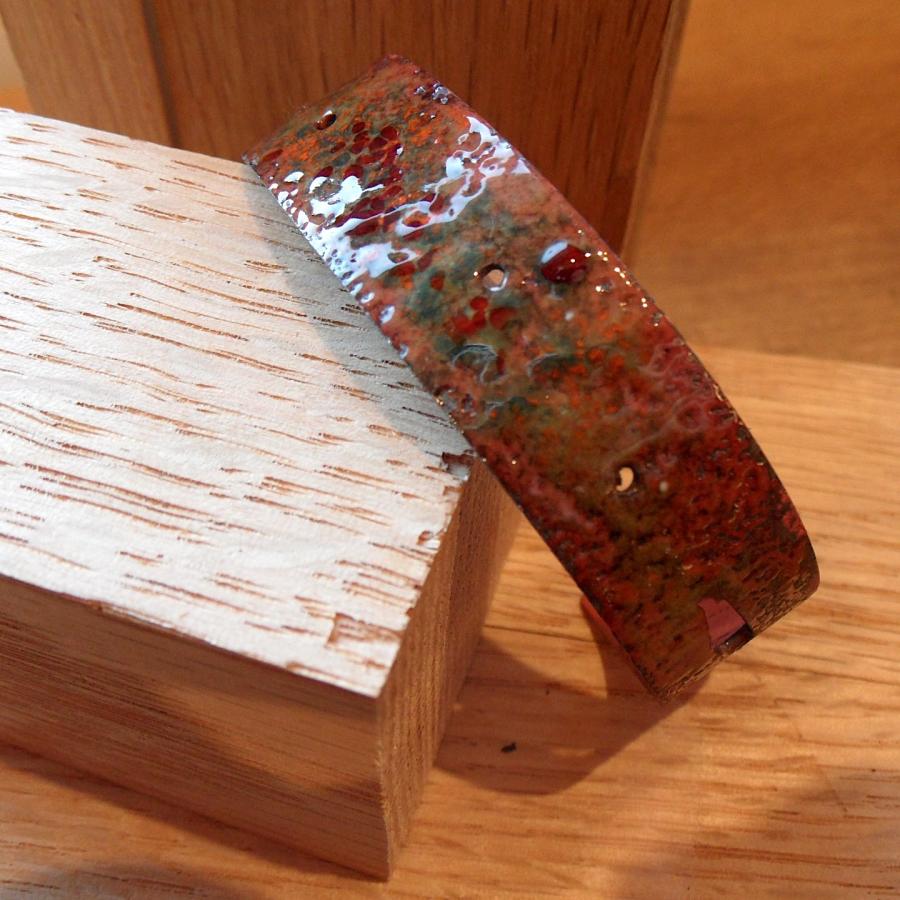
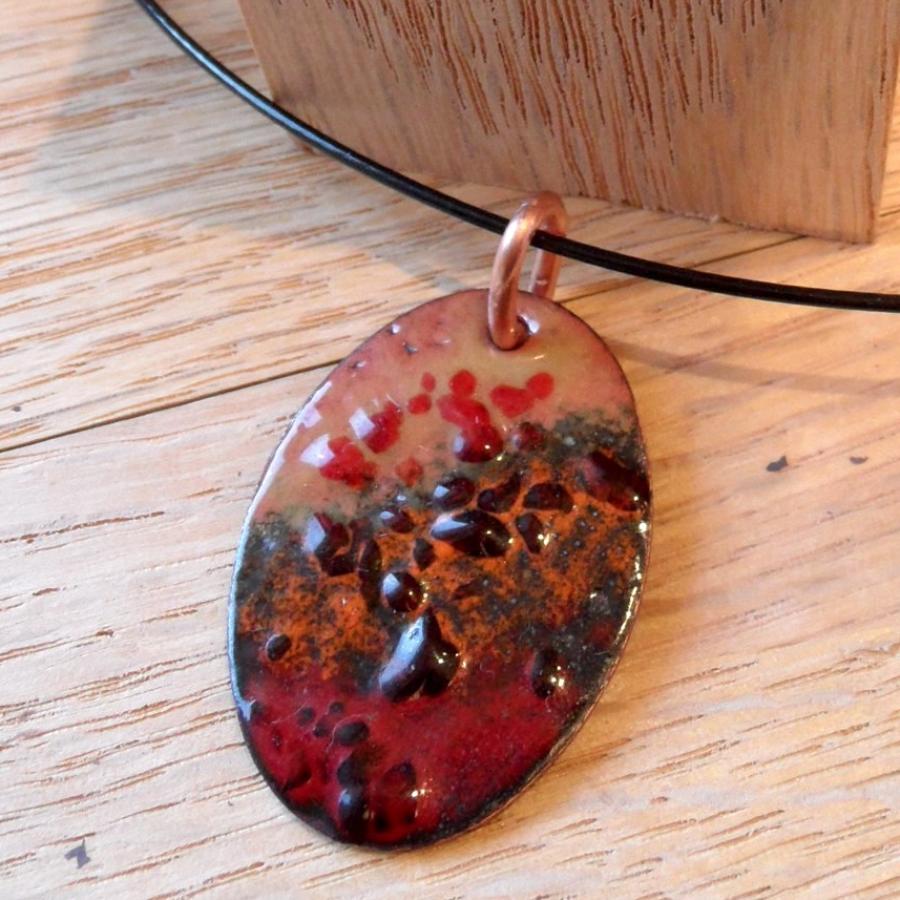
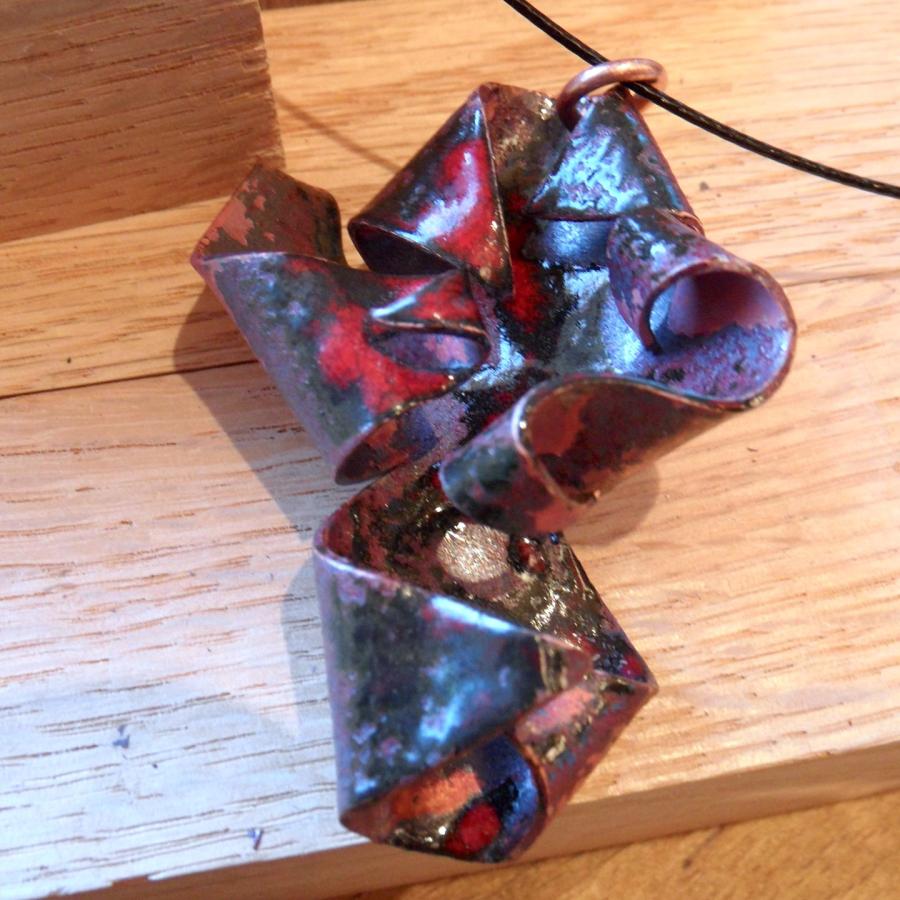
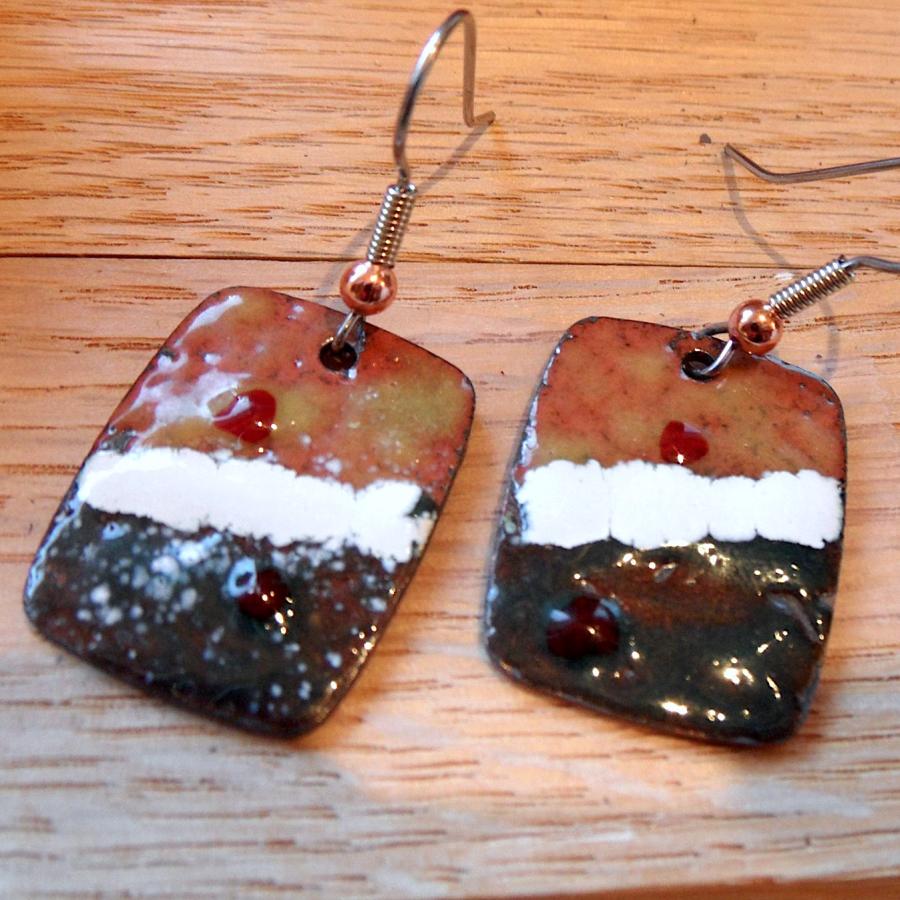
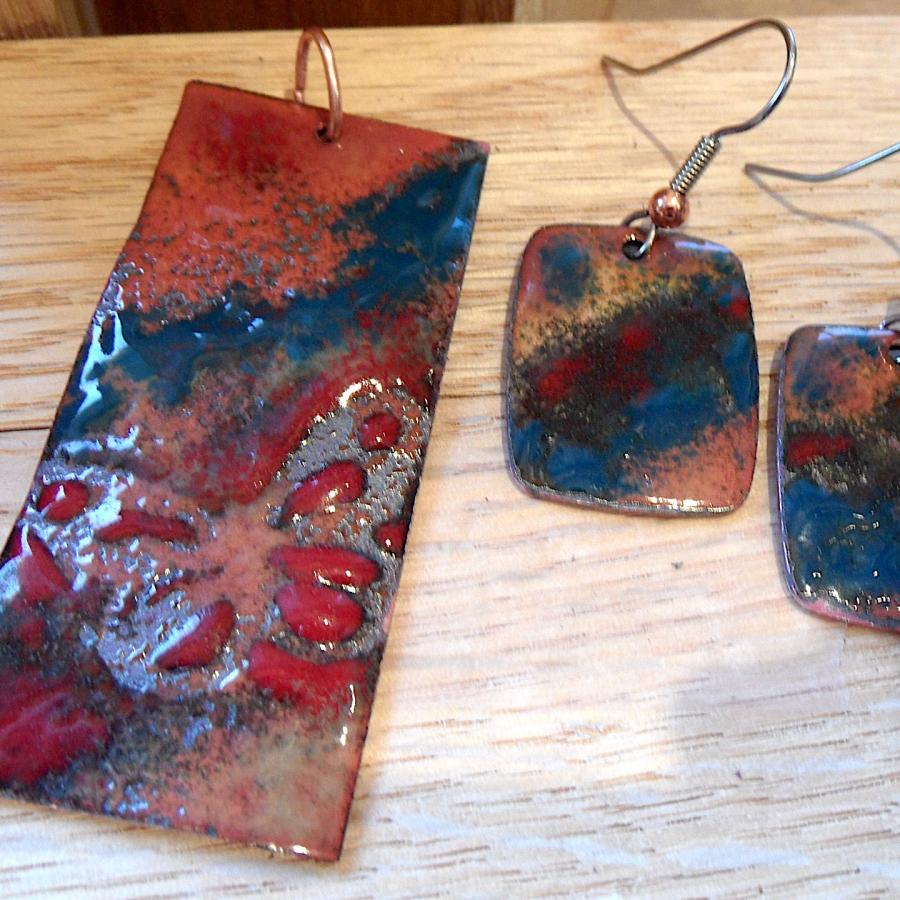
Ok, what a terrific group for my copper enameling Saturday. Creativity abounded especially in the choices of color combinations and negative space. Basic enameling isn’t hard, but if you use too much color you can end up with a project that looks like mud. The other design challenge is how to combine simple shapes to make something interesting.
This class really shined in that department.Here are a few examples of what they took home after an enamel shop at SilverWorks!
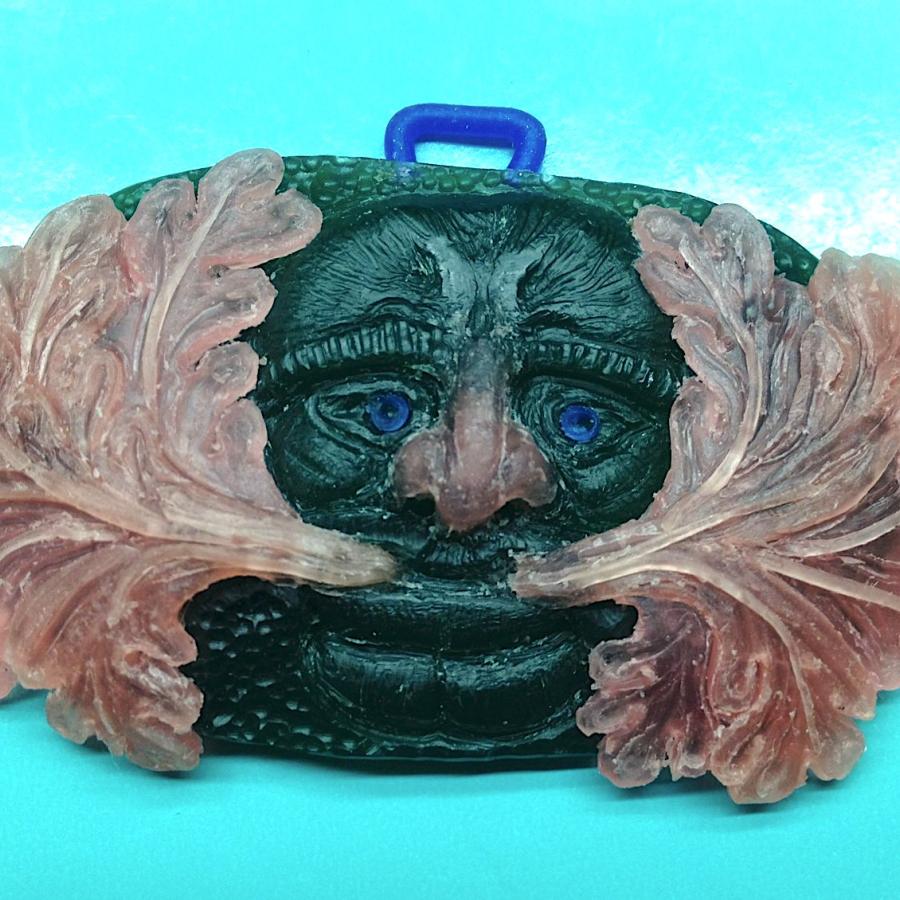
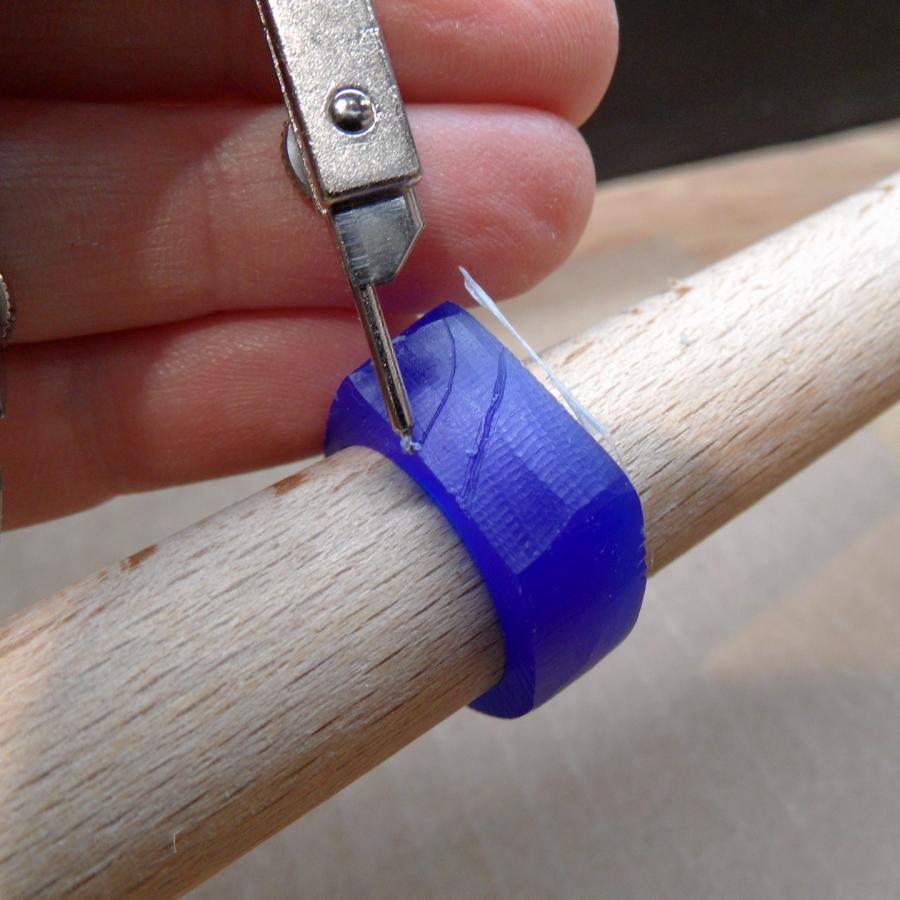
I started the new evening casting class tonight with the first steps in wax carving (specifically, reduction).
It amazes me how every class has its own “group” personality and therefore a direction toward what they are willing to learn.
The reduction concept of carving didn’t even phase this group. They seemed to embrace it with affection and determination.
My pumpkin offering for this year’s Halloween auction at the park. Isn’t she cute? Kinda Tim Burton-esk don’t you think?
Some great work came out of this Saturday’s Discover 2:Using Stones class! These ladies took the plunge and tackled the challenging skill of Bezel creation in the first half of class. This skill builds some serious timing with the torch which often has the observing instructor (me) exhorting,
“lift up... Lift Up... LIFT UP!”
meaning... remove that flame from your piece before it MELTS!
All in good fun as each gal got her timing down while accomplishing her first bezel. After this I explain the options of what to do with this first bezel. As I do not dictate design at this point I always get a bit of a “deer in the headlights look” from the students. Most people don’t realize how much creativity they have stored up inside just waiting to be given the permission to escape. A little foundational knowledge and a little push over that cliff and great things happen.
I am just the primary “pusher”.
So here are a few great designs that emerged this Saturday. (see the rest in the Student Gallery)
Pretty good considering they have only taken two classes!
Those who know me know that I like to incorporate unusual materials in my work (concrete, meteorite, blue jeans...). So, when invited to teach a silversmithing workshop at a polymer clay conference I couldn’t say no...
but I did have to learn more about the art form that uses polymer clay.
What did I learn?
Let’s just say it has come a long way from playing with it at the kitchen table when my son was 9. In the right hands it is just another medium to be used to create great art.
So plunging into the deep end I have added it to my creative tool box as another element. And I am honored to be teaching at the Cabin Fever Clay Fest alongside some great artists like Lindly Haunani and Jeffrey Lloyd Dever. These folk make poly-clay stand on its head and sing!
The art of lost wax is completely different from fabrication. This class was filled primarily with students that have fabrication experience, and they got the treat/test;-) of shifting gears big-time!
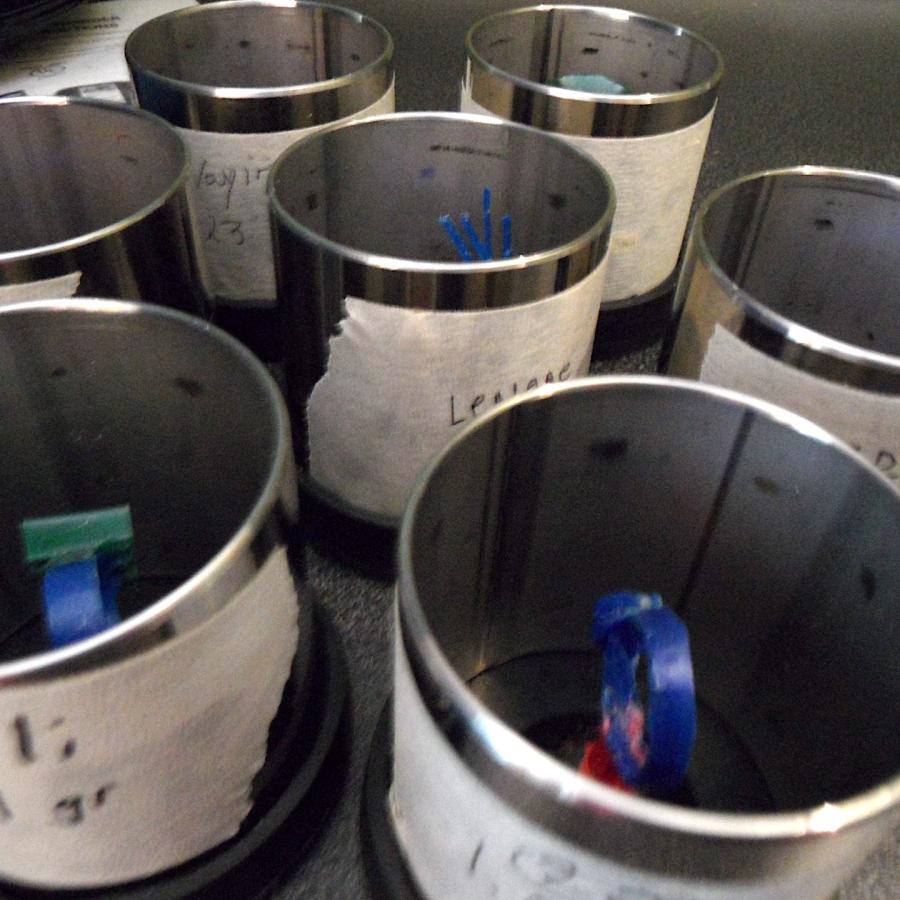
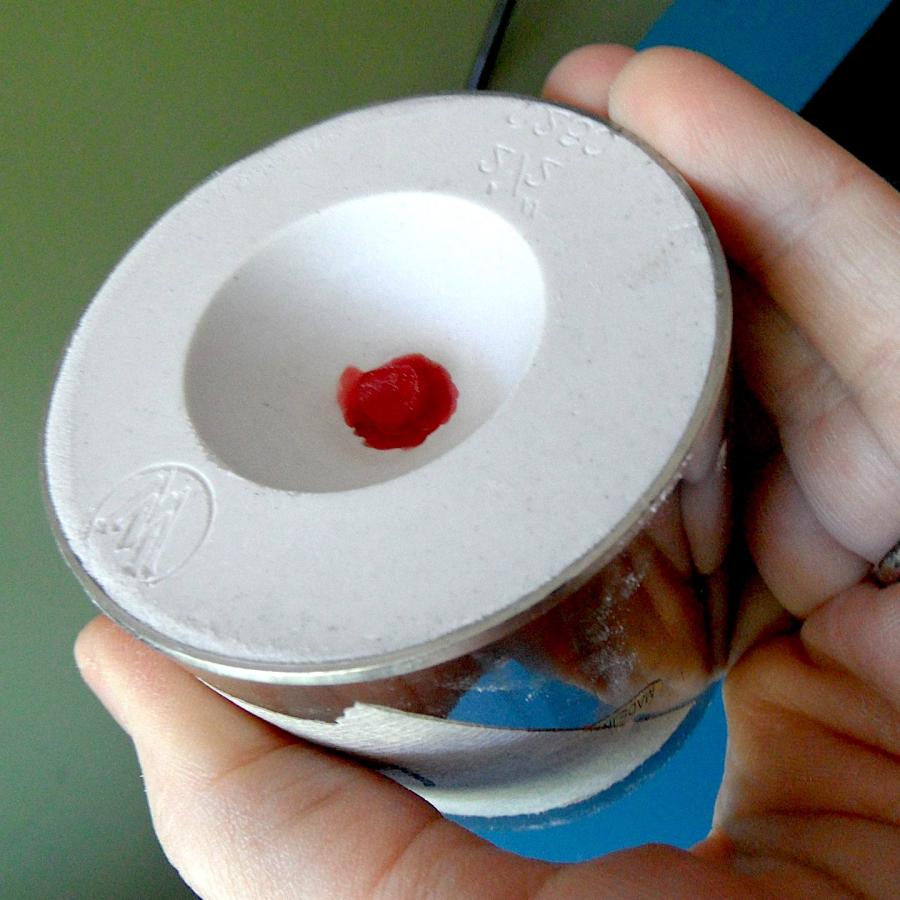
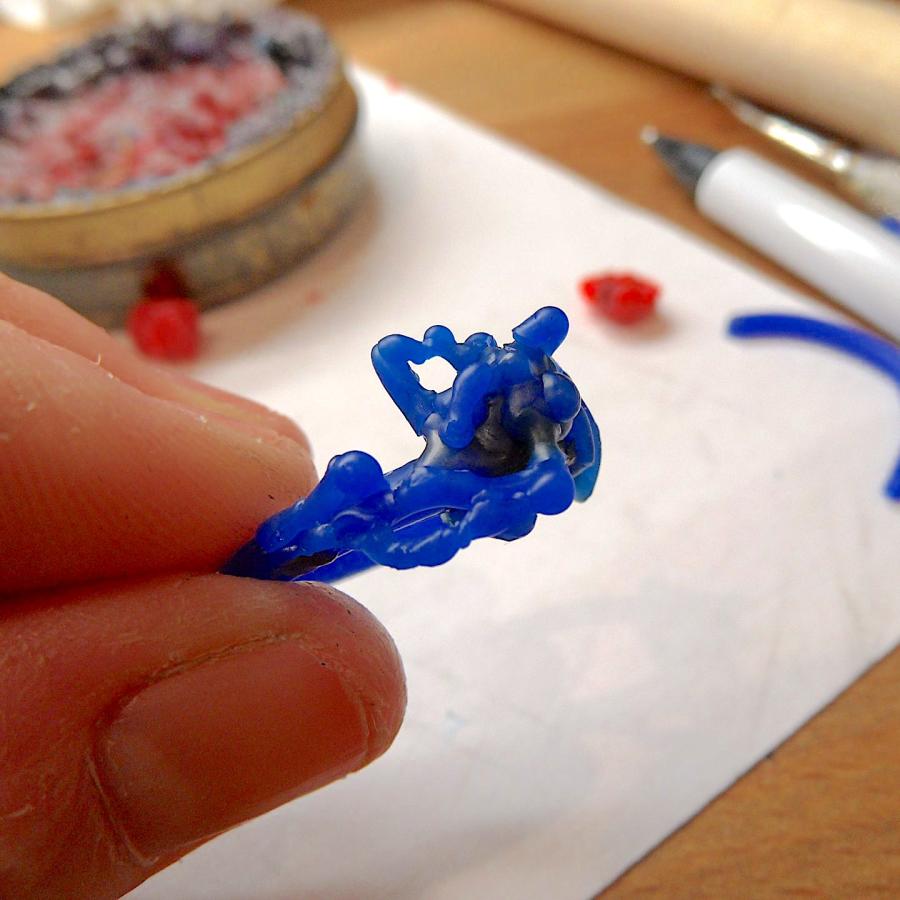
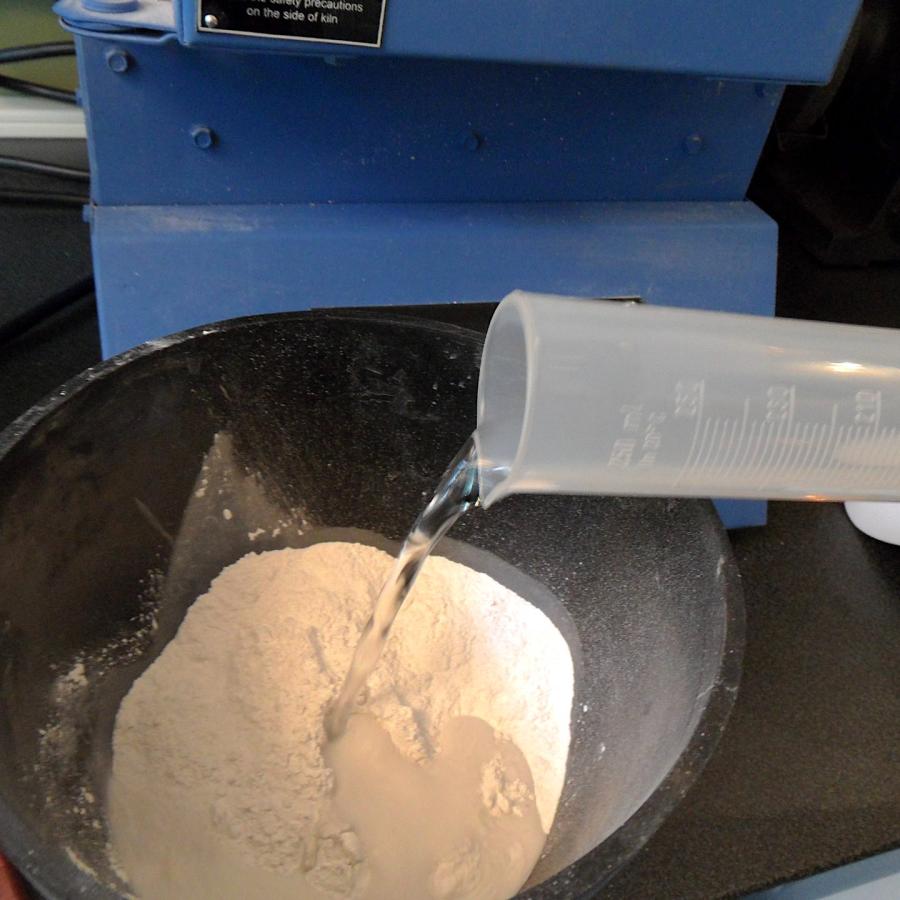
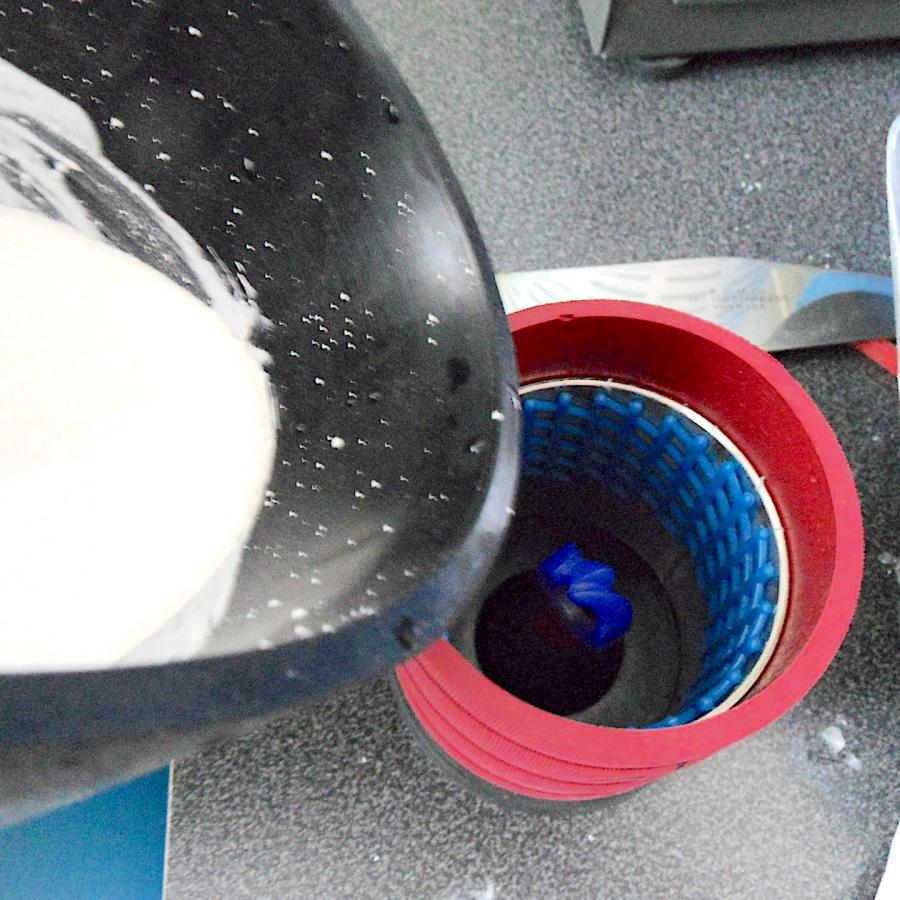
Unlike fabrication where you work metal to metal, Lost wax starts with... well, wax. You carve it and sculpt it and create an exact model of what you ultimately want in metal. This is then put in a flask that is filled with investment and fired. The wax burns out and leaves a mold and then molten metal is poured into it.
This schedule-friendly 3-session class is pretty intense, but this group did great and embraced the challenges of this new technique.
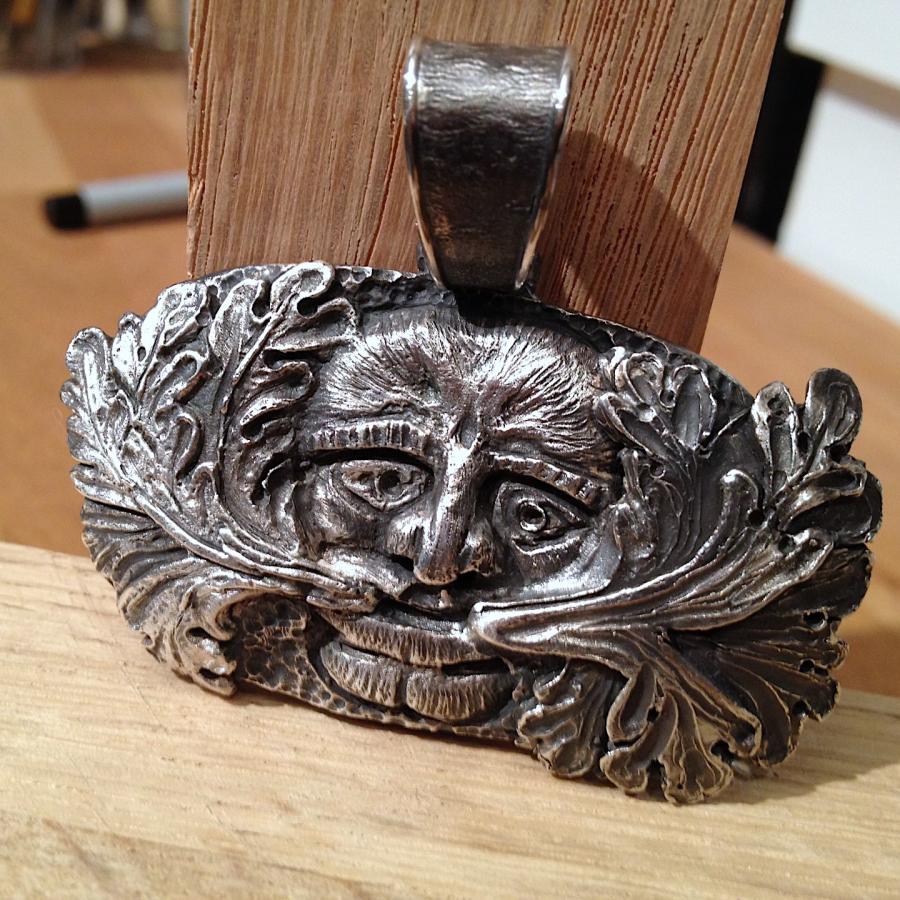
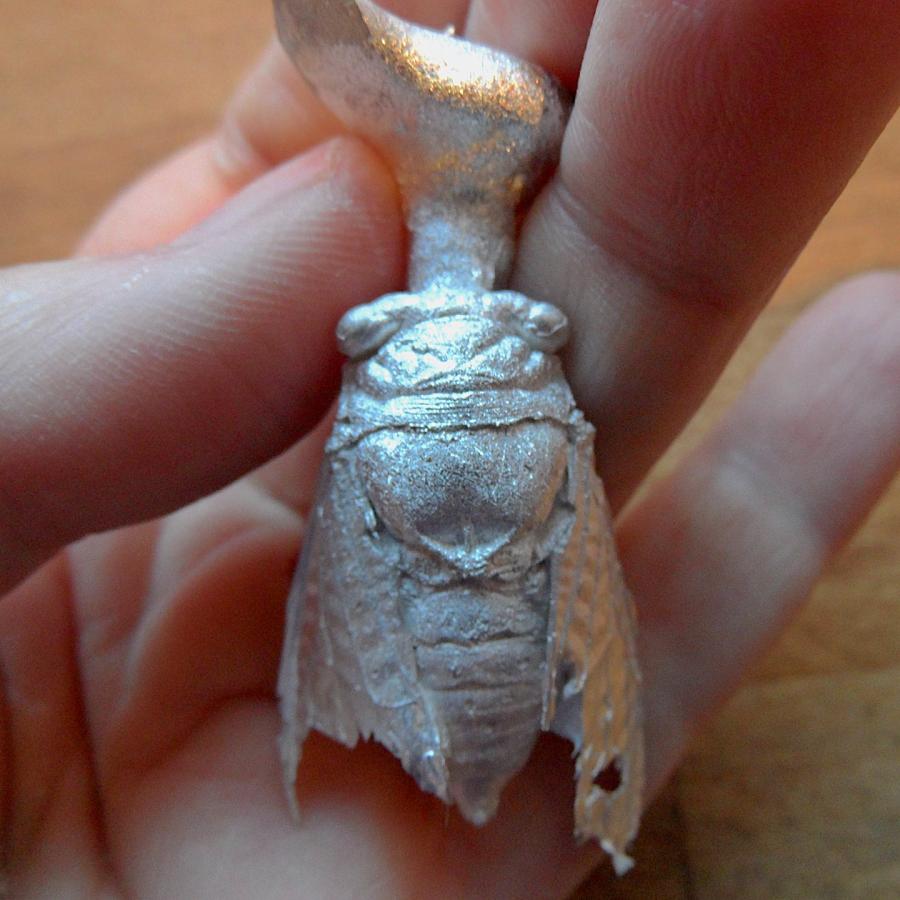
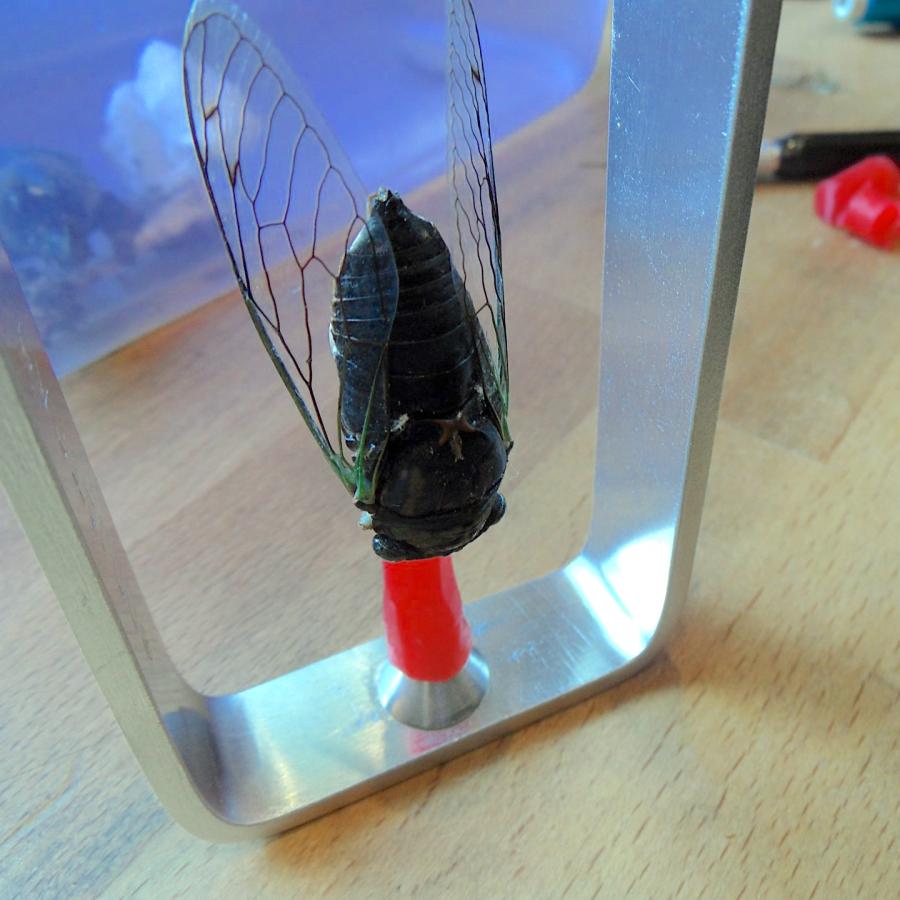
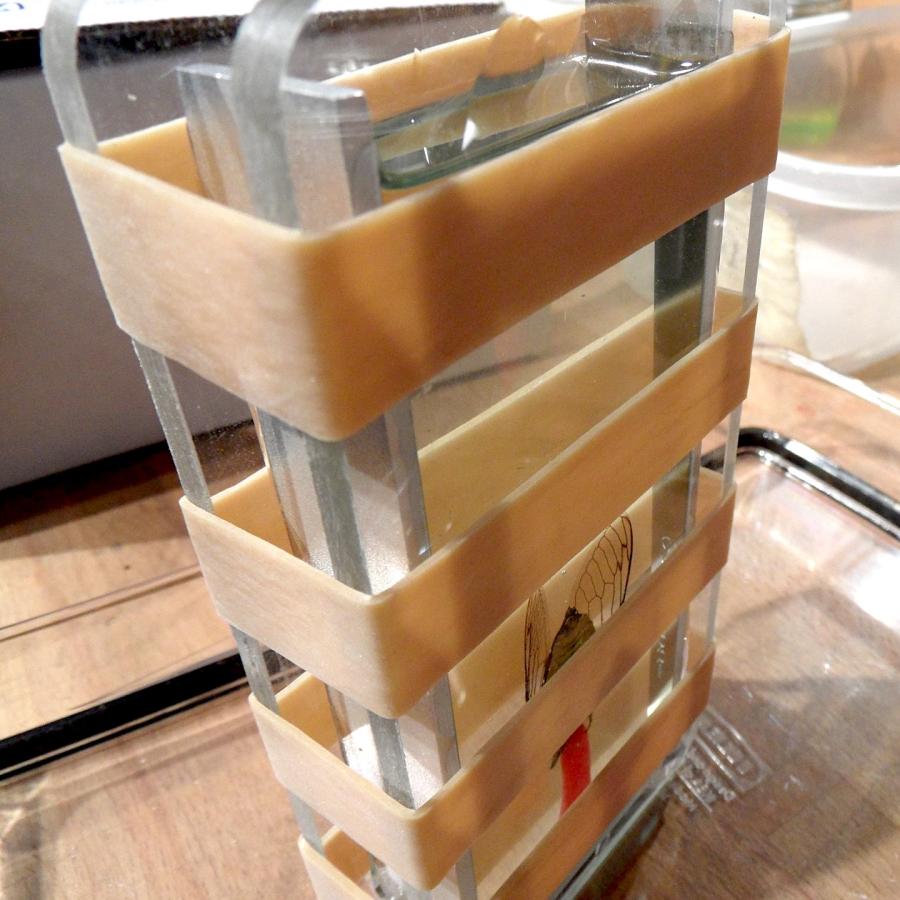
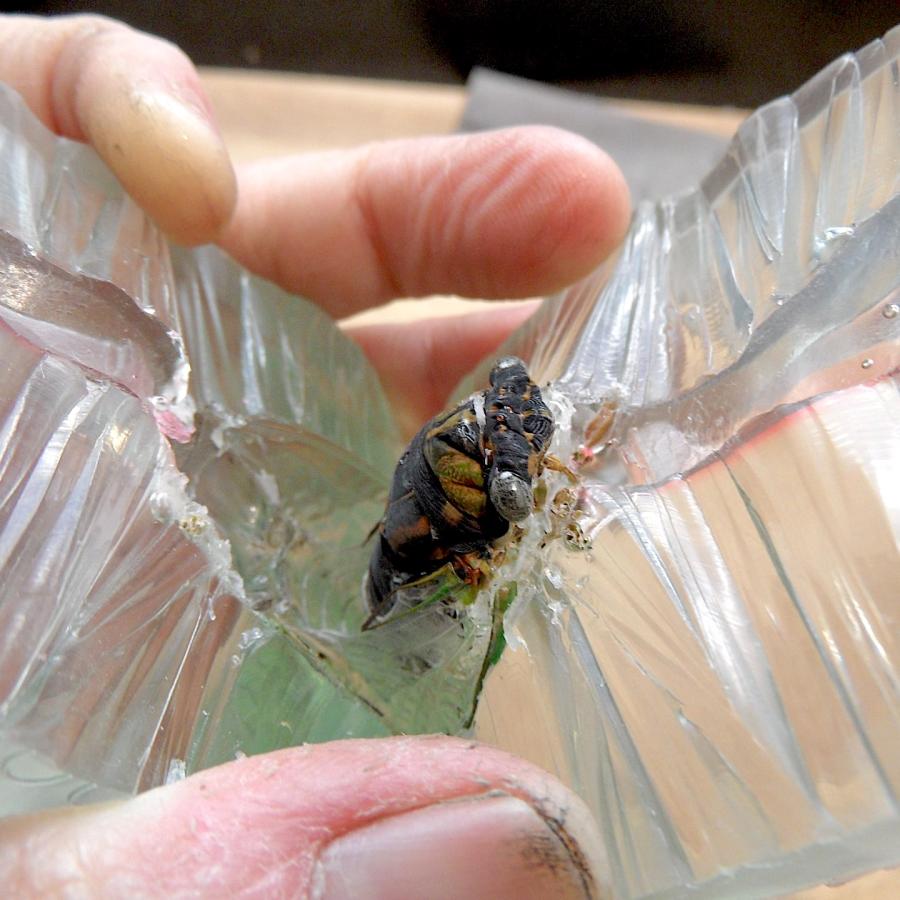
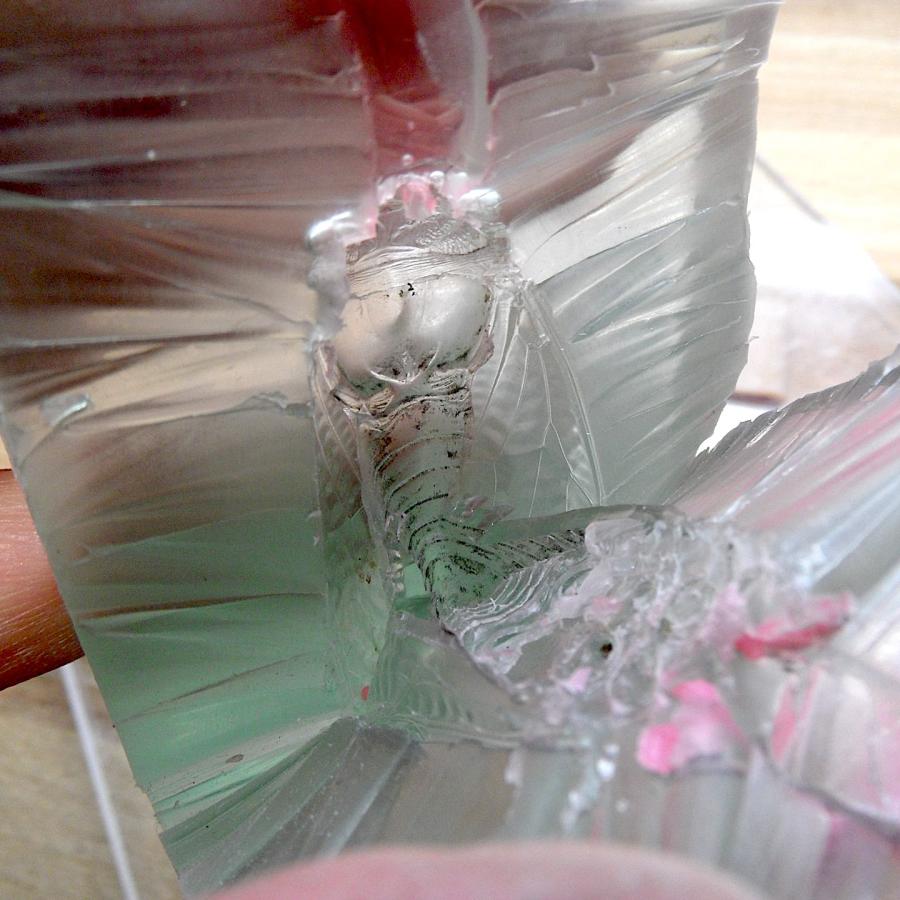
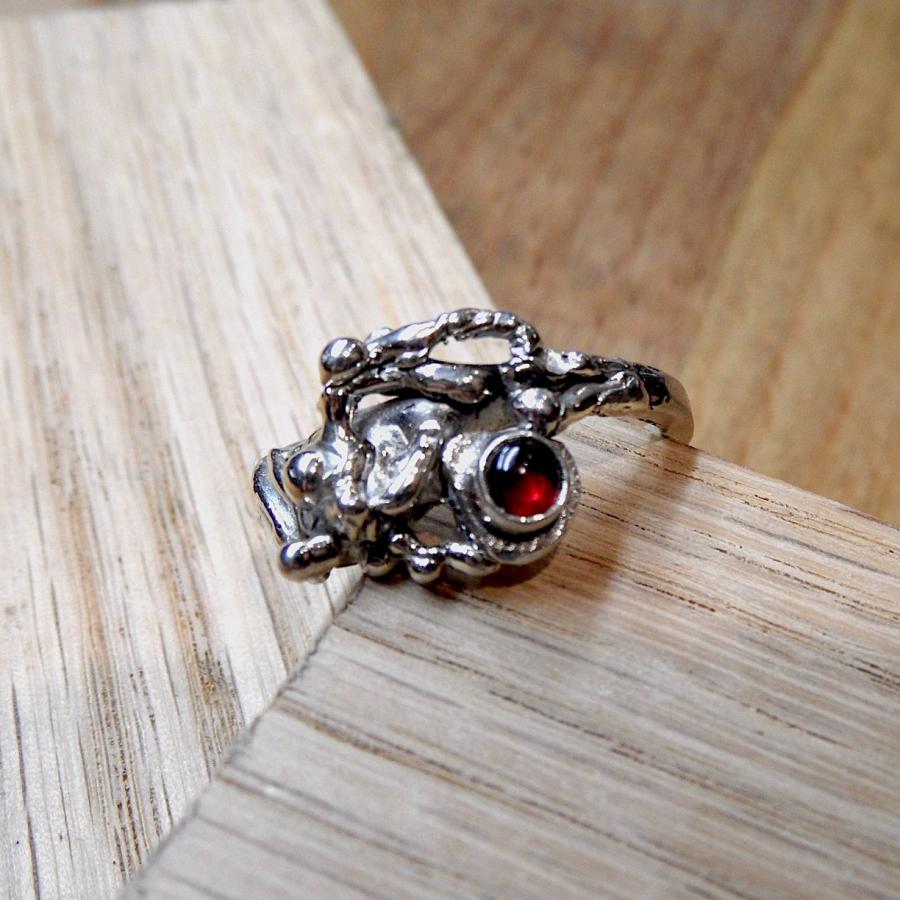
Finally got to cast the Cicada. This was a somewhat challenging caste due to the detail of the bug, and the fact that I made a rubber mold first and then a wax from that mold added two more steps. I am very happy with the results and can’t wait to finish it as a pendant.
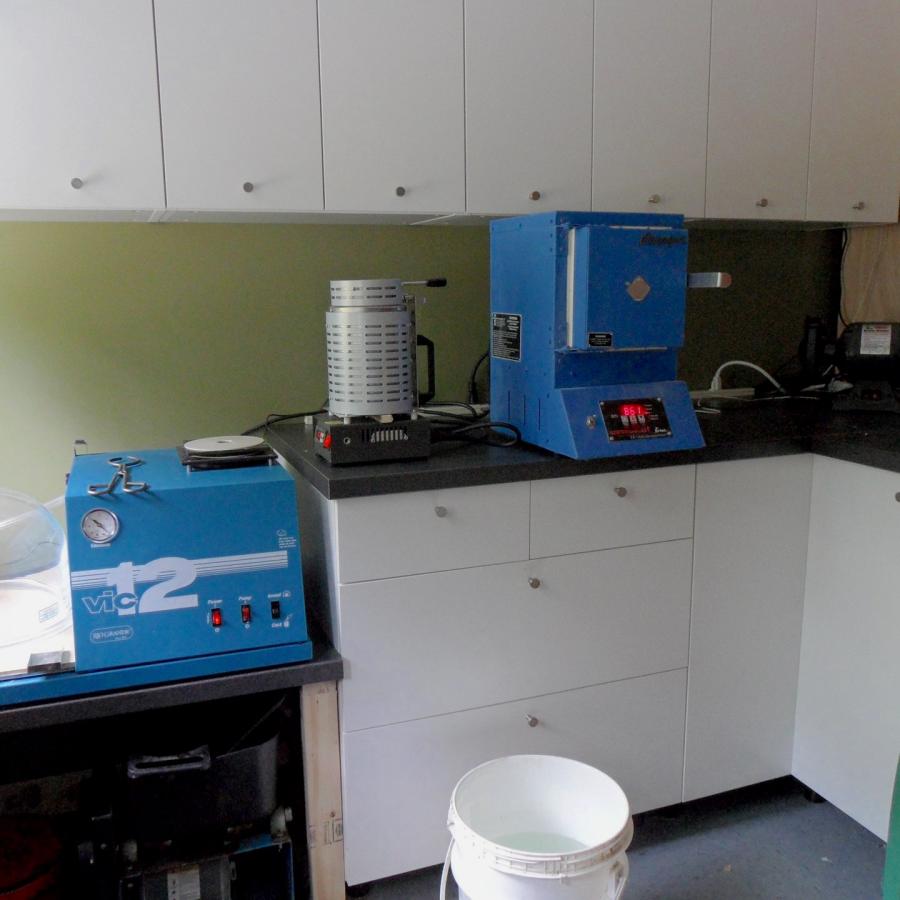
I am proud to announce that the testing of the new casting equipment is complete! This means that all of our casting will be done in house instead of outsourced to casting companies!
Why do I care so much about this?
The process of casting is an old and traditional jewelry making craft. And it is the “process” that adds a level of difficulty and thus, appreciation. It is fine to be able to sculpt a wax to make jewelry, but it is extra special to be able to be involved in every aspect of the process.
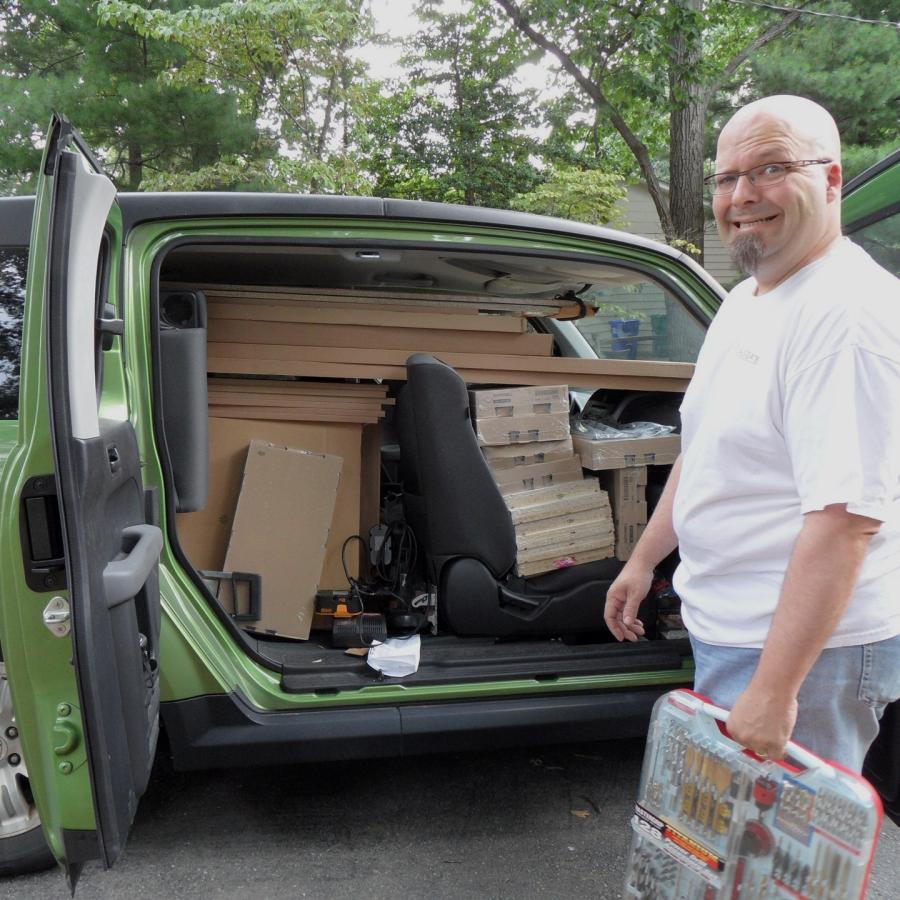
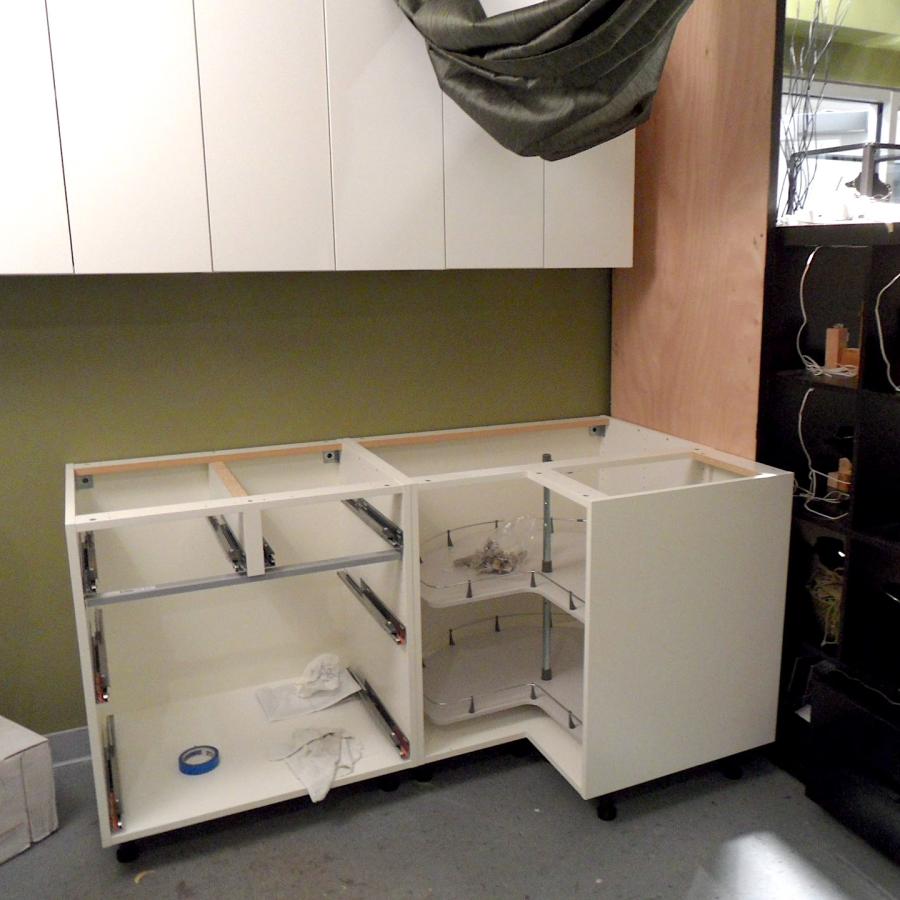
It has been a long time coming but the office/polishing room is now upgraded. Although the previous space did the trick, it was no joy to work in. Lacking sufficient storage was just one part, being able to add Lost Wax Casting to my curriculum forced us to convert the space.
Now what was once a dismal, poorly organized hole is a lean, mean streamlined space.
You will hardly notice that the gallery area is a bit smaller. We gained some room by moving the jewelry display.
My sweet husband became the Ikea assembling Zen-master as he built cabinet after cabinet. The bulk of which was done in one weekend.
Hard to believe it is only 100 square feet!
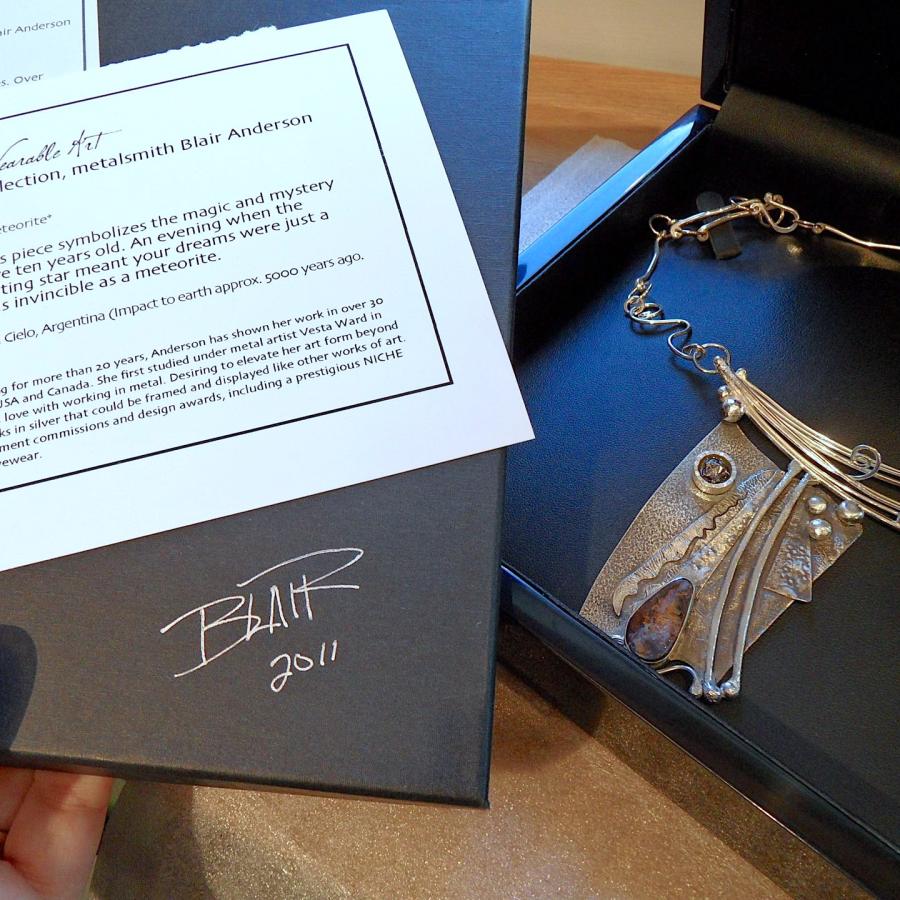
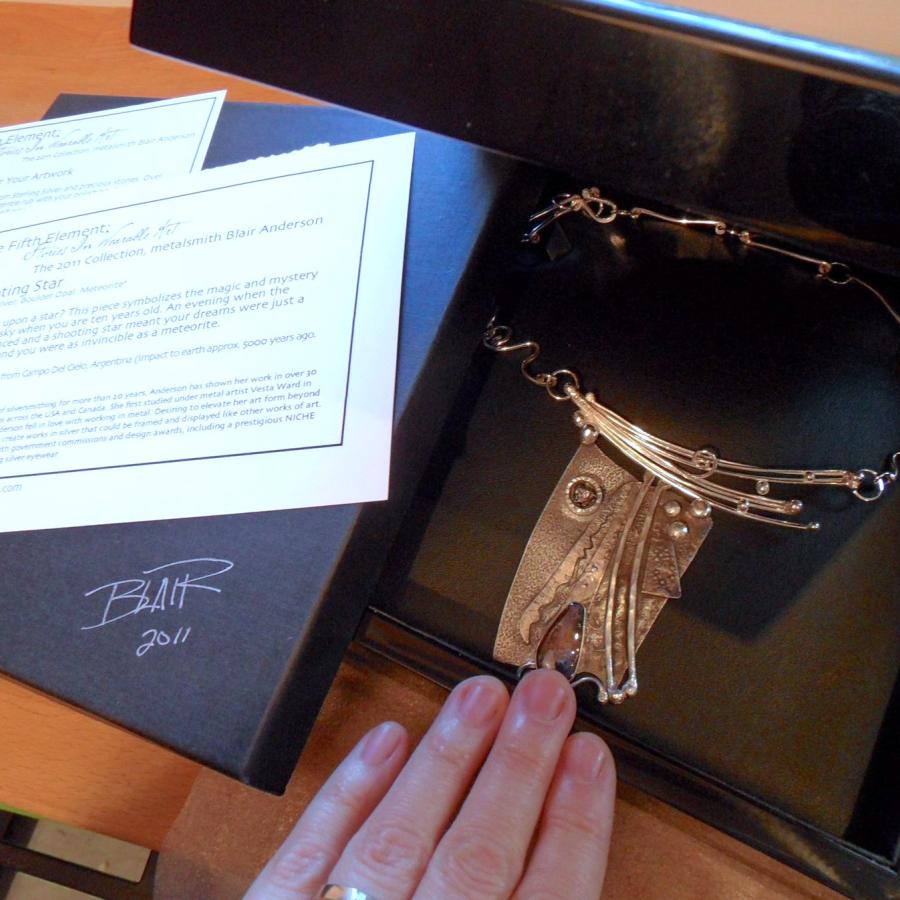
Many of the works of this year’s collection sold and are going to wonderful homes. These story pieces are all one of a kind. You would think that over the years I would have gotten a little more pragmatic about seeing my works sell, but there is always a little tug at my heart in letting them go. Because the stories come from a deep place, there will always be a connection to the work.
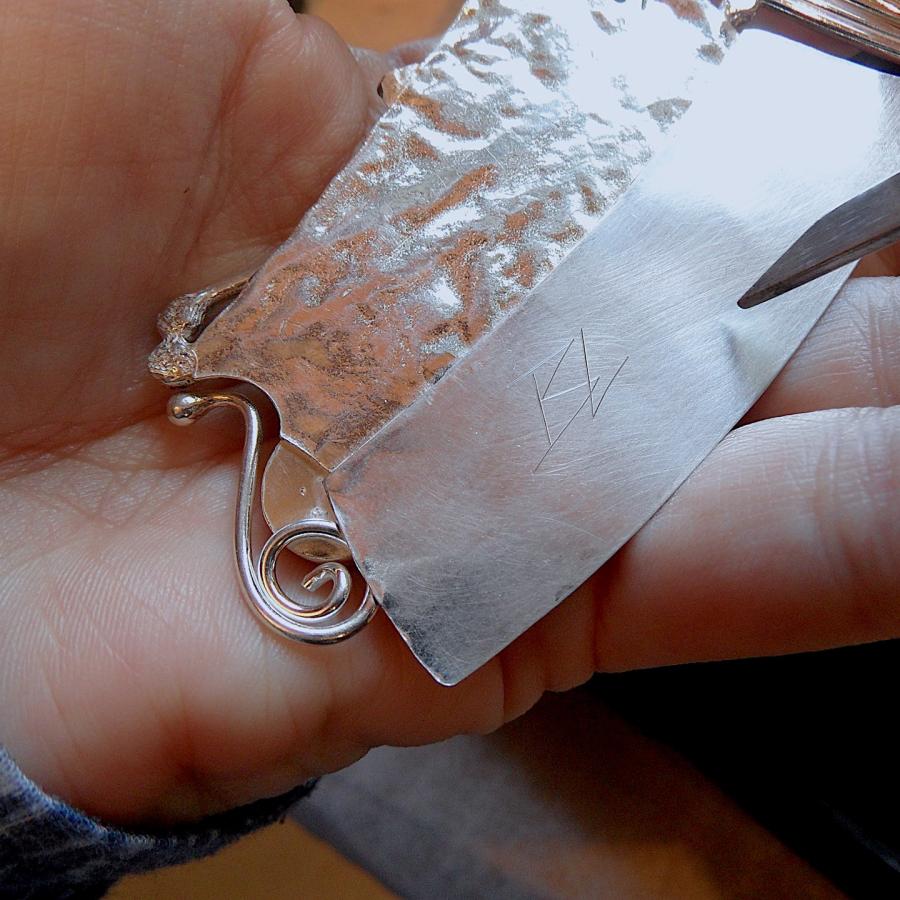
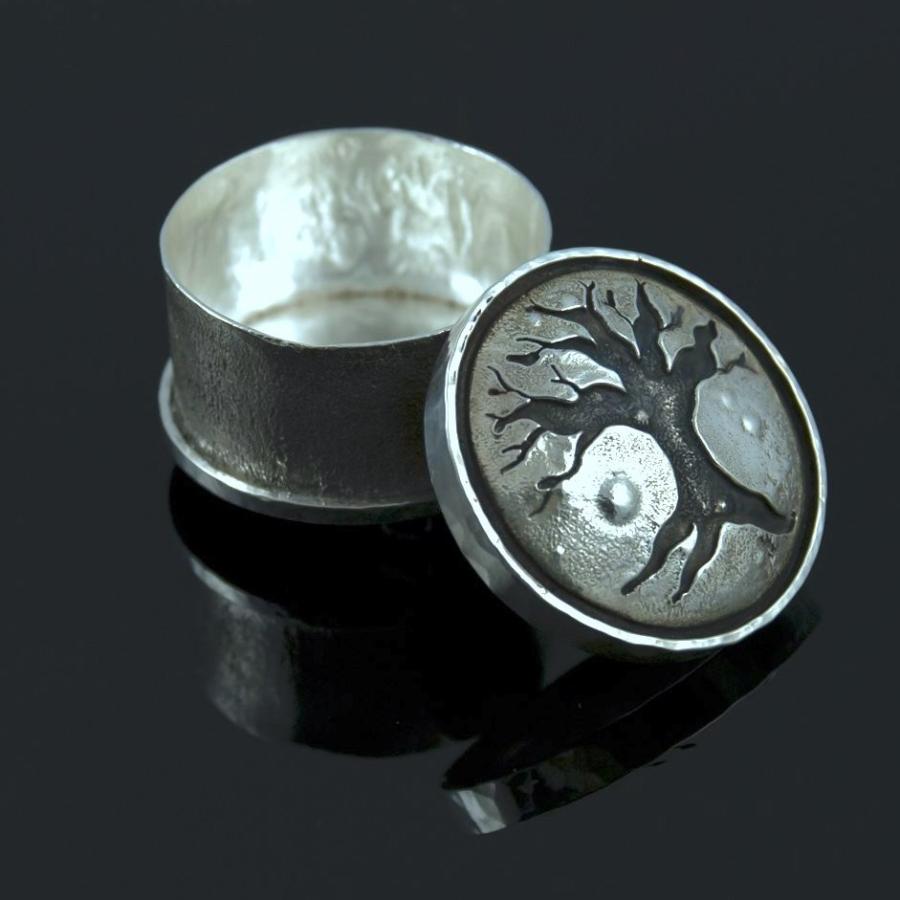
To say goodbye to the work properly I have a little sign & kiss ritual that helps me send “my babies” to their new homes. Each work gets hand signed with a graver (engraved) then they are placed into their hardwood box with a kiss.
Bye-bye babies!
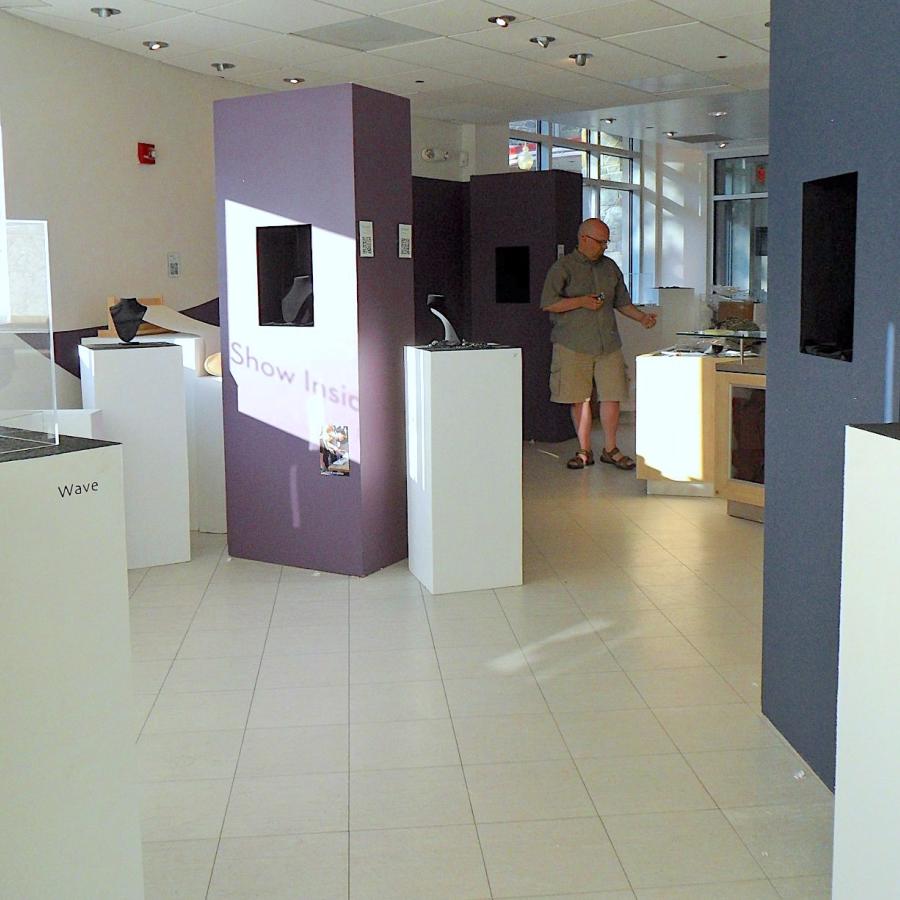
Missed the show? Check out the online version here.
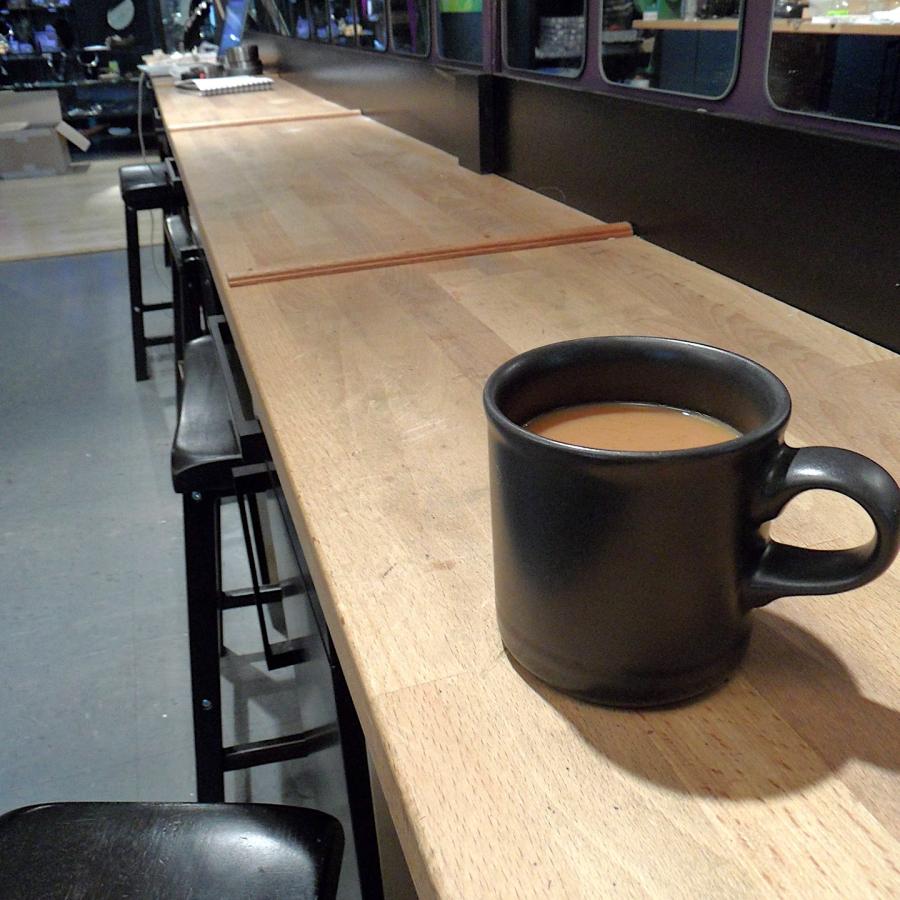
Wow I actually have two minutes this morning to reflect on the show over a cup of coffee. Between private instruction, a youth camp (picture 15 twelve-year-olds with torches;-) and my normal class schedule, there hasn’t been any extra time to soak things in.
As an artist (for me anyway) it is important to take time to do a little reflecting. For me this is in two parts, evaluation, and validation. The evaluation is an examining of the work that was done, its content and quality, the overall presentation of the show and its impact as a whole, and the more pragmatic part; sales. The validation part is simply a reflection on where I have been, the evolution of my work, and where I am now.
I am most grateful for my place here at Glen Echo Park and the support that the park provides in growing my studio, my classes, and my work.
Thanks Glen Echo Park Partnership for Arts & Culture!
Missed the show? Check out the online version here.
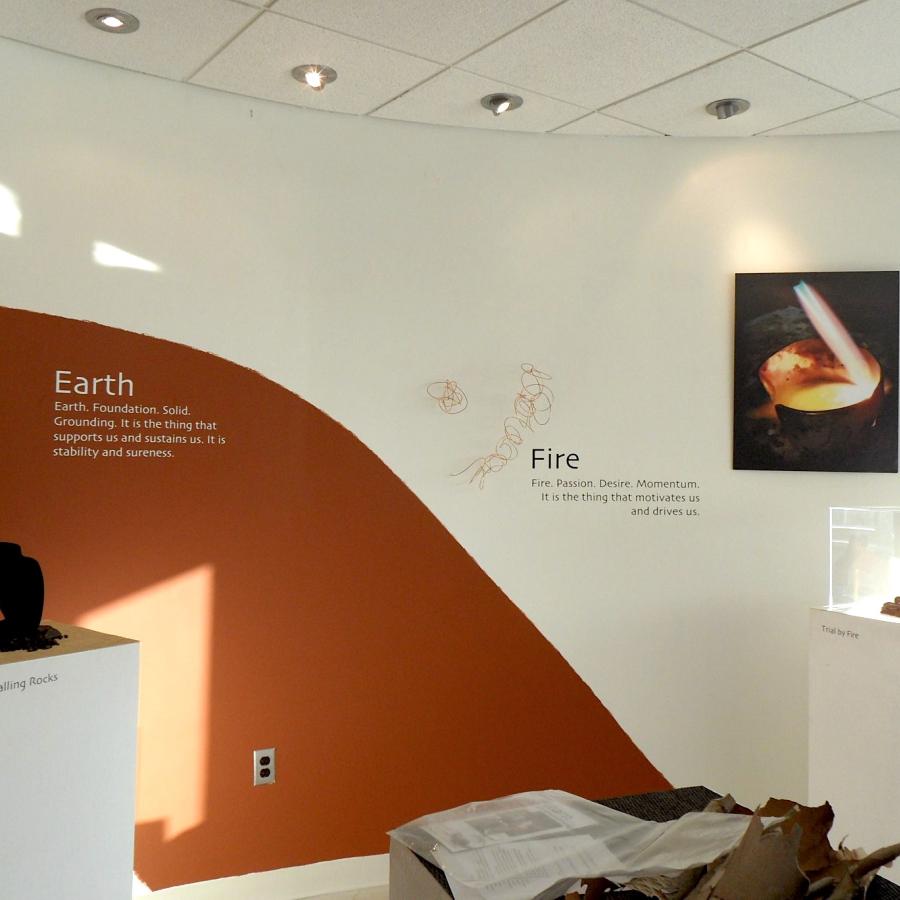
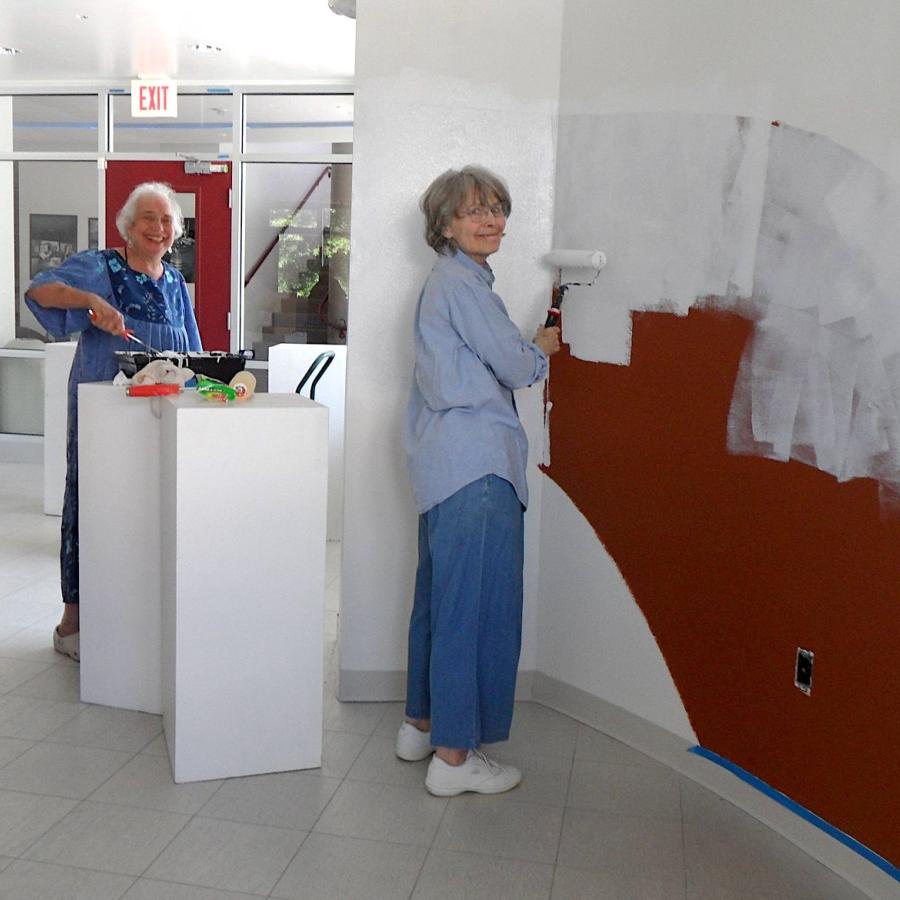
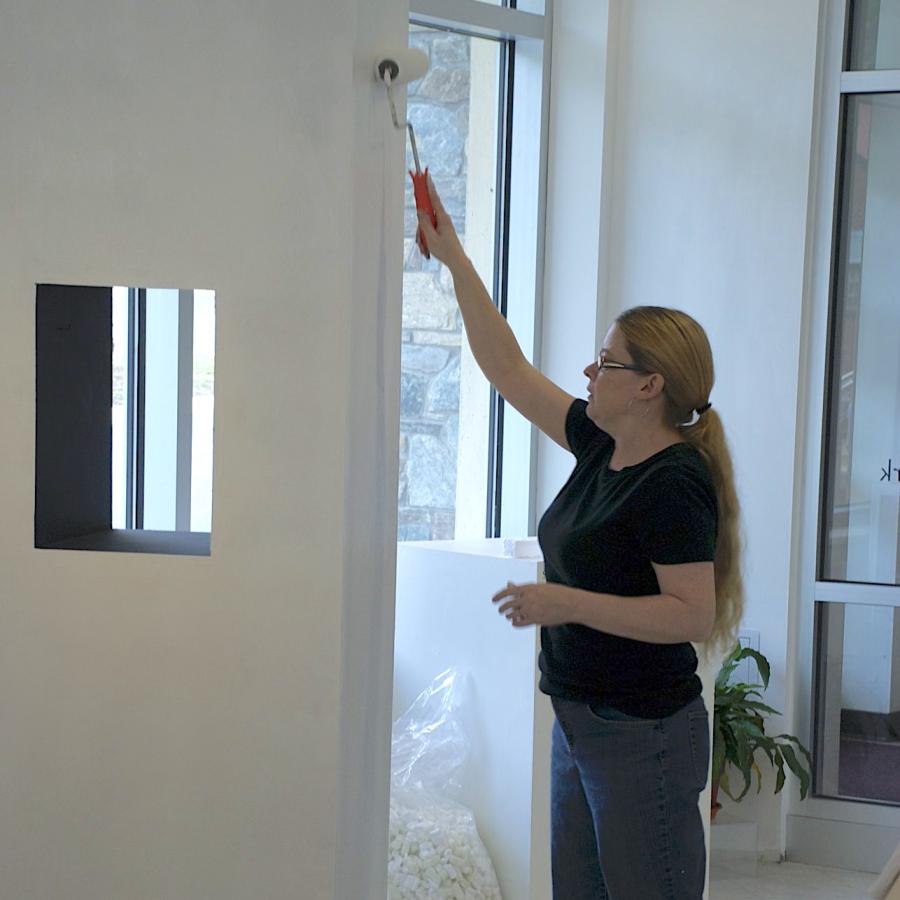
There are several steps to tearing down a show. Text removal, pack up of inventory, patching walls and paint, paint, paint. A very big thanks to Ann and Rona for helping bring the gallery walls back to white in record time!
Missed the show? Check out the online version here.
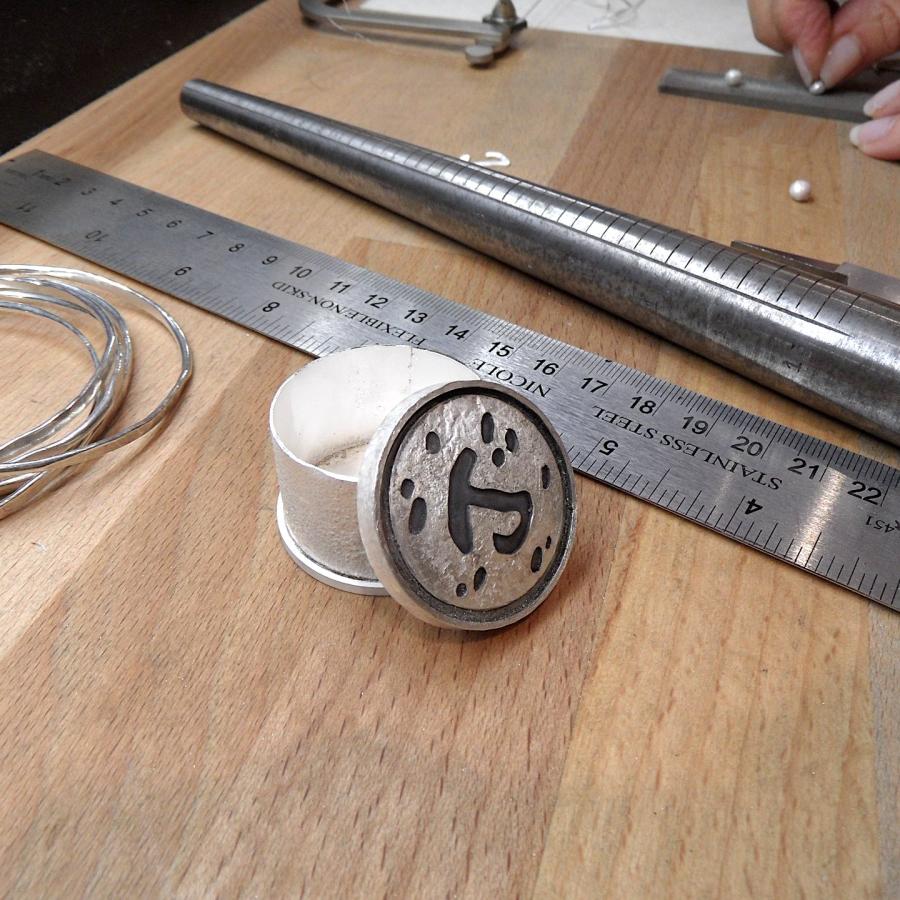
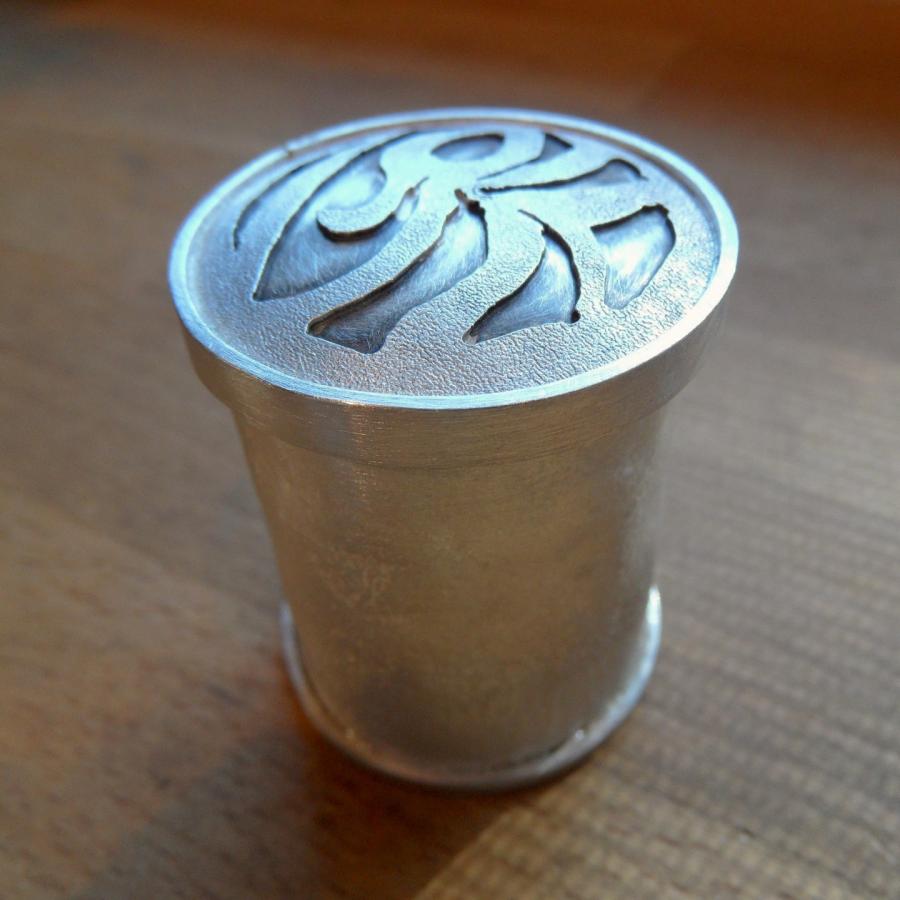
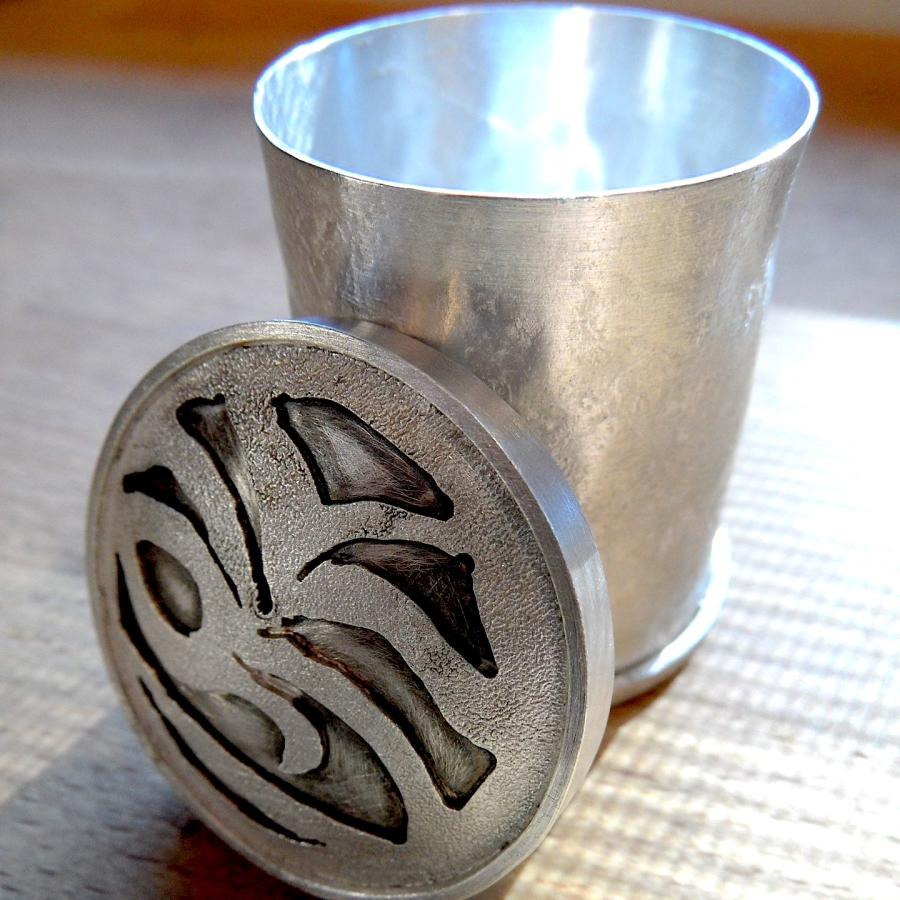
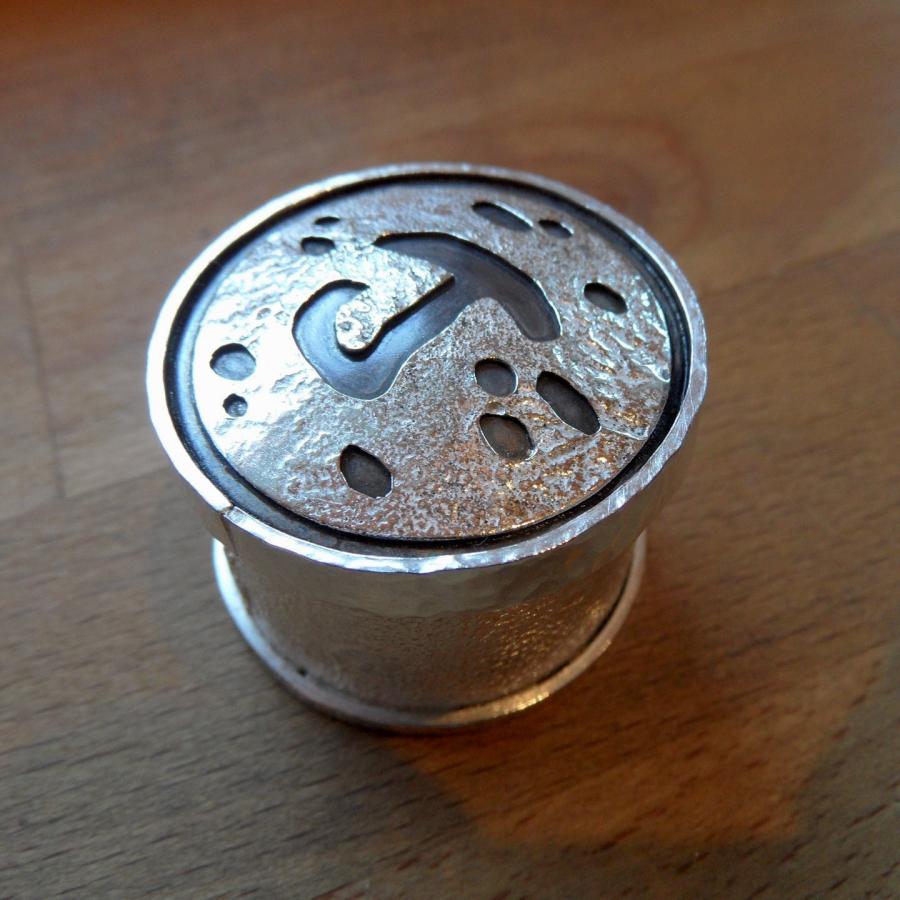
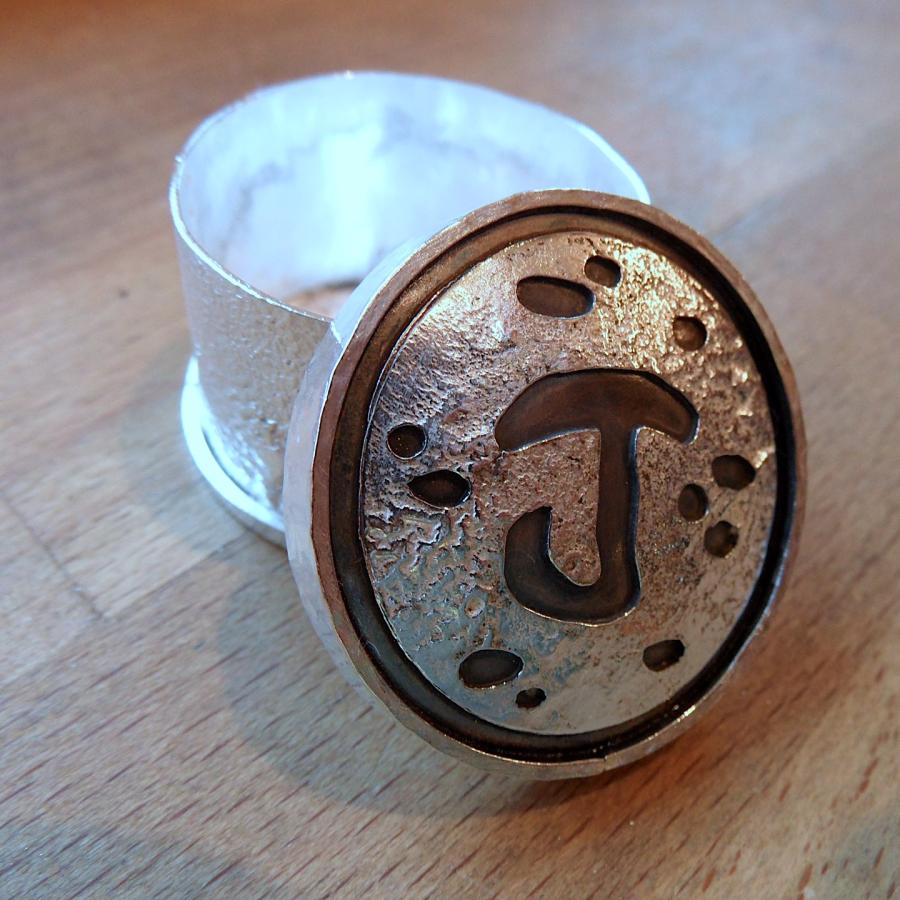
By special request I led a private workshop on making an applique box. A tough project, it includes some precision sawing, multiple solderings, and some complex staging. Great job girls!
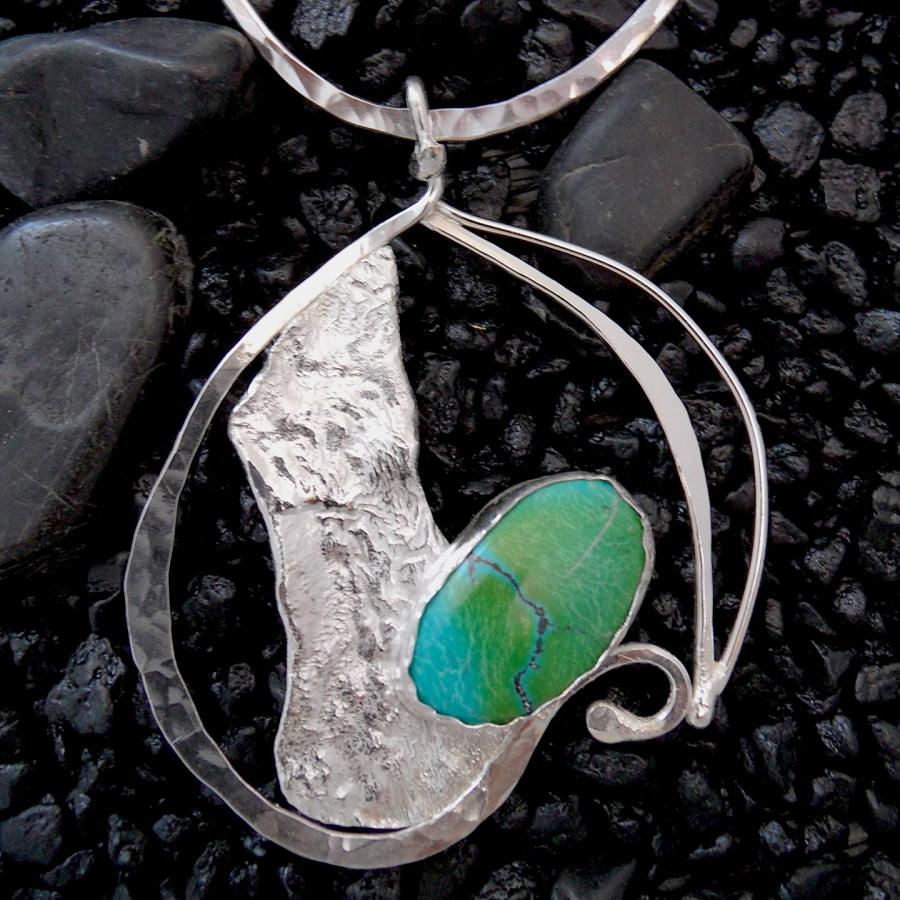
Congrats to SilverWorks students Rona Eisner and Judy Madden for winning the “Purple Hammer Award” for excellence in design.
