- SWX Content
-
Home
- Commerce
- Commerce 2
- Landing Page 1
- Landing Page 2
- Landing Page 3
- Landing Page 4
- Landing Page 5
- Landing Page 6
- Landing Page 7
- Landing Page 8
- Landing Page 9
- Landing page 10
- Landing Page 11
- Landing Page 12
- Slideshow - Boxed Width
- Slideshow - Full Width
- Slideshow - Fullscreen
- News - Rich
- News - Default
- News - Card
- News - Focus
- Layouts
- Services
- Products
- More
- Contact
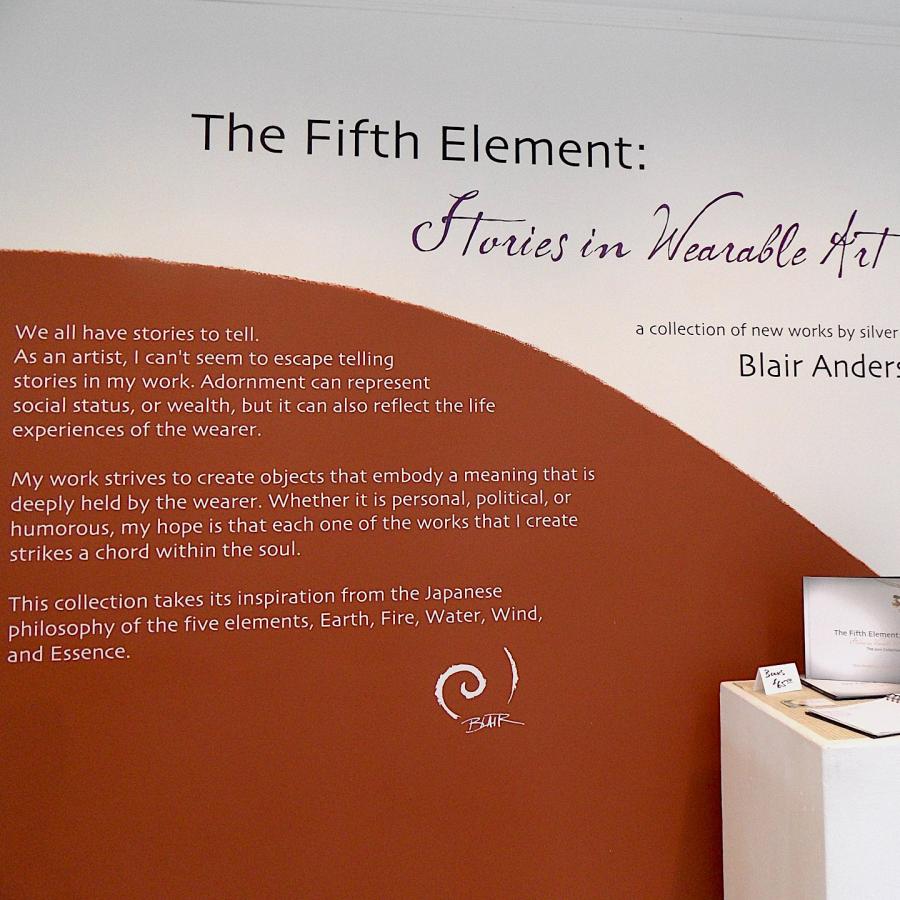
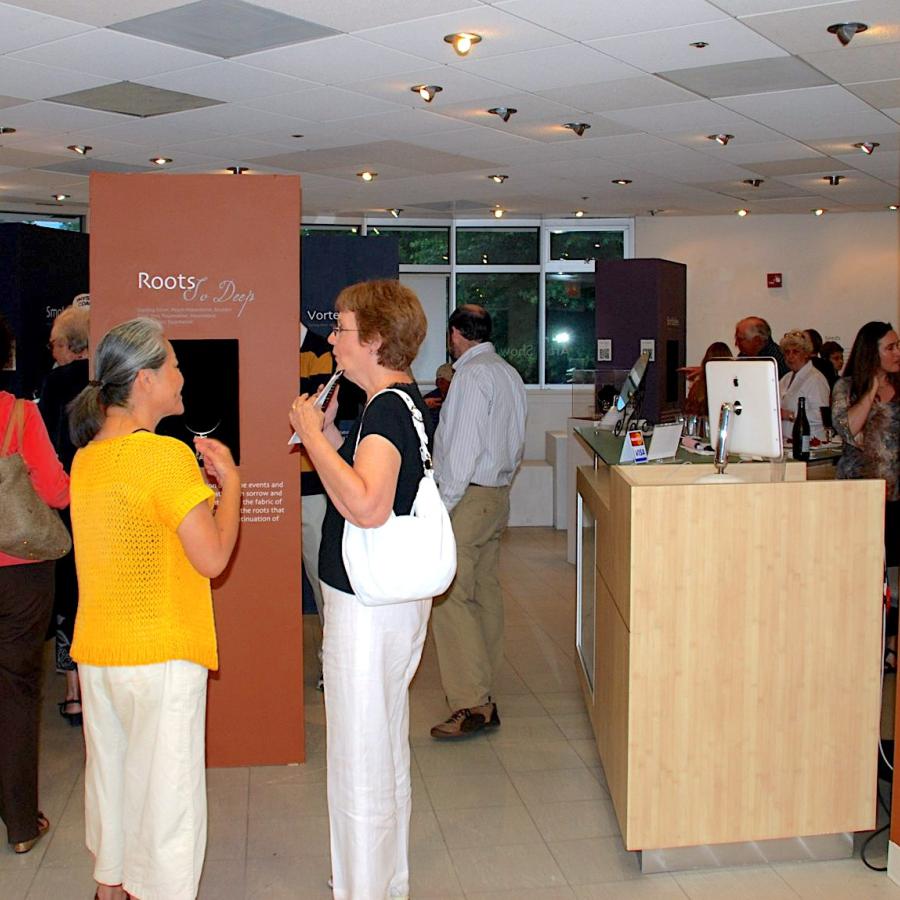
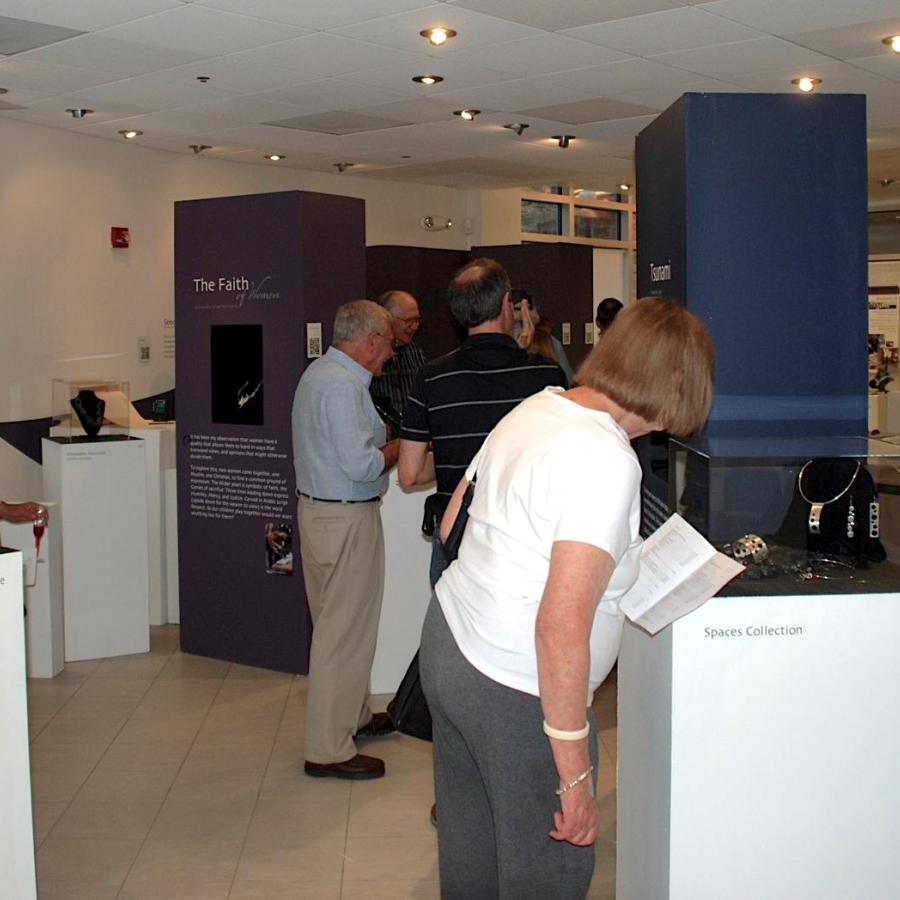
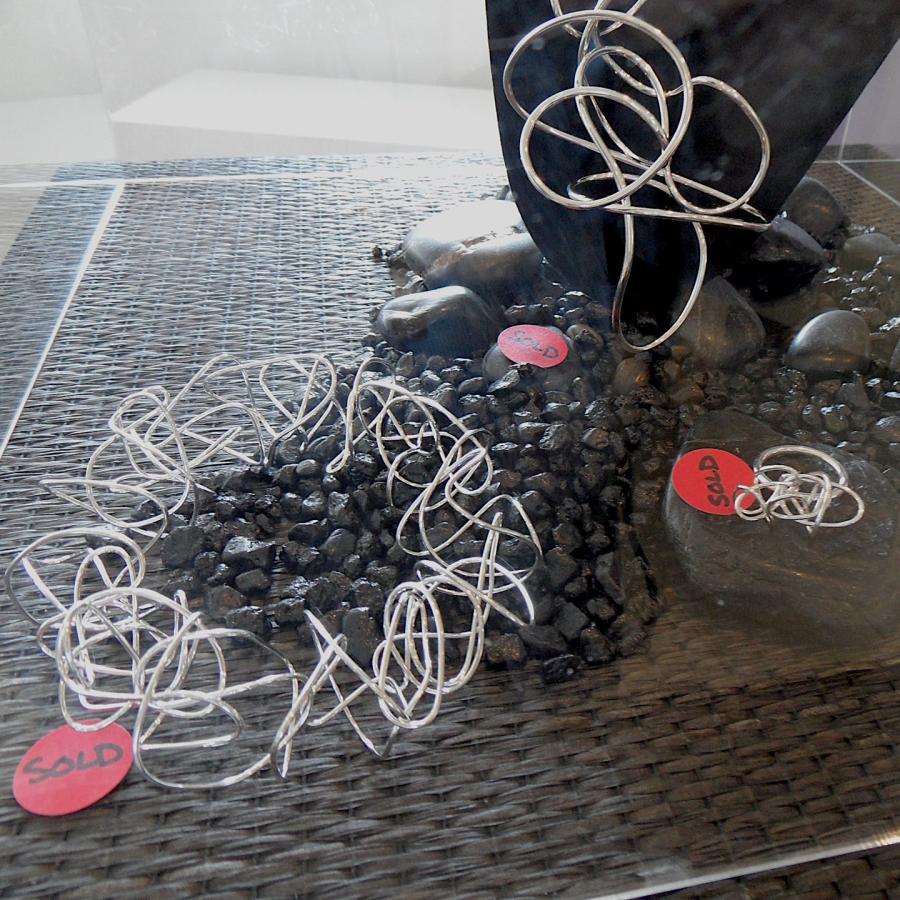
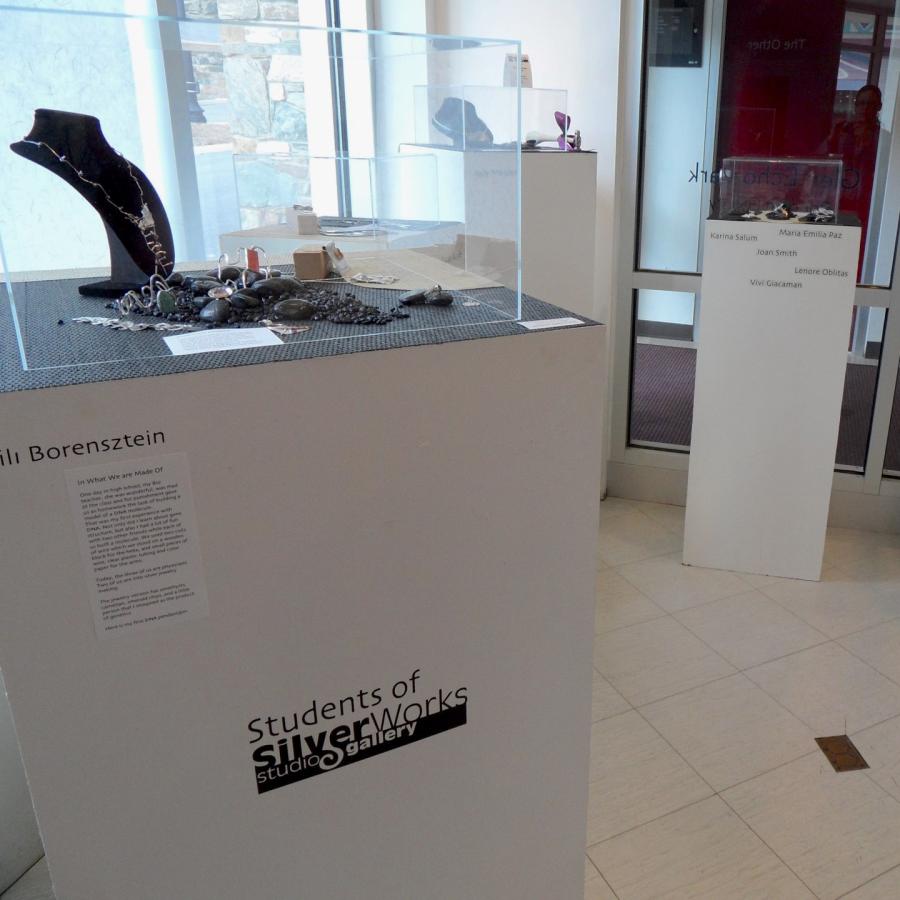
What a great night and quite a blur. We had around 200 come out for the preview afternoon and opening night. What fun it was for me to see some of my students meet each other for the first time. Get a close-up of the work here.
Working on some interesting pieces for my upcoming show, “The Fifth Element”
no... not the movie.
The theme deals with the Japanese philosophy of five elements, Earth, Fire, Wind, Water, and Void. Void being the highest element representing an unseen power that creativity springs from.
I call her the muse.
At any rate I am experimenting with some new techniques as the show is going to be somewhat technique driven.
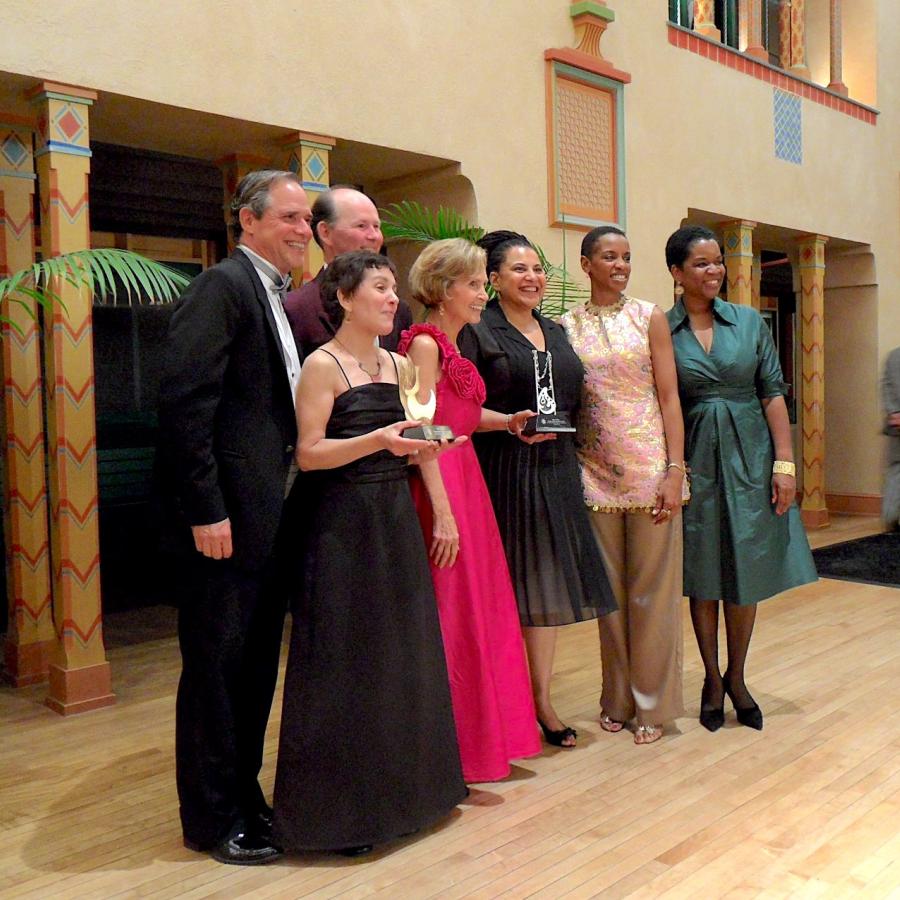
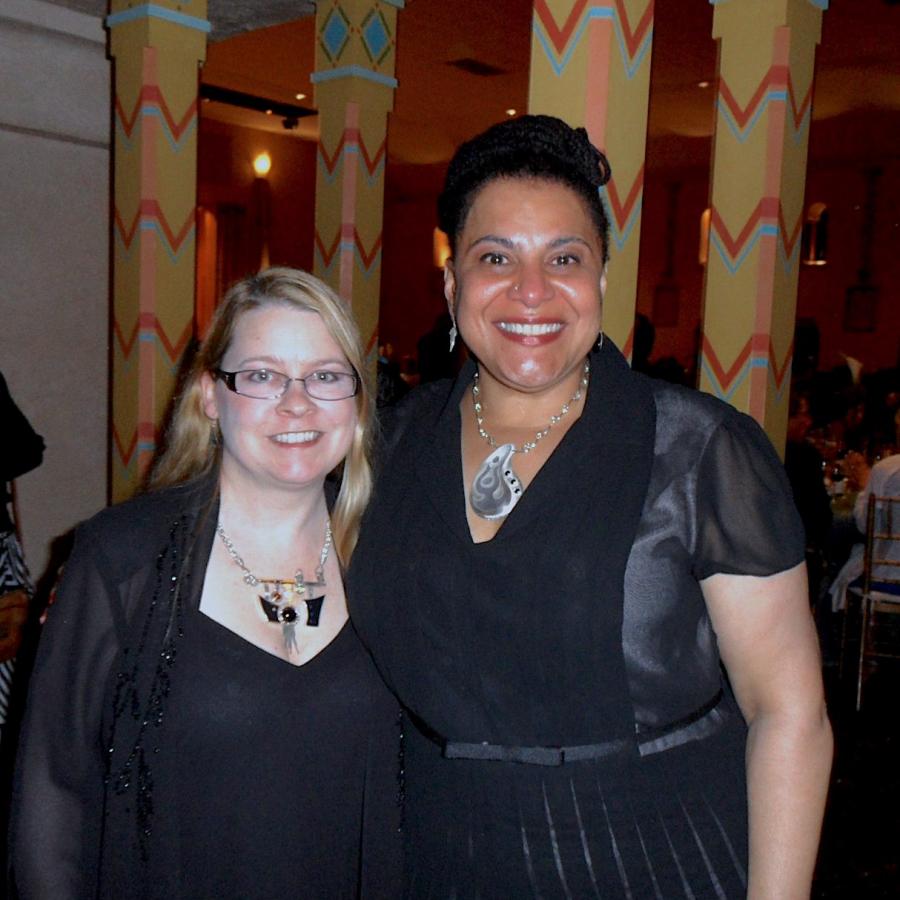
Finished a Silver Saturday Workshop and did a quick change into a party dress for this evenings festivities. A fabulous night at the park, the awards were presented after a lovely dinner.
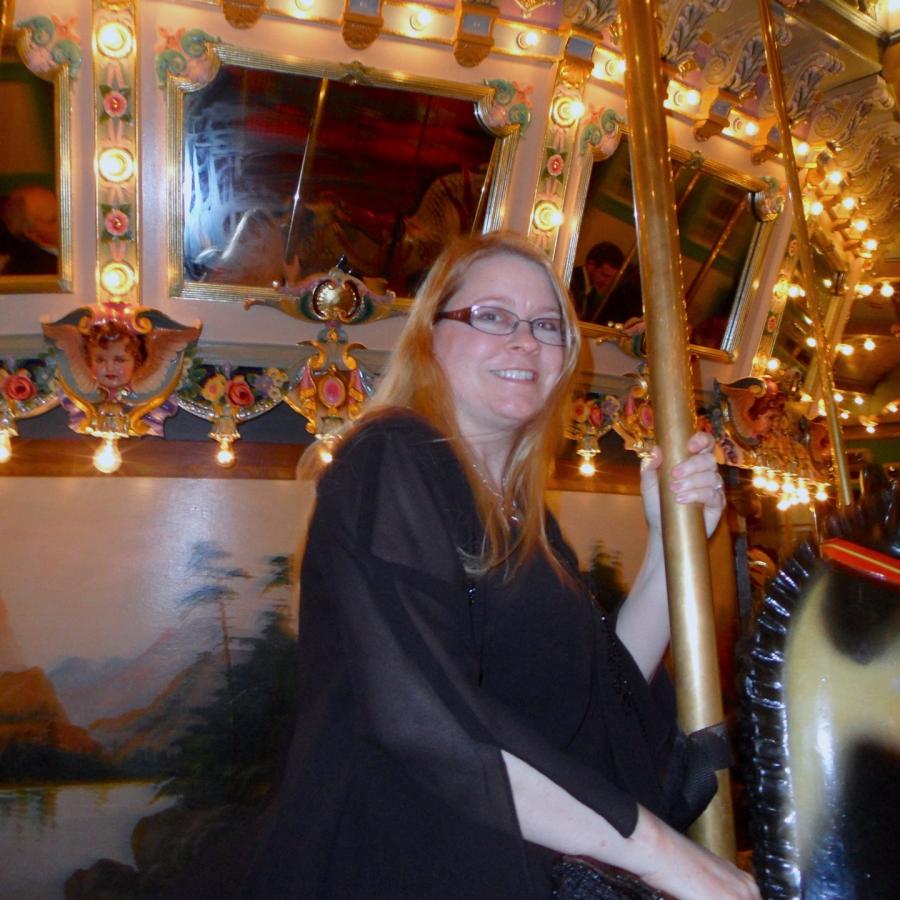
The evening continued with dancing in the old art deco ballroom to live music. But my favorite part was riding the vintage carousel in an evening gown.
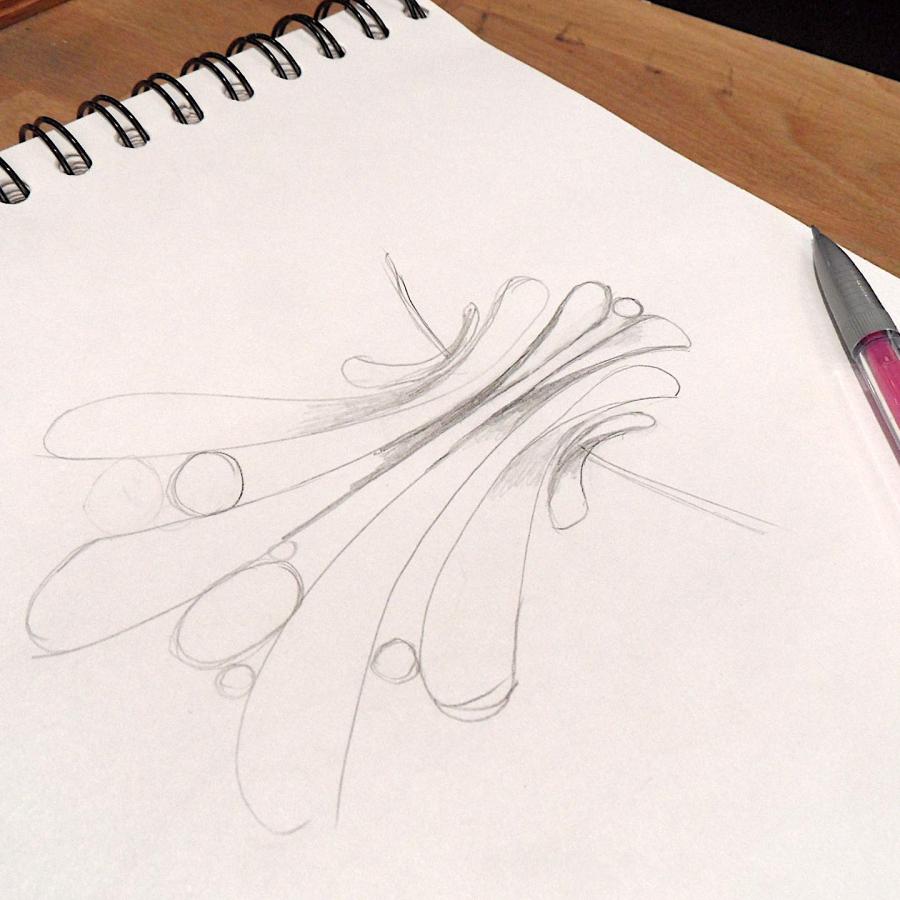
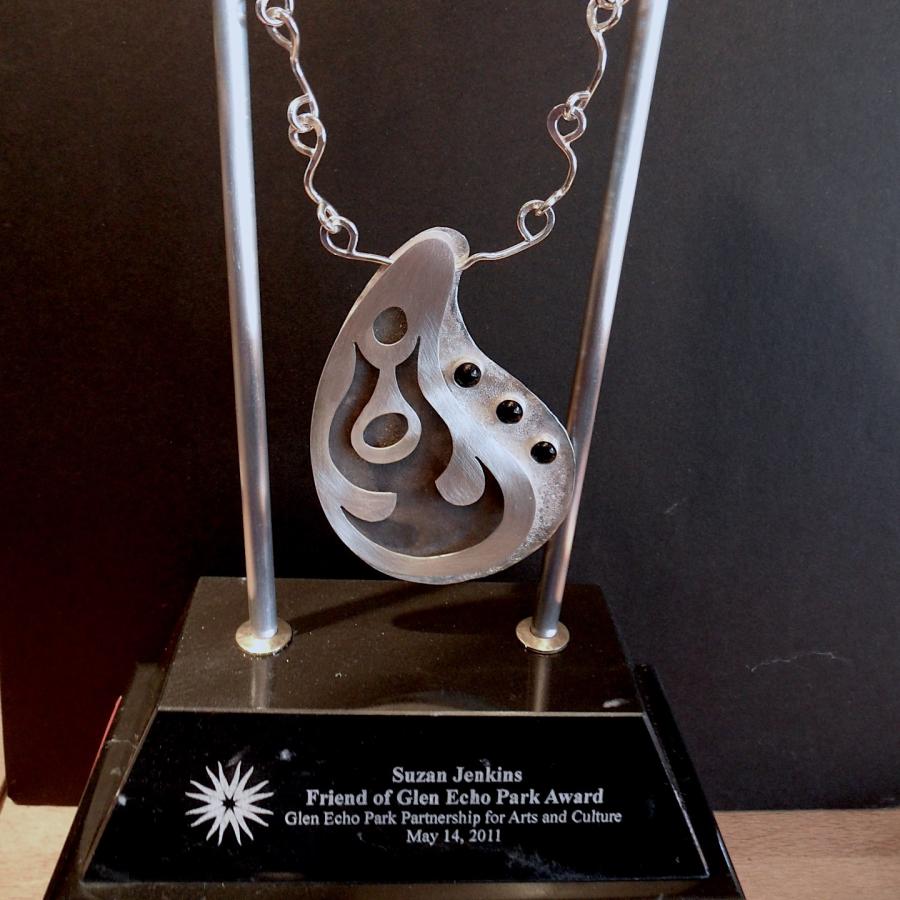
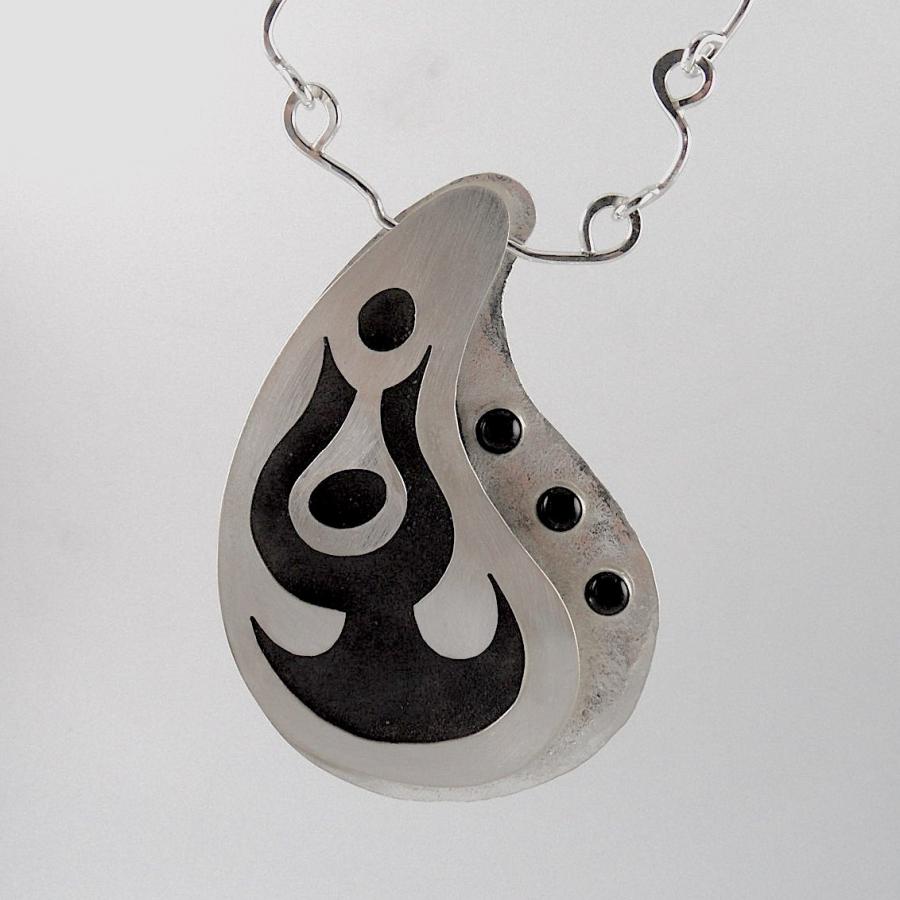
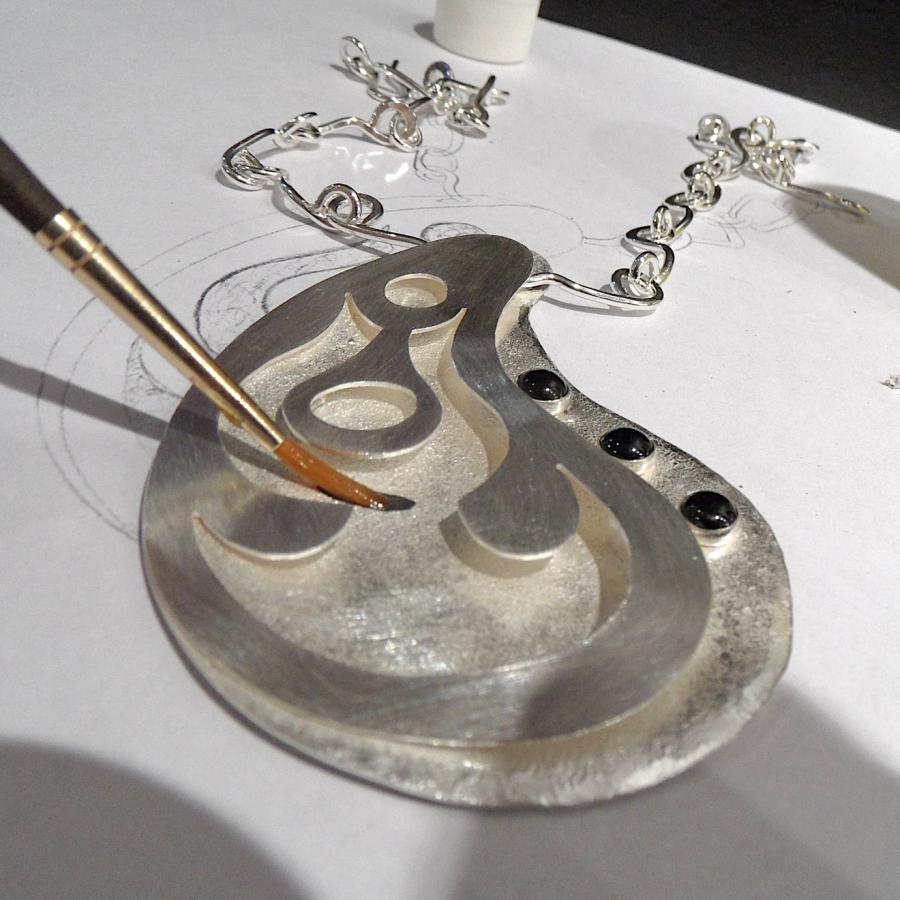
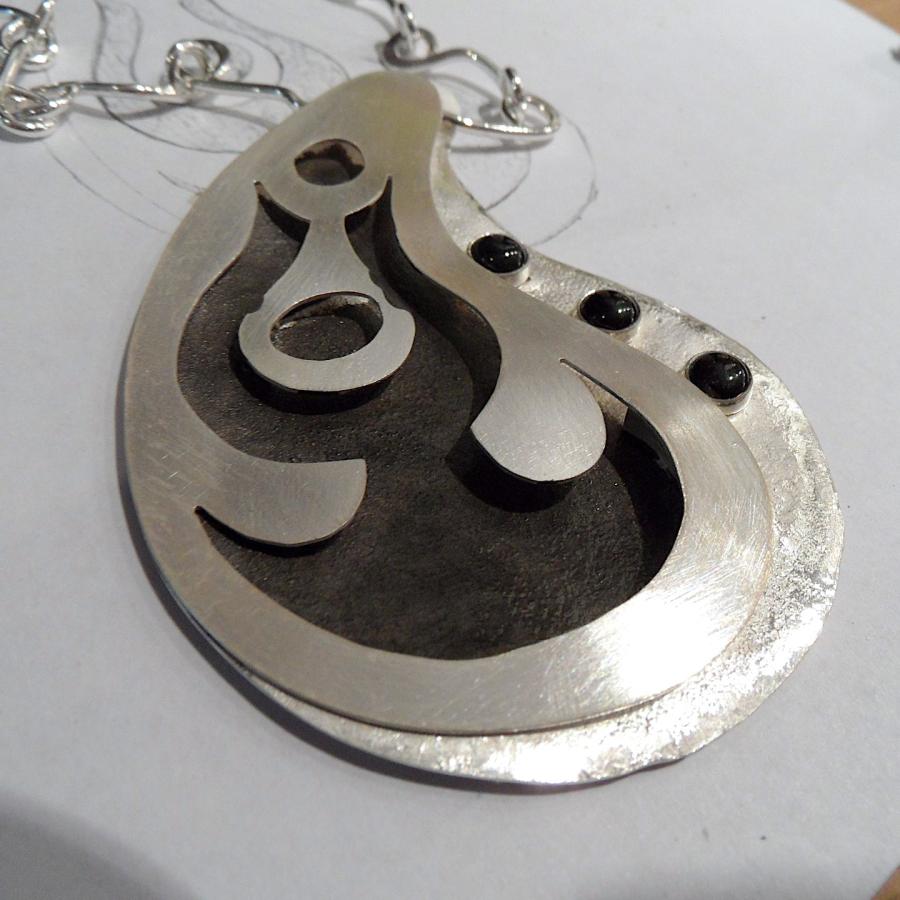
Working on the chain and doing the final polish and oxidation. The design evolved nicely.
Of the two awards I have elected to make one a very wearable piece. The recipient is a woman who contributes great things to the arts which makes a great fit for what I do.
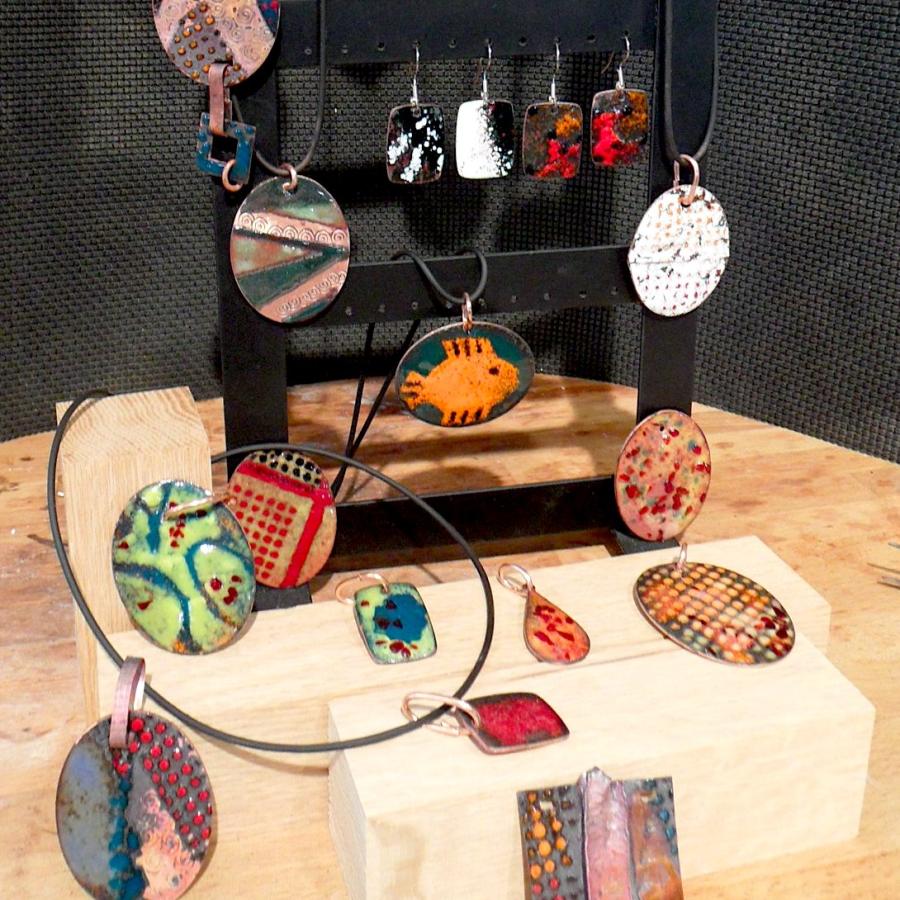
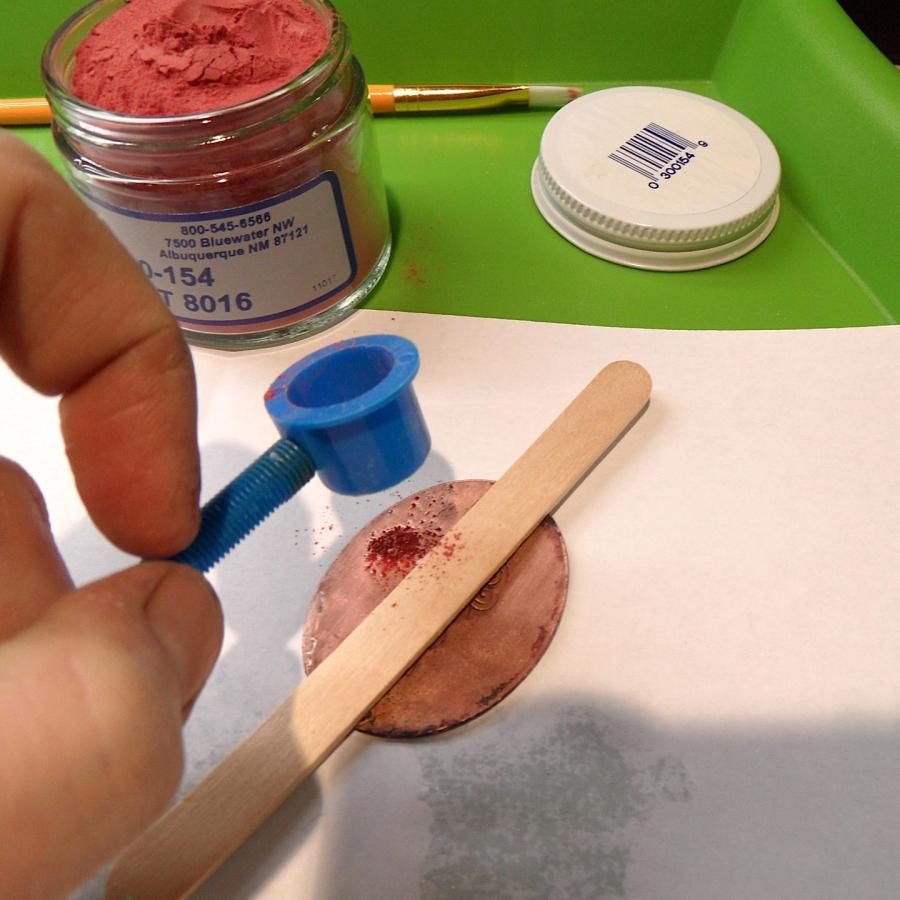
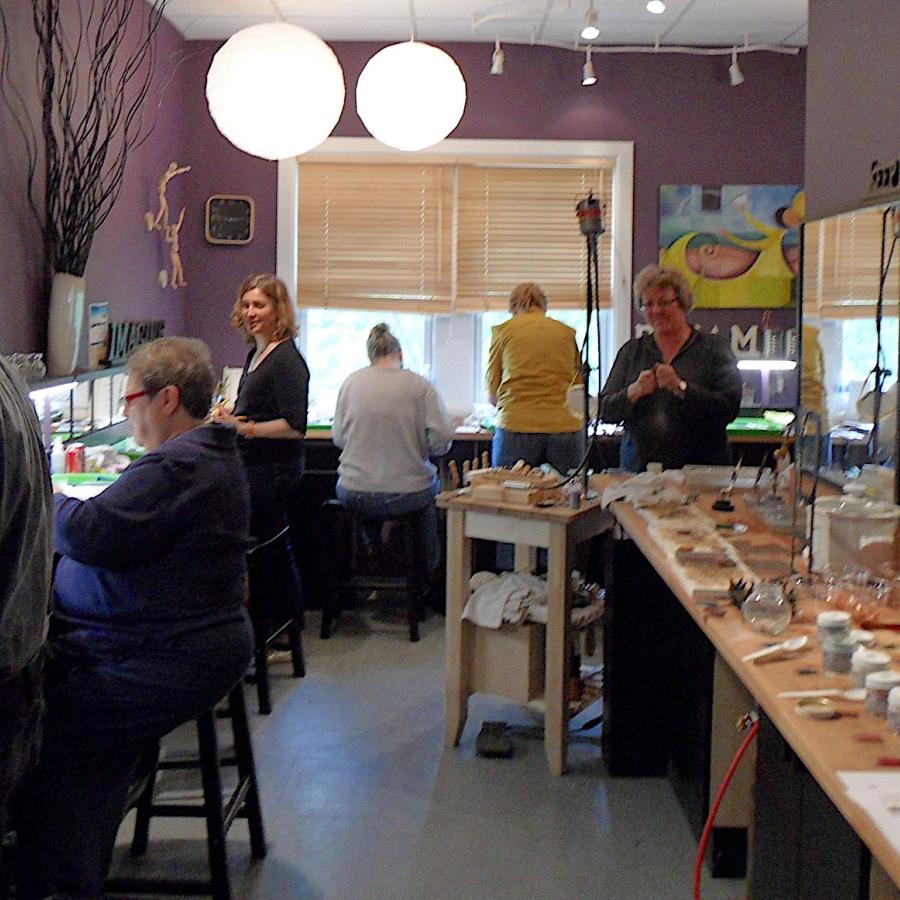
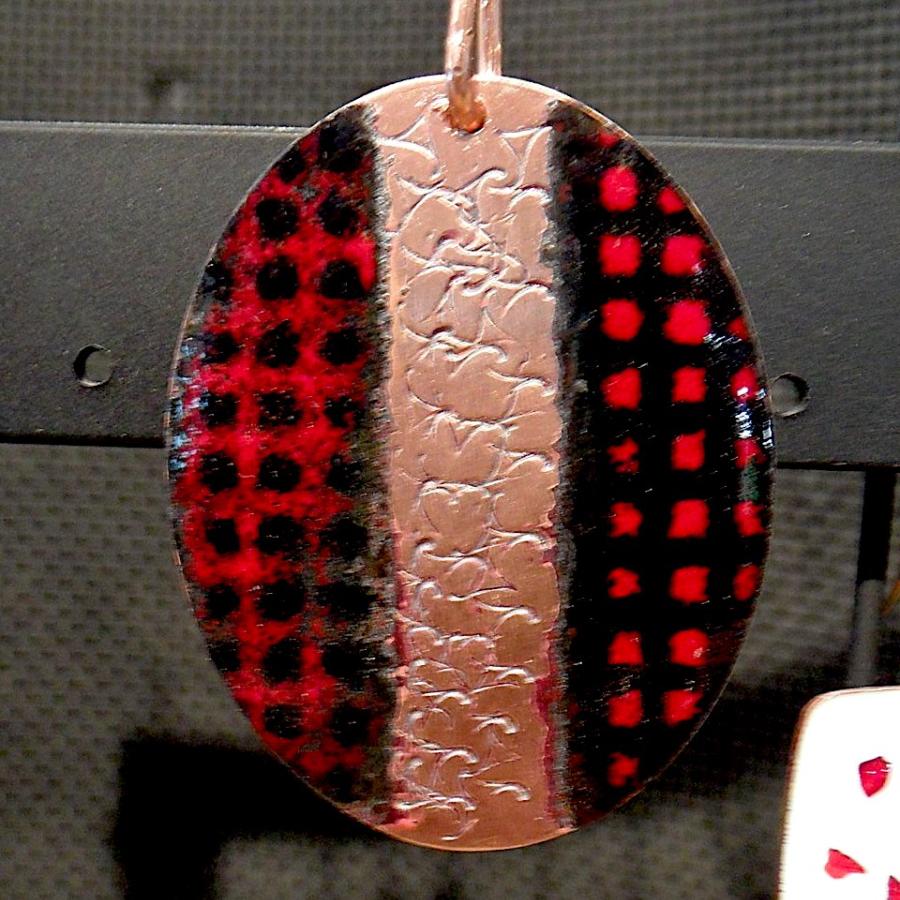
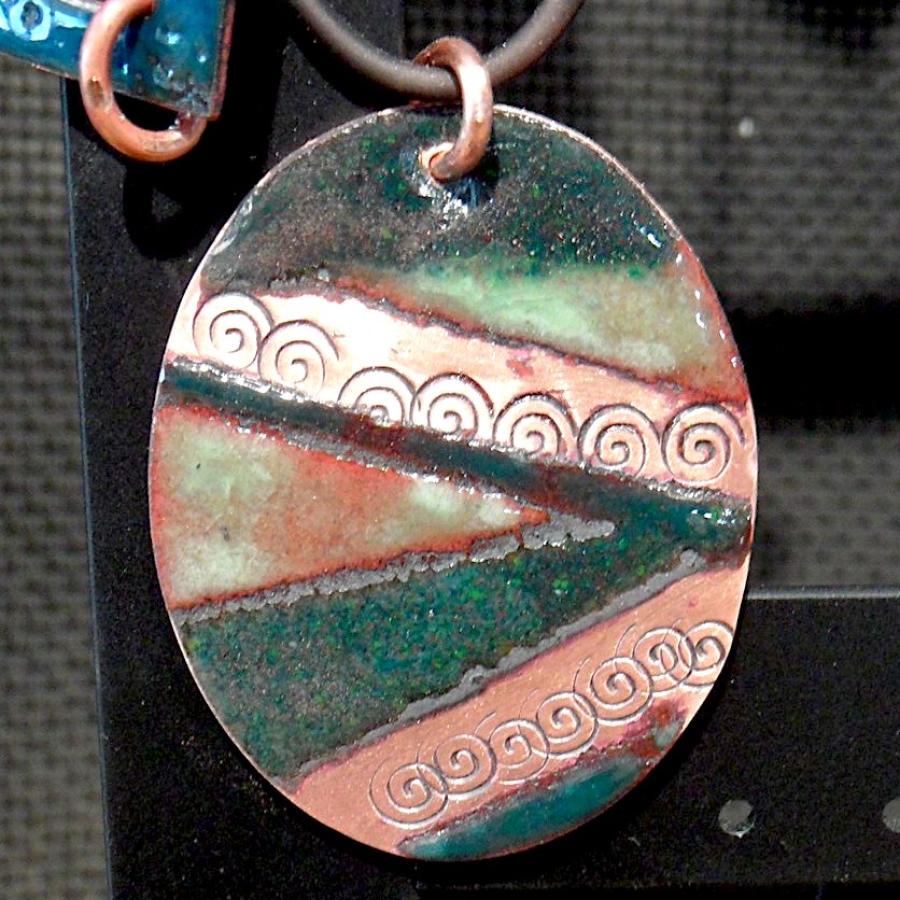
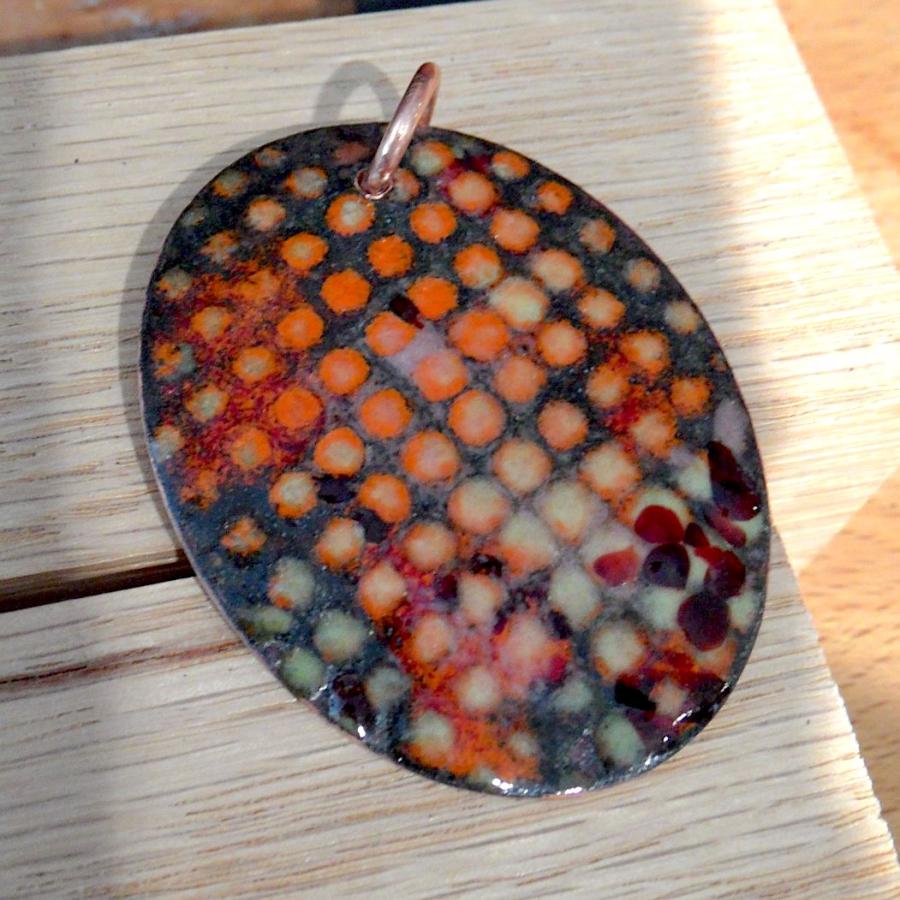
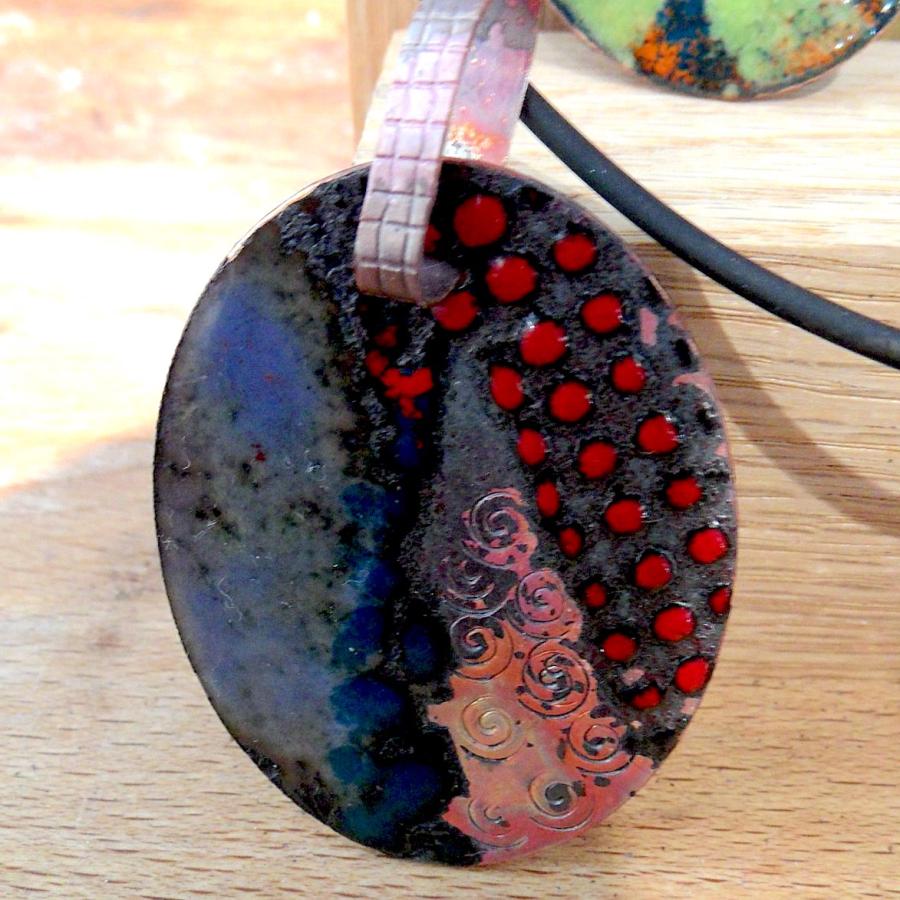
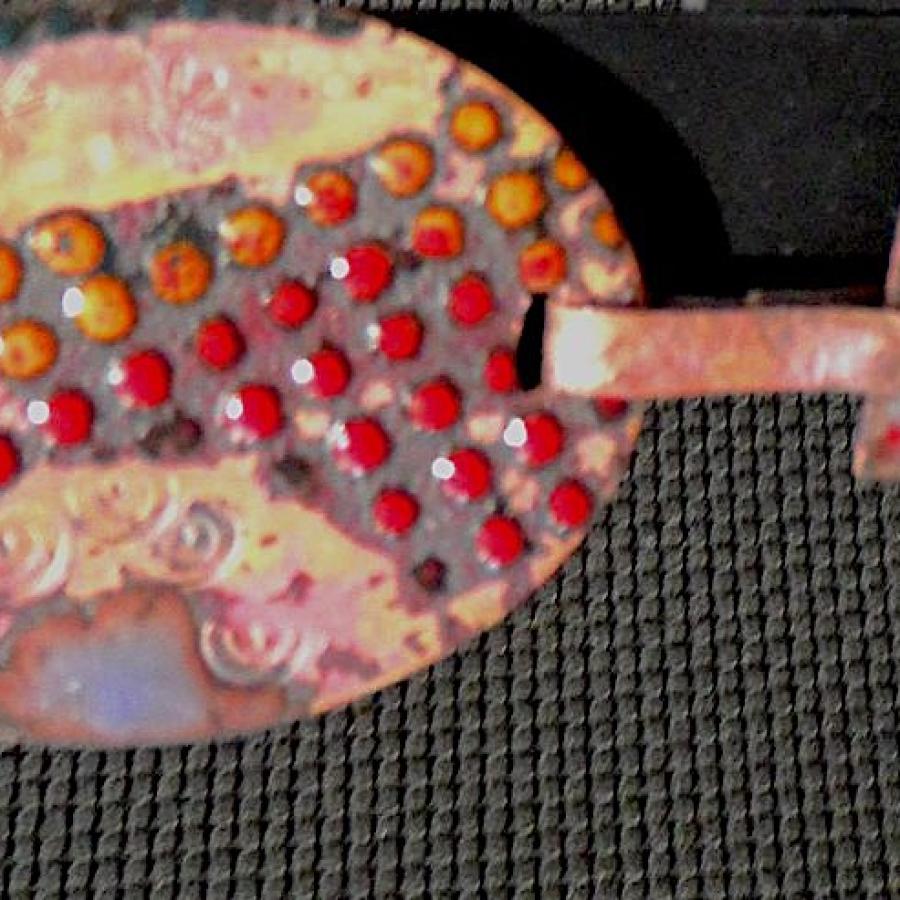
A very fun day spent in my wee studio as I offered my first little workshop in copper enameling. This is an art form in and of itself, and I would be the first person to say that in no way am I an enamelist. But incorporating it into my work enabled me to teach the bare-bones-basics of this wonderful technique.
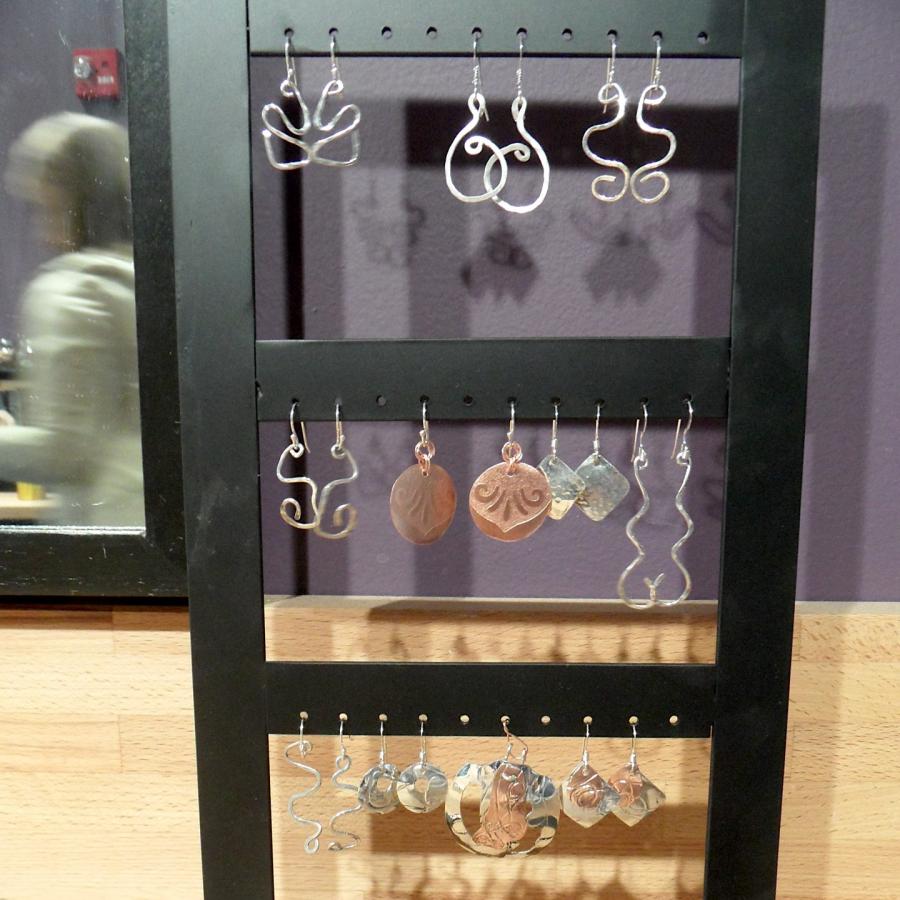
And the class did great. Just look at these fabulous creations!
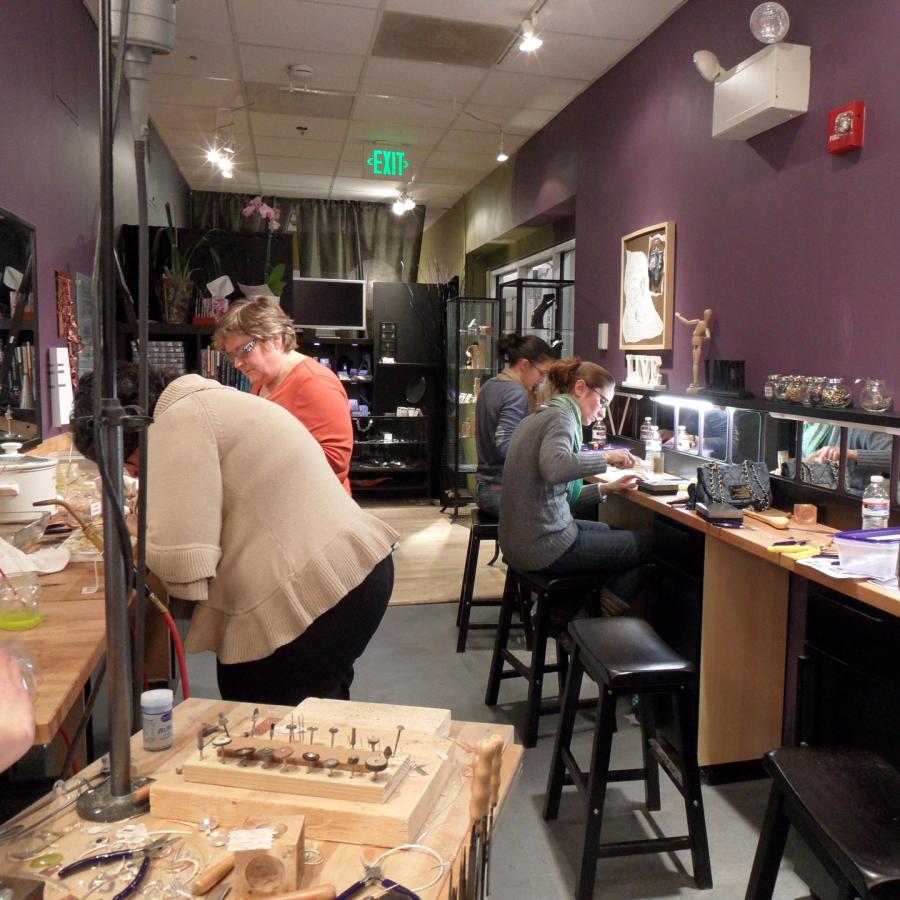
The Basics of Copper Enameling is a no experience necessary workshop offered at SilverWorks.
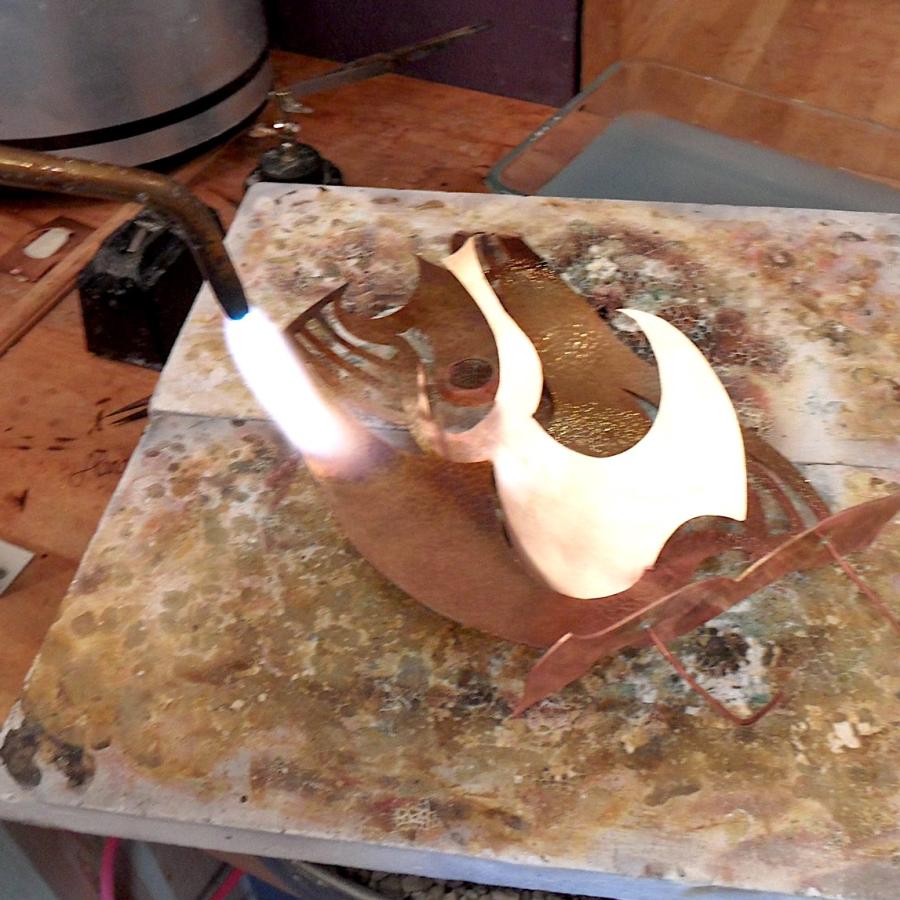
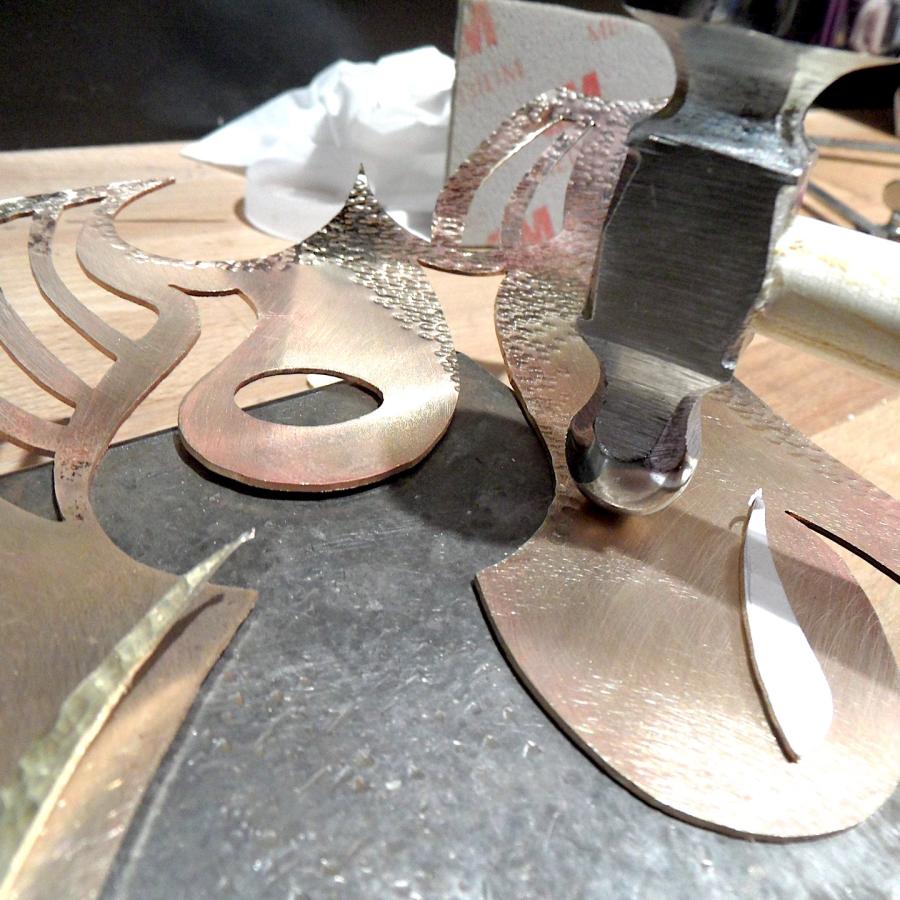
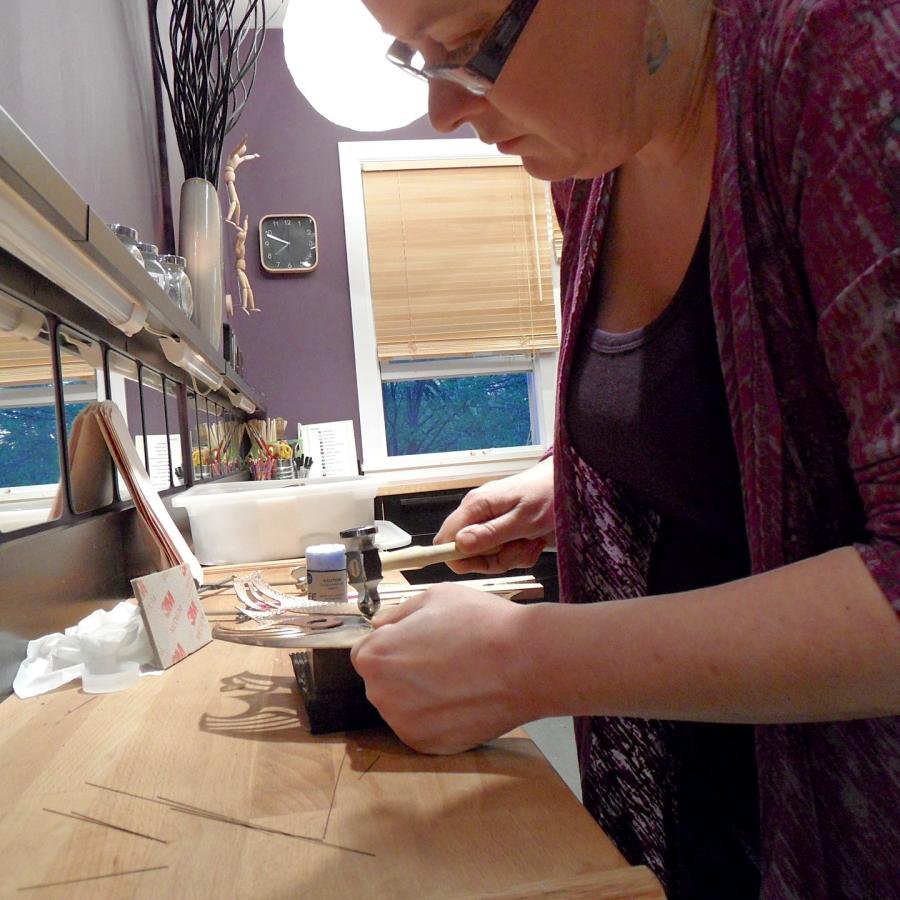
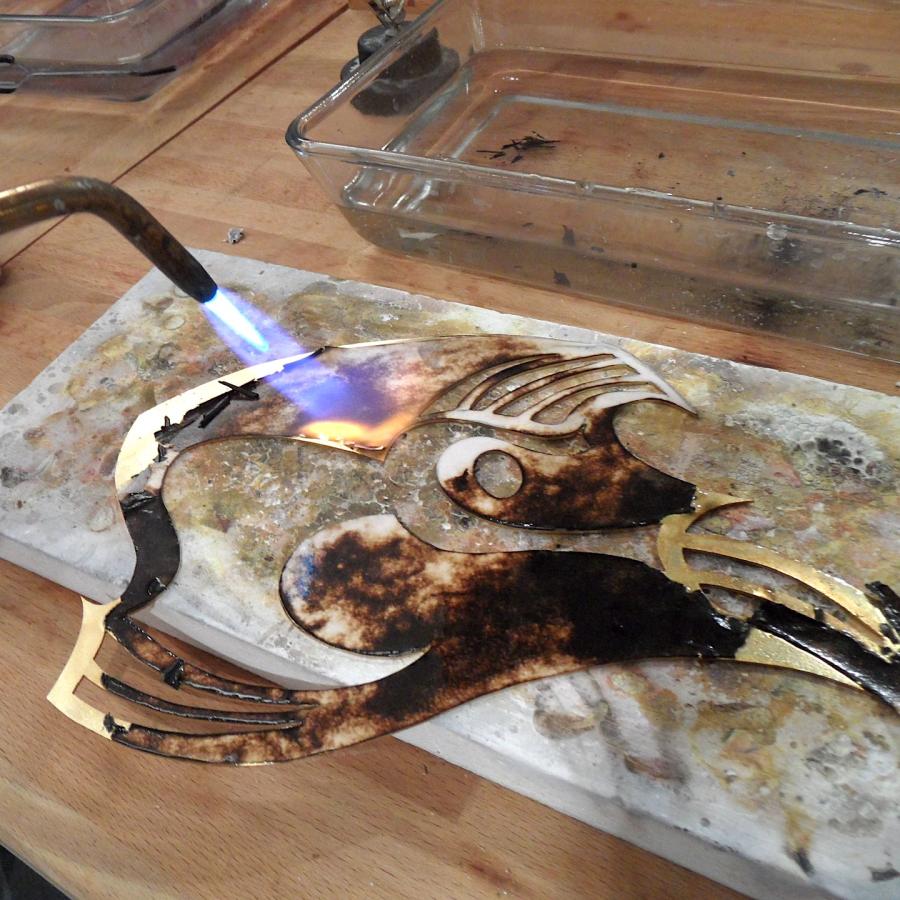
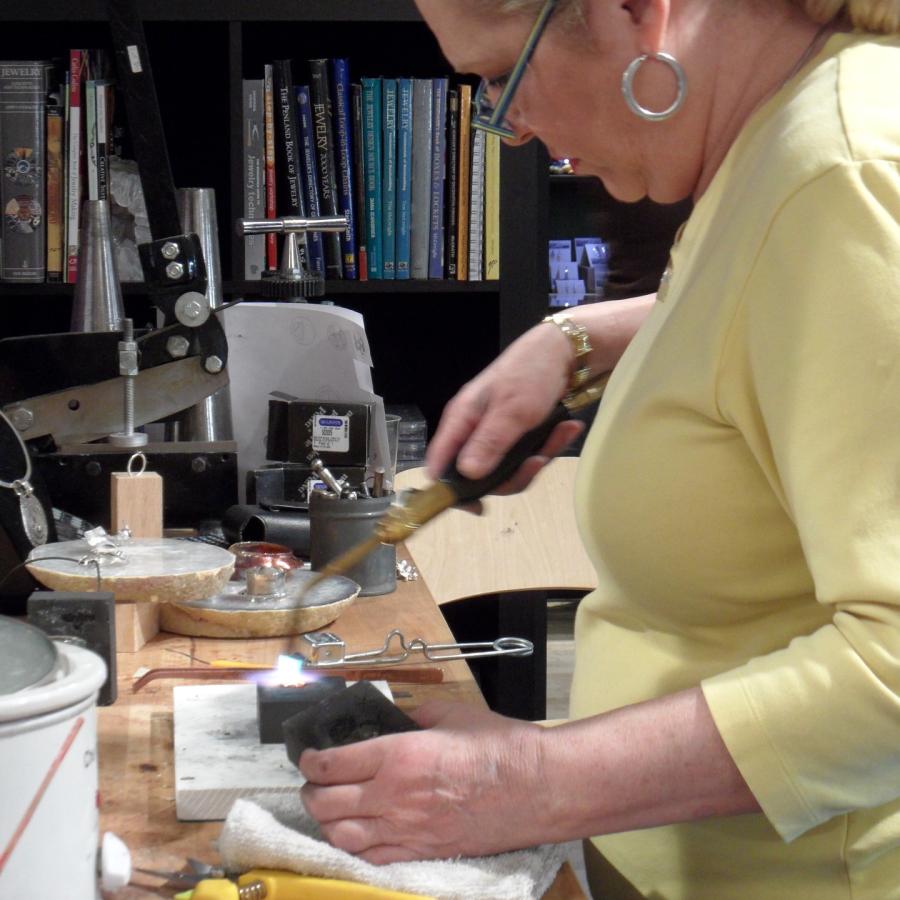
The torch is used to burn of the paper image and anneal the brass to prepare it for the next stage, hammering.
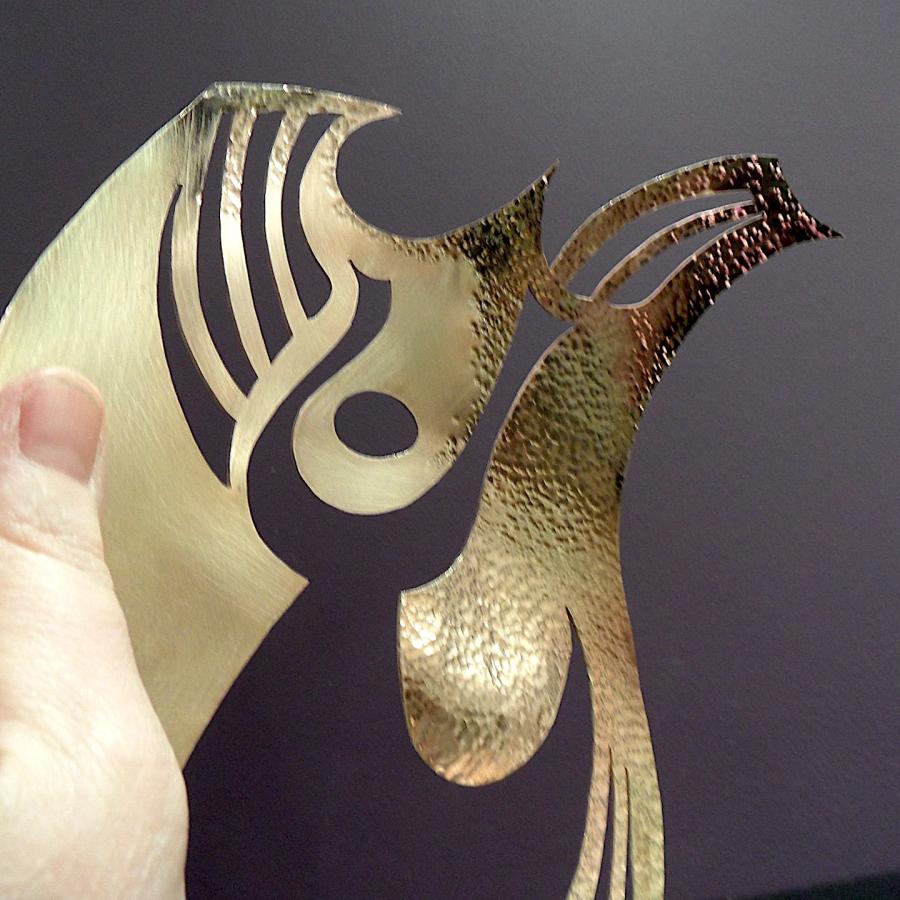
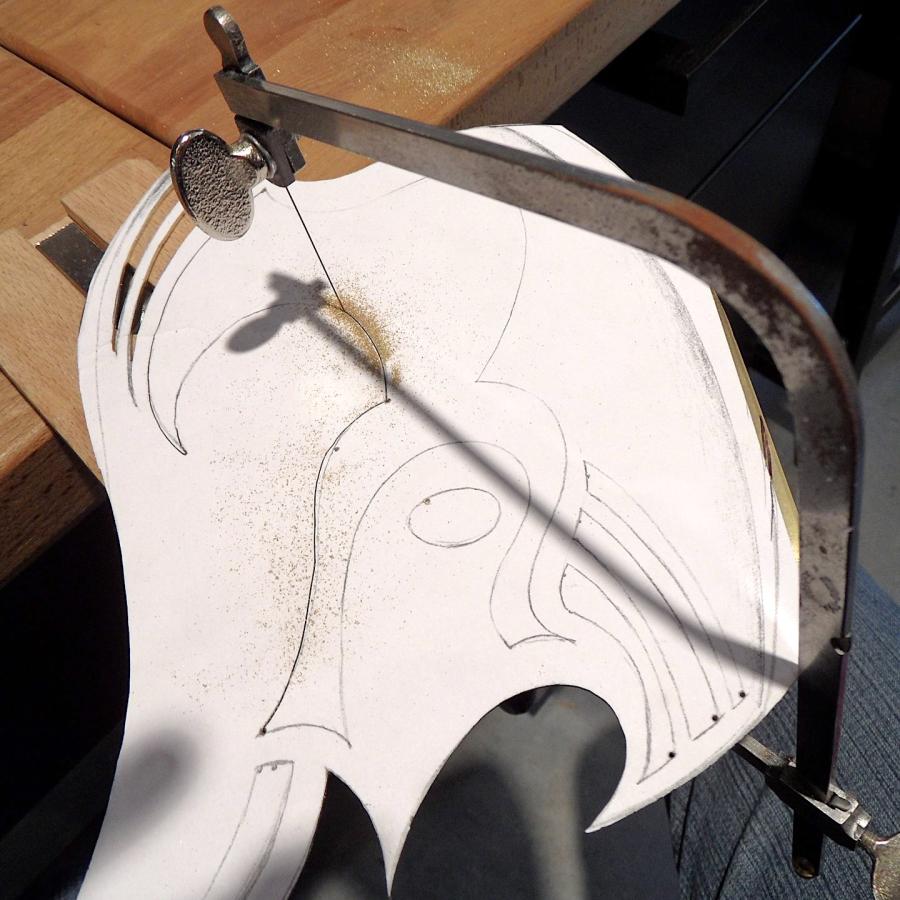
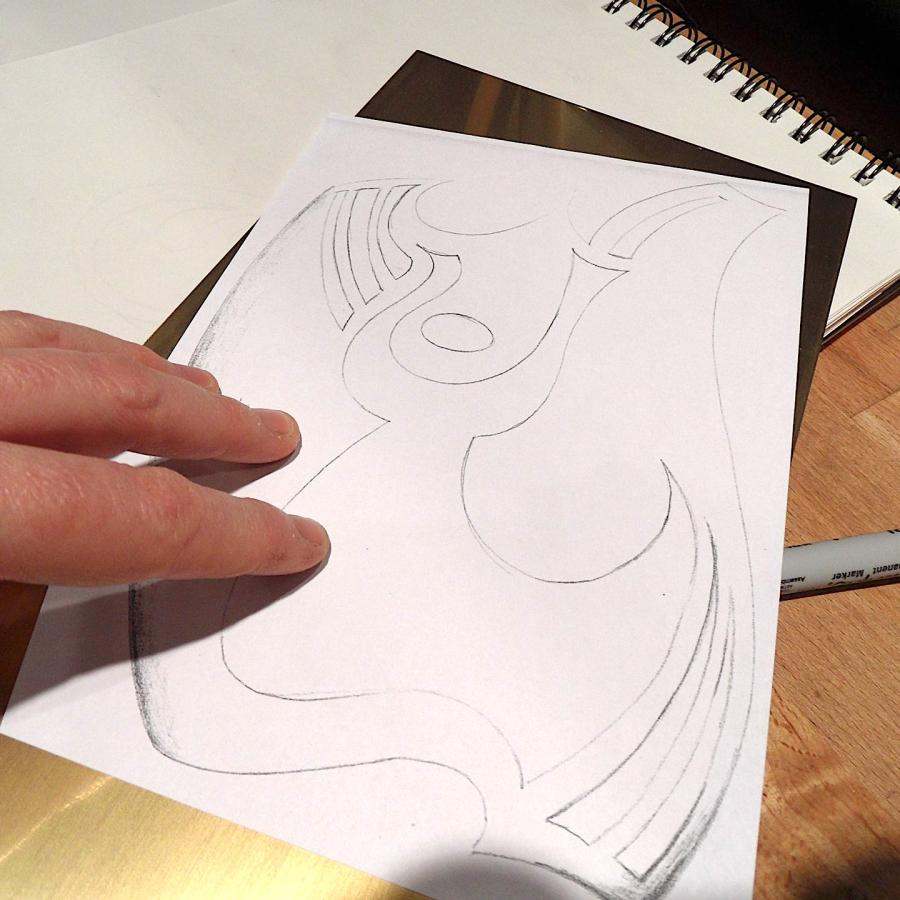
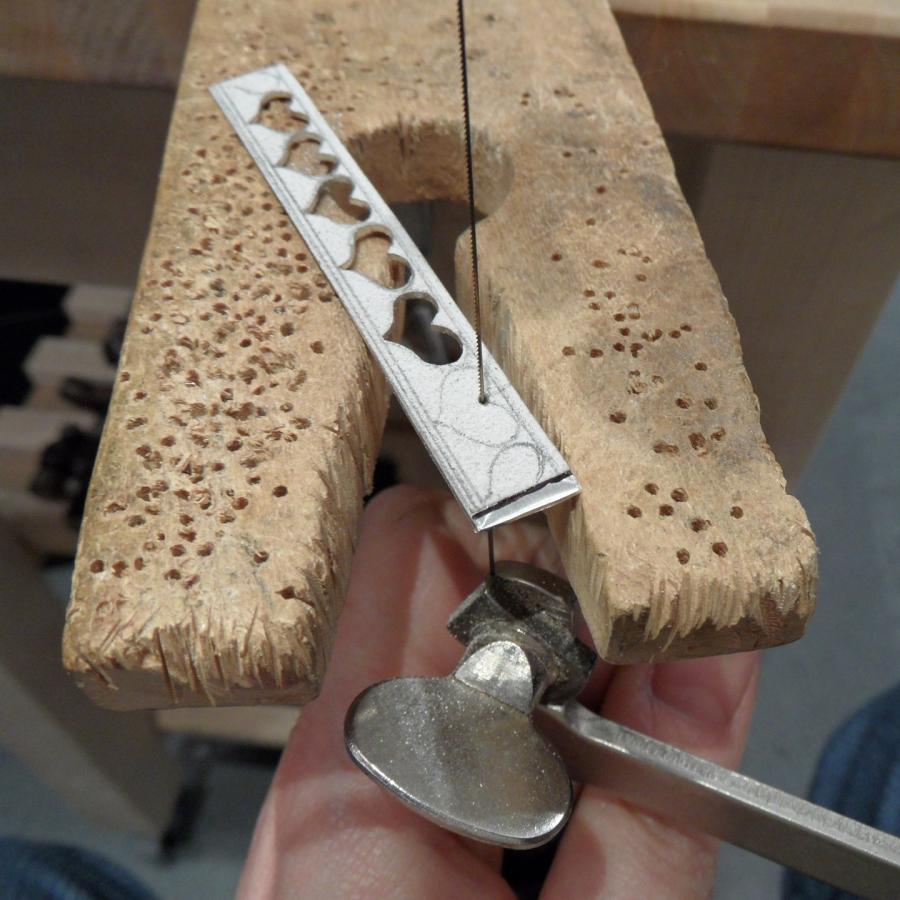
The initial design is blown up and pasted to an 18 gauge brass sheet using a spray adhesive. The pilot holes are drilled to thread a saw blade through. These “negative spaces” are then sawed out to reveal the pierced image of a woman in dance.
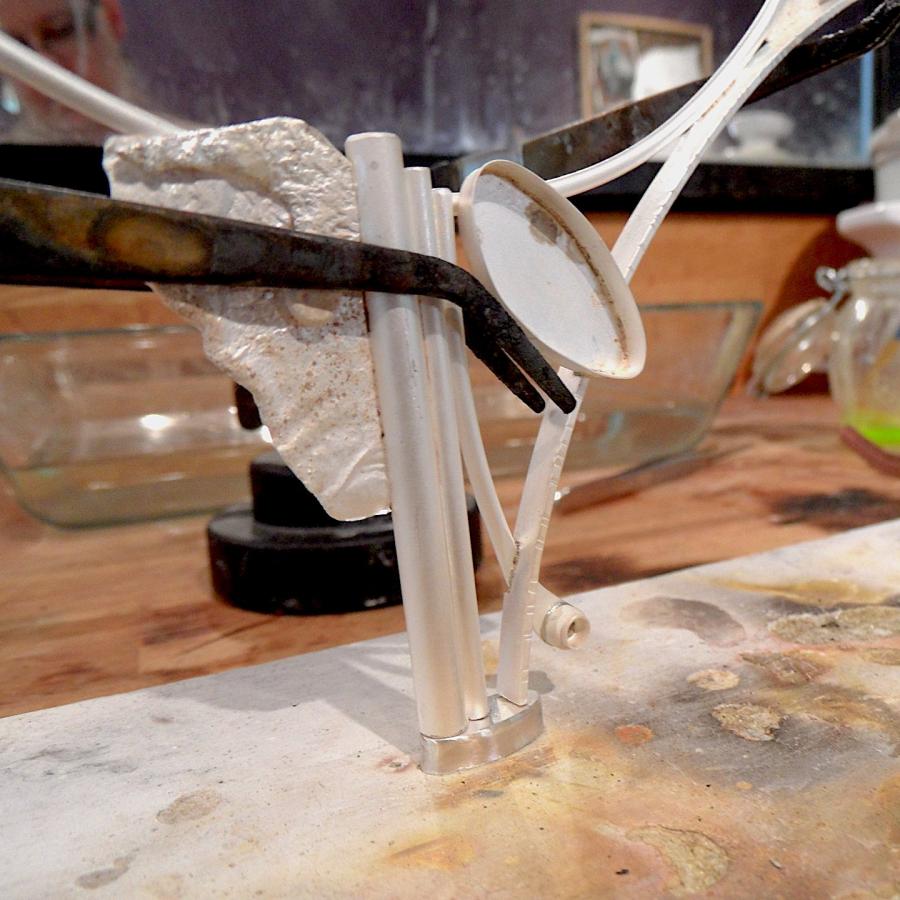
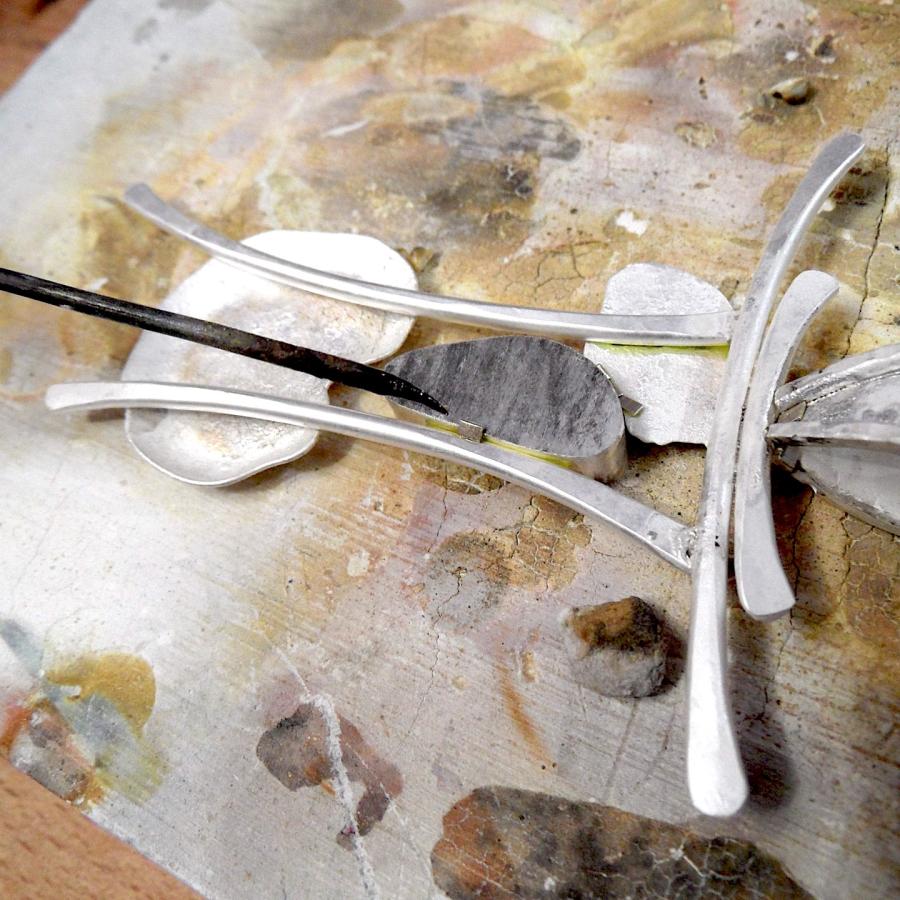
This multiple solder-joint piece was a perfect candidate for staging from the back. A soldering technique that is good to use whenever you can. It conceals solder smudges if solder runs away from you, and keeps your finishing to a minimum.
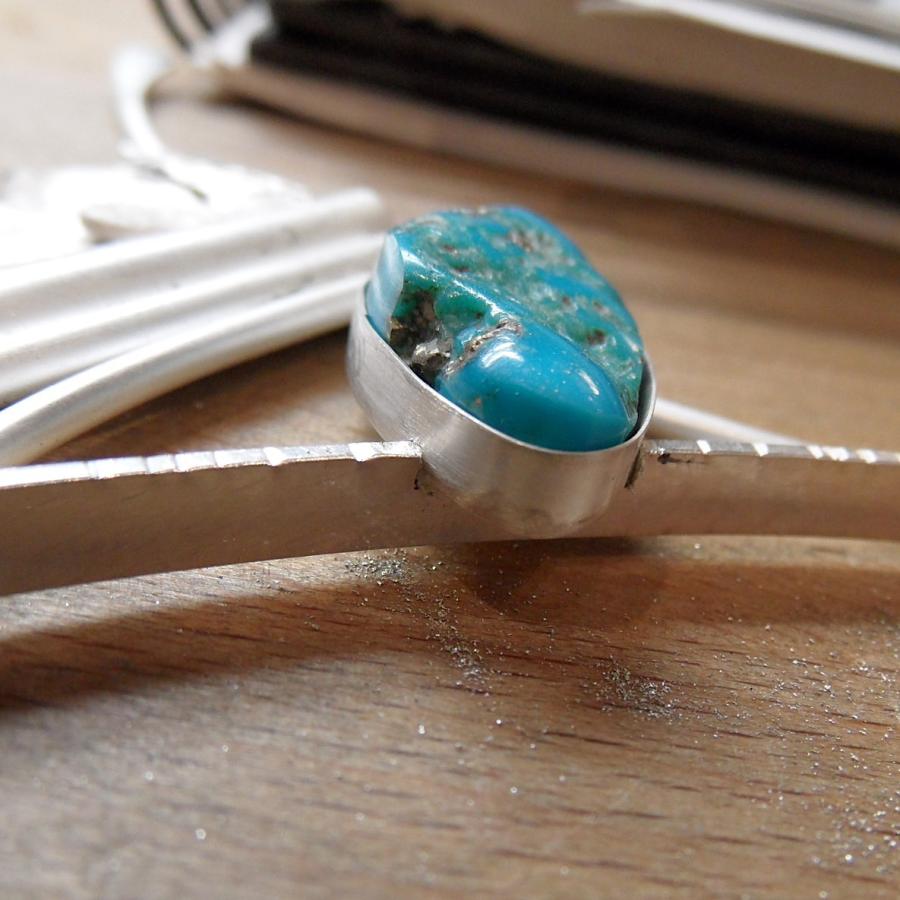
The opal in this piece has a flaw so I plan on drilling into it and setting a moonstone “adrift” in the “water” of the opal. “Adrift” is the working title of the piece, but it wont be titled until it is done.
The technique used for the texture is Charcoal Casting which I teach in Intermediate Silversmithing.
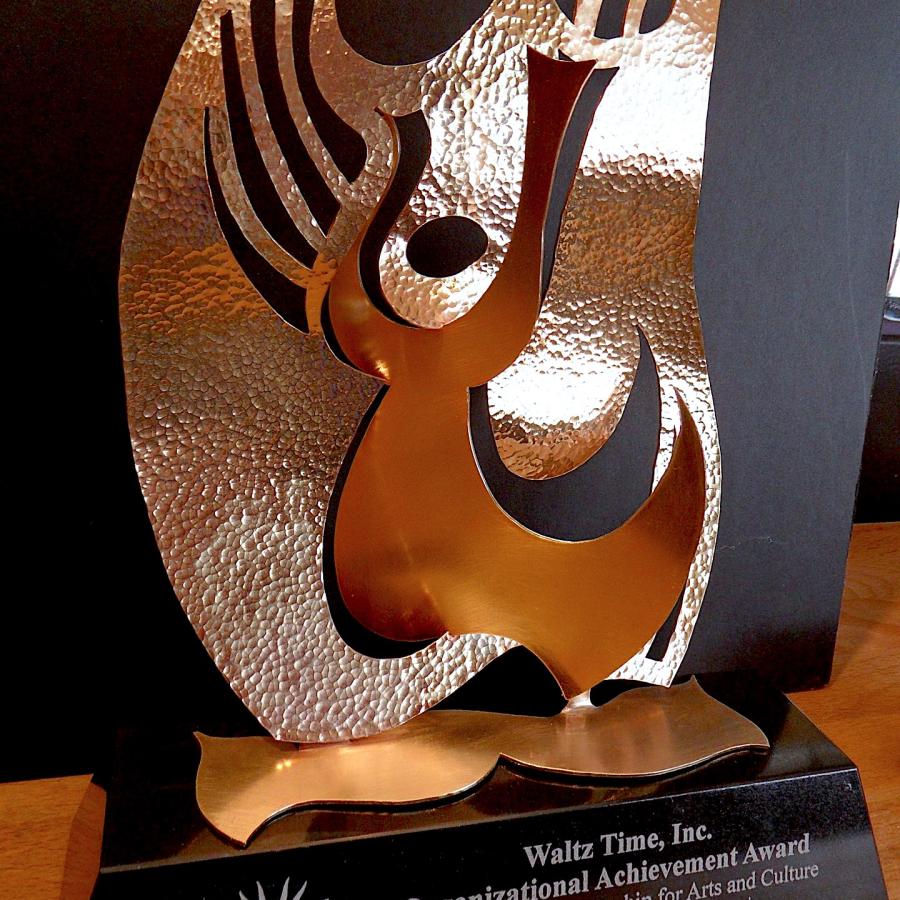
This is the first piece for my upcoming show, The Fifth Element.
It is my honor to have been asked to create the awards that will be presented by the Glen Echo Park Partnership this year. Two different recipients warrant two unique pieces. One will be accepted by an individual and one a group. For the individual I am creating a one-of-a kind wearable art piece. For the group, a sculpture.
Just a warm-up in my first session of Intermediate Silversmithing. We explore the primitive technique of charcoal casting. It is a great way to use up scrap, create some interesting design components while practicing torch handling. Melting metal is a good way to learn timing, a skill that is important when later applied to soldering.
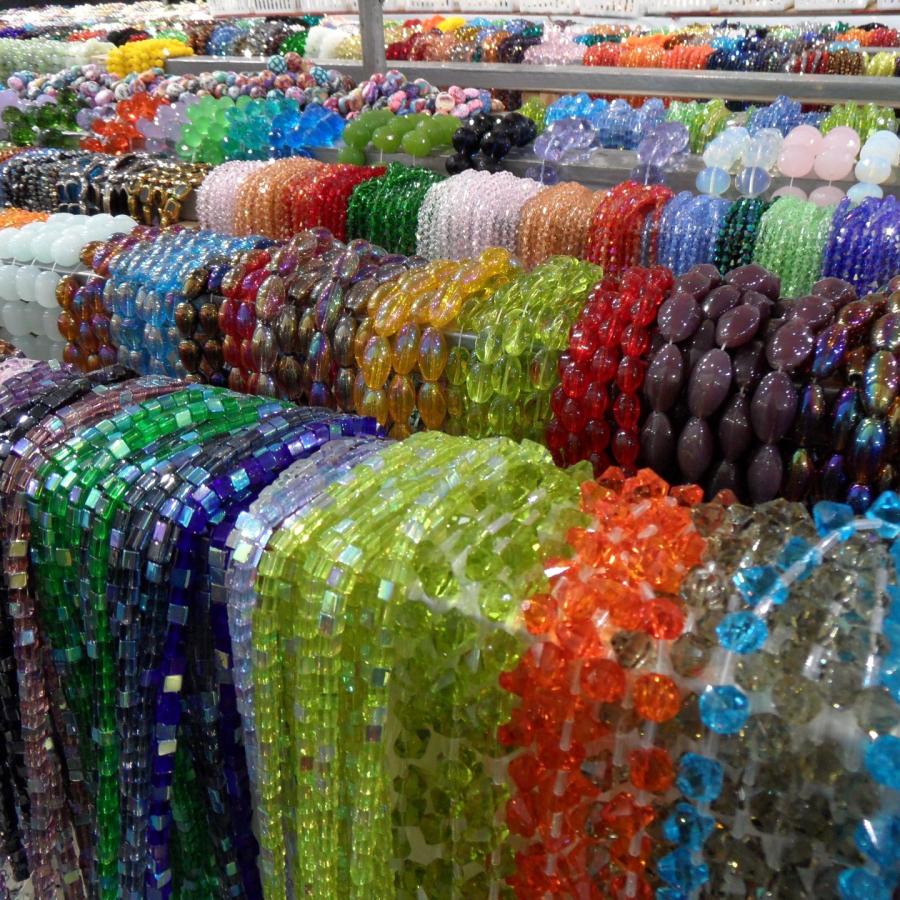
Spent a fabulous few hours at the local gem show in VA. Although I had planned on spending a week in Tucson this year for the grand gem show, I had to cancel (again). Although the show in Chantilly is no comparison, it was still fun to be face-to-face with some vendors and their wares.
I scored some fabulous Australian boulder opals, black opals, and a variety of facets and cabs that will do nicely for some new work.
My worst challenge... is not to use ALL of the gorgeous boulder opals in one fabulous piece.
(the muse was screaming for this on the way home from the show, and it remains to be seen if she wins that).
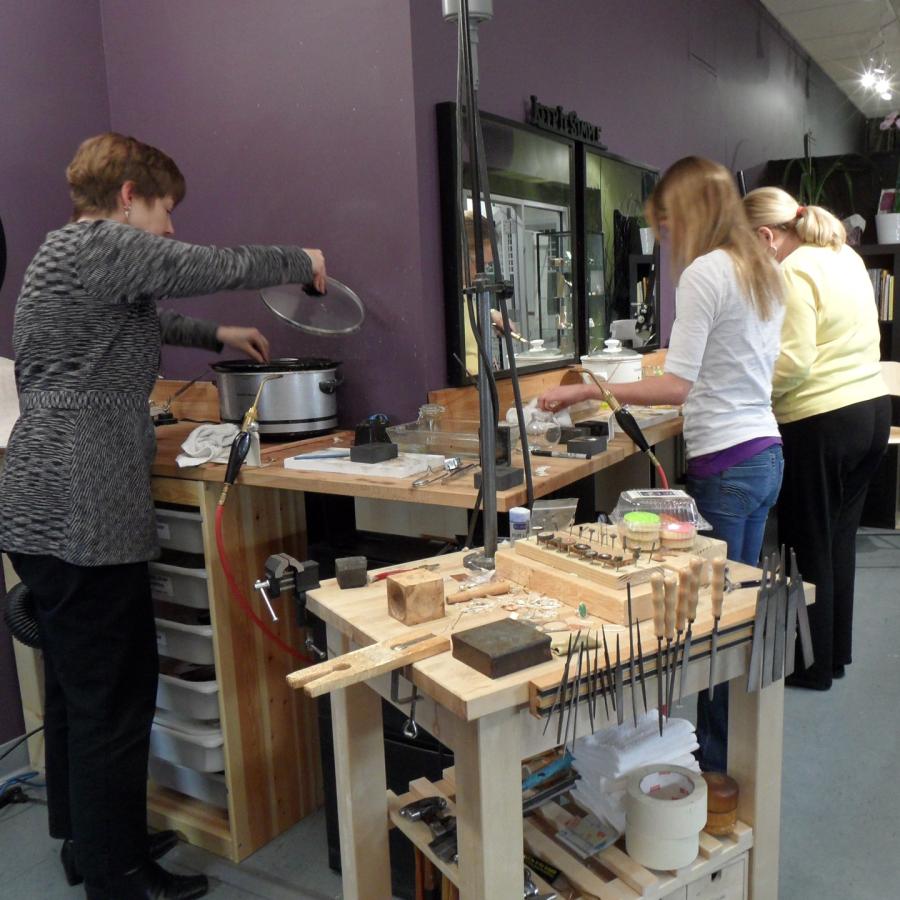
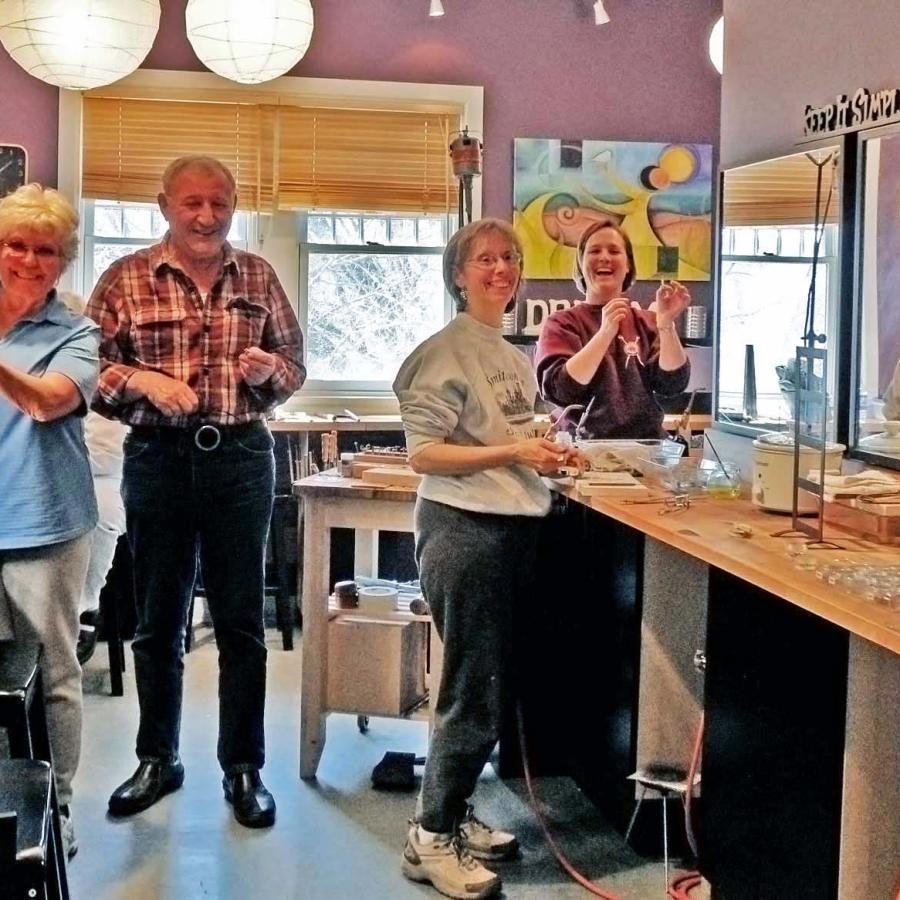
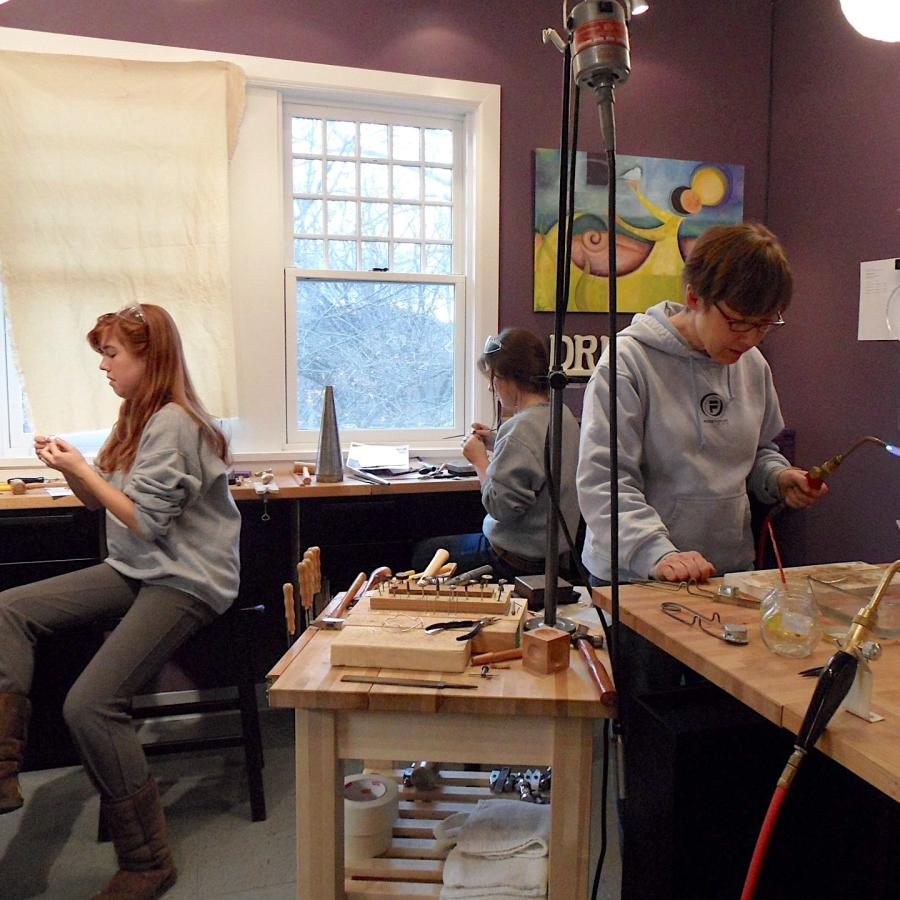
Great time with my most recent Discover 1 Workshop. All complete newbies to this art form but it was clear that the muse was in the house as they hit their stride on the second day.
It is the most rewarding thing for me to see those lights go on in others as they step into their creative stream.
What can I say...
It is just so much fun.
As I continue to encounter various folk that come through my studio door in the pursuit of enriching their artistic journey, I can’t help but notice a reoccurring theme that seems to create a creative roadblock for some...
Negativity.
Whether it is projected inward which presents itself in disparaging comments like “this is probably going to look awful,” or “I will probably screw this up”, or projected outward as an expectation that something external will make an artistic endeavor go south, both are destructive.
And I try very hard to shoo and shoosh these things from my studio.
There is a reason I have words hanging from my shelves that remind people of a different state of mind. Laugh, Dream, Imagine, Live, may seem a little corny at first glance, but it astonishes me how many folk have a hard time being in that state when pursuing creativity.
And a negative attitude is like a virus. It can easily infect the other folk around you and send their muse into hiding.
Creating great art is a challenge on the best of days and it not only takes a honed skill but it also takes a little mystery on top of health and balance to execute. Why send the whole thing packing before you get started by being negative?
In my many years of being a “temper-mental artist” I have found a few things that help give the muse a leg-up. Some are practical and common sense, and some are a little more mystical.
Here are a few of my favorite Muse Rules:
The basics:
- Enough sleep
You may think that the muse enjoys being sleep deprived, but I have found that she prefers a solid night snooze to bring out her best. - Balanced eating
I know, you are thinking... “Jeez, Blair, really?” Yes, really. Energy levels are dependent on healthy eating and if you swing back and forth from sugar highs to crash, it is hard to get anything done. This includes not being over caffeinated;-) - Don’t drink and paint (or silversmith)
I am a wine lover, but creativity and alcohol don’t mix well. After two glasses of wine that work of art might start looking like a masterpiece, but come 9 a.m. you will discover that the muse left you after the first glass.
The not so basic:
- The magic hour
There is a time of day that is your “creative sweet spot”. It corresponds with the previous two items, but can be influenced by other outside sources, distractions and commitments. For this reason some folk find their best hour is the wee hours of the night. I am more of an 11am gal, which is when all of my creative planets tend to align. When you find your optimum hour, bring it to bear on your most challenging artistic problems. - Frame of mind (reframe)
All the previous items contribute to this, but there are a few more things you can do to help. It may sound trite, but think positively. But even moreso, be proactive about training yourself out of negative self-talk. There is enough baggage coming at an artist from external sources that you shouldn’t ally forces with it and become your own worst enemy. Observe the next time you default to a negative comment, and shift gears. Then do it again. It takes 30 days to change a habit. Start now and see how much your art improves. - Find an ally to your work.
We all need someone significant in our corner. For me it is my husband, but for some, a spouse is problematic. Find someone who won’t critique your work, but be an encourager. This will help you correct #5. - Tickle the muse
Find things that inspire you and use them to bring forth your best work. Music plays a huge roll for me when I am in the zone. External input helps (observe life, art, and design). I also find that if the muse needs a real boost and a little playful fun, a favorite food can jumpstart a creative burst(this assumes that you are still paying attention to rule #1). My favorite muse boosting foods... really messy buffalo wings with blue cheese, or fresh chocolate chip cookies. ;-)
So next time you lift the torch, check the clock, check your pulse, and check your attitude...
and have a cookie.
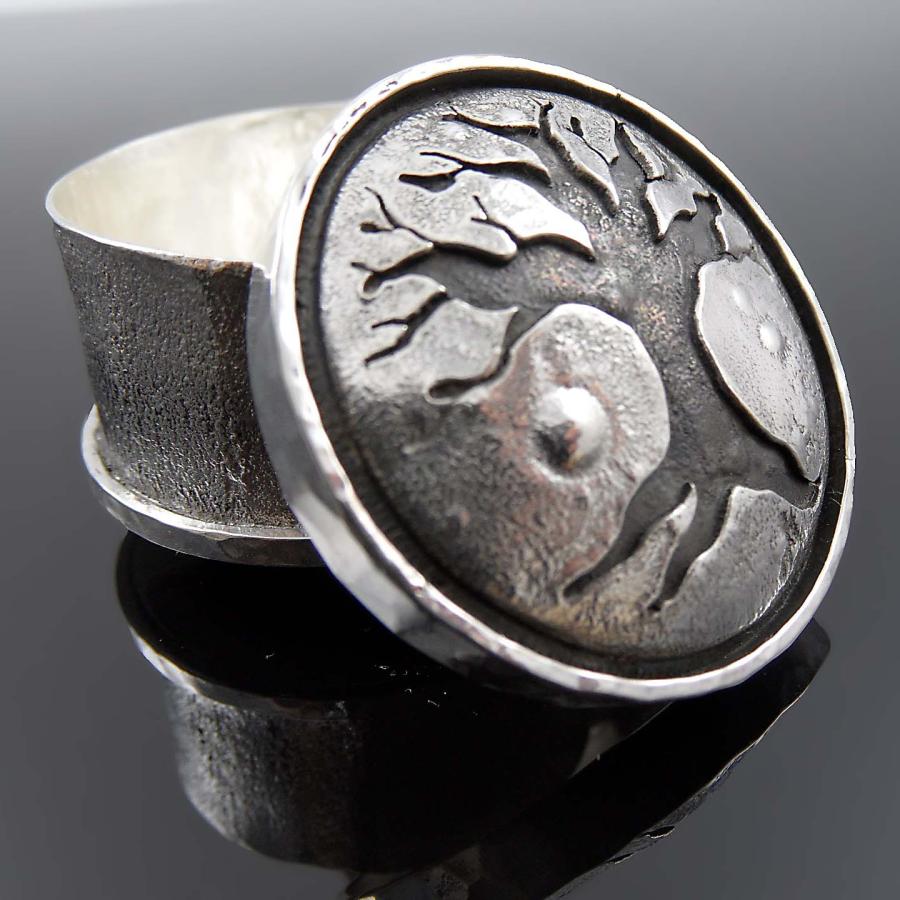
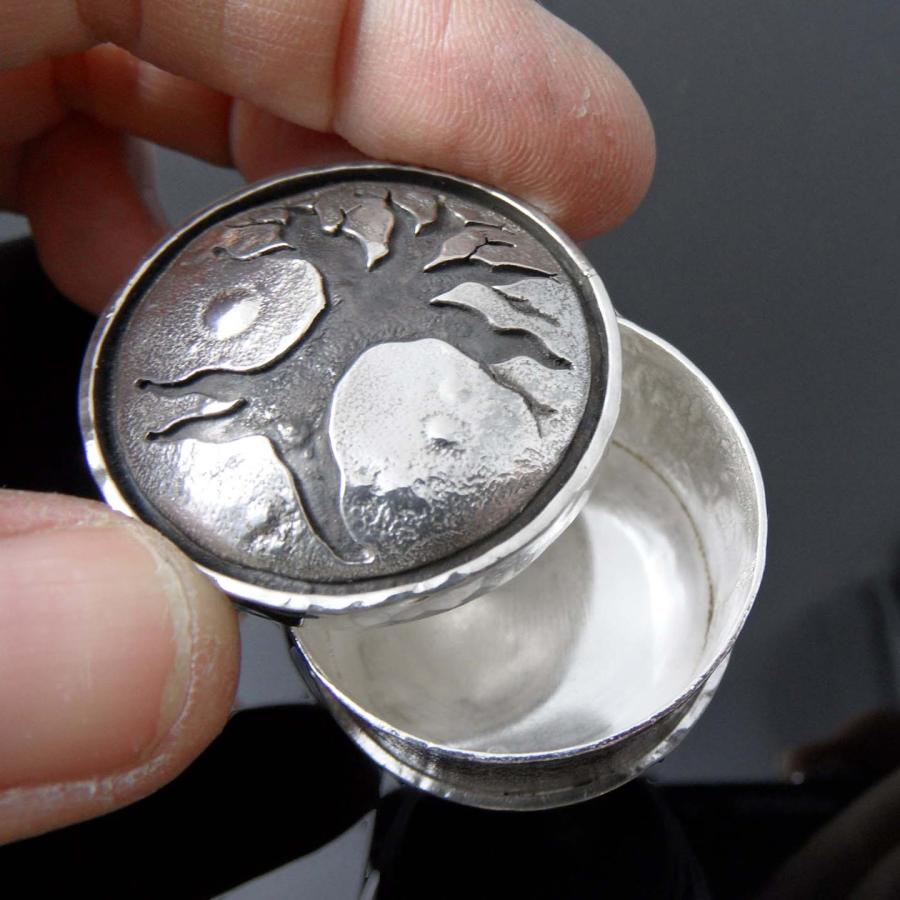
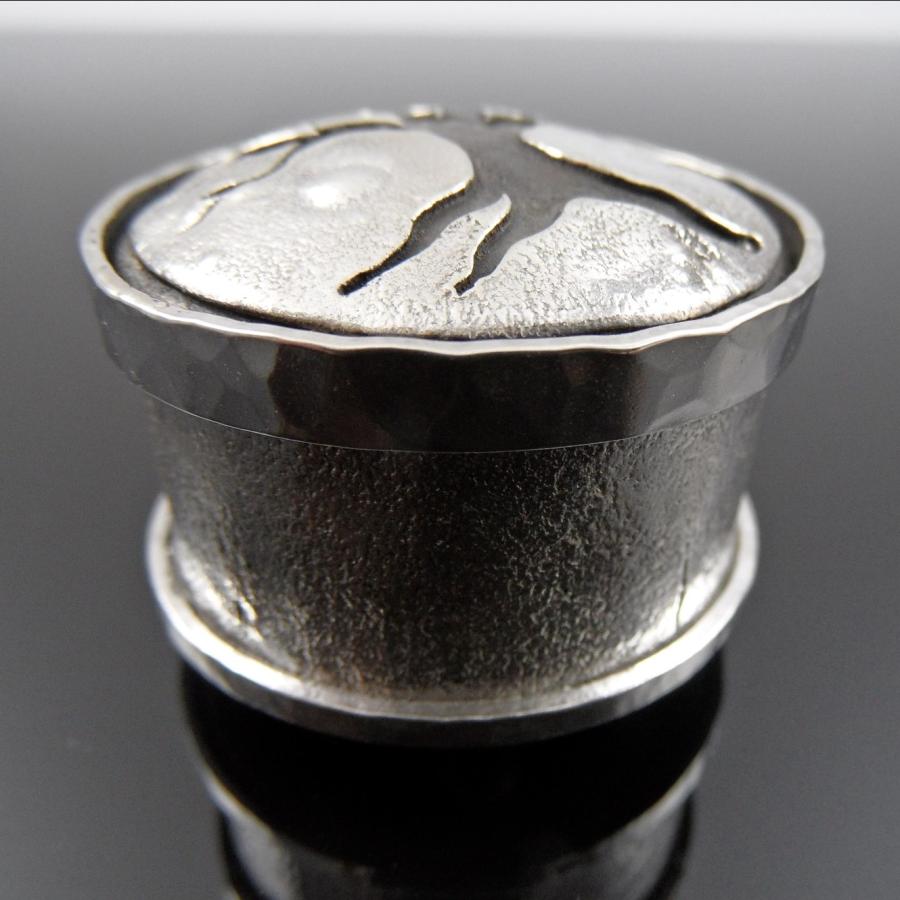
Exploring the building of silver containers. Because I am always doing repeat demonstration thanks to the classes that I teach, I run into the dilema of getting bored. So here is a treatment of what started out as an appliqué project that found its way into a lidded box design.
Normally I don’t reticulate an appliqué, but when the double disc was finished I kinda thought...what the heck, let’s torch it and see what happens.
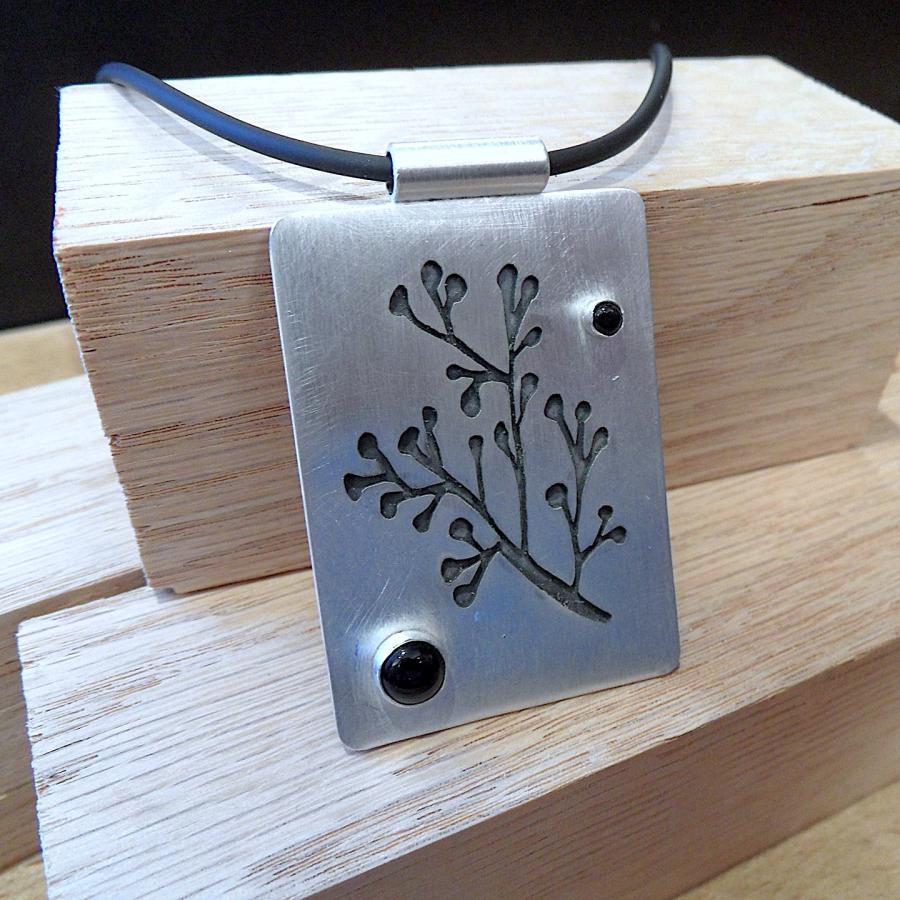
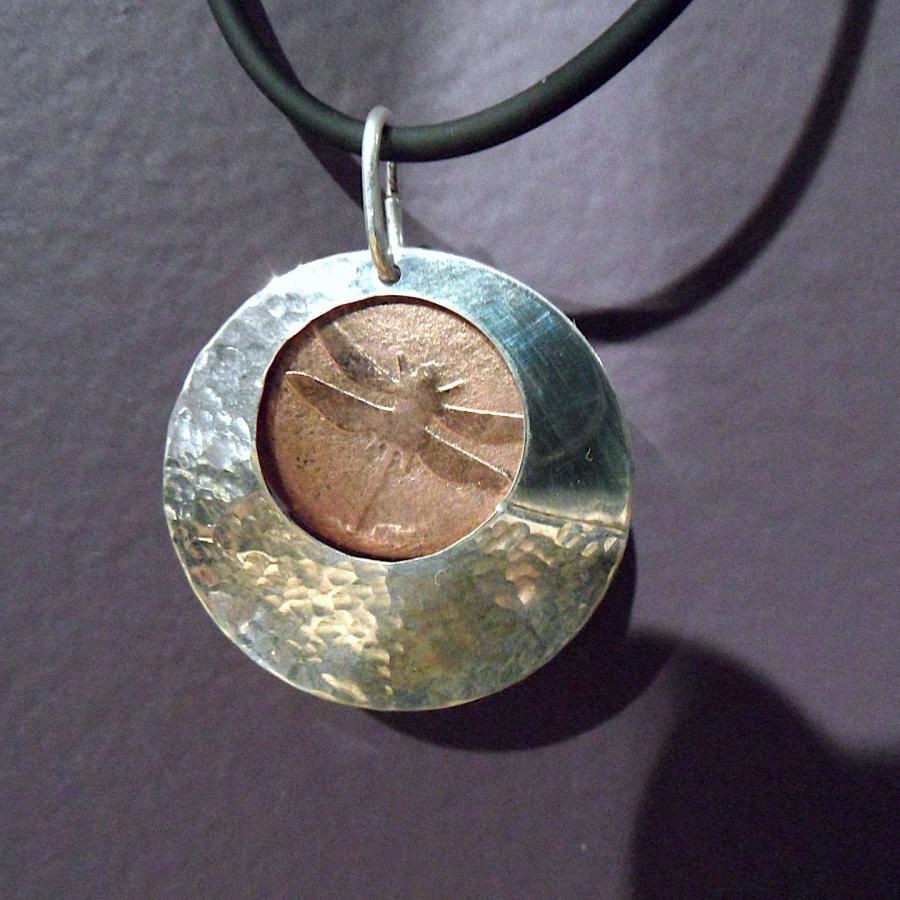
Some great results from those who took my skill builder; Appliqué Class. A time consuming process involving a whole lot of sawing, this skill builder improves the skill of...well, um...sawing.
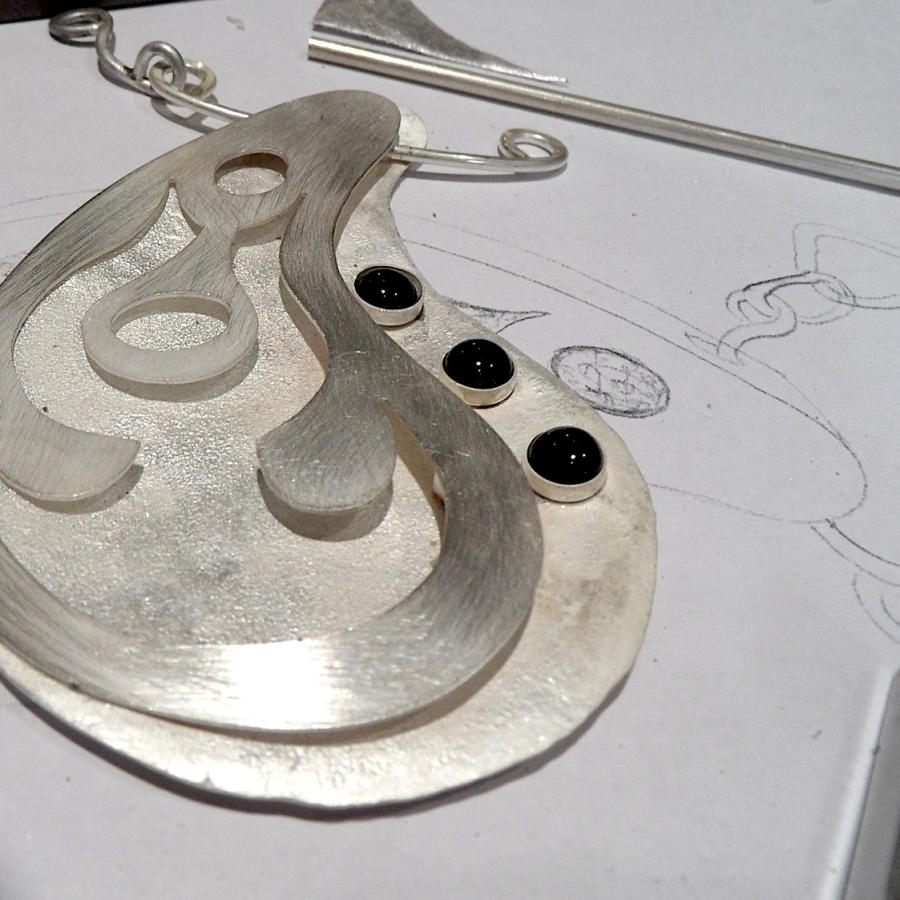
Beautifully executed, the pendant featured at right is by Kara (age 15). Nice job Kara!
Applique
What is “appliqué”?
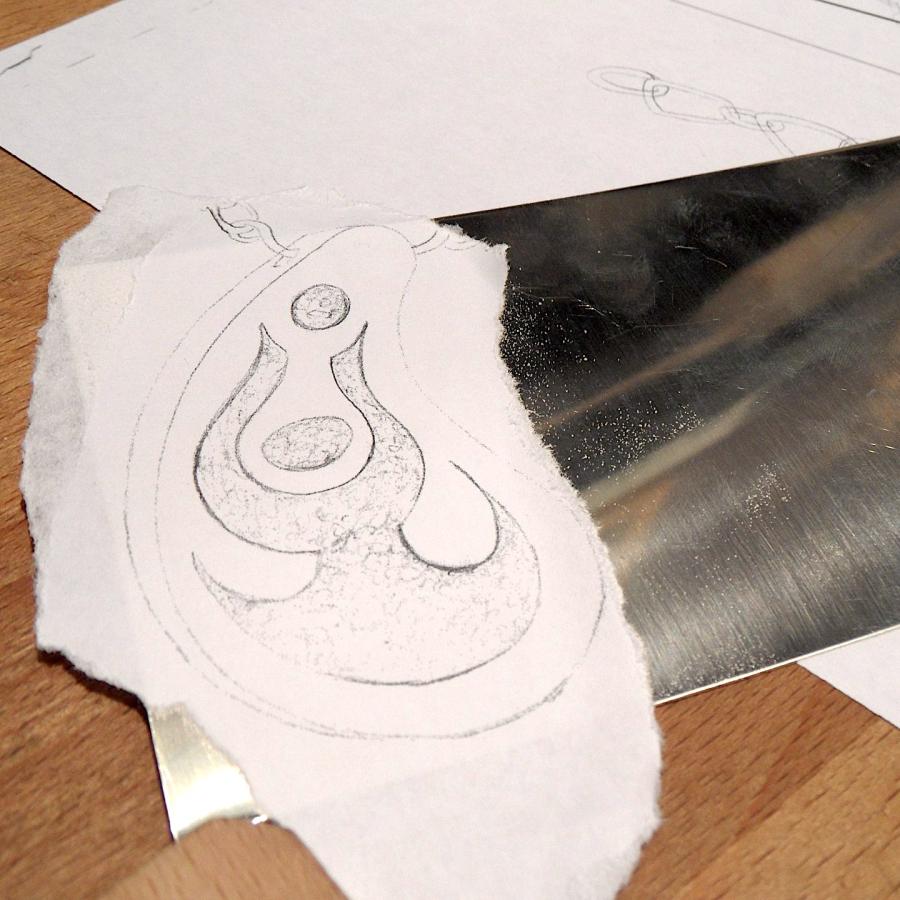
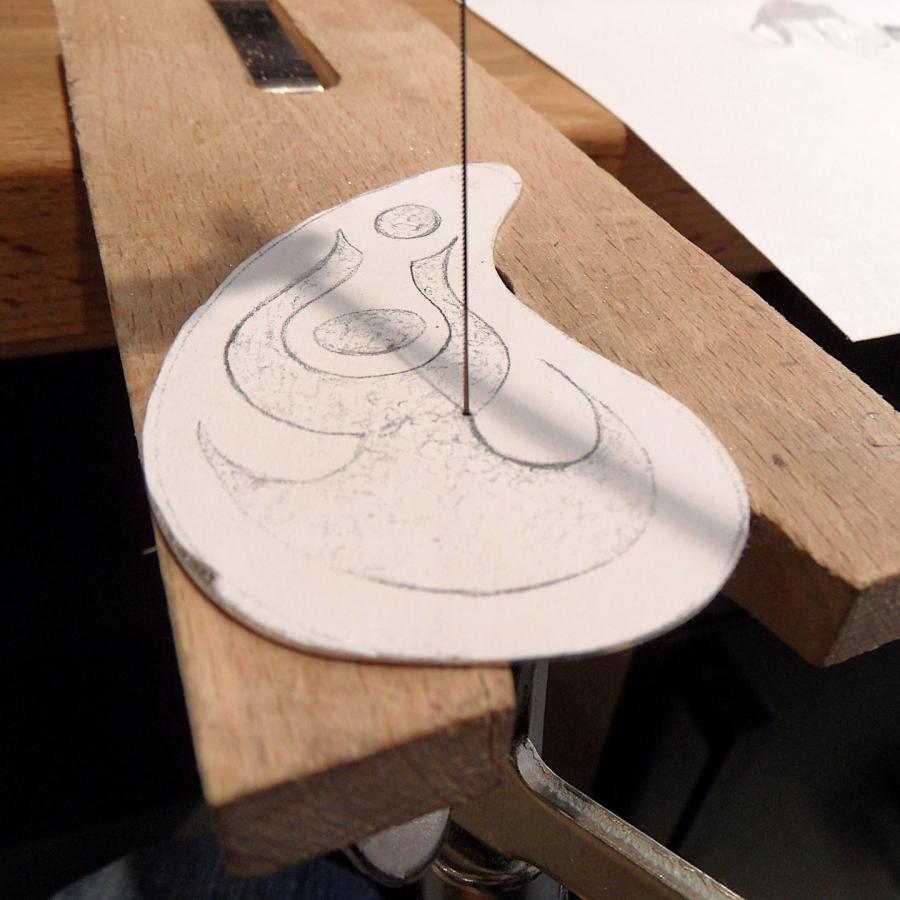
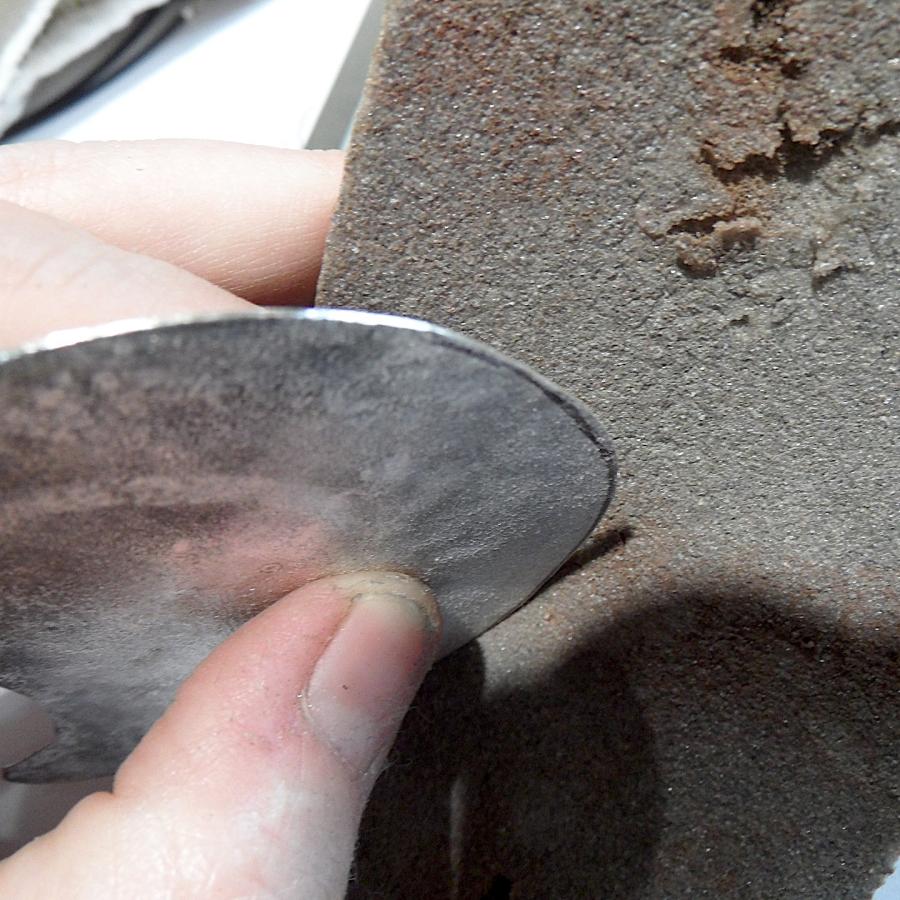
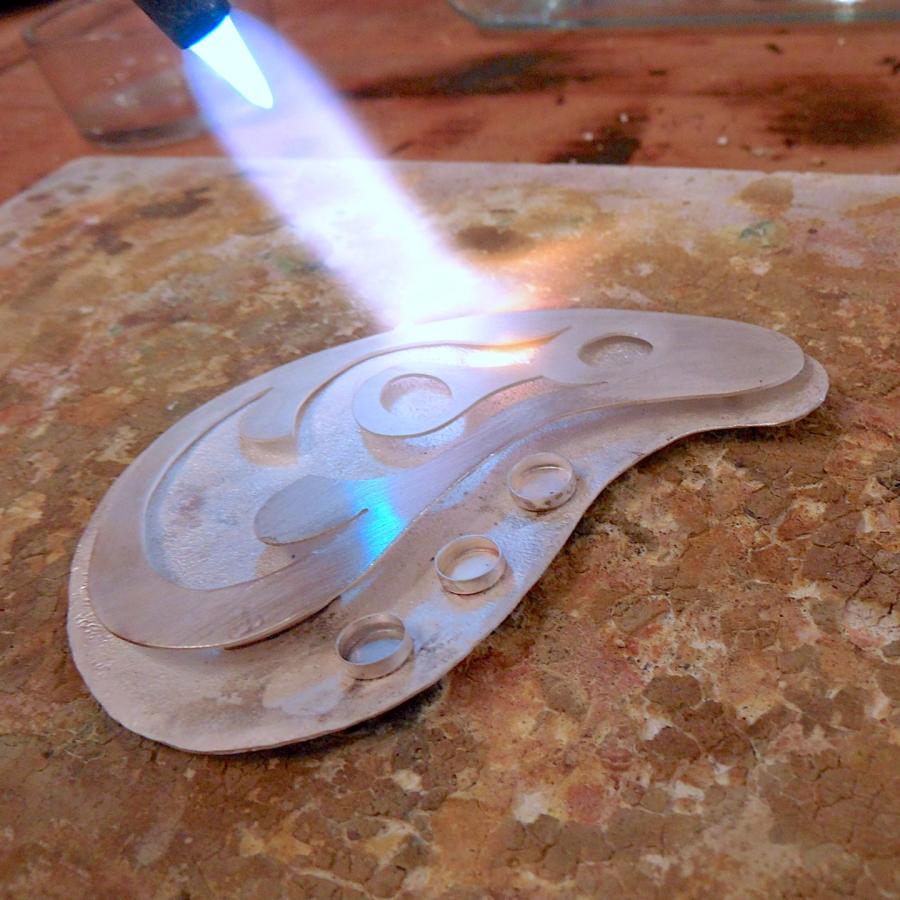
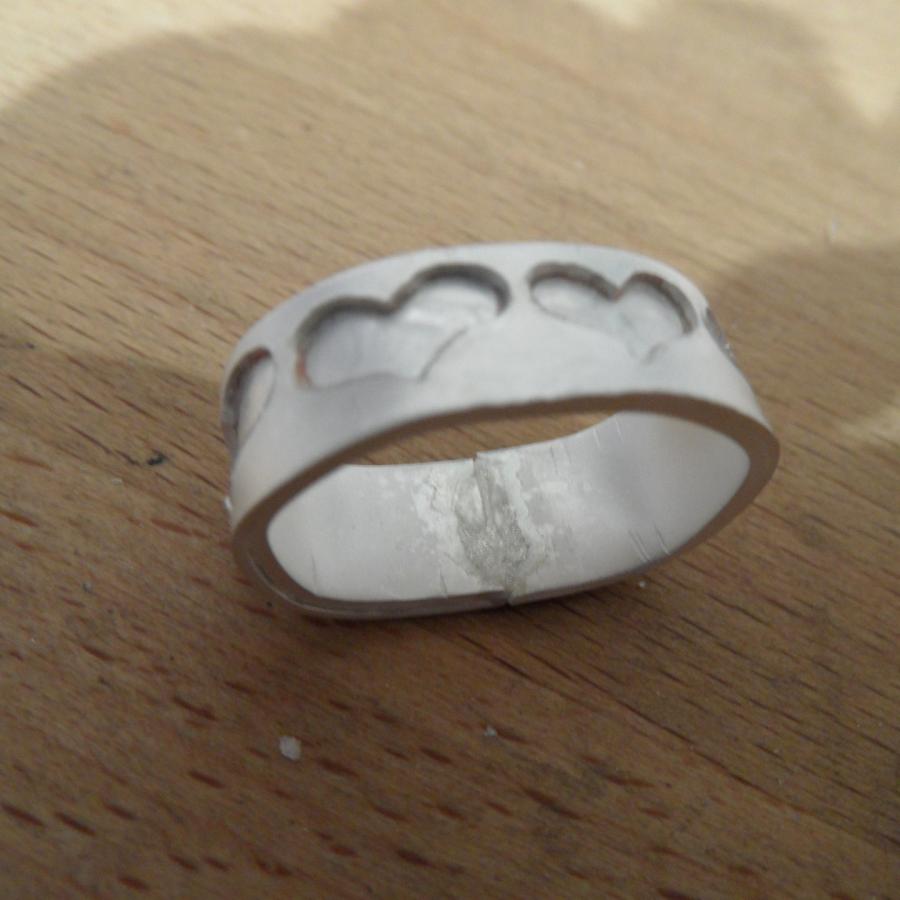
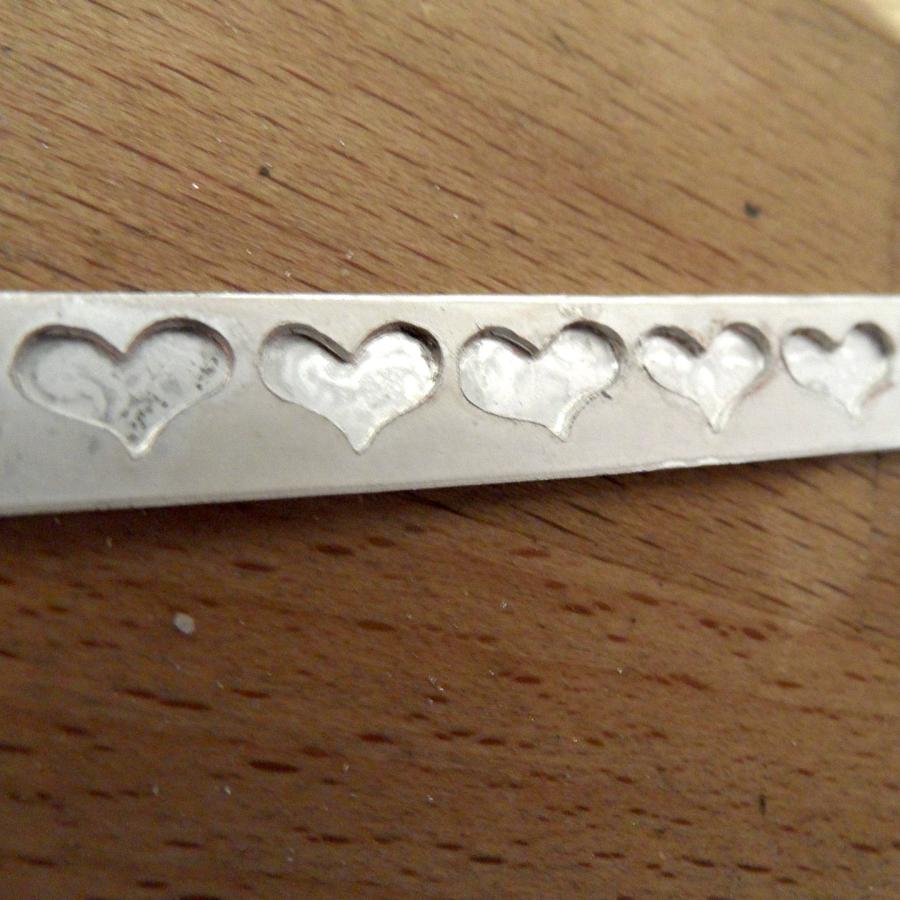
Like “piercing”, applique starts with sawing out an image to create negative space. The difference between a pierced project, and appliqué is that the pierced section of an appliqué project is soldered directly against another piece of silver creating relief instead of suspended space.
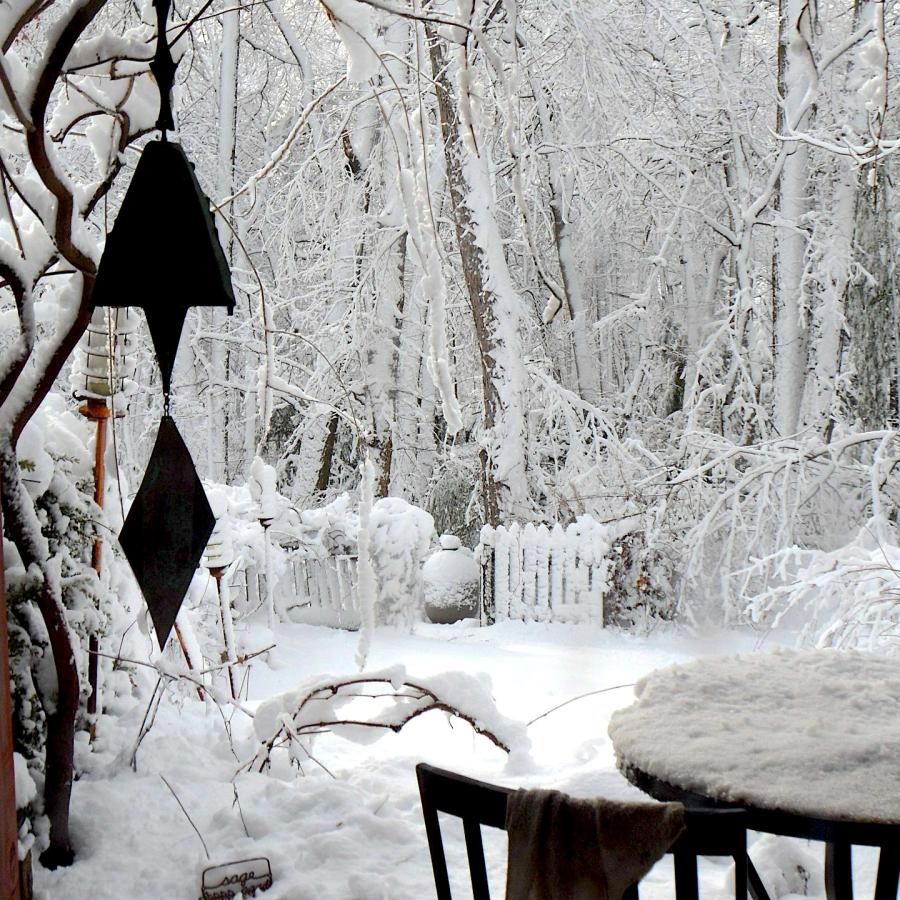
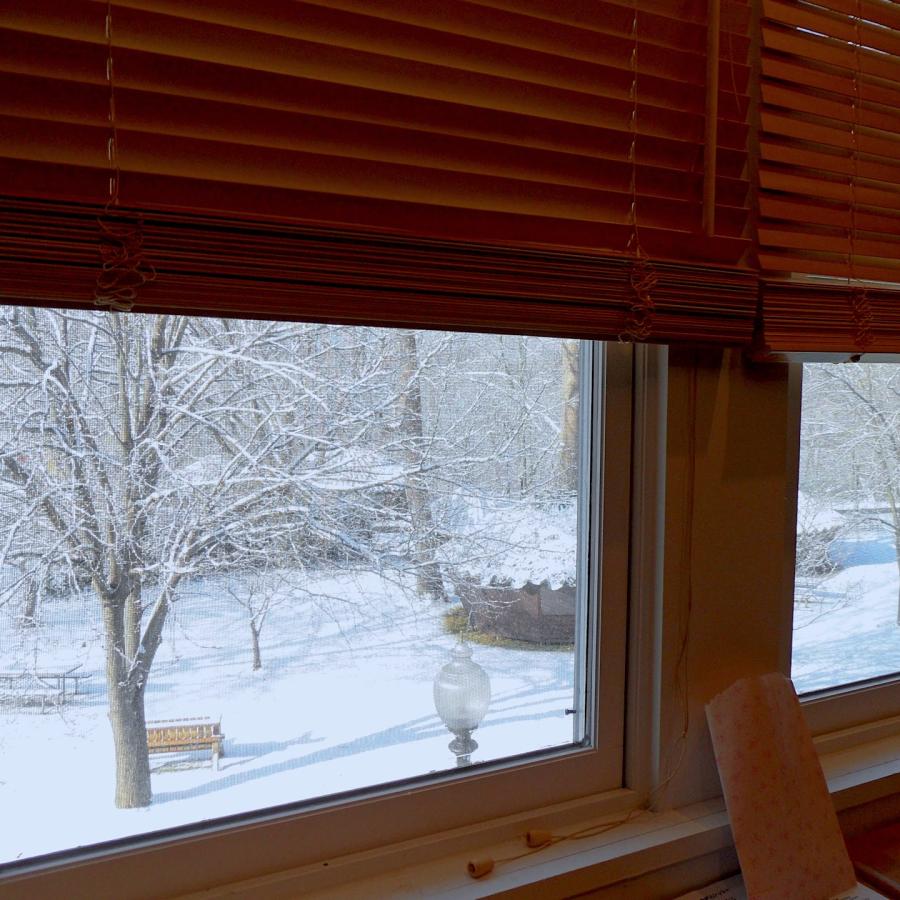
This is a view outside my home studio. Seems mother nature is up to her old tricks. Glen Echo is closed and so is SilverWorks today thanks to all that white stuff, and power outages. But the torches will be fired up for the Appliqué class this saturday, barring any more weather. Meanwhile, I hole up in my home with thoughts that maybe a little hot chocolate is in order.
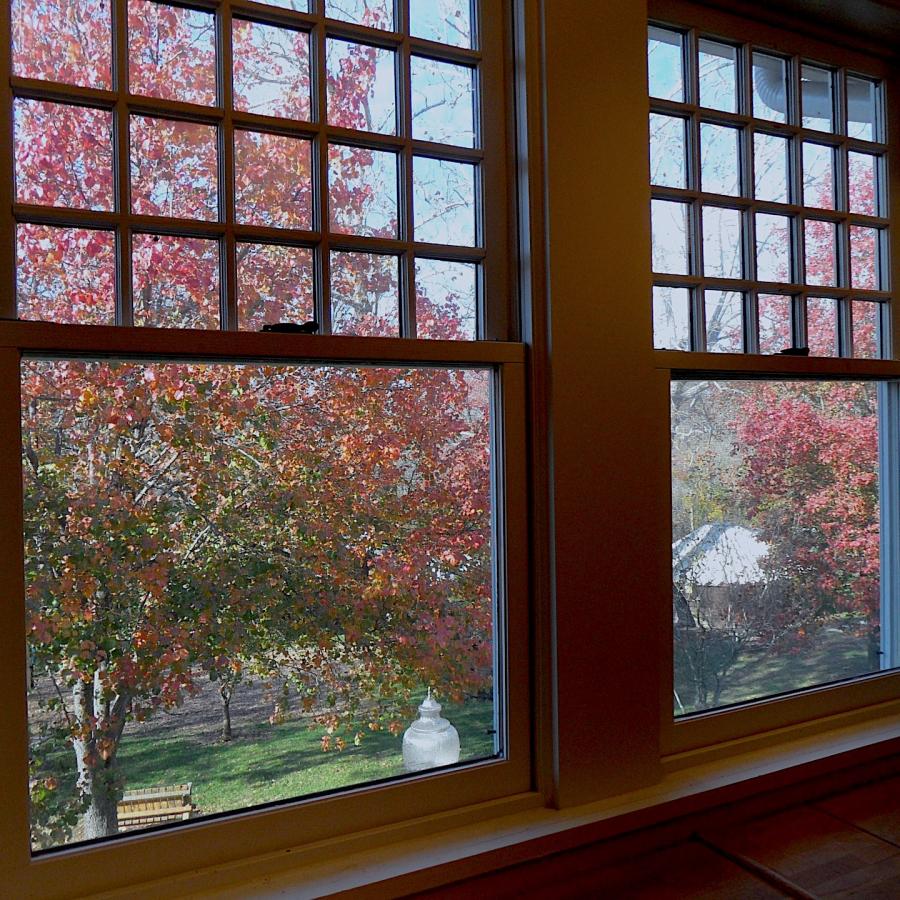
Yes, my studio has one of the best views in the park. What a great place to work!
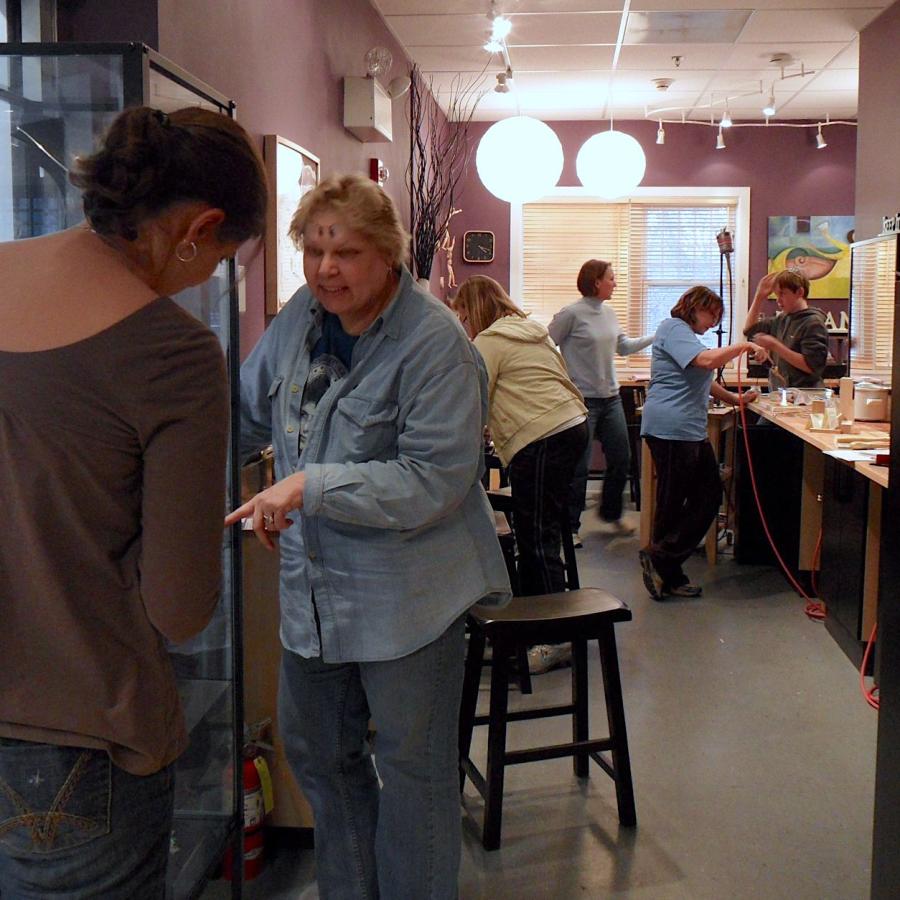
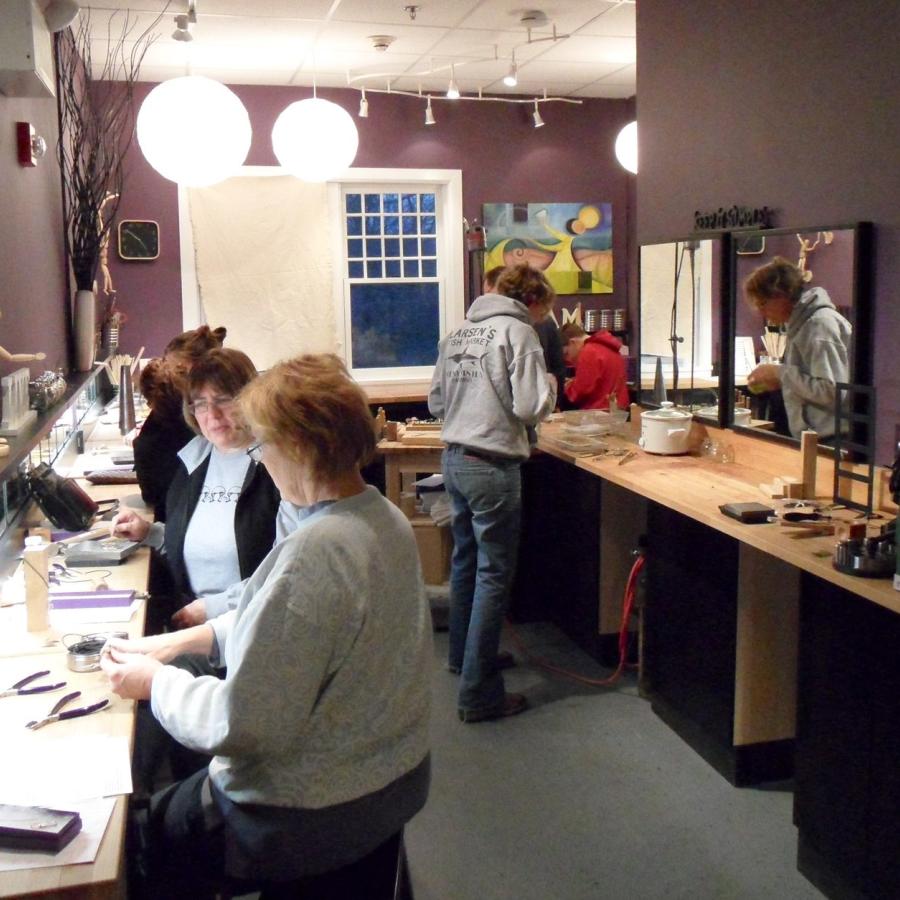
A very busy season in the studio with lots of lovely things being made by those discovering this creative art form.
The studio is always closed on Mondays, but today I am here making some lovelies for the holiday season. Shifting from large commission style lovelies to small easy-sell lovelies can be a challenge. The former is where the real art form is (at least mine anyway), while the latter is less about expression and more about good execution. Not nearly as creatively fulfilling, but still necessary. It is the delicate dance of making a living as an artist.
Yes, my studio has one of the best views in the park. What a great place to work!
