- SWX Content
-
Home
- Commerce
- Commerce 2
- Landing Page 1
- Landing Page 2
- Landing Page 3
- Landing Page 4
- Landing Page 5
- Landing Page 6
- Landing Page 7
- Landing Page 8
- Landing Page 9
- Landing page 10
- Landing Page 11
- Landing Page 12
- Slideshow - Boxed Width
- Slideshow - Full Width
- Slideshow - Fullscreen
- News - Rich
- News - Default
- News - Card
- News - Focus
- Layouts
- Services
- Products
- More
- Contact
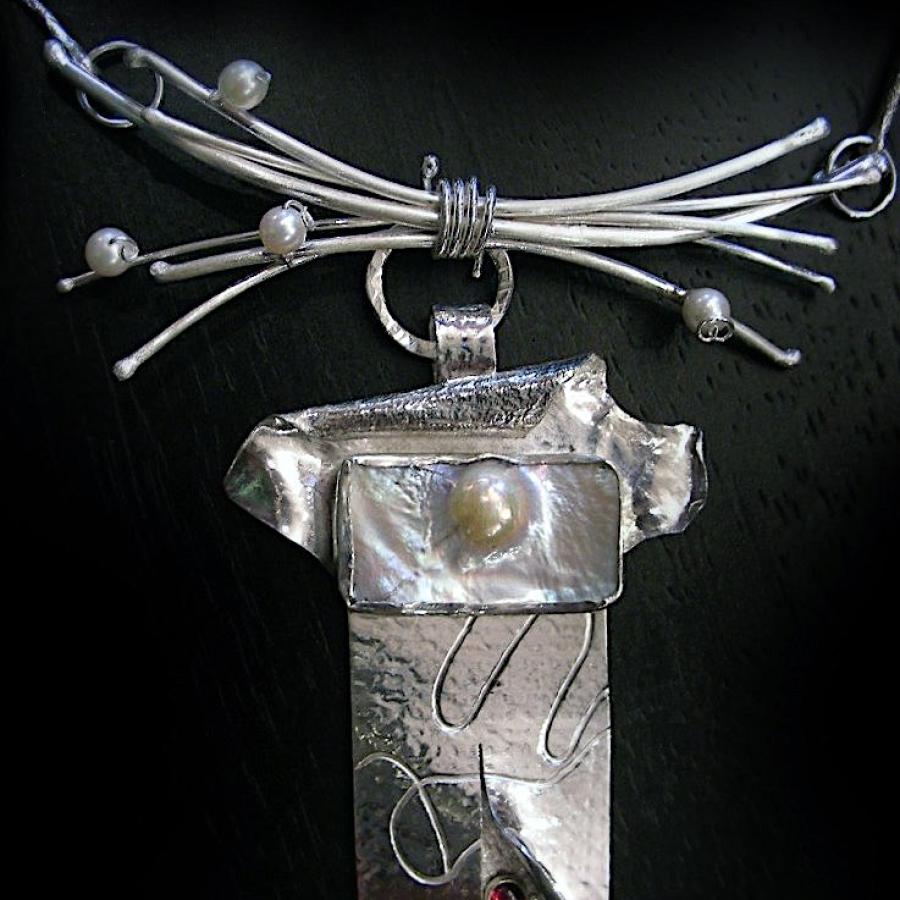
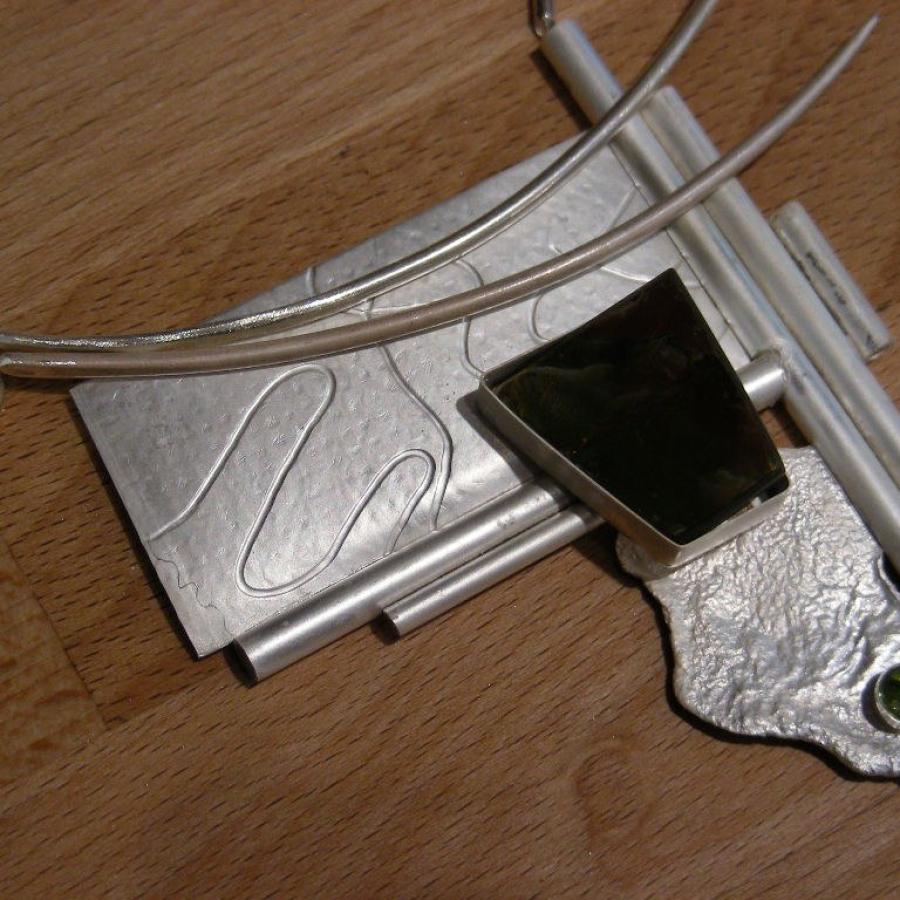
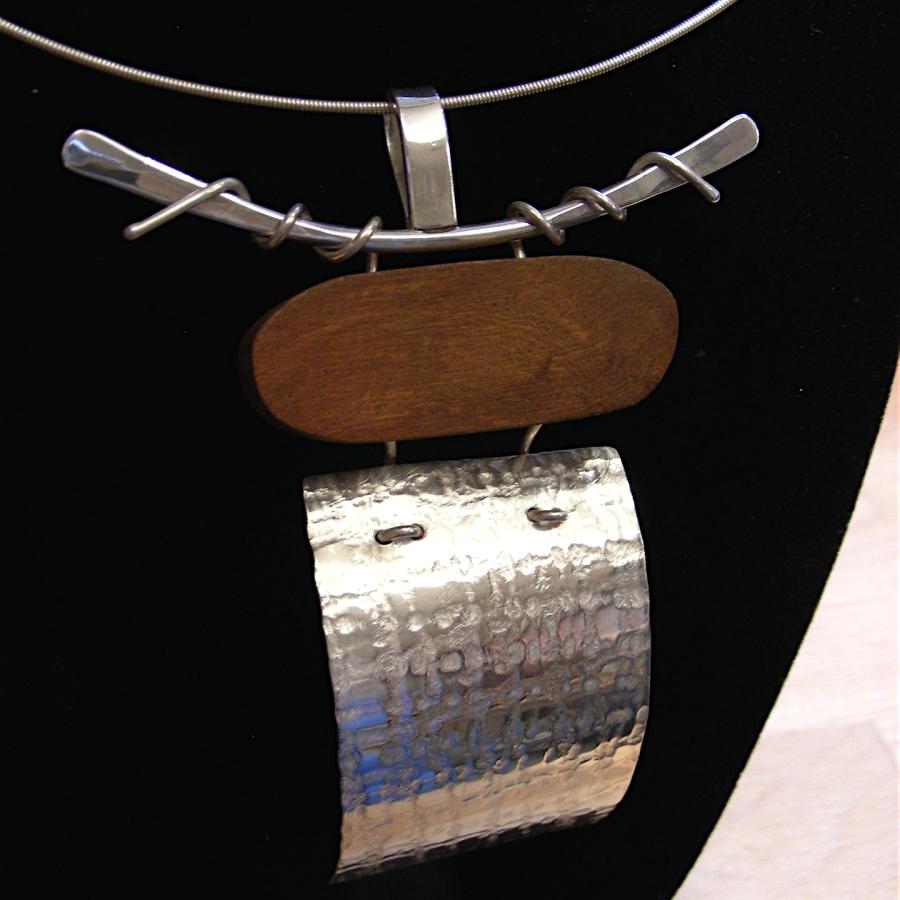
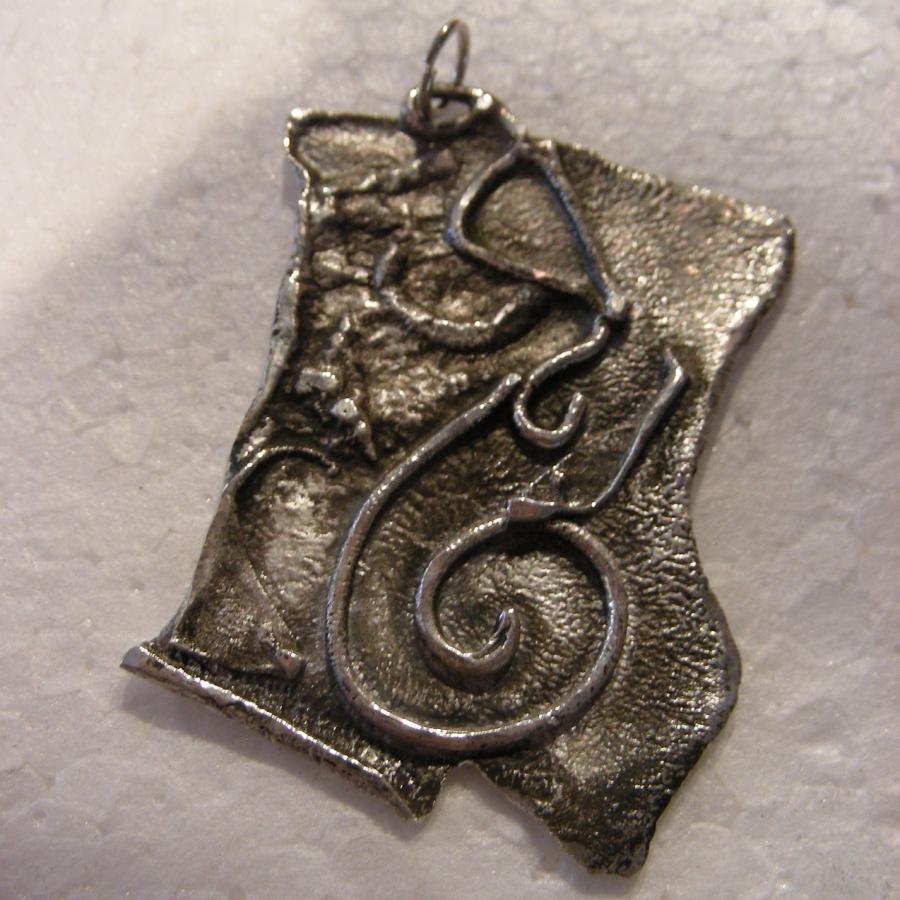
Very happy with what the muse brought to the table today. My newest piece incorporates a blister pearl. “Haul Water, Carry Sticks”, is a semi-representational piece depicting Woman. Hintings towards multiple ethnicity, it honors all women and the power that they embody. The textures in this piece were made with reticulation and the use of the rolling mill. Even the links of the chain are reticulated.
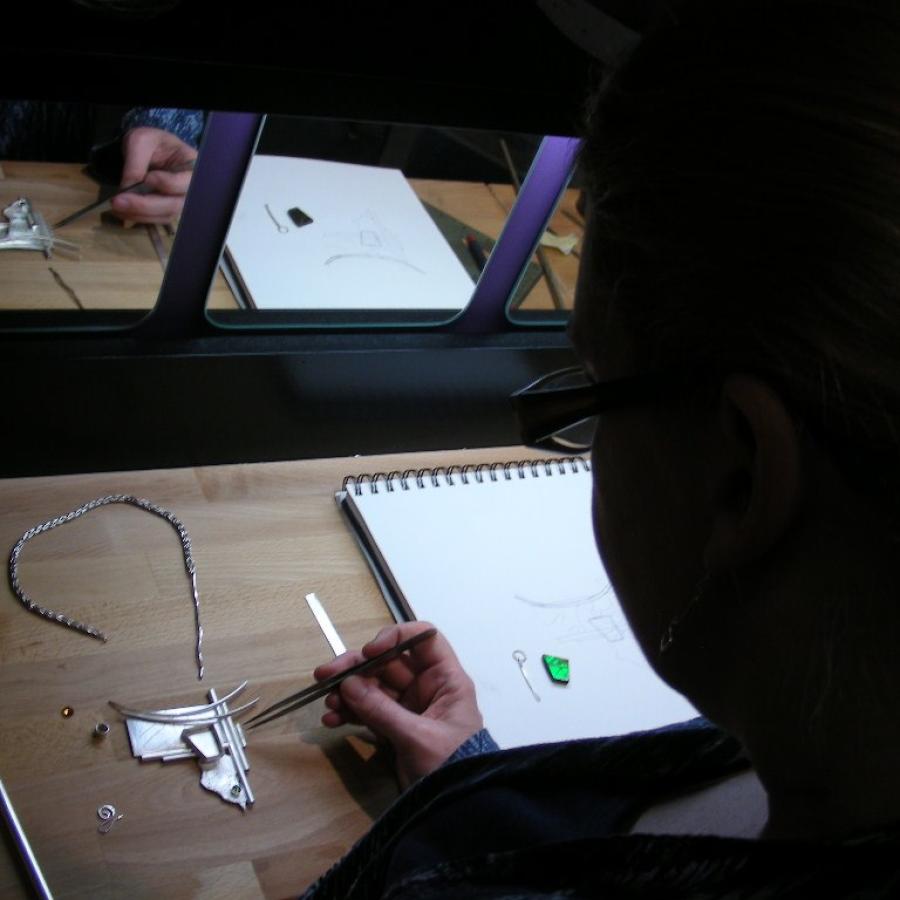
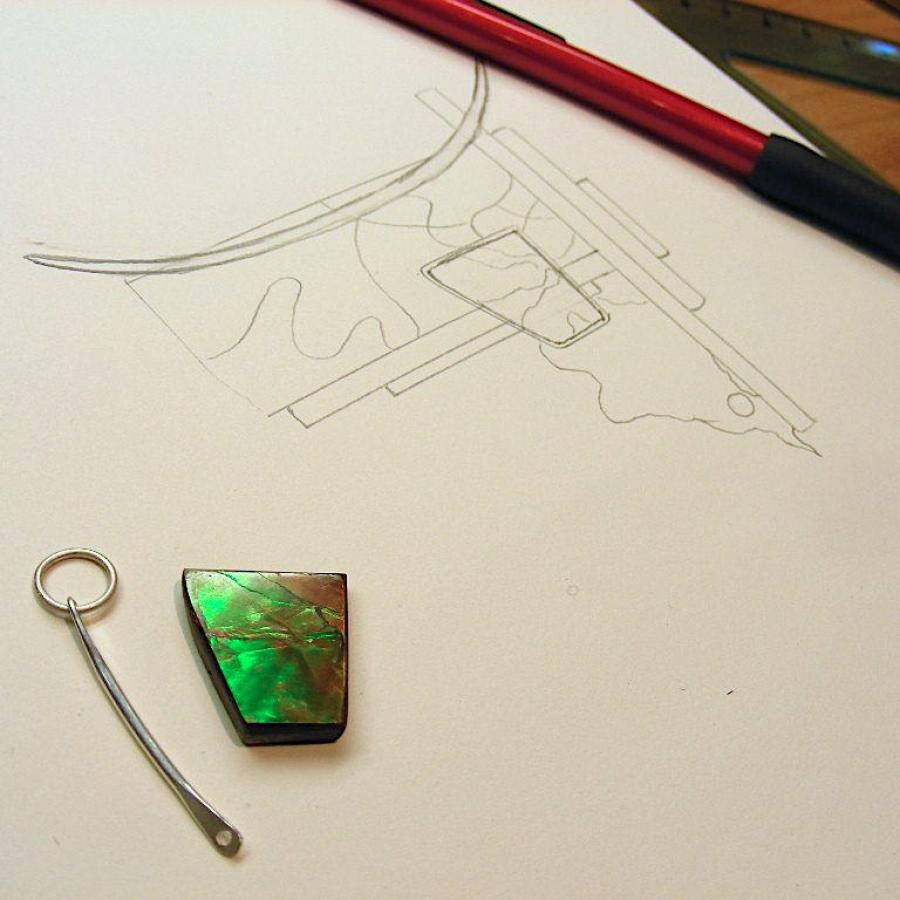
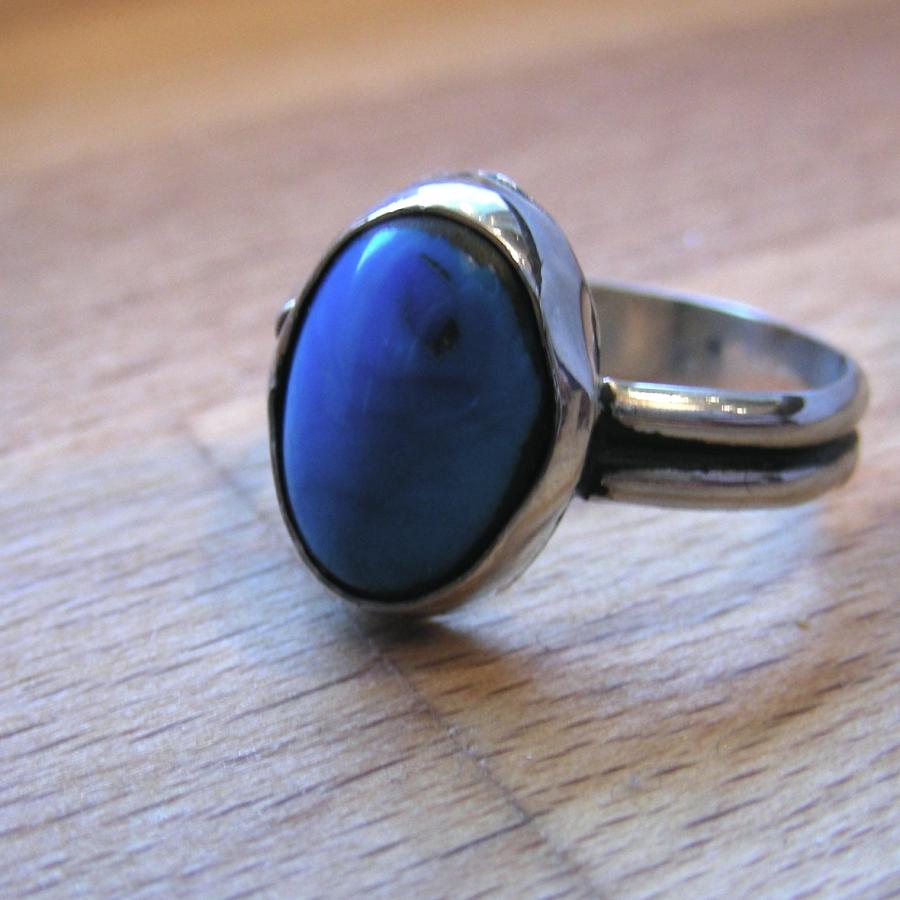
I have hung onto a very special ammolite for years waiting for the right “story” to put it in. Because it is a fossil gem I was always intending to use it in a story that either dealt with earth origin, or the more political subject of our culture’s dependence on oil. With BP’s recent disaster this new piece began to emerge.
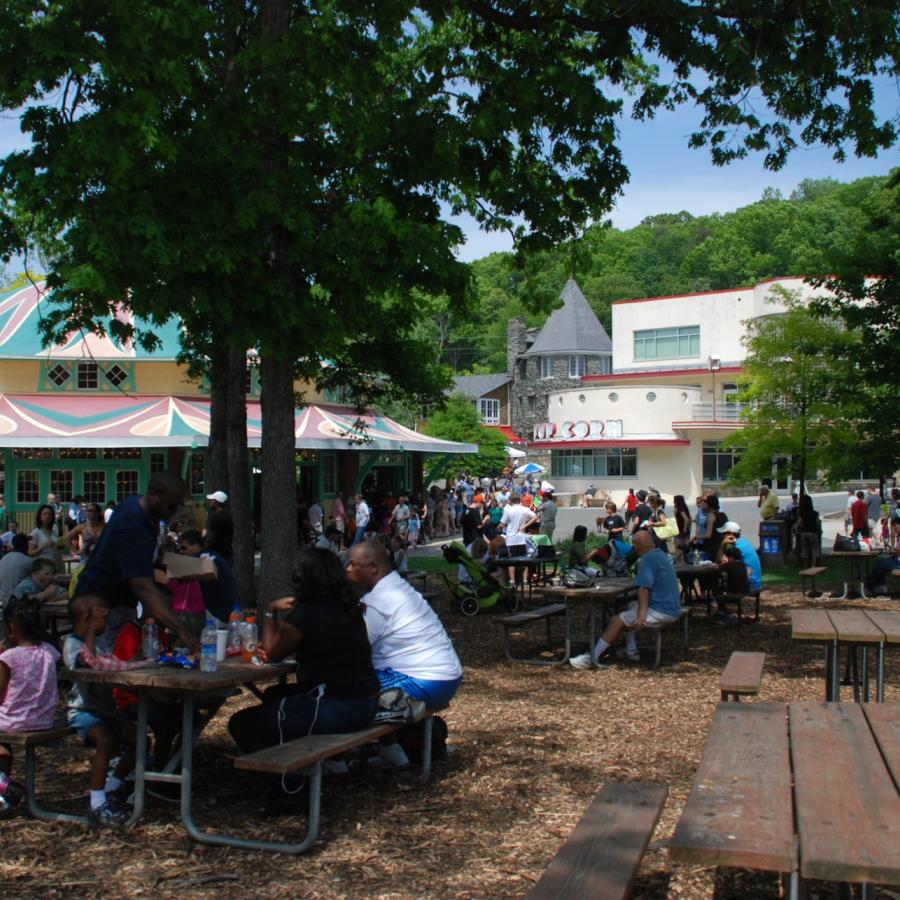
Today at the park was pretty special. Being the newest “artist-in-residence”, I have not seen every season in this magical place and so I get to have my first impressions...
pure magic.
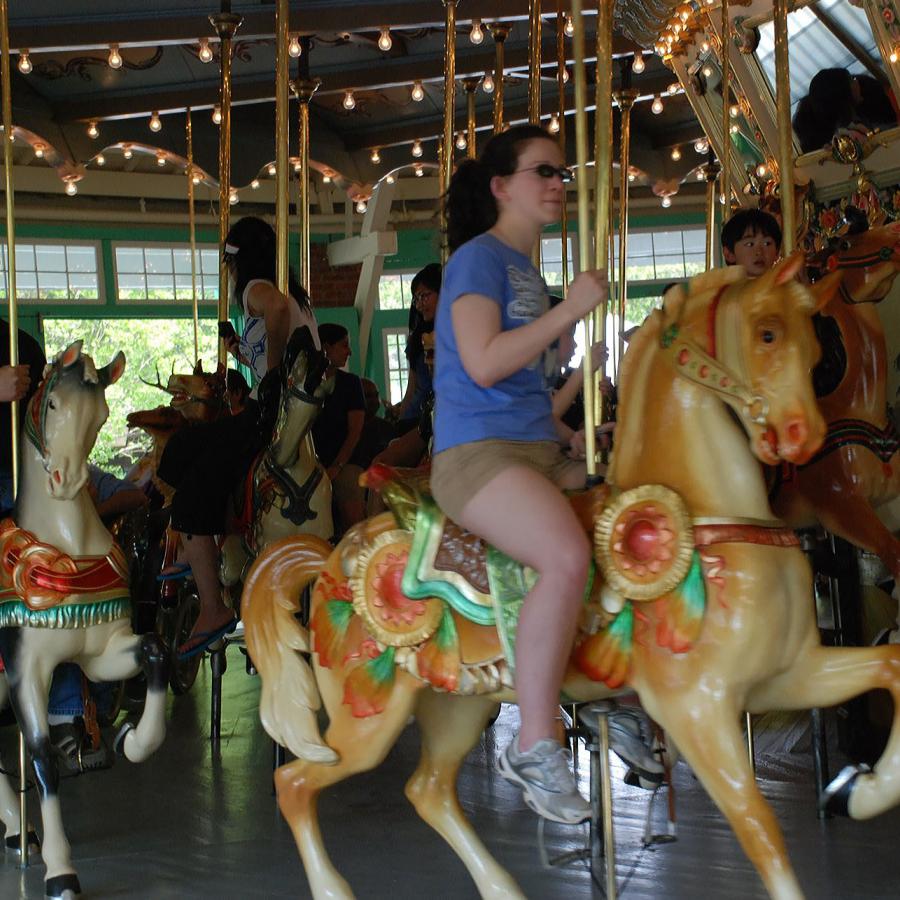
What can be better than a family oriented celebration of a vintage carousel (some history here)?
Lovingly restored, the summer season opens with patrons being able to take a ride on nastalgia. And when patrons with kids made their way into my studio I would ask, “So, did you ride the carousel?”. The thing that surprised me (thinking that it was all about the kids) was that most of the adults said yes. Apparently it is a time honored tradition. And for $1.25 per ride, who could resist a little nastalgia?
As far as SilverWorks Studio was that day... I had a ball demonstrating simple forged silver rings. The delight of the children that realized that the demo I was sizing for them was theirs to keep will fuel me for the rest of the year. Their sweet faces will be a reminder of why I like to do this. The little bit of silver given along with some really sore hands at the end of the day was well worth those fabulous faces asking questions about my craft.
Thanks kids, you were awesome!
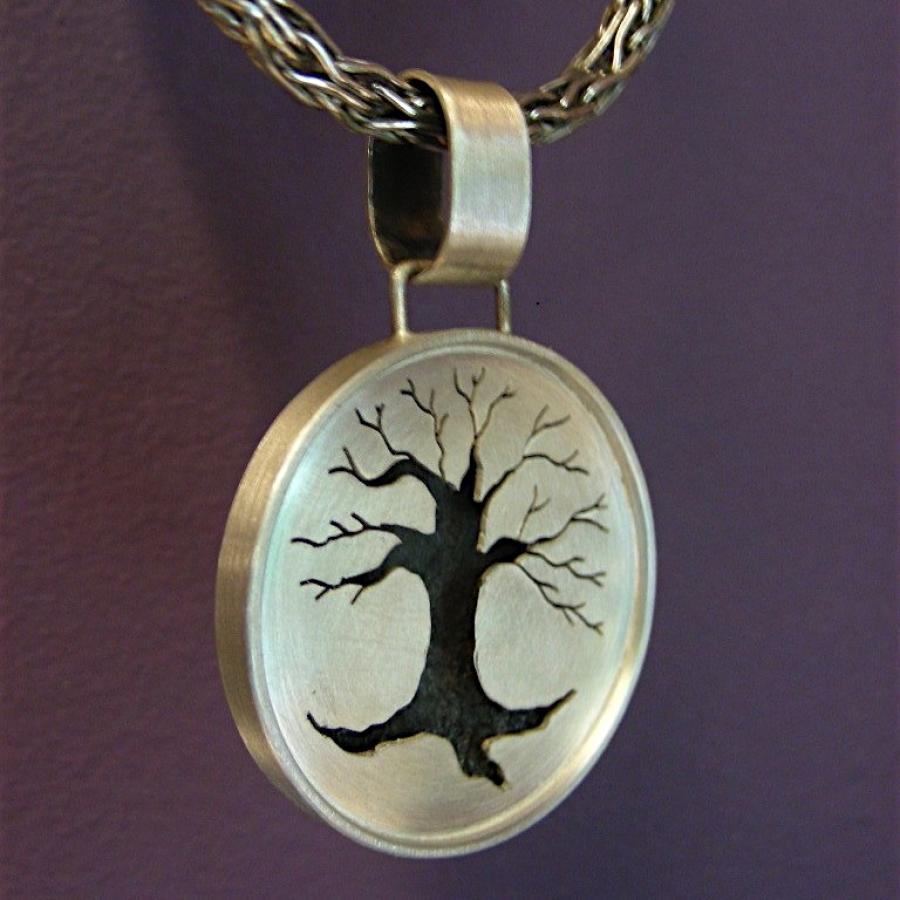
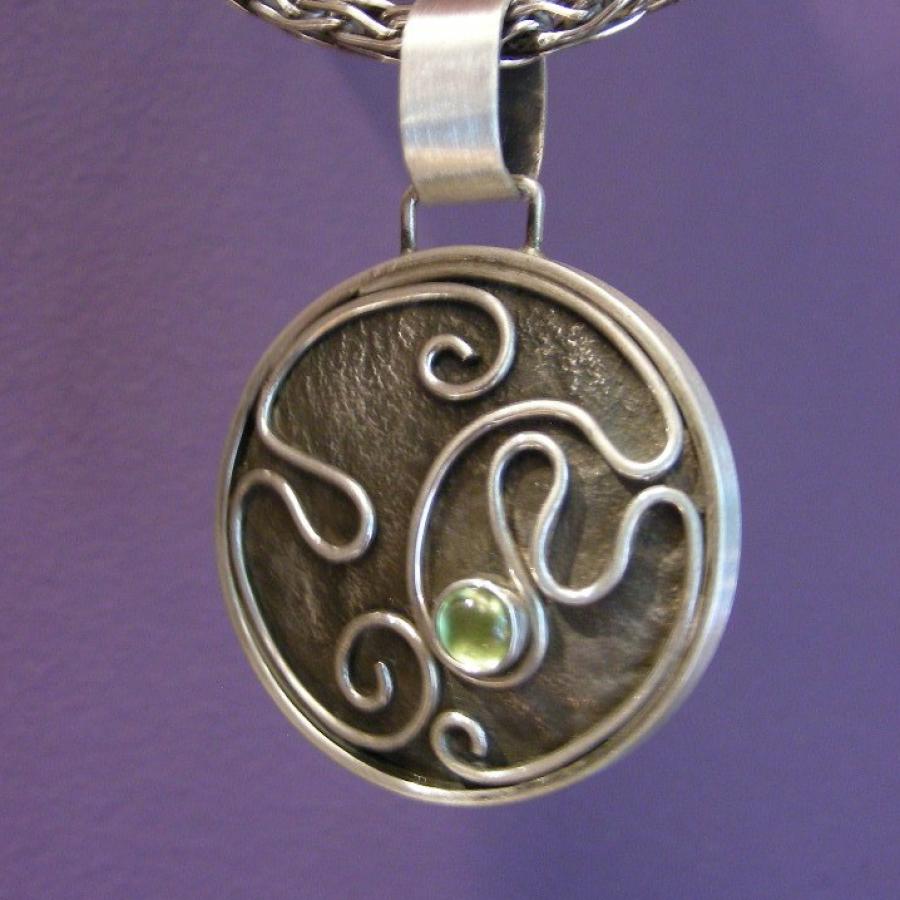
In deciding on what intermediate and advanced classes I am going to be adding to my teaching schedule next fall, I tackled a pierced project as a photo example. Although I won’t be offering a class in a double-sided version, I couldn’t help myself once the muse took over.
The actual class will give the steps of a one-sided pierced pendant.
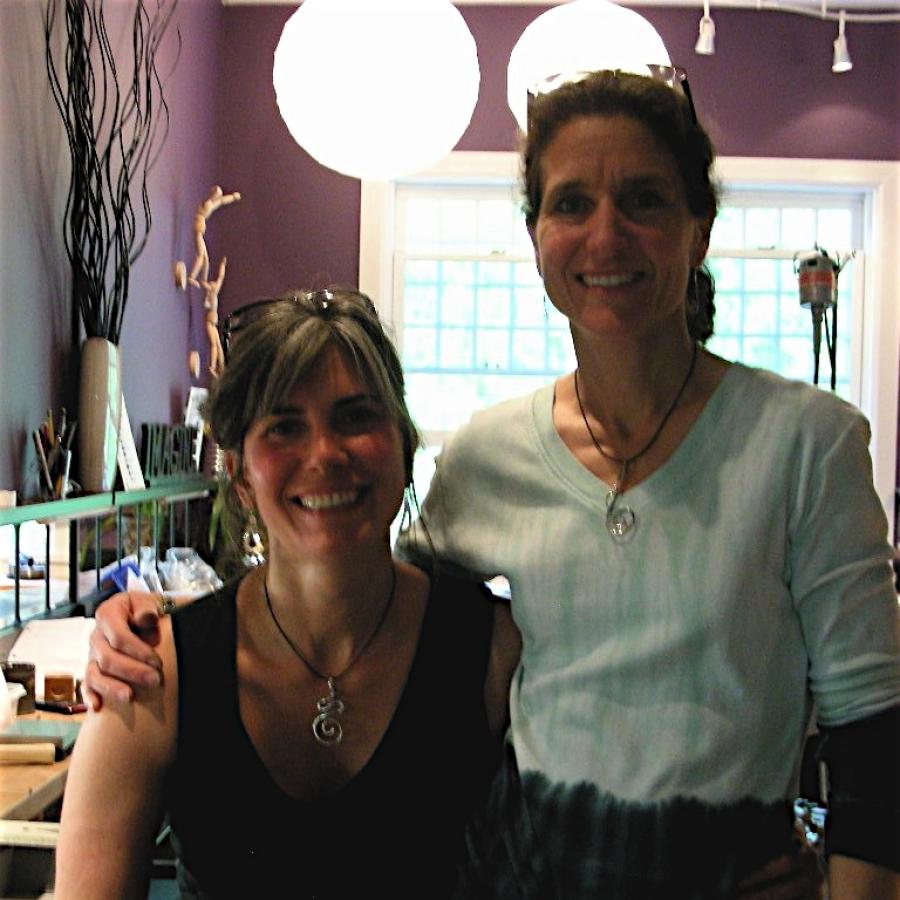
Every class is different and it always amazes and inspires me to see, not only what people make with their new skills, but what made them choose to take this particular workshop. In this case, we have two life long friends gracing my studio with their openness of a new skill and the promise of eggs. (Serena raises chickens).
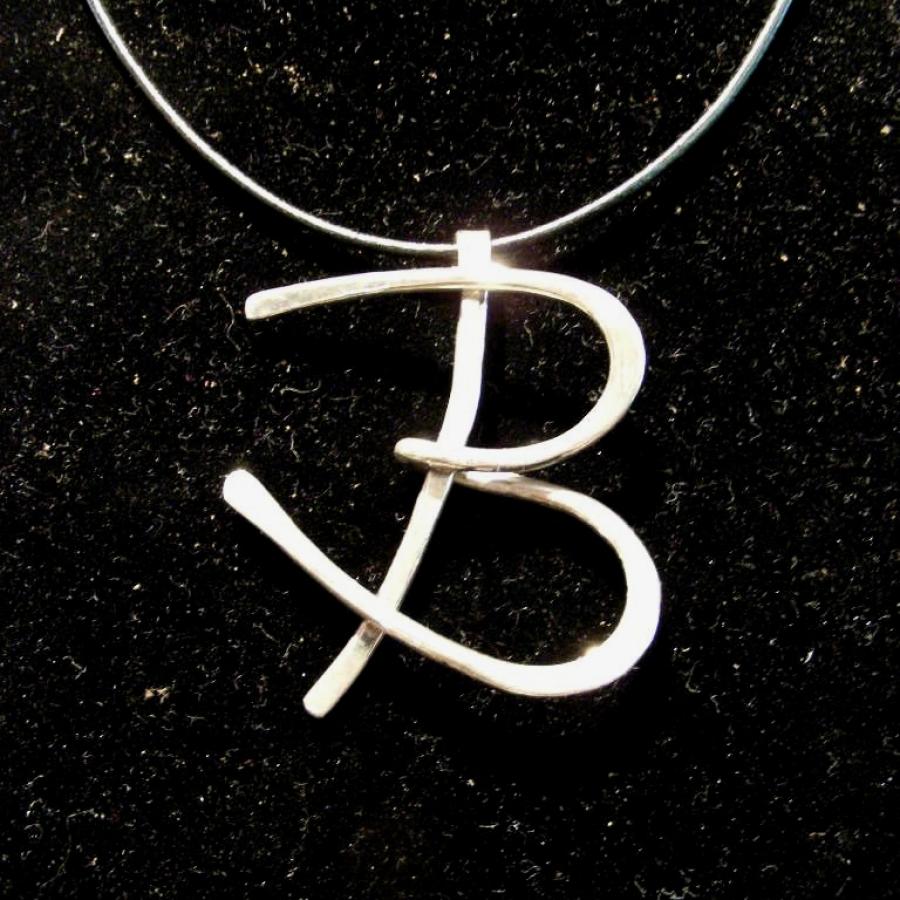
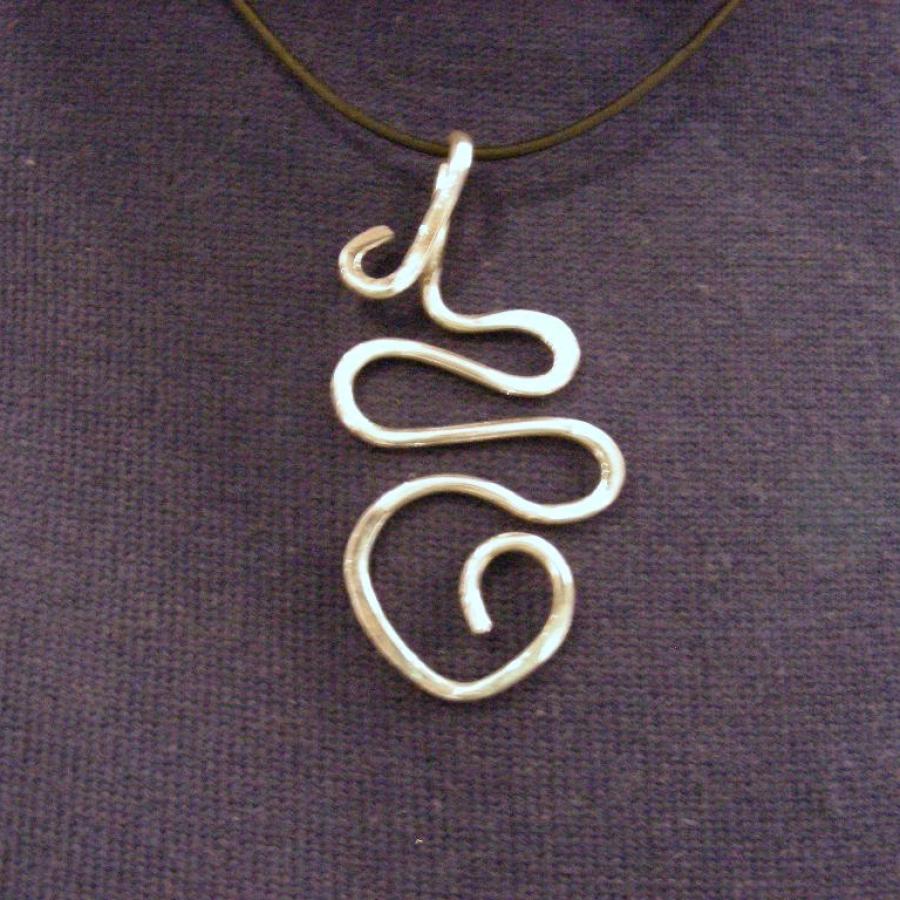
Everyone did great, but each added their own particular flair. Barbara, for instance, turned her wire pendent project into an opportunity for a signature look (literally her signature “B”). While Nairi used her hamered project to create a pendant.
Great job girls!
Mastering the fundamentals of smithing can really be fun if you are creating piece after piece of jewelry. But many of the disciplines take time and patience in order to move forward to more developed and design savy jewelry.
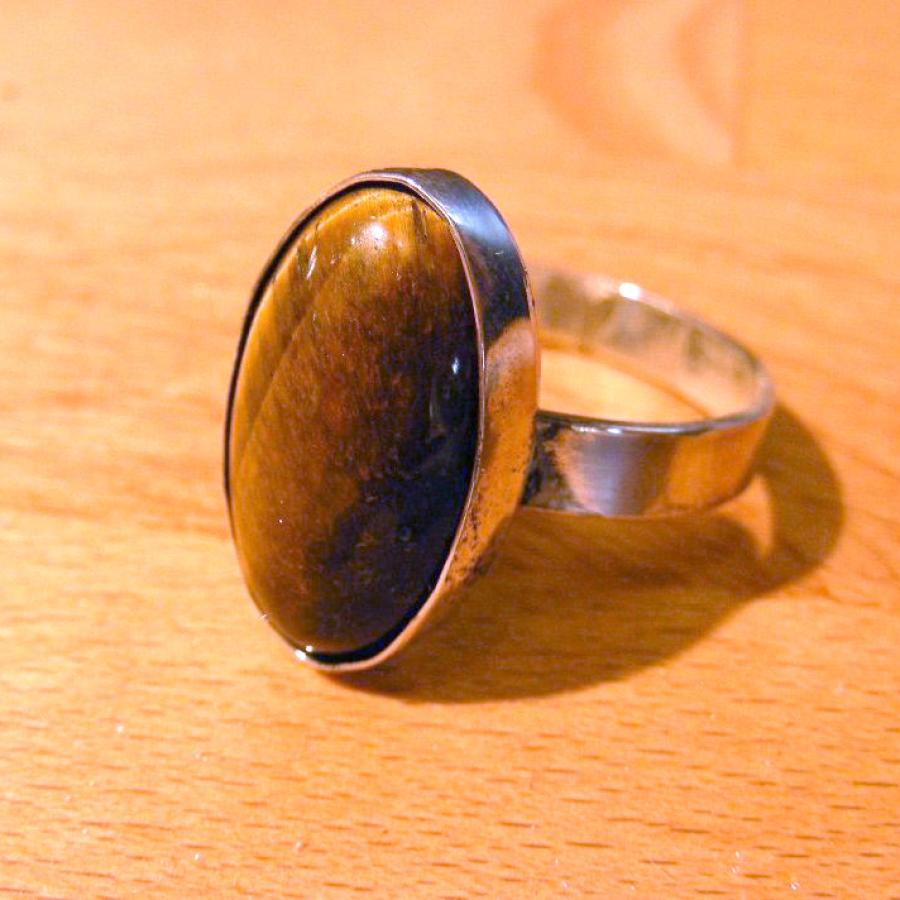
Today Andre tackled a bezel from scratch. He chose a nice sized tiger’s eye for his practice stone, and once constructed it was applied to a simple band ring. Bezel construction can confound many beginners but he did great, not having to repeat any of the steps!
Bravo Andre!
At SilverWorks, private instruction is tailored to the specific needs of the student. A particular discipline, style, technique, or project can be pursued.
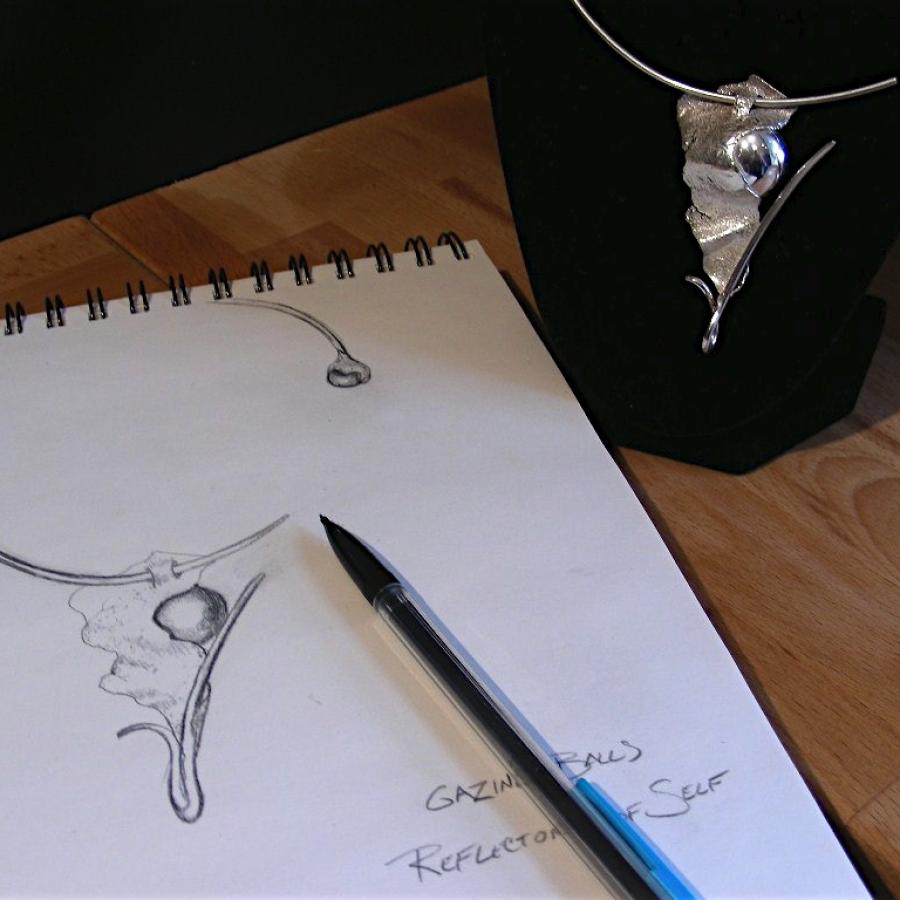
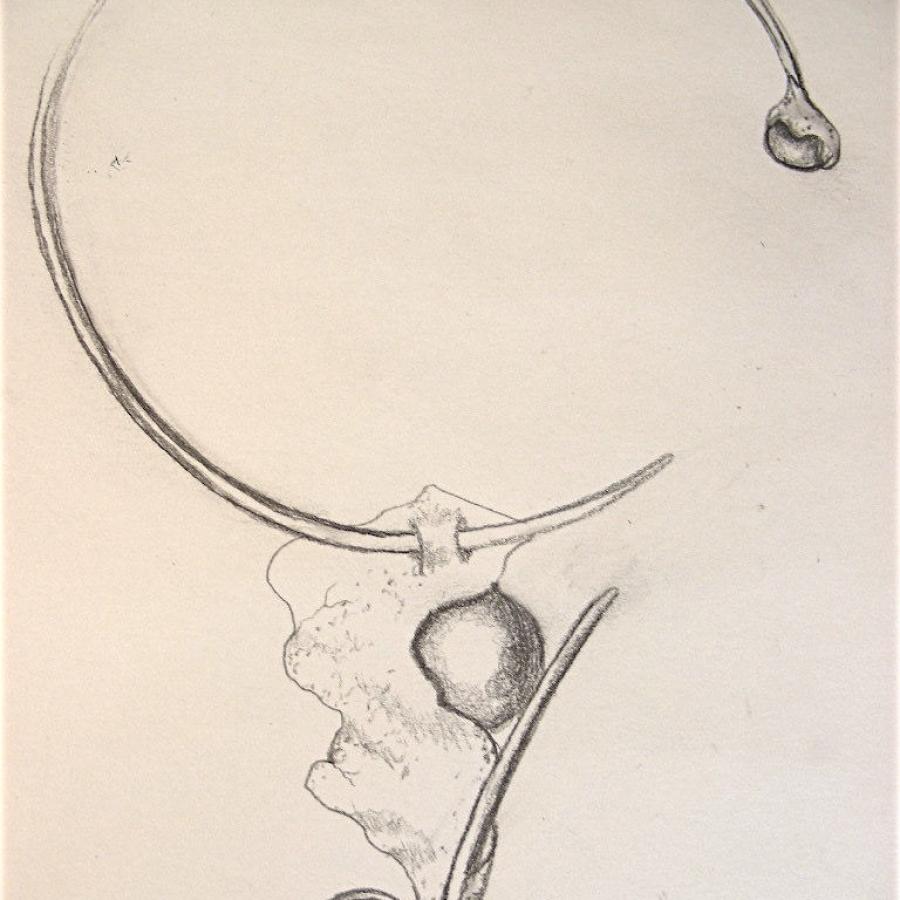
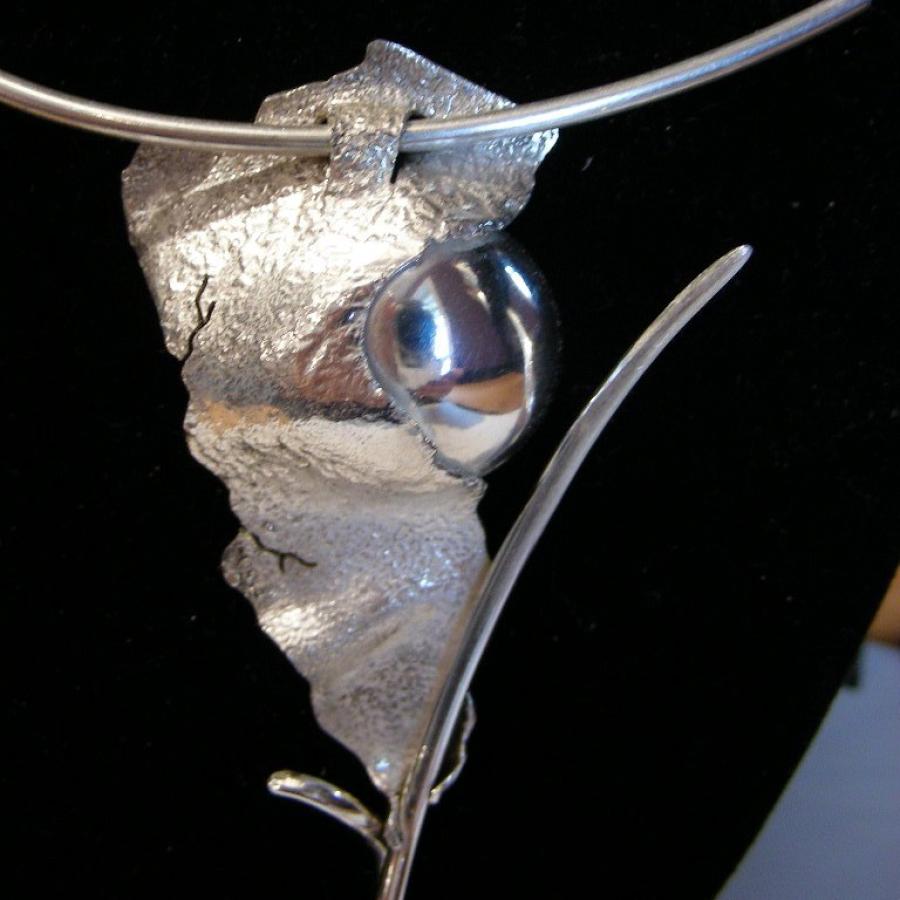
Been messing with a cool combo of polished sphere and reticulated organic element. It wants to be a series dealing with the theme of inner reflection and outward appearance. This is the first in the series that has found a finish line. Short on supplies with a couple more classes to give before my next shipment, I had to settle for finishing it in sketch form with the promise of real completion once the silver arrives.
But I am pleased with what emerged today. The part that is missing is the collar that weaves through the pendant. When you look into the ball you see your reflection, and when you look at the back you get the surprise of a hidden design which shows your reflection upside down.
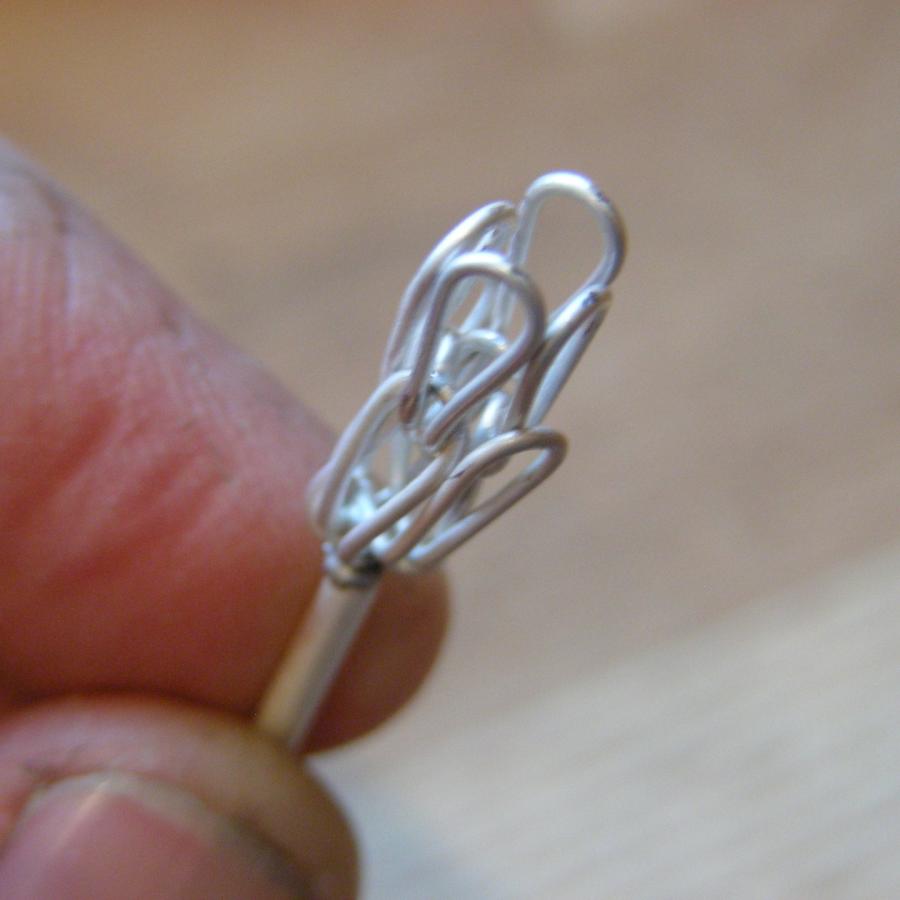
Exploring different forms of chain making today. One is a woven chain that take hours and hours of labor, and another that is very chain-mail-ish which takes... hours and hours of labor. Both of these things lean very heavy on technical repitition and precision.
Anybody who knows me knows that this is like giving me a papercut and pouring lemon juice in it.
But, I endeavor to stretch my tolerance in this area. It is not so much a question of skill (because frankly it doesn’t take that much relative to other techniques), no, it is more a question of tenacity and the fact that I want all of the designs for my upcoming show in july to be completely pure of any hint of added components from an outside (manufactured) source. It is not cost effective by any stretch, but it is an integrity thing as an artist.
So I will continue to plug away at these more tedious elements.
Suprisingly quiet day at the park for a Saturday, so I dug in an got to work undistracted. Going in some new and creative directions for me.
Feels good to break out of my previous mold.
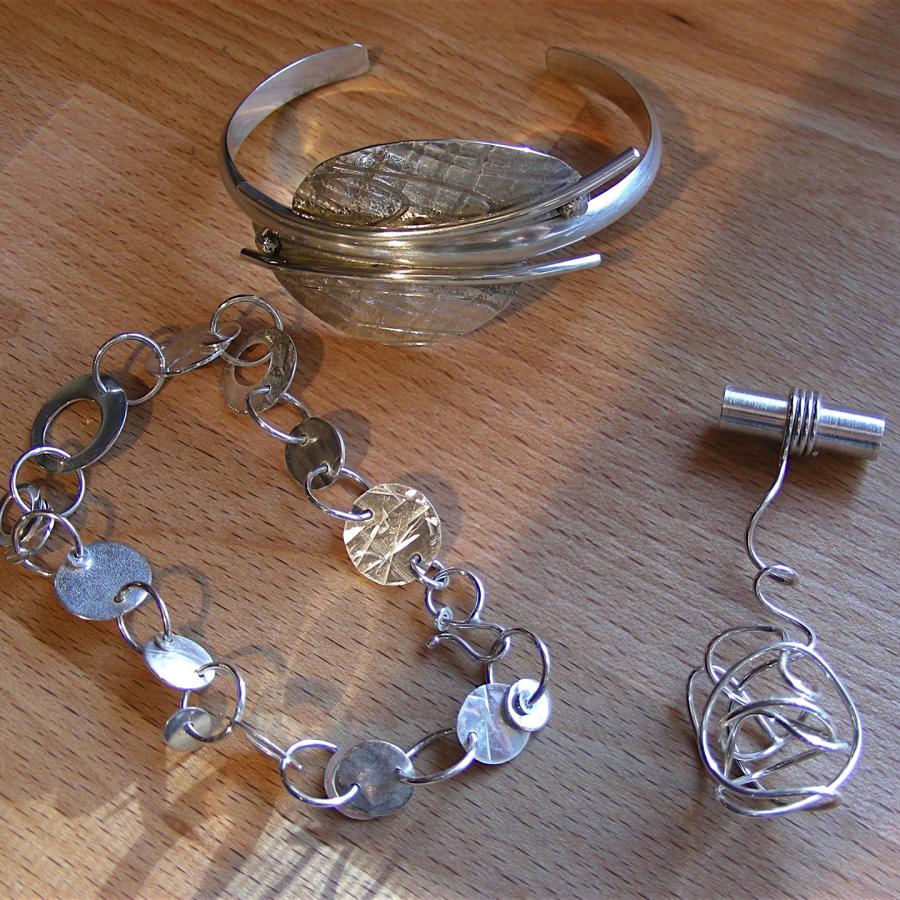
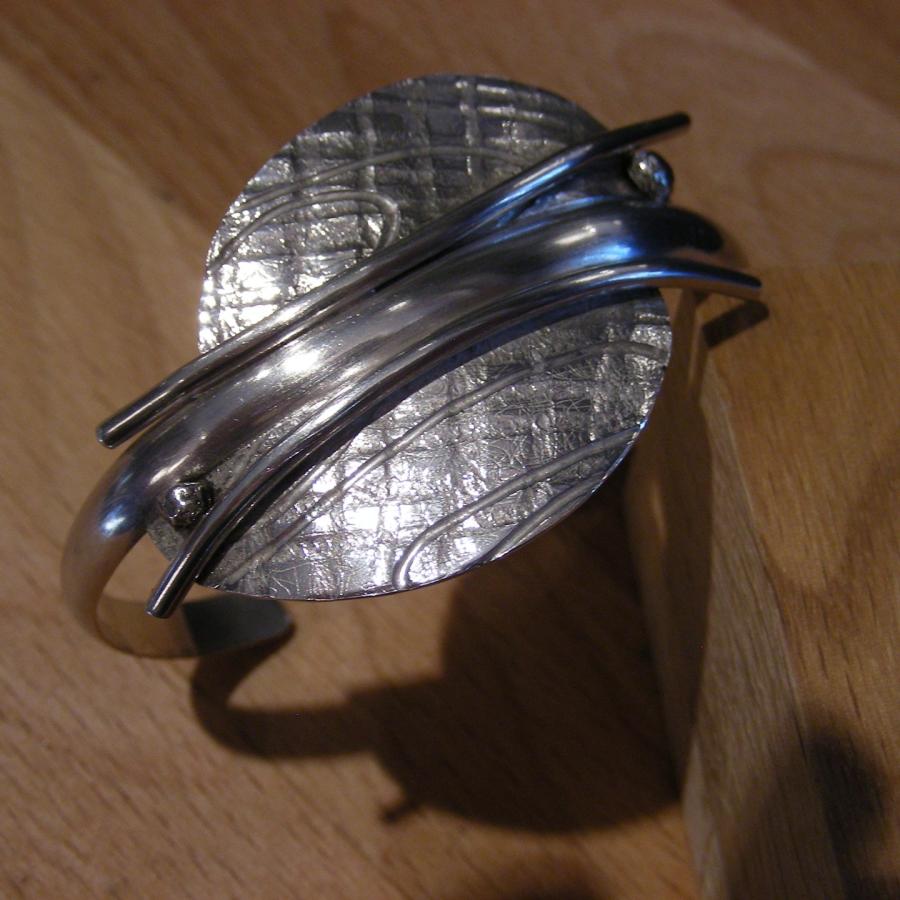
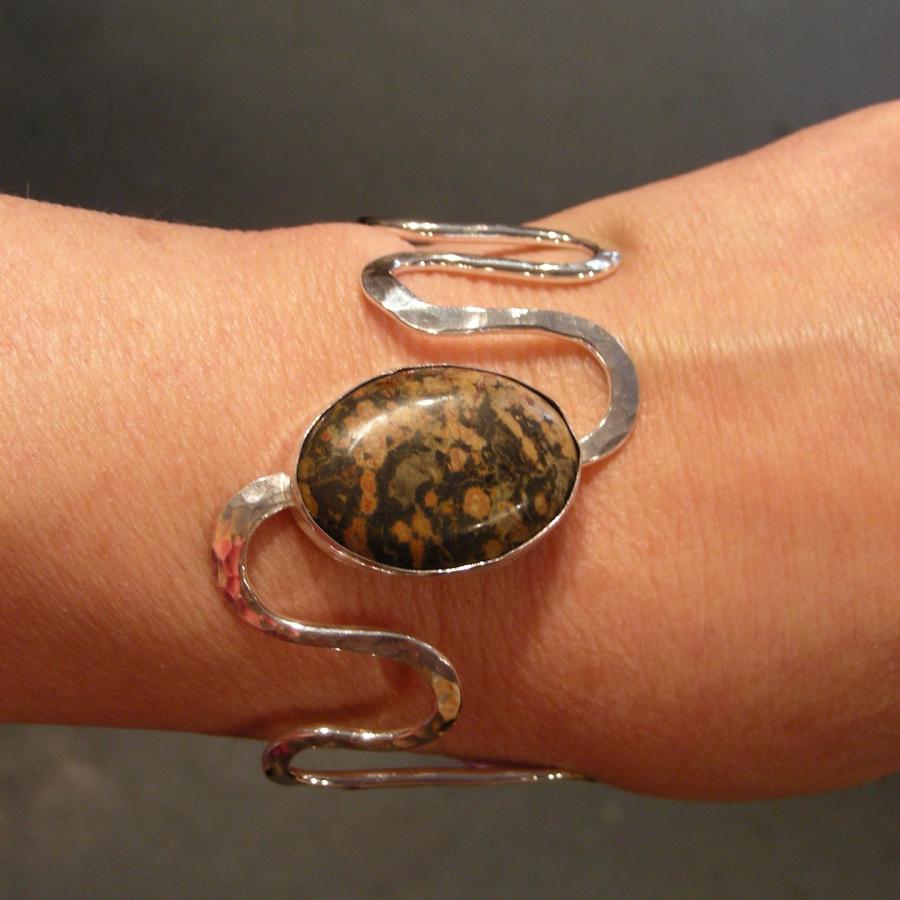
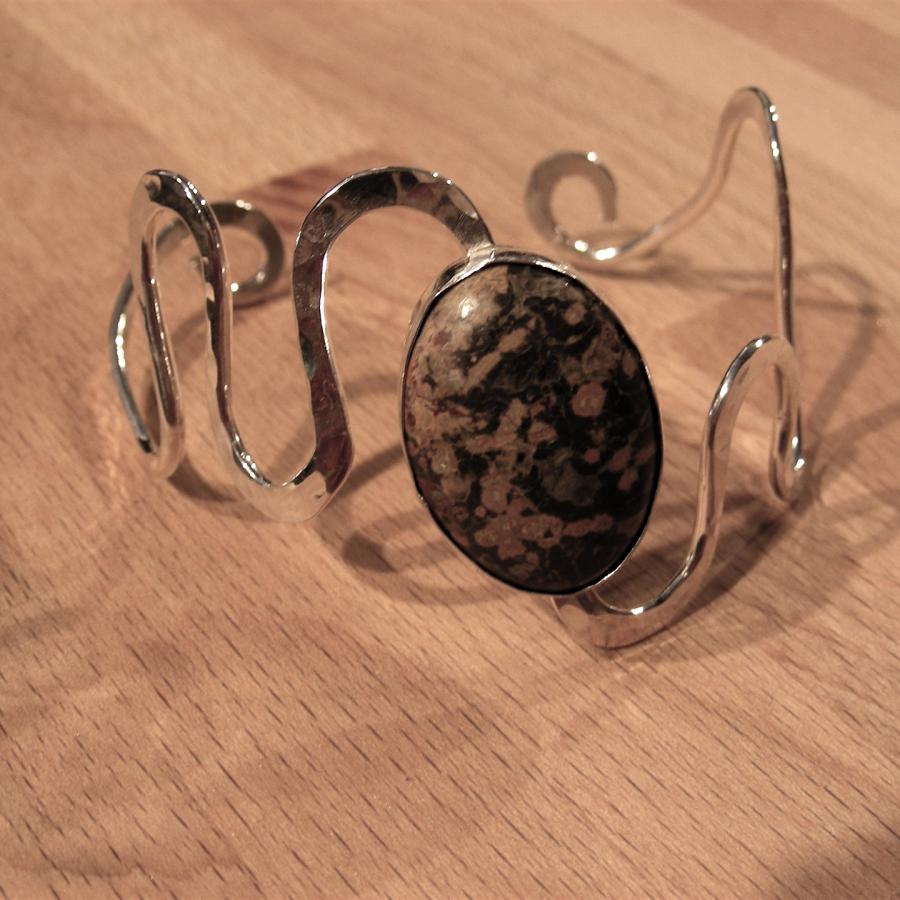
The cuff-like bracelet uses a low dome wire, round wire and 22 gauge sheet cut into a disc. This was then put through the rolling mill with some burlap and some 22 gauge wire for the texture. It was then cut in half to create the two “wings”. Little melted balls were added for interest.
This was all soldered together flat and then shaped on a bracelet mandrel.
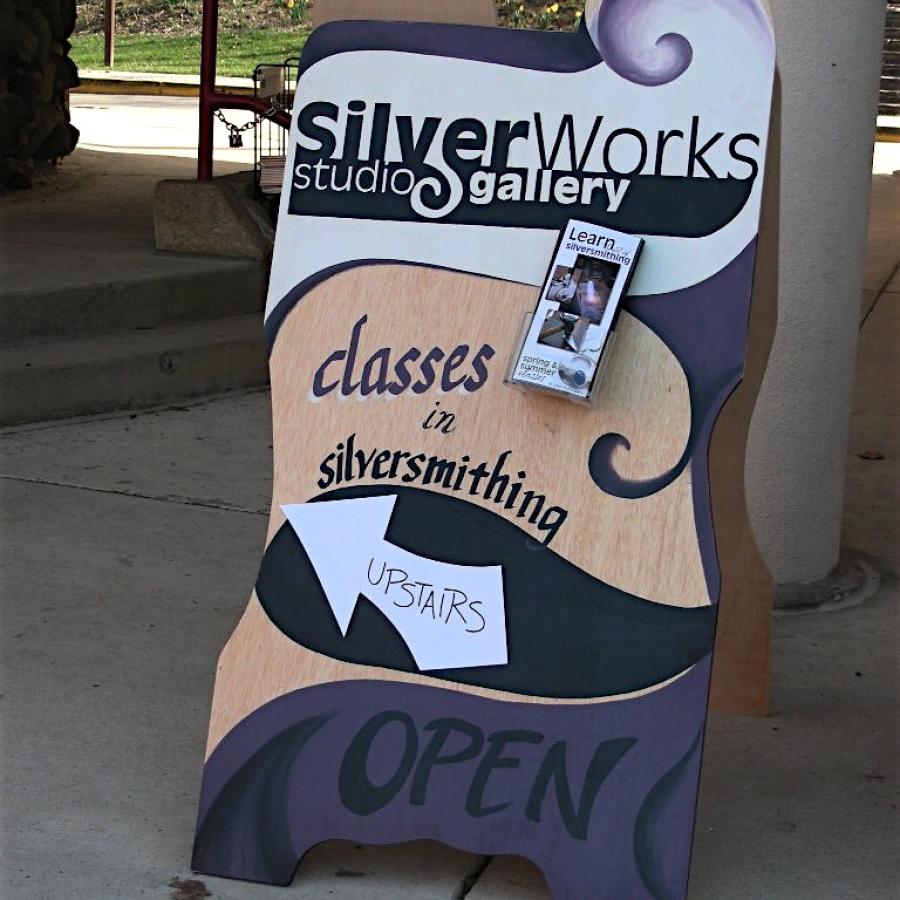
The old fashioned vibe of the Glen Echo park just begged for a handpainted sign to advertise my shop. It took some time to paint this thing, but I think it represents my little studio pretty well.
An overlap in subject matter as I teach two classes today. Technically it is the third session in a five week course, and the second day of the Discover 2 workshop. Both address the very important skill of bezel creation.
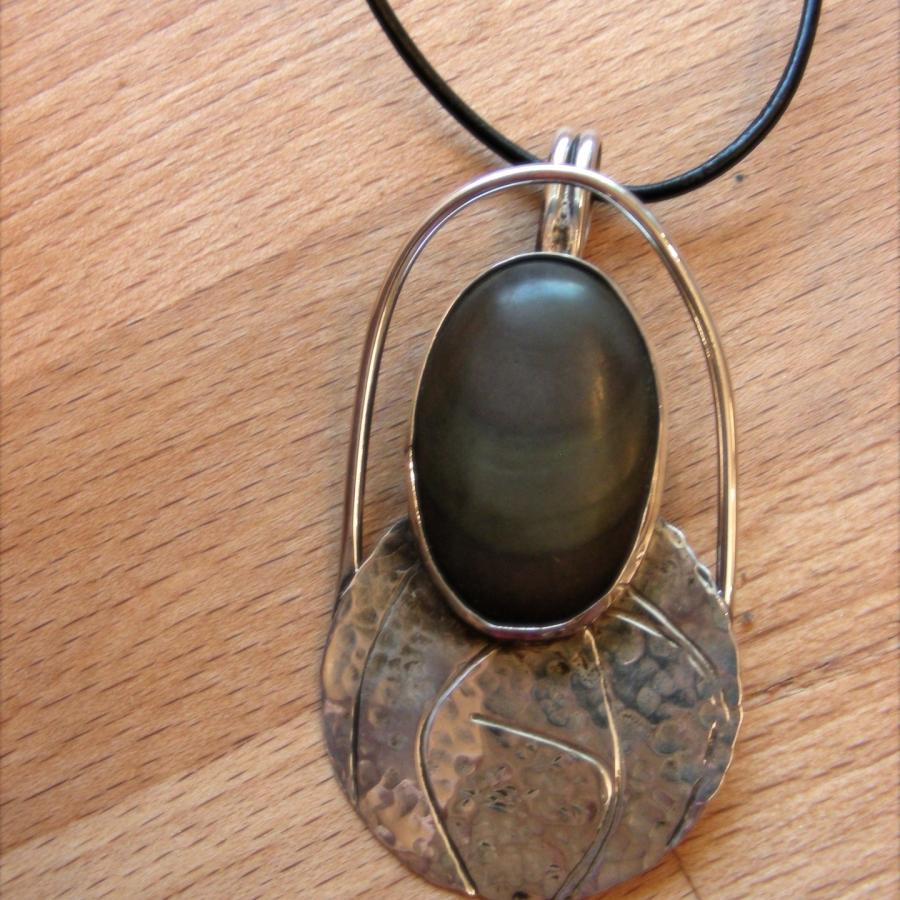
All students did remarkably well, but again each took their design in a unique direction. Aidan took his landscape jasper and echoed the curved line in the stone with an oval wire while grounding the design with a circle at the bottom. For the texture he used the rolling mill to create lines and a classic hammered texture to create depth. (shown right)
Maura chose to place her first bezel into a simple band ring using double half-round wire that shows off the color of the stone). (shown below)
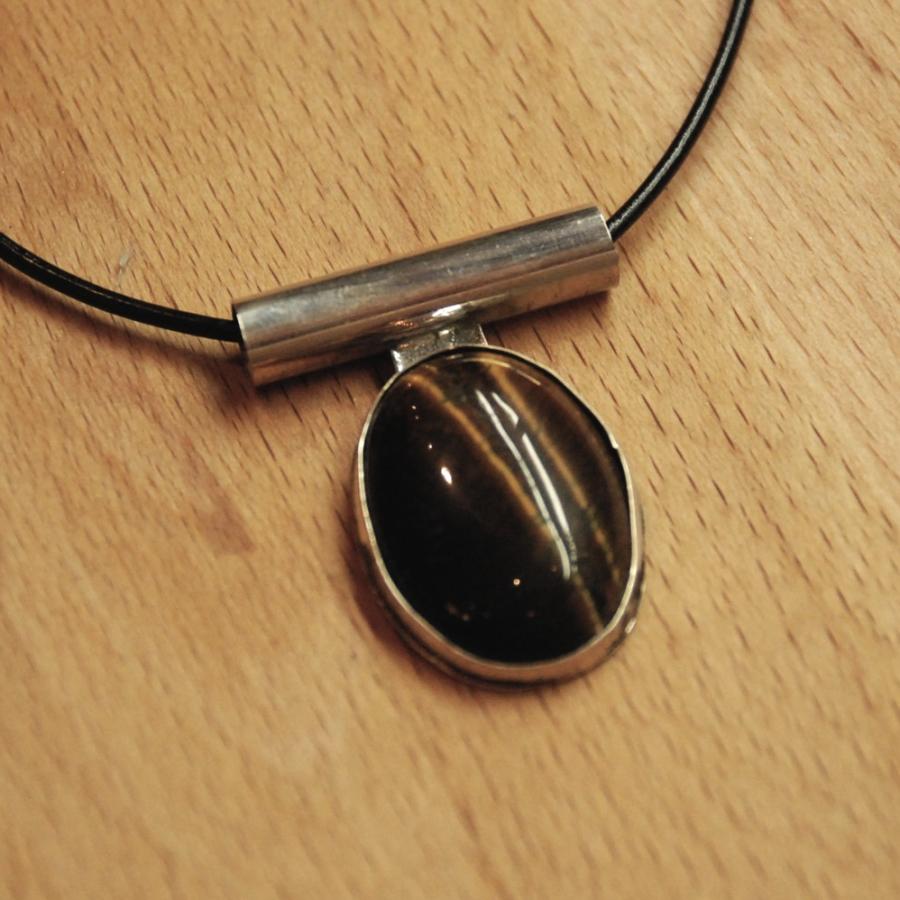
Shannon took a more architectural approach that really features the tiger’s eye with a simple tube bail connected by a small slab of silver. (shown right)
Great job everybody!
I am working on web things today and lurking while Dina Vatcha finished this fabulous project in open studio. Two seconds after she finished I was ripping it out of her hands to let me photograph it.
She employed the rolling mill using a piece of burlap for her texture. The focal point is a wooden bead that is double drilled.
What a great design!
The silver saturday workshop today was the first of the two “Organic Things” class that I offer this year. Similar to the other Silver Saturdays, which teach all the basics minus stone setting, the “Organic Things” is set apart by the inclusion of a found object in the final project. This tends to lead the design in a more “organic” direction, and also tends to employ more of the skills learned. My workshoppers did great with this challenge, taking it in their own unique directions.
- Copper Earrings
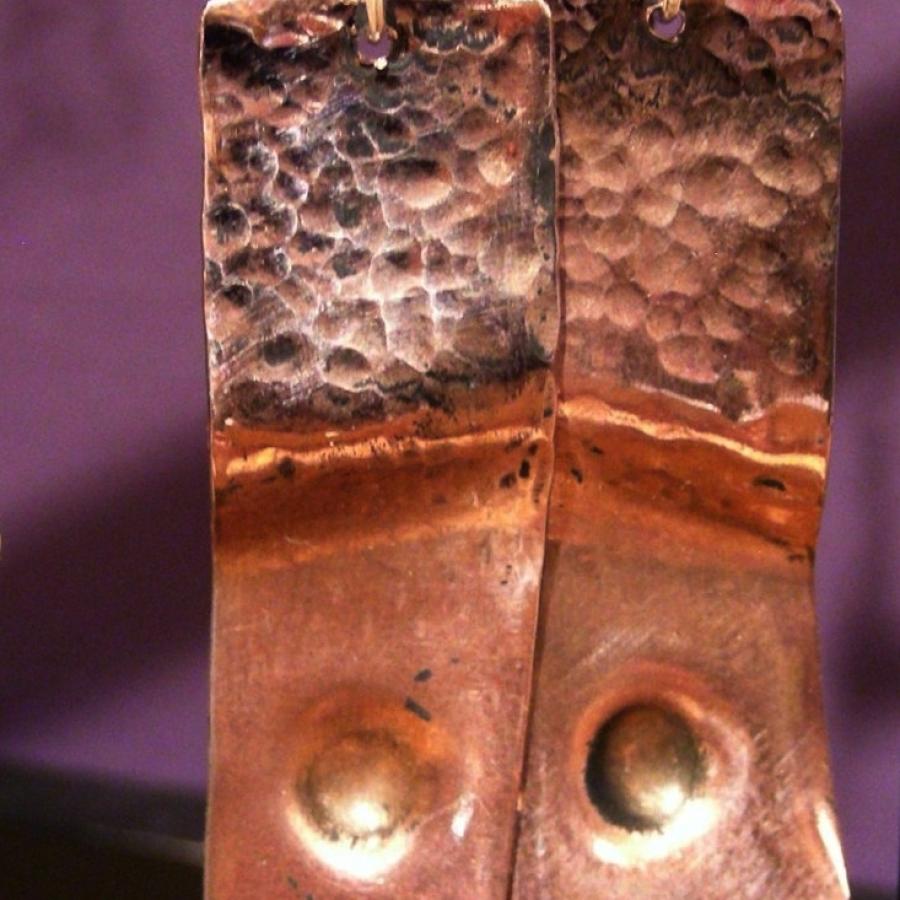
Andre employed three different techniques in these copper earrings. Hammering, dapping, and forming.
- Fresh water pearl pendant
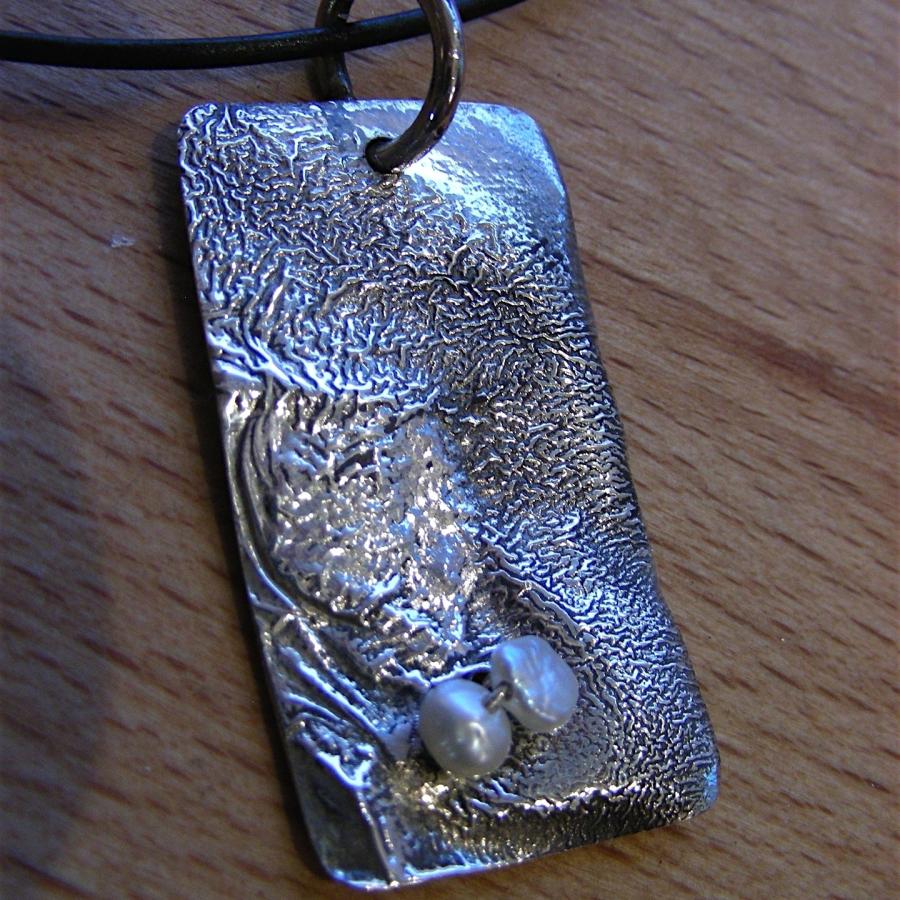
Fresh water pearl and reticulated pendant by Filiz Basbug
- Beach glass pendant
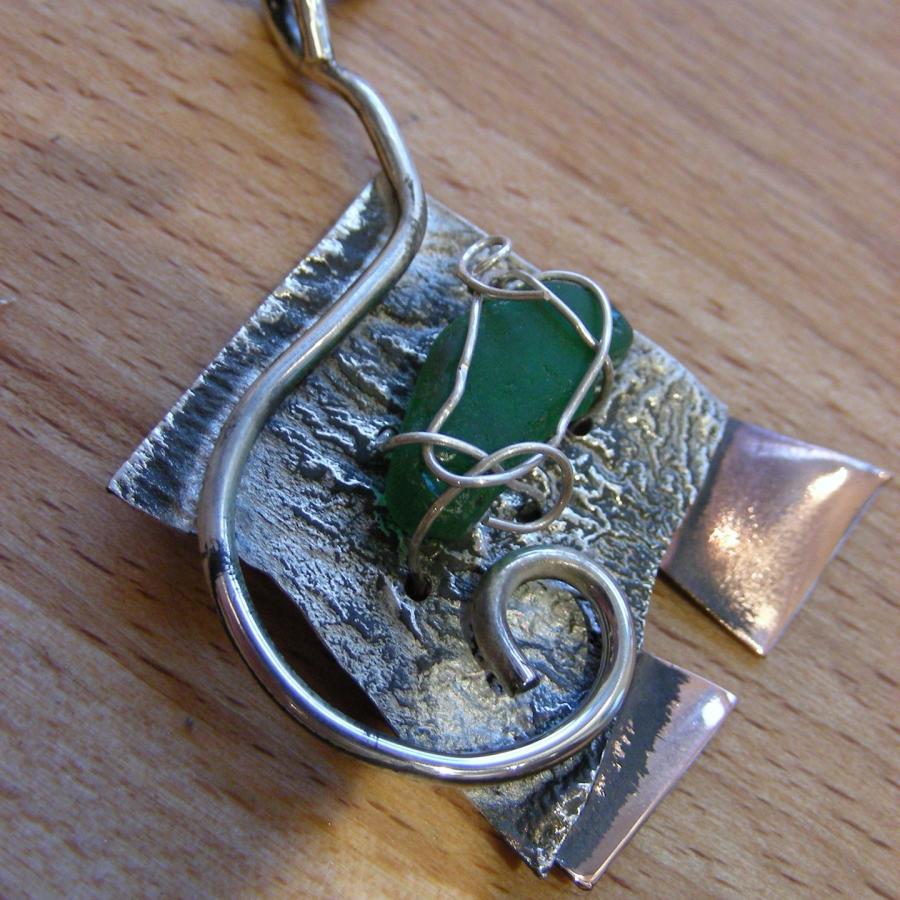
Beach Glass, Reticulated Silver, and Copper pendant by Andre Lindenfelser.
The good folk here at Glen Echo Park have been kind enough to give me a one-woman show in their main gallery for the month of July. The show, When the Silver Speaks, Stories in Wearable art, will draw from spiritual and social, personal, and women’s issues.
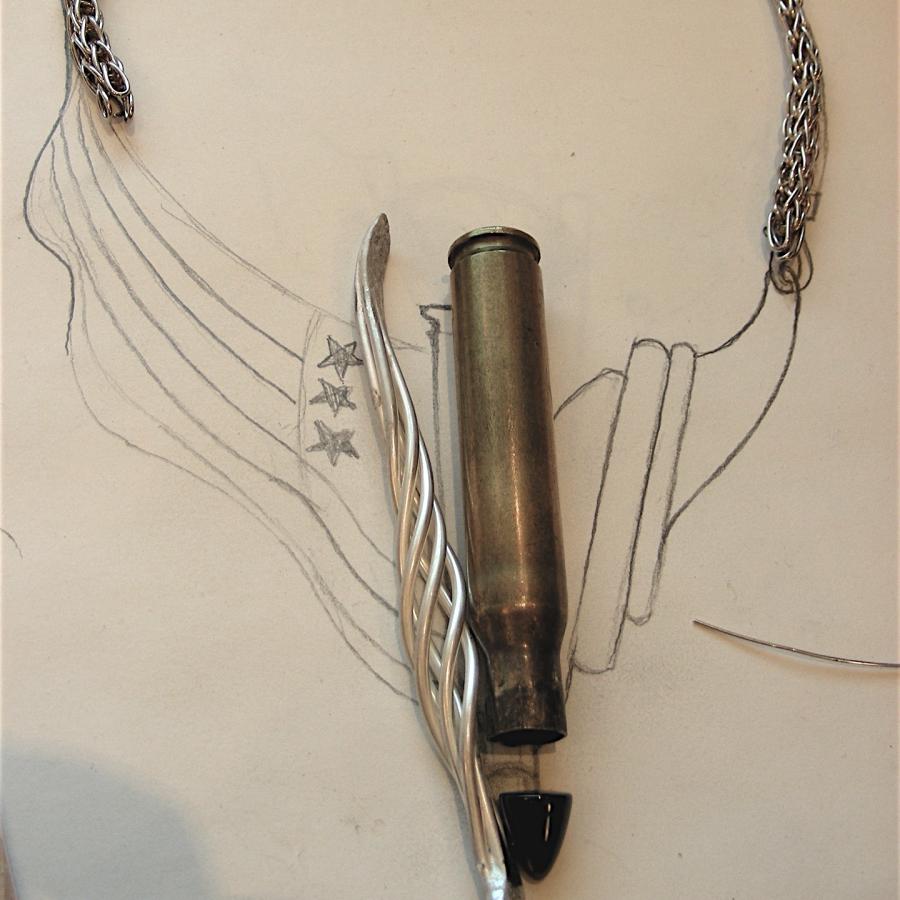
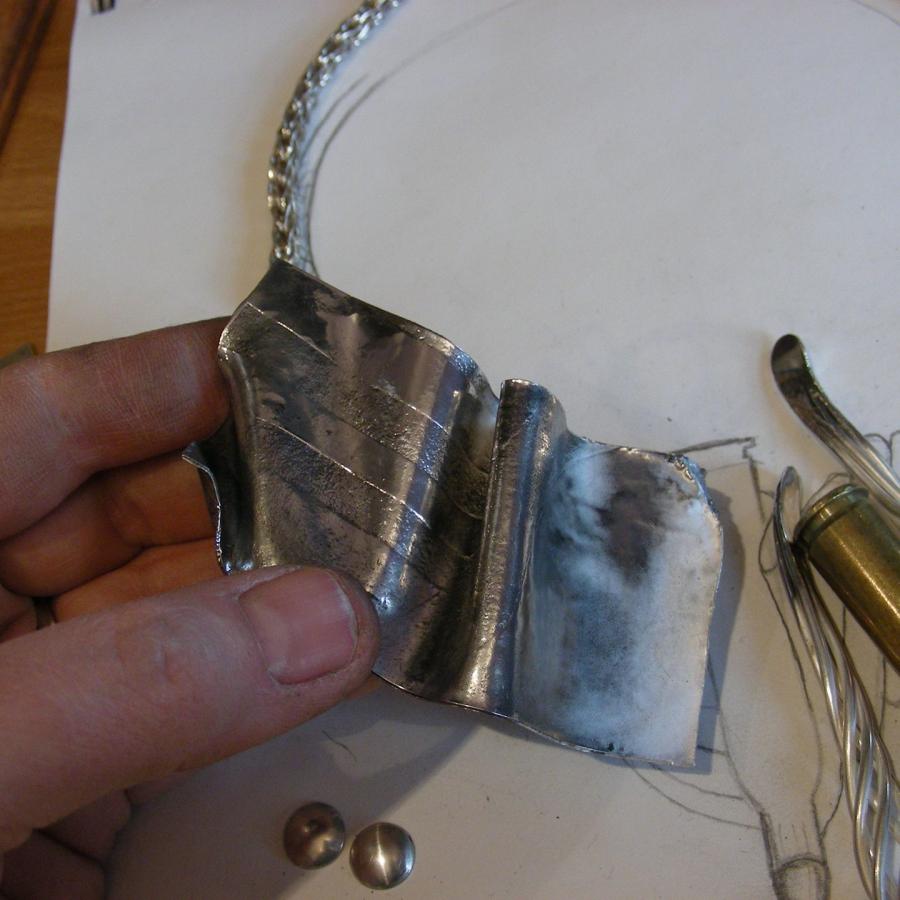
One of the pieces I am working on is a necklace that features a spent round from my father’s 21 gun salute. It will incorporate a traditional blacksmith element (the open cage), a handmade woven chain, a garnet (bullet) and semi-representational depiction of the american flag. Intended to honor his memory and those that serve their country, it also is meant to provoke thought around the notion of virtue (or lack of) in hyper-patriotism and war.
Other titles in the works for the show:
- Haitian Shorts
- Addictions
- Birthright
- 99 Brunello
- Loss of Life
- First Coverings
- Ashes to Ashes
- Finding One’s Self (painting & pendant)
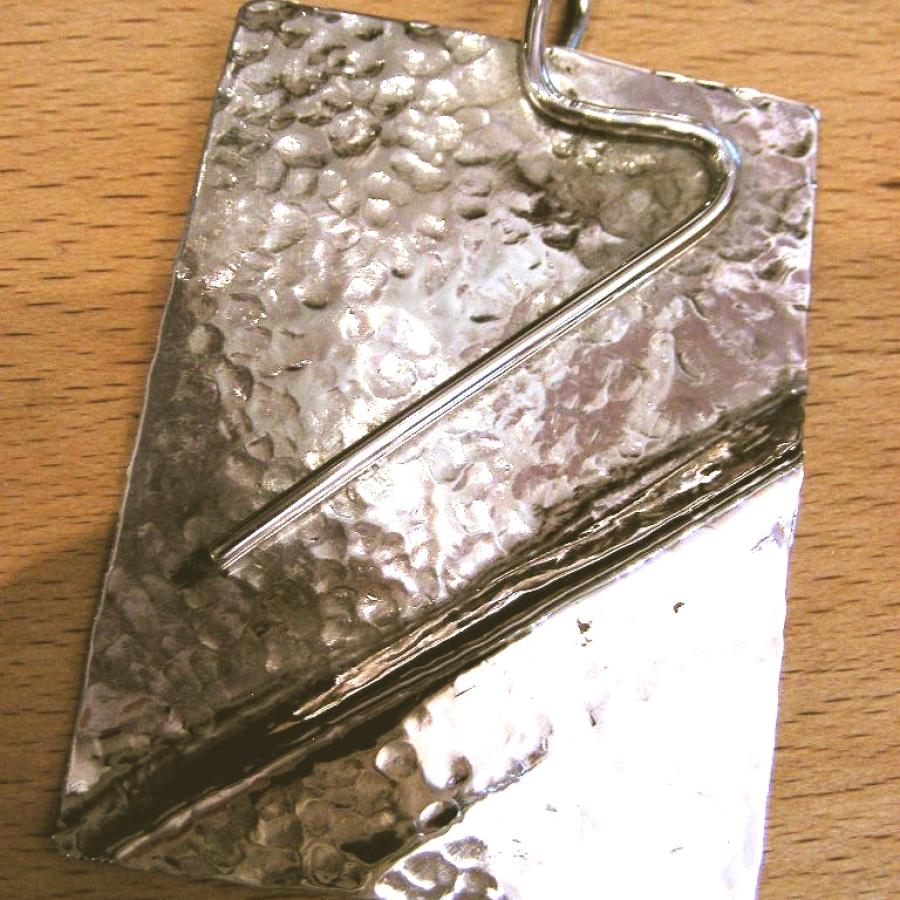
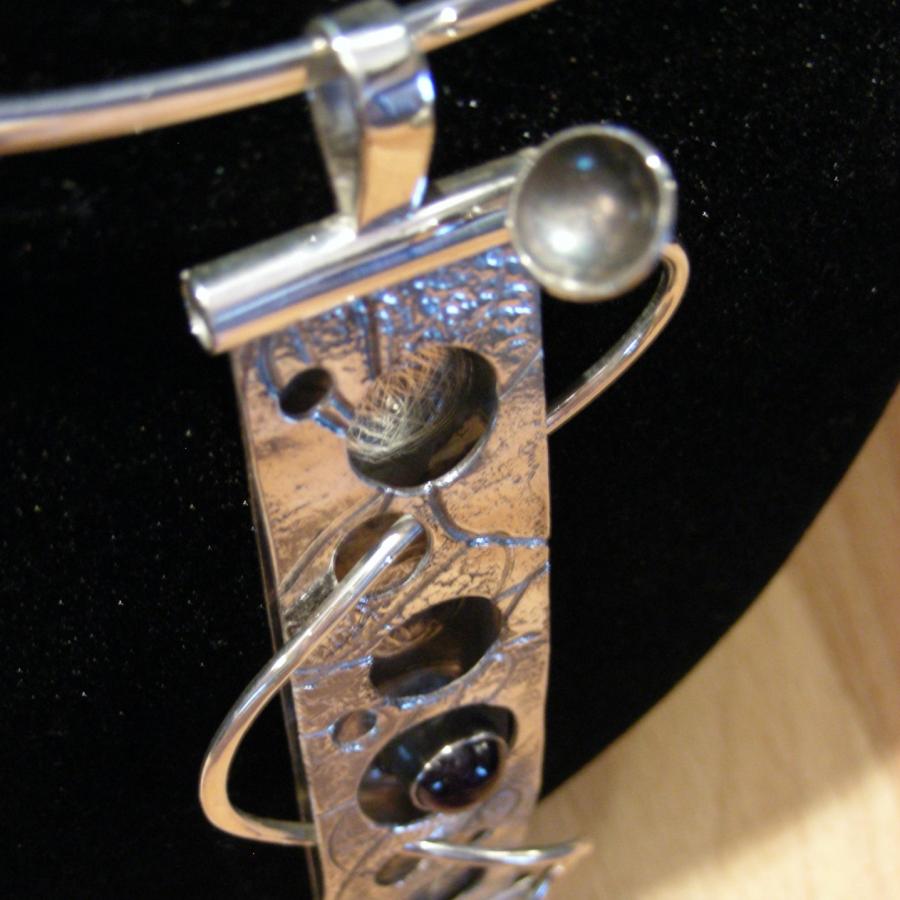
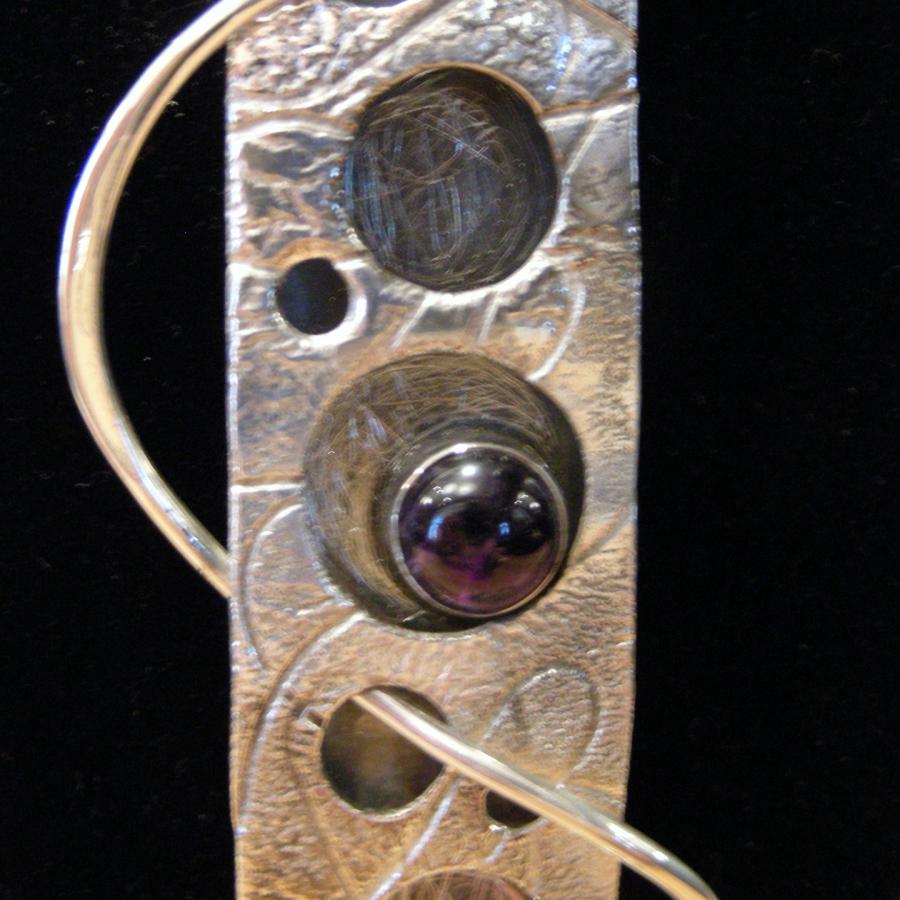
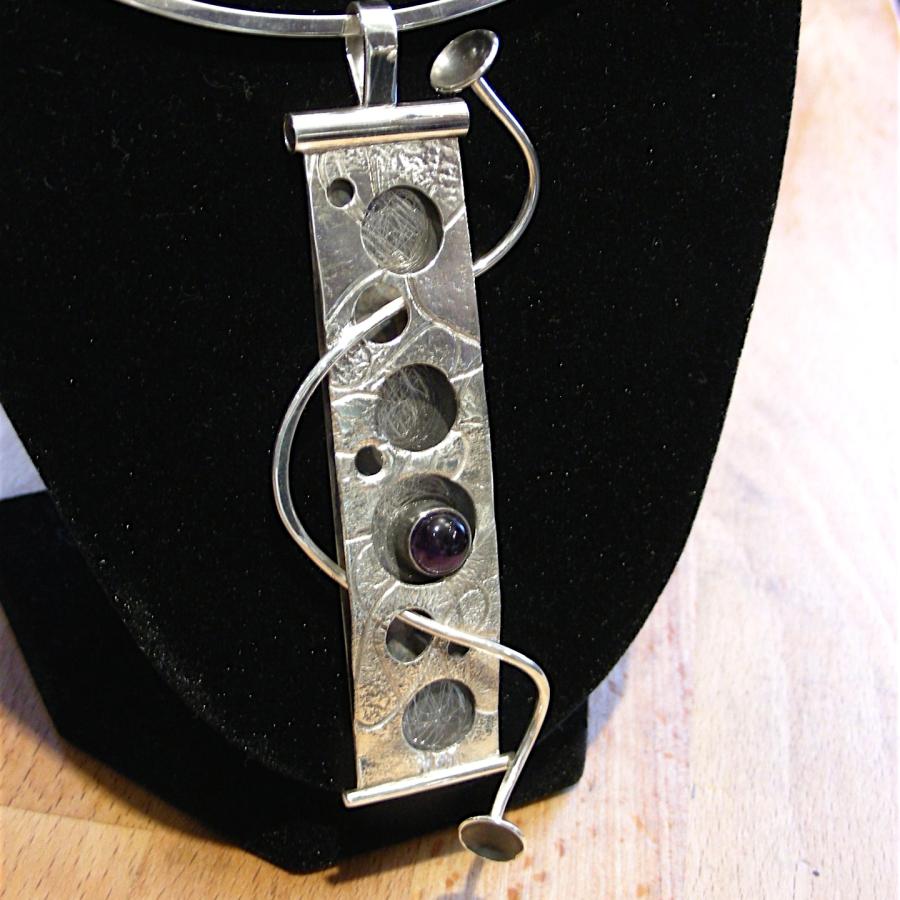
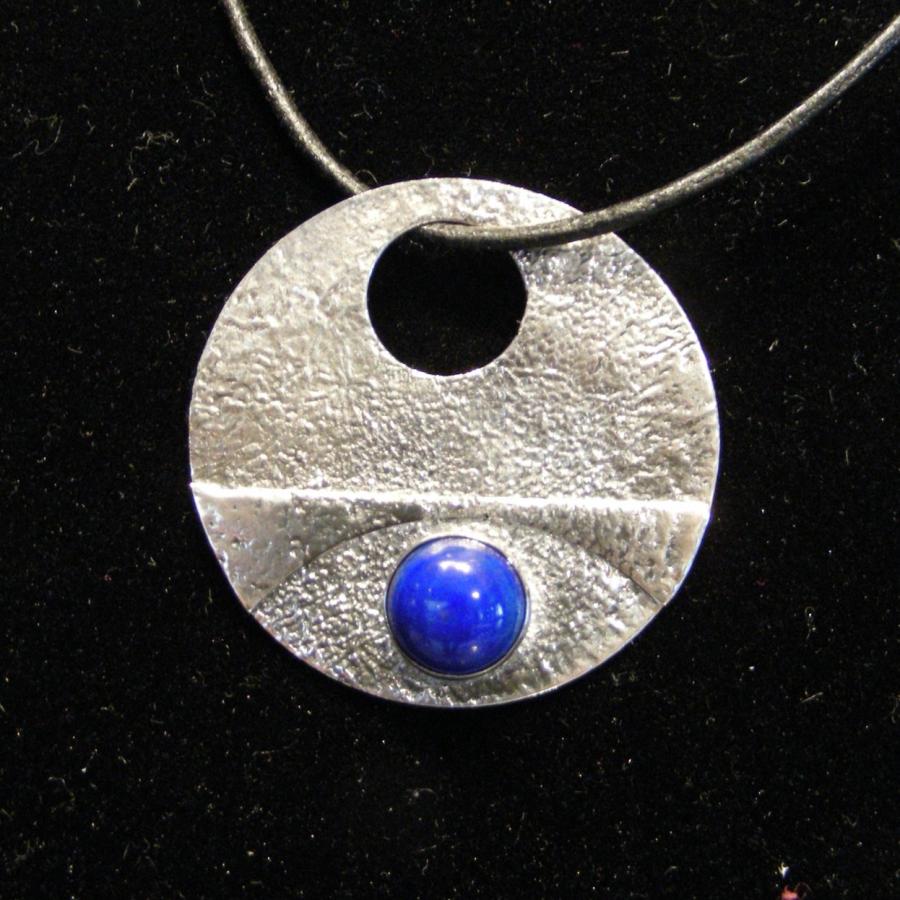
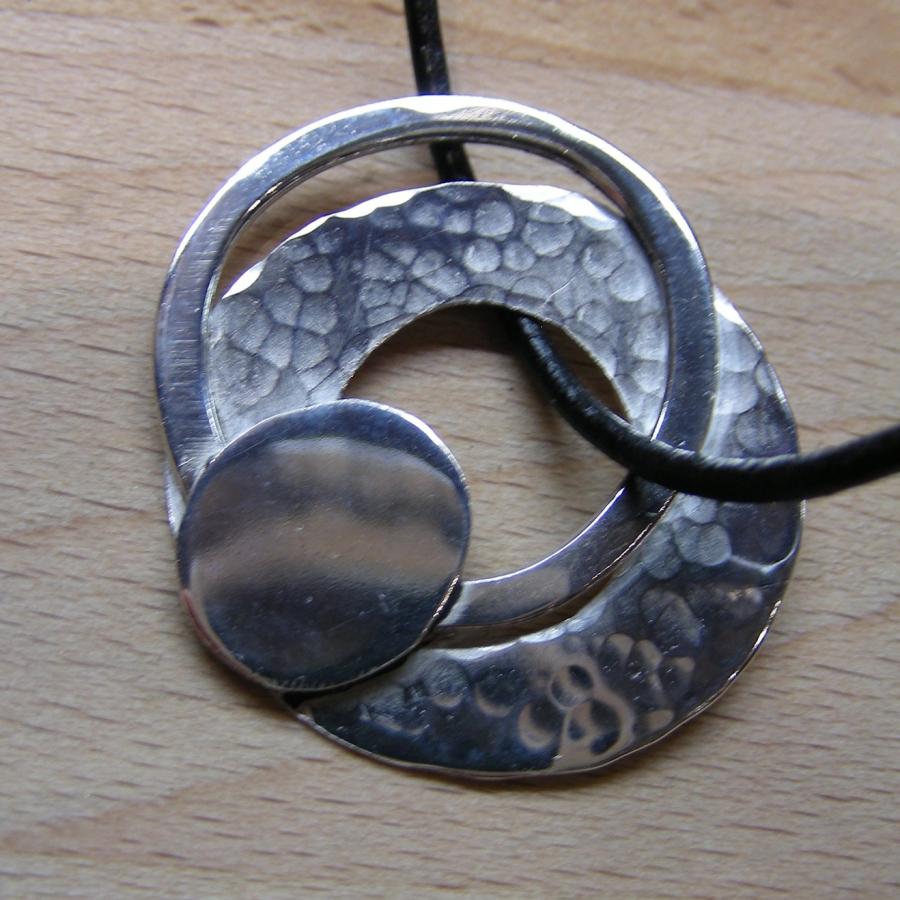
More time spent in the circle zone. This time a focus on negative space and three dimensions. This piece presented some unique challenges with the double plane (especially when it came time to polish. There are two sections of silver sheet that are connected at both ends.
Techniques used:
- Reticulation
- Rolling mill imprinting
- Disc cutting (negative space)
- Dapping (the little cups)
- Oxidation with liver of sulfer (inside back panel & cups)
- Tube bezel
Materials used:
- 22 gauge sheet silver
- 14 gauge round wire
- 4x1 mm square wire (bail)
- 5mm tubing
- Amethyst
Tip: Don’t be afraid to bend a portion of your work in order to polish. As long as you know it will bend back neatly, it is a great way to get into those hard to reach places.
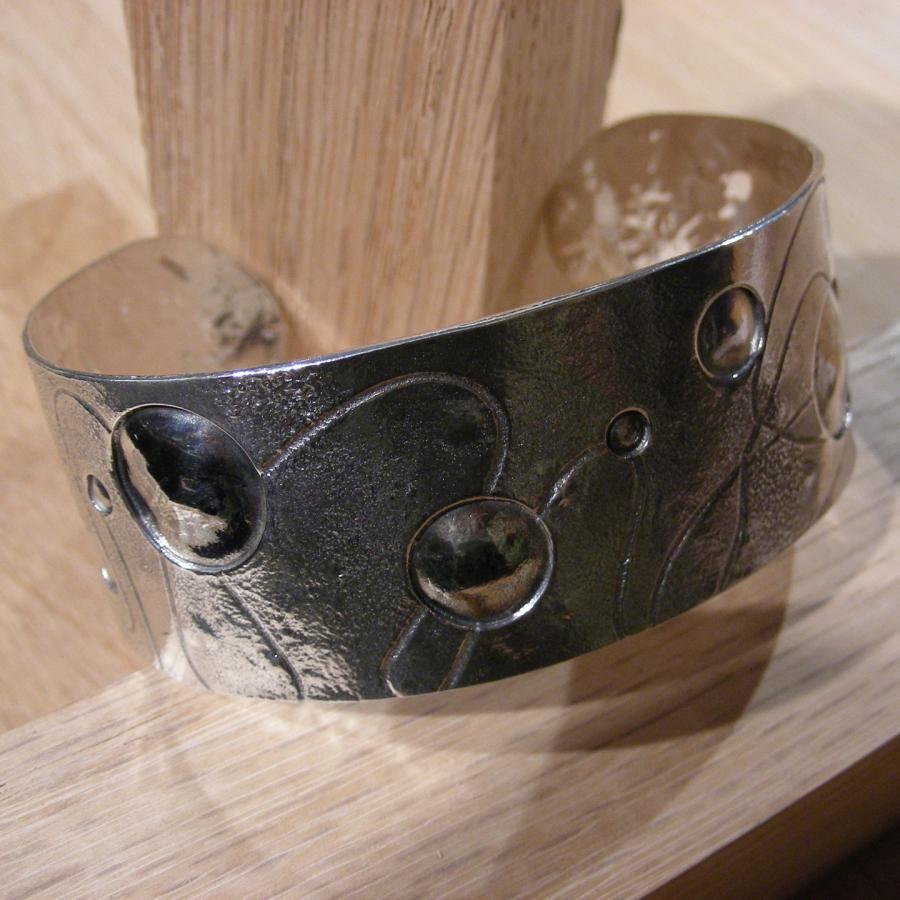
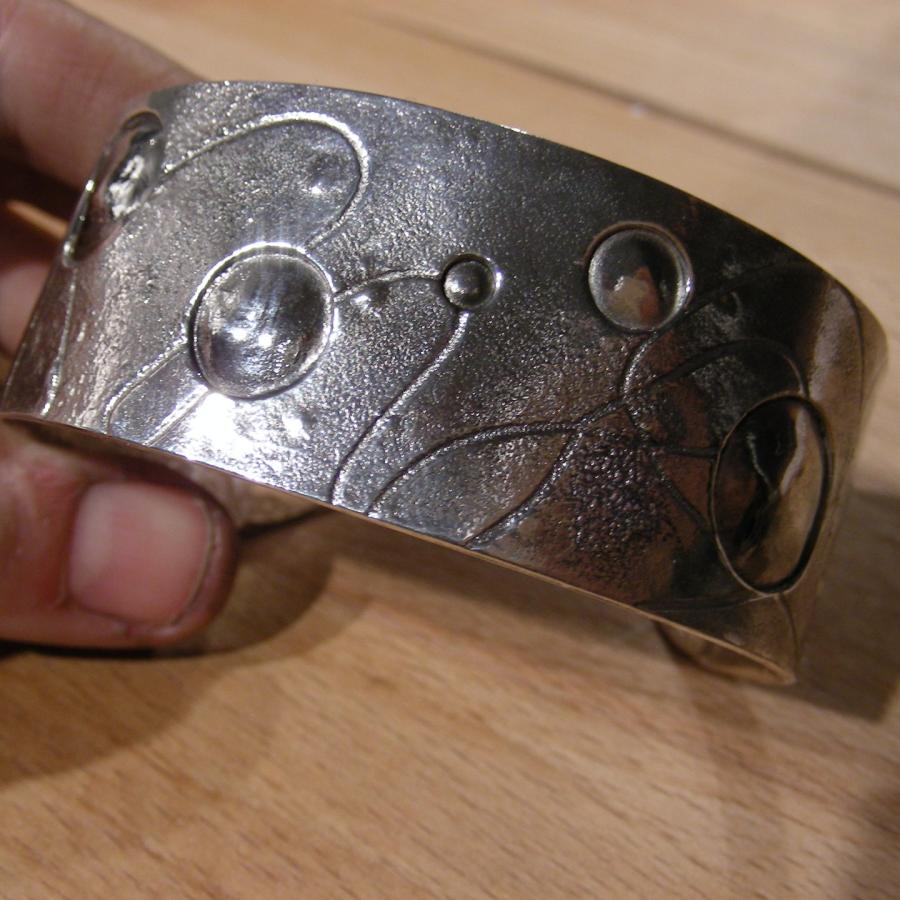
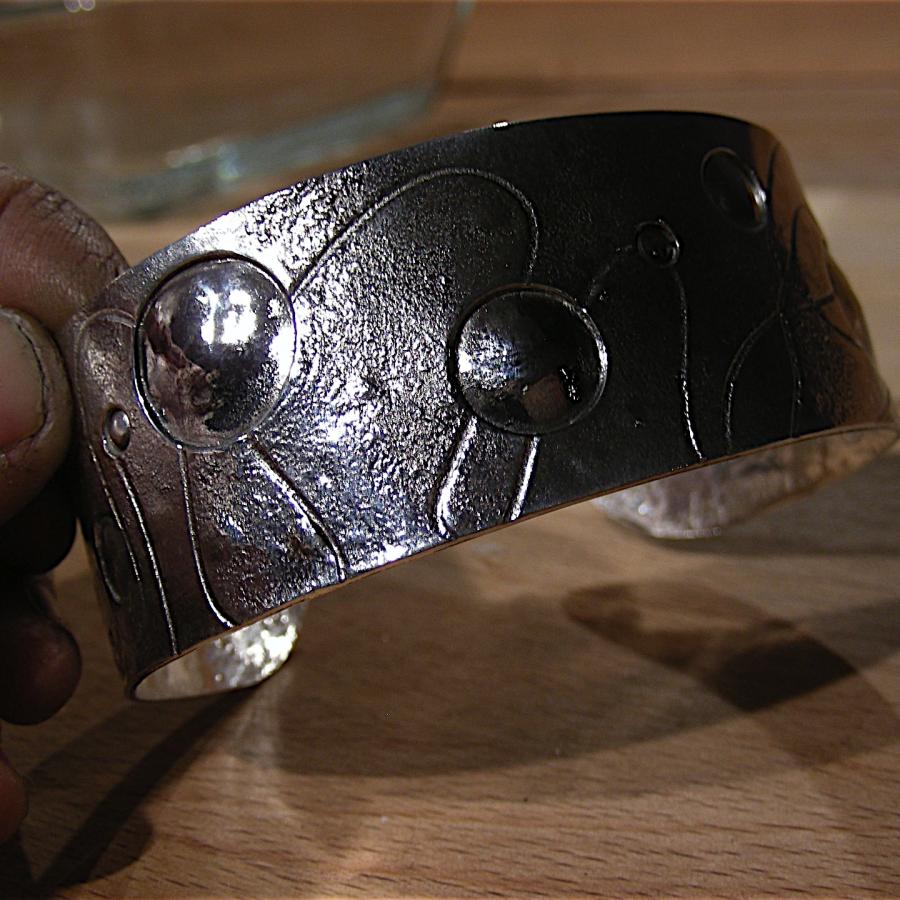
Sometimes you just need a creative challenge. Today I tackled a project that looks simple in its finished form but is fairly complex to create. Unfortunately I didn’t chronicle this in photos... I was focused on the project and before I knew it, the day was done... no photos, but a really cool men’s cuff.
Technically this is a “pierced” project but incorporated the following techniques in this order:
Starting with a slab of 22 gauge silver sheet...
- Line texture using rolling mill... wire as the texture.
- Circles cut out of slab using disc cutter
- Base layer of 30 gauge sheet soldered as a “laminate”.
- Reticulate top layer without losing wire design.
- File and sand edges.
- Polish on wheel
- Form on mandrel using rawhide mallet. (yes at this point everything was still flat)
- Dapp “planets” with dapping punches.
- Using liver of sulfur, paint a select number of planets for a blackened patina.
- Polish in tumbler
- Final polish on the wheel.
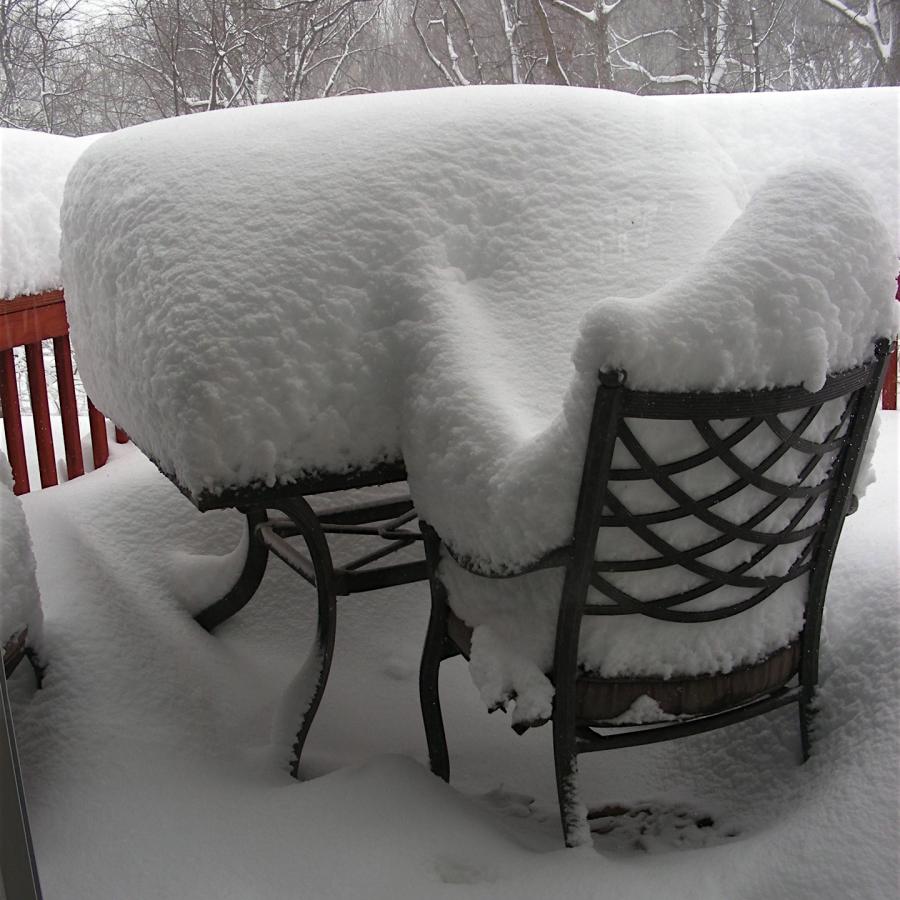
Well, I didn’t make it out to Tucson thanks to all the snow. But I did do the next best thing.
What would we do without the internet
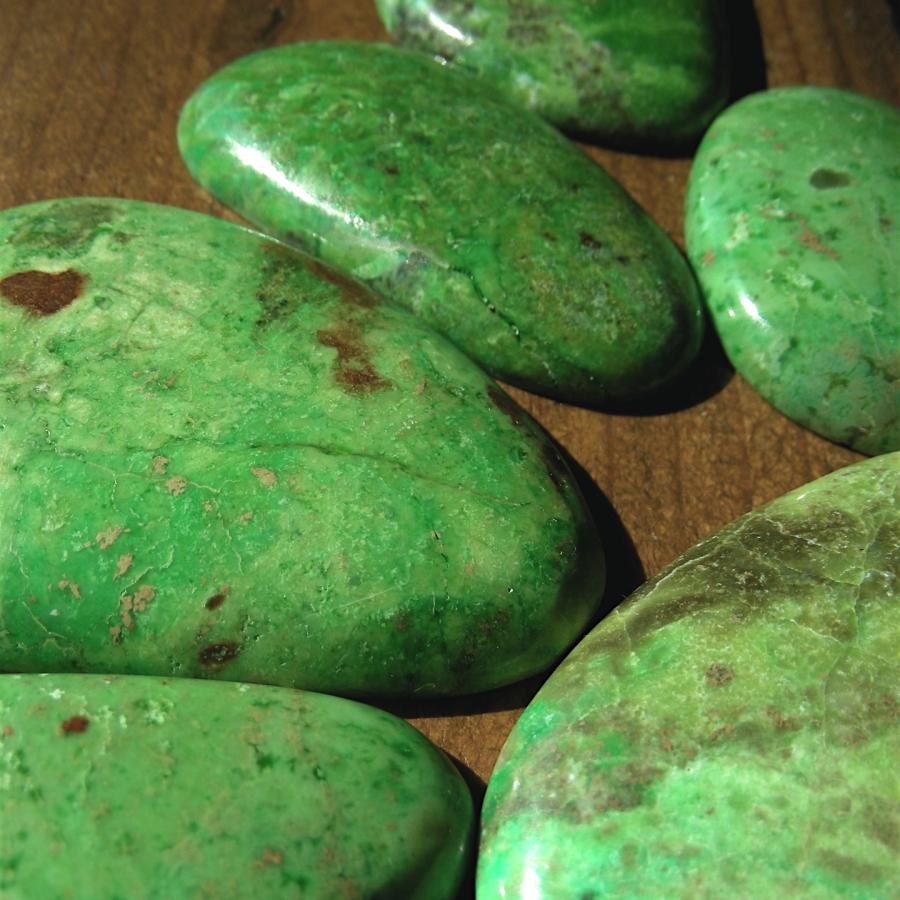
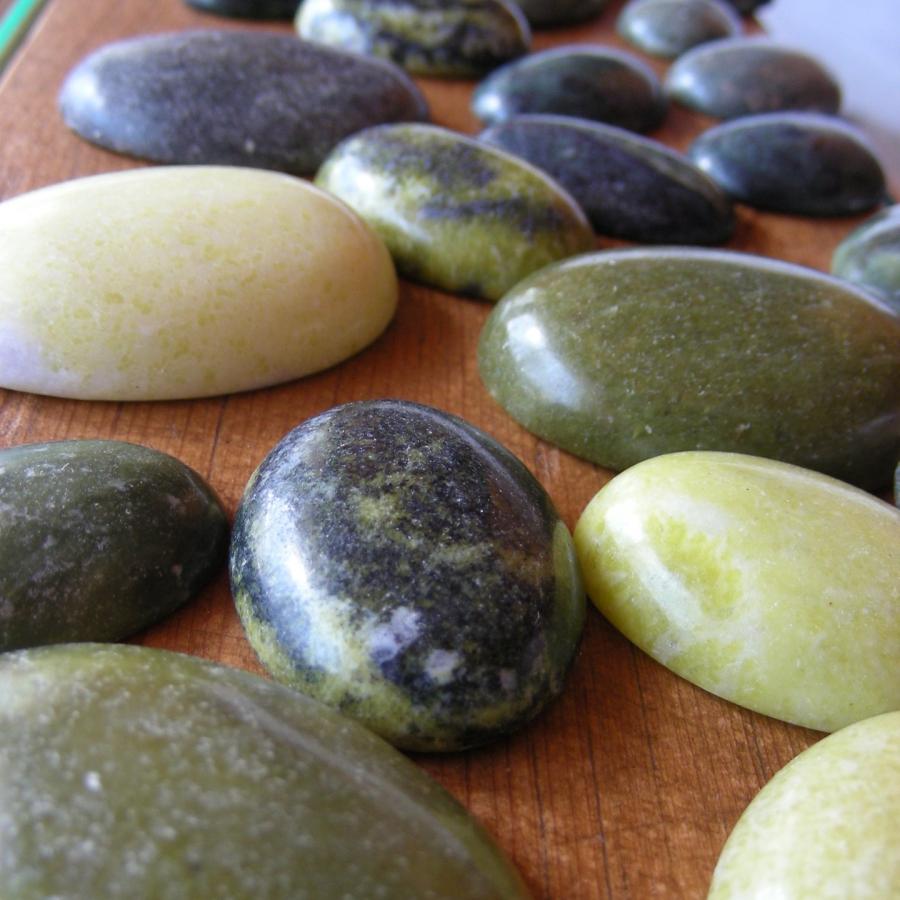
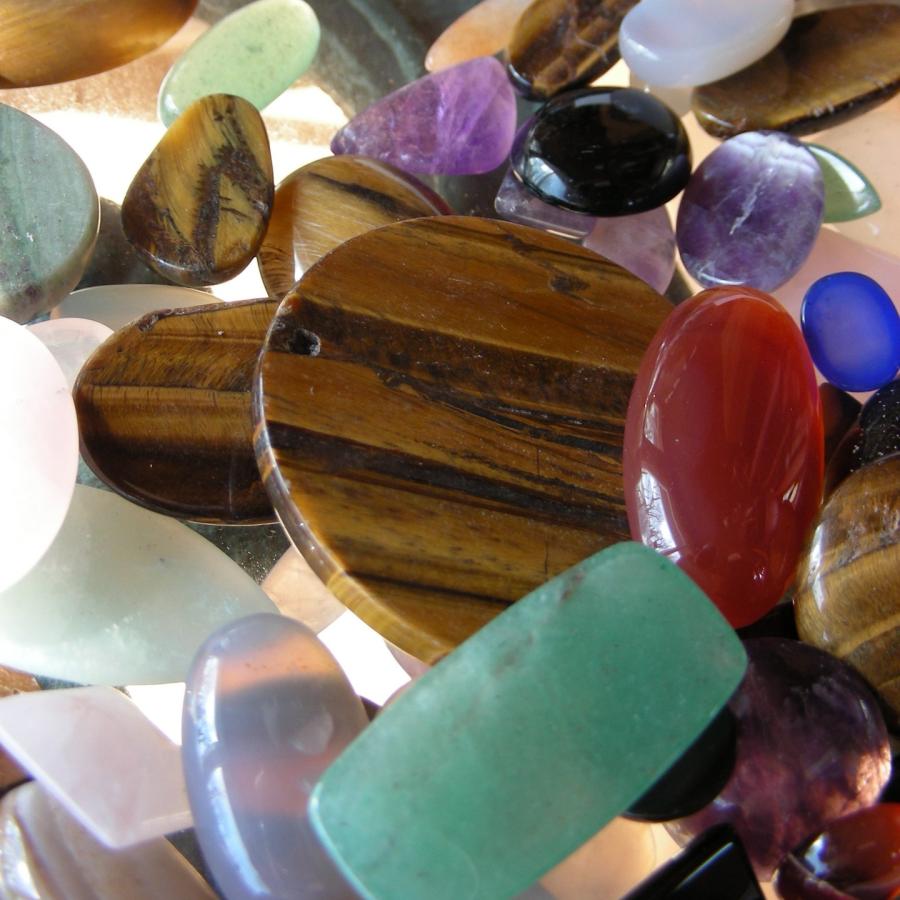
My shipment came in yesterday, and this is a snapshot of just some of the selection.
Thanks Joan and Amanda for coming out and spending time enhancing your new found smithing skills in the Discover Silversmithing 2 workshop.
These gals did great soaking up a lot of info in a short period of time and tackled one of the foundational and difficult smithing skills...
bezel creation.
Harder than it looks, the process of creating a bezel for a stone and setting that stone is challenging with multiple steps. Then we explored employing this skill into a good design.
Congrats girls! You are well on your way!
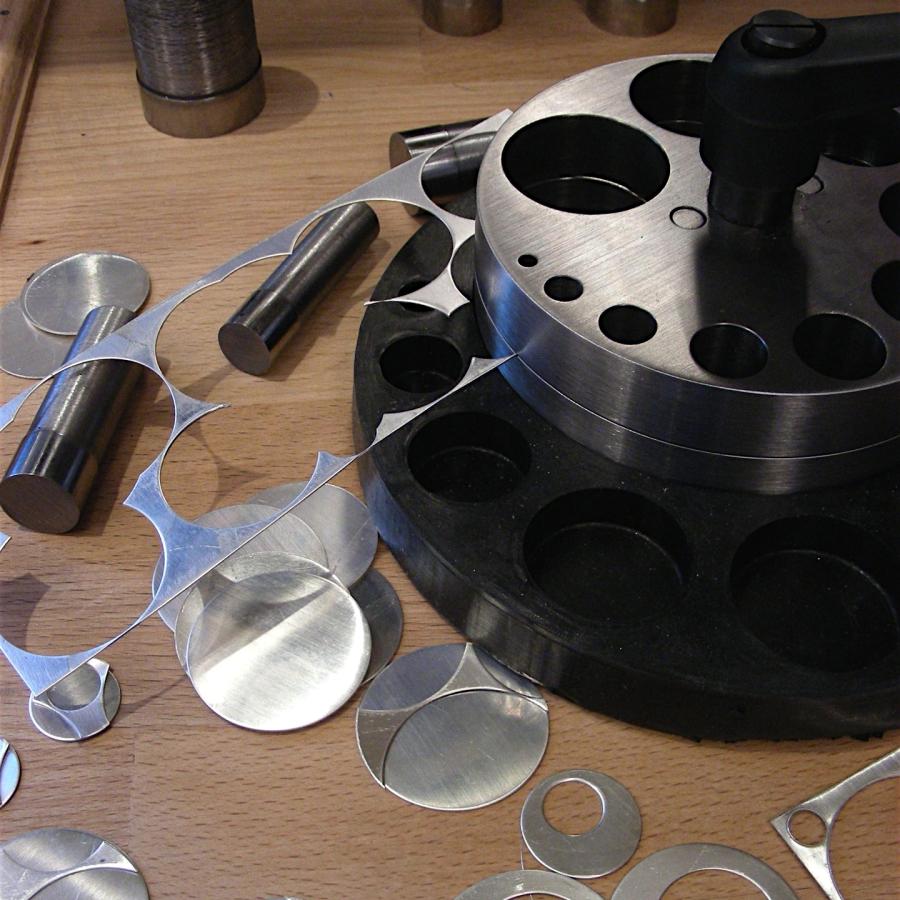
I continue to beef up the tool arsenal for the studio, and today I added a really fun one...
the disc cutter.
Imagine the possibilities...
no more sawing to get circles...
just a few taps with the hammer and poof!
Circles!
“What a great way to spend a saturday afternoon”. This said by the last student to leave the studio yesterday. I am so glad. I love it when people share my joy in this art form.
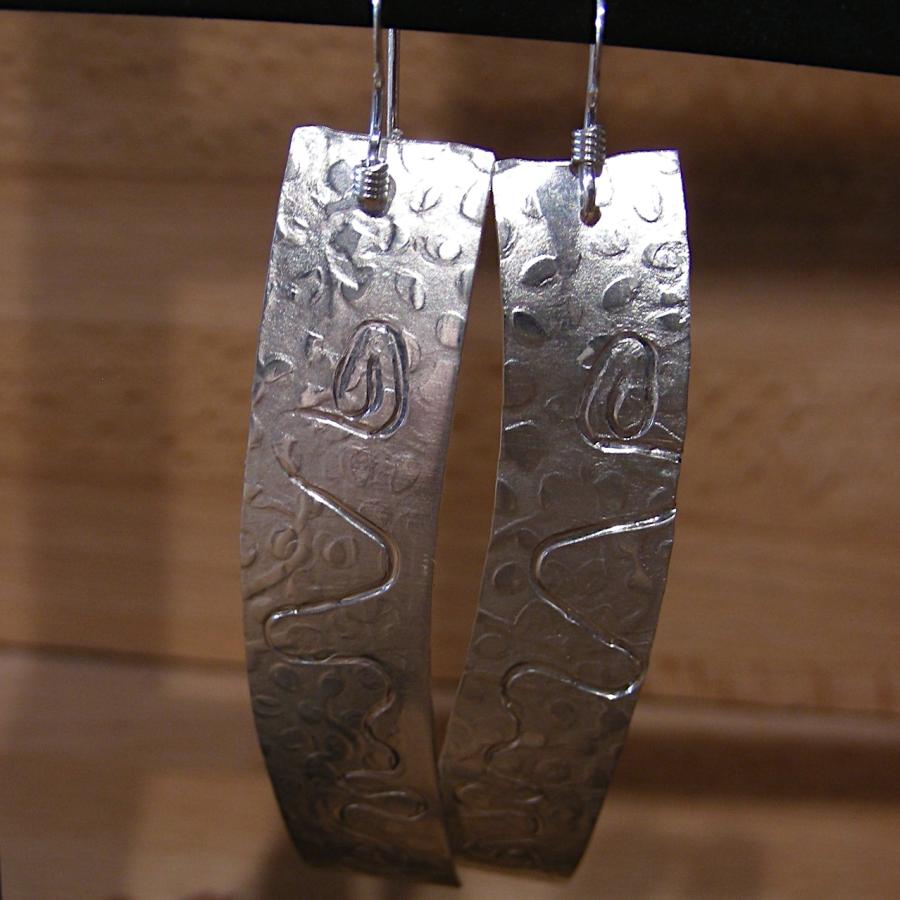
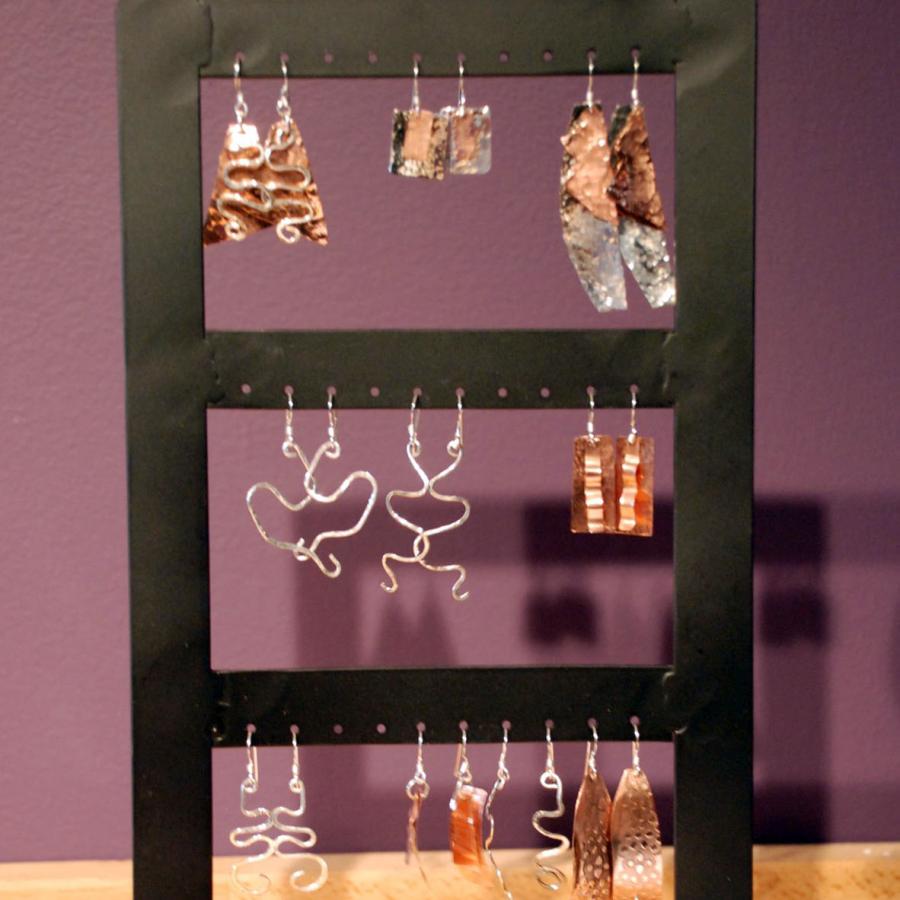
In this condensed workshop we cover the basics in a somewhat accelerated manner but lots of discovery happens under intensity, like the fun earrings made by Kathryn.
Once given the basics, the class was off and running. Many chose to combine copper with silver.
Here are some of the highlights...
Well, I was supposed to be on a plane toward Arizona, bound for the Gem Show in Tucson, but mother nature had other plans. After two flight cancellations that shortened our trip to a few days, and the threat of more snow, it didn’t make sense to go.
Bummer.
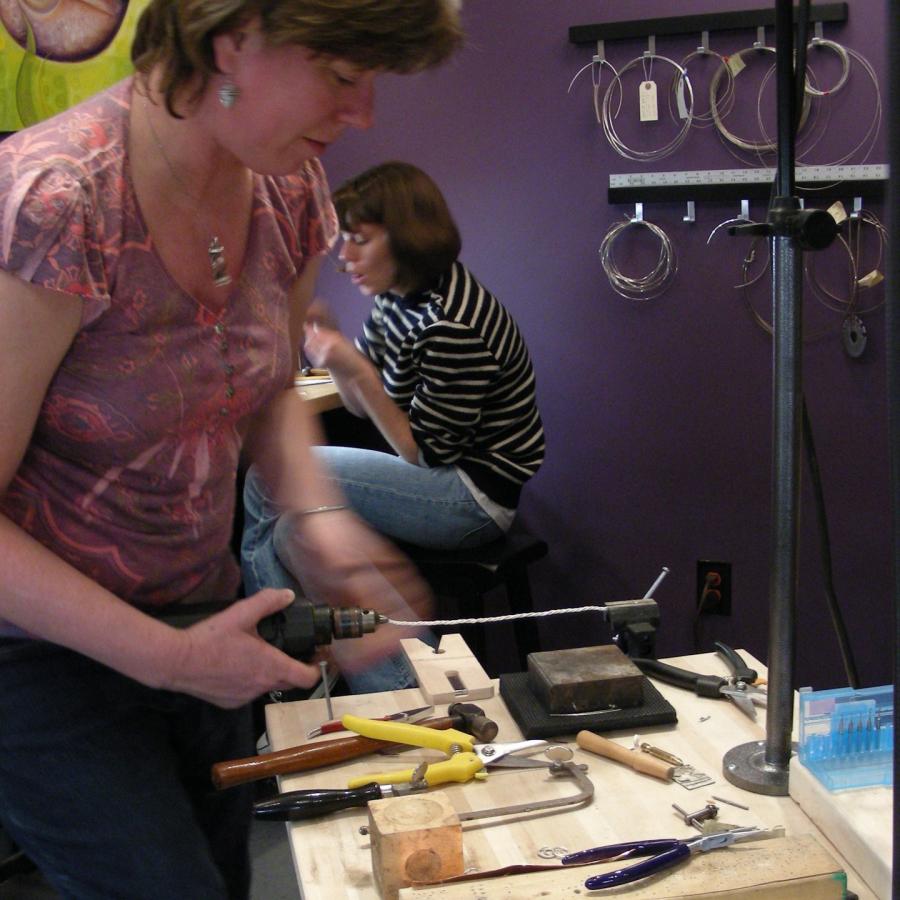
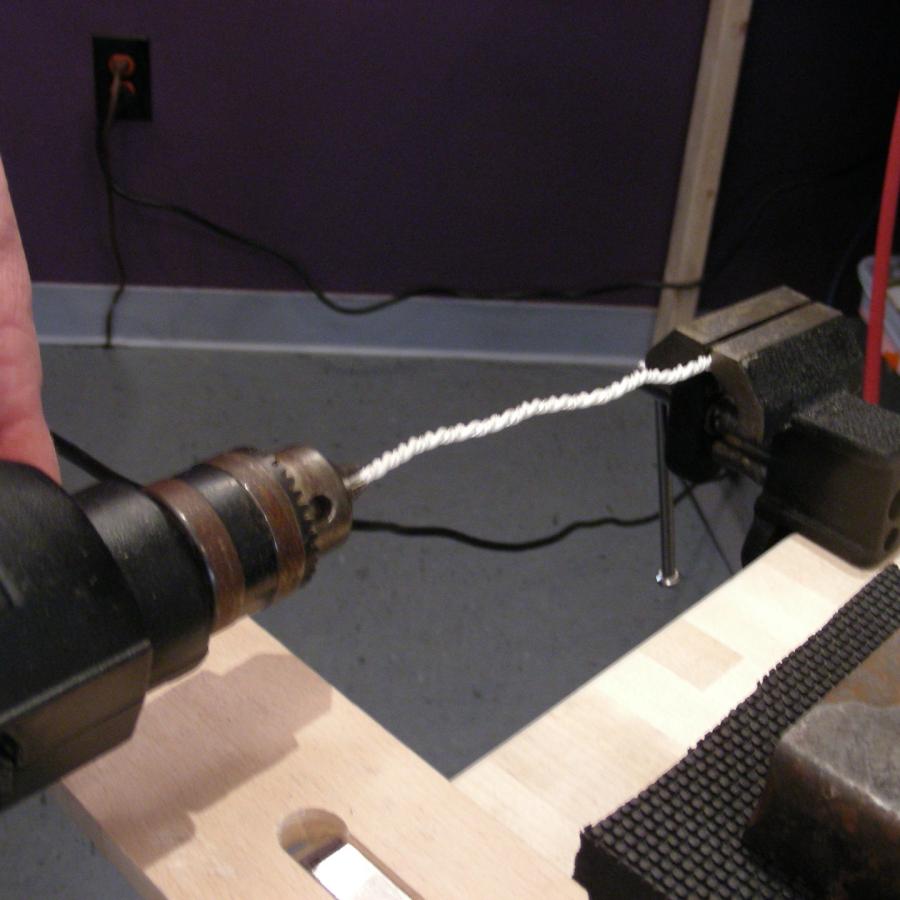
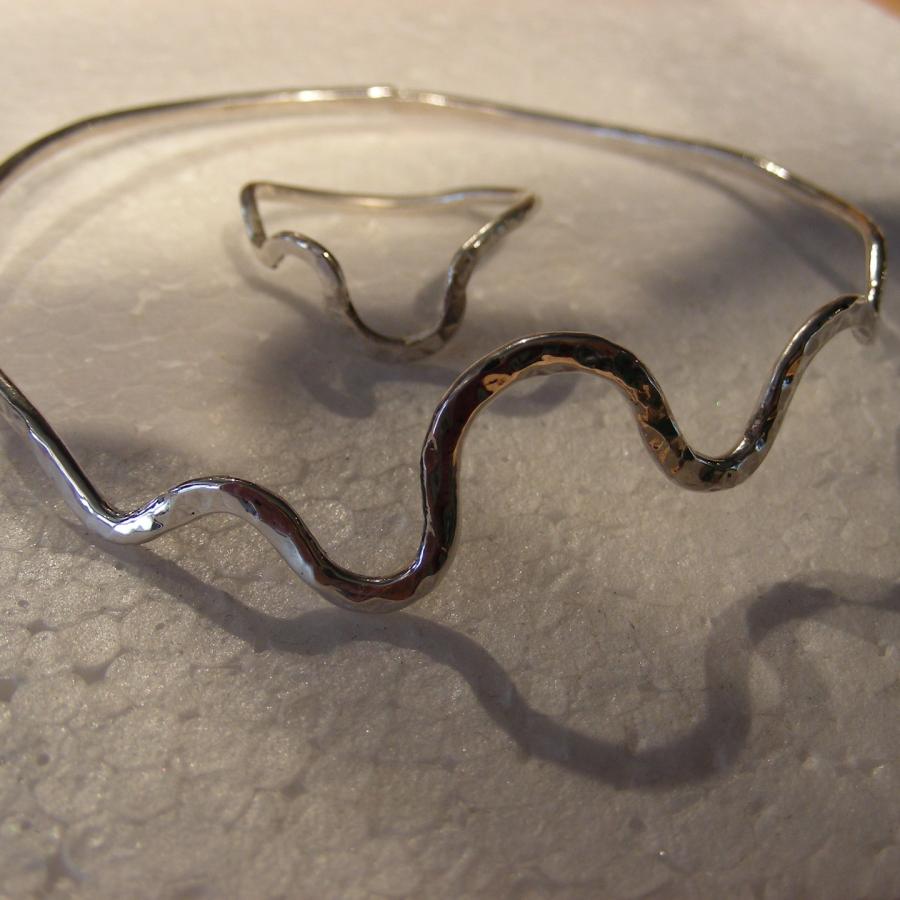
The finals session with these fabulous women was a bit of a free-for-all with a few creative “twists”. A flashback from the past brought forth new knowledge out of Jennifer’s high-school text book. Using a regular hand drill she twisted strands of wire together with the flip of a switch. The results... these beautiful bracelets! A technique I have never tried but plan on using it in the future. Thanks Jennifer for teaching me something!
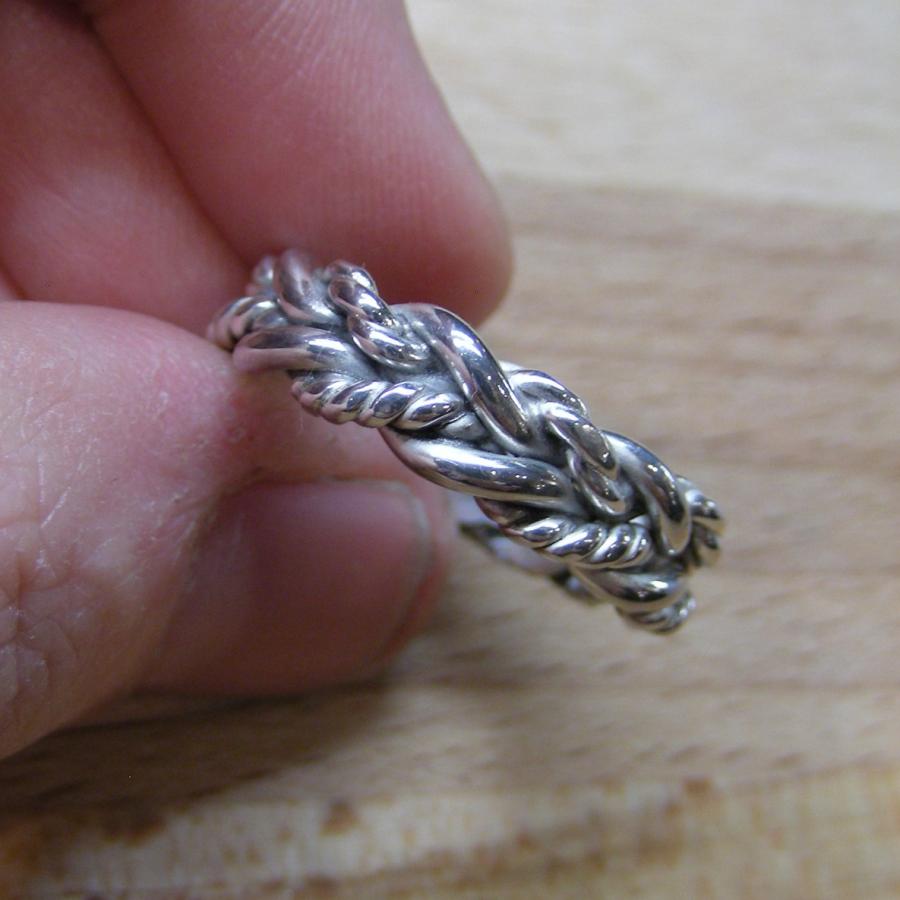
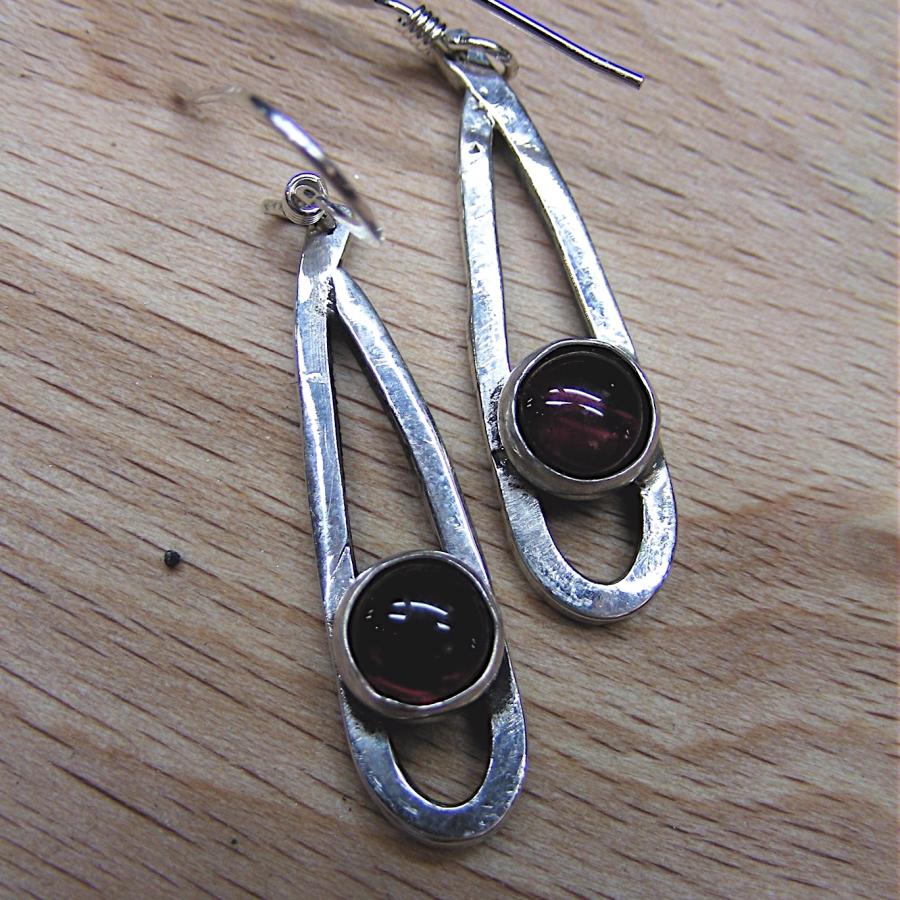
Meanwhile JJ. conquered a Celtic knot and Nina created a pair of beautiful garnet drop earrings.
Lots of fun for me today seeing what direction each person took with a newly learned skill. Everyone handled the torch beautifully and no one put the tweezers in the pickle! (insider joke for all of you new insiders!) Only one right of passage reached however, congrats Megan for breaking a saw blade.
Today was all about the foundational skill of soldering and the steps that it takes. I am sure by the end of it everyone was tired of hearing me say, “now dry the flux...” for the tenth time, but gues what... you won’t forget.
Bravo to everyone!
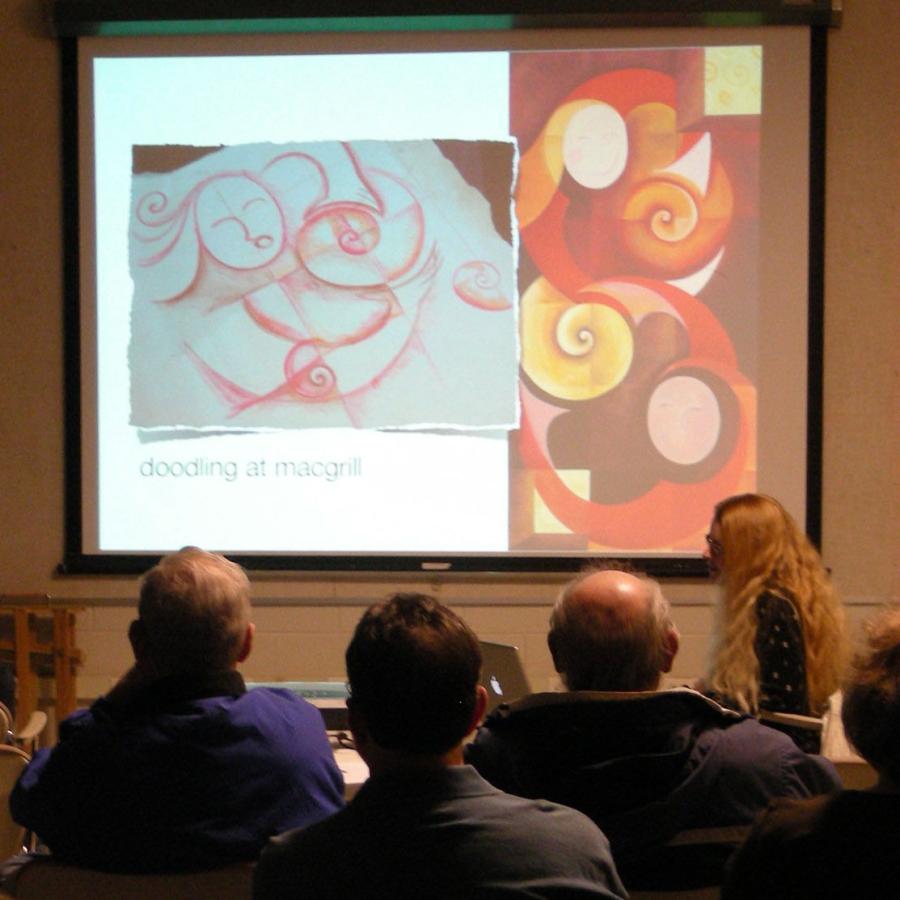
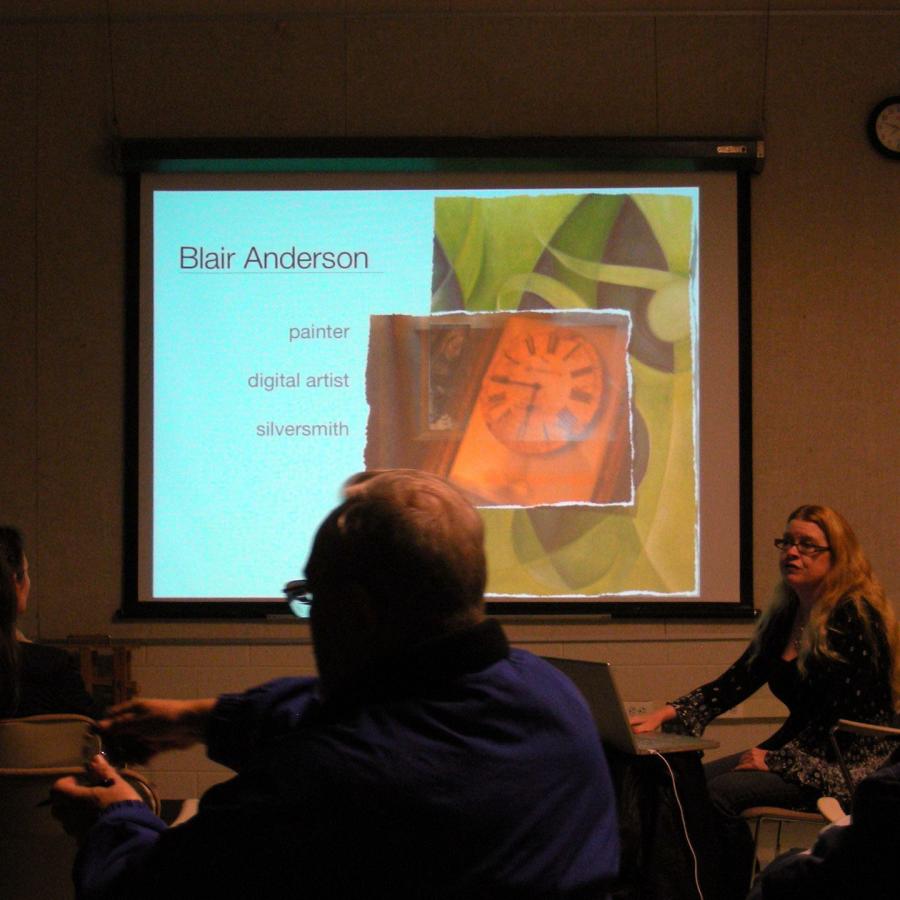
The good people of the Art League of Germantown invited me to come and share a little about my work and my creative process. Other than an uncompatibility issue with their projector and my computer (which my wonderful husband fixed) the talk came out without a hitch.
Although I realized that I actually could have had more material, (because it went by really fast!) the group seemed to enjoy what I had to say. And I really enjoyed them... what a lovely group of artists! Thanks ALOG!
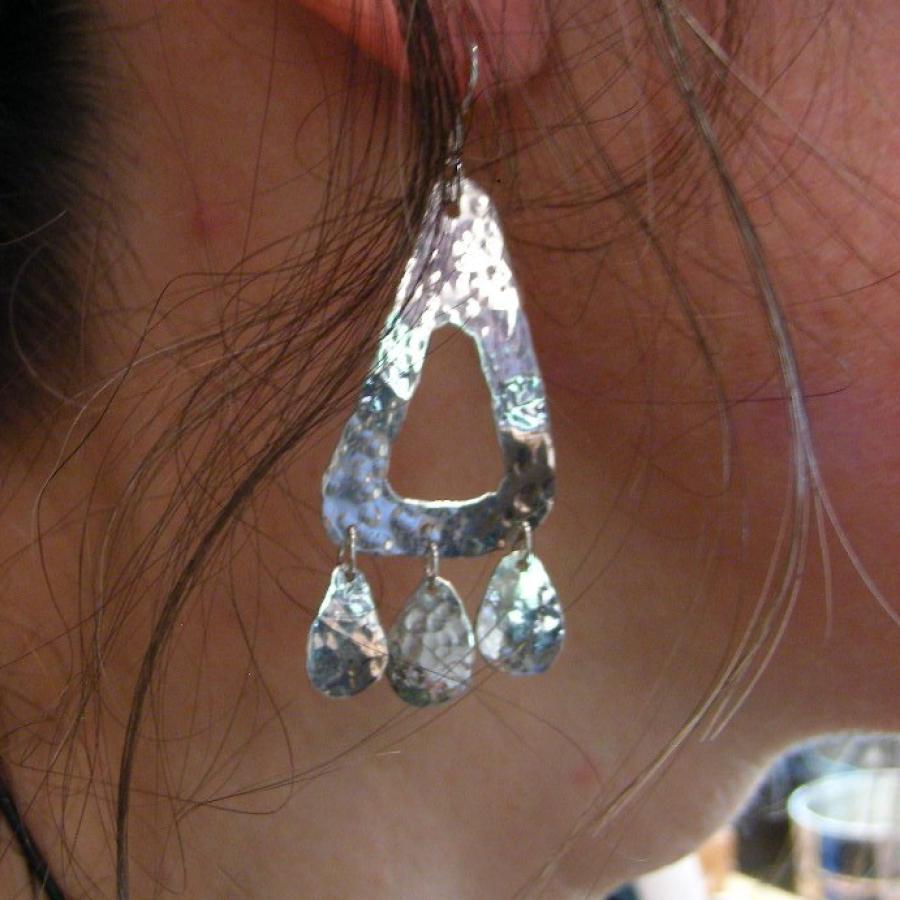
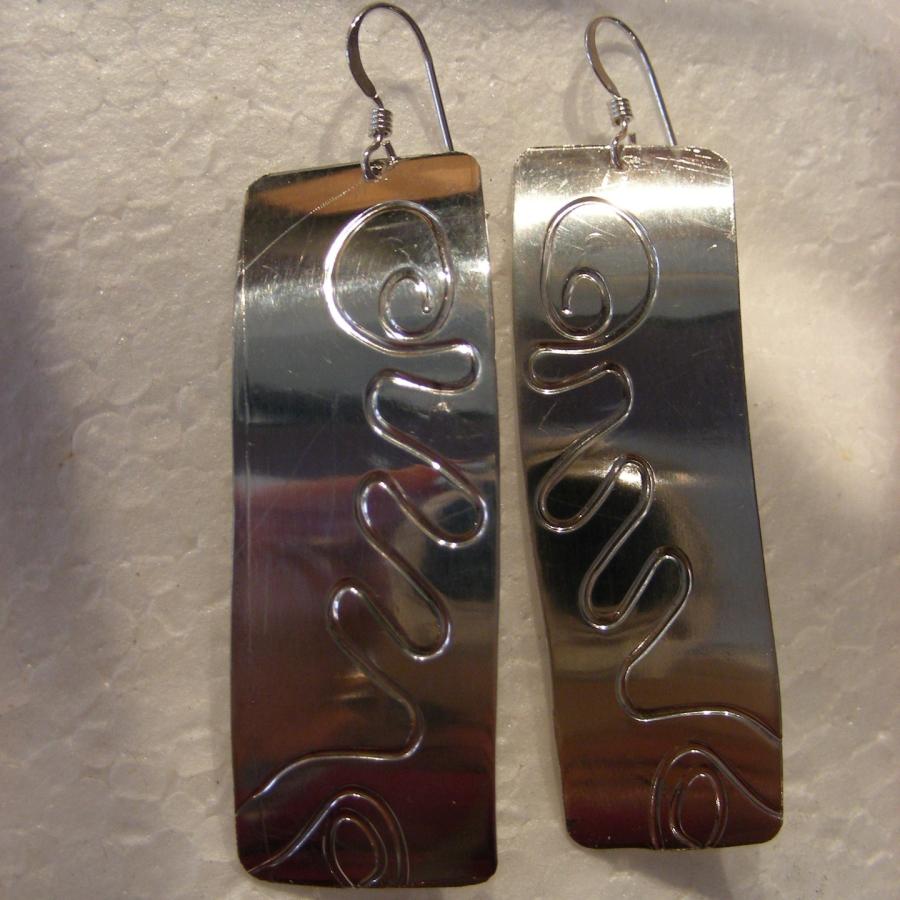
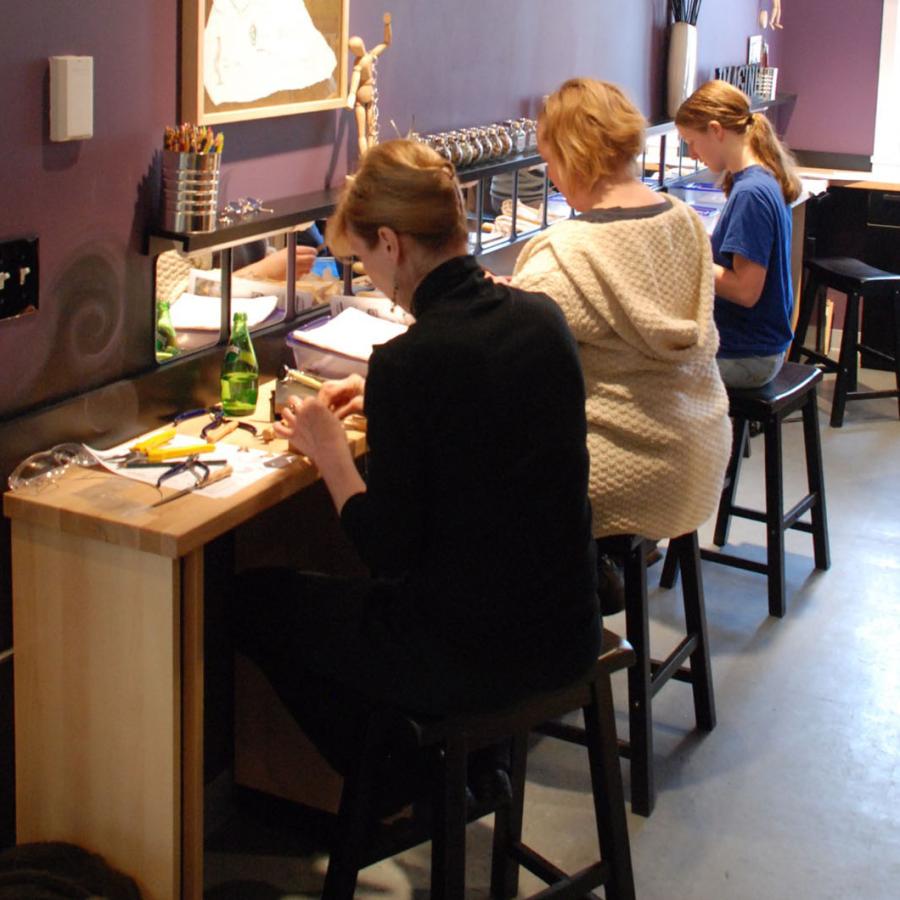
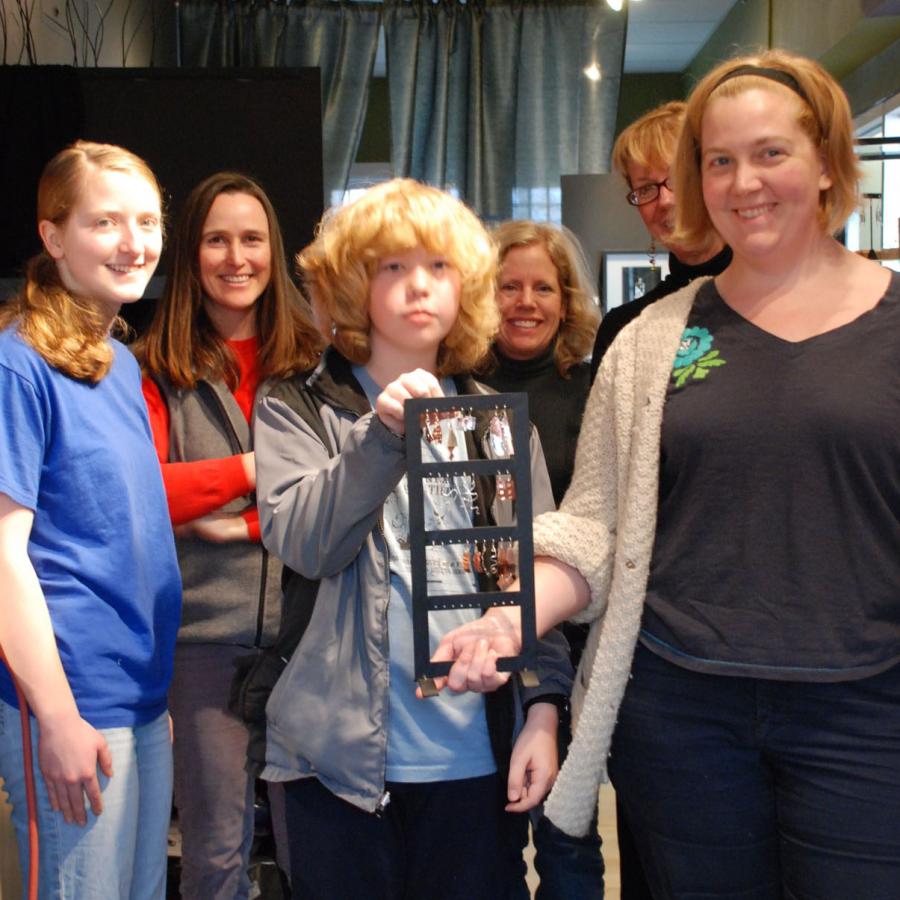
Today’s workshop yielded some great results. Creativity abounds in this group. Several of them chose to combine copper with silver to create earring sets with a dual color flare!
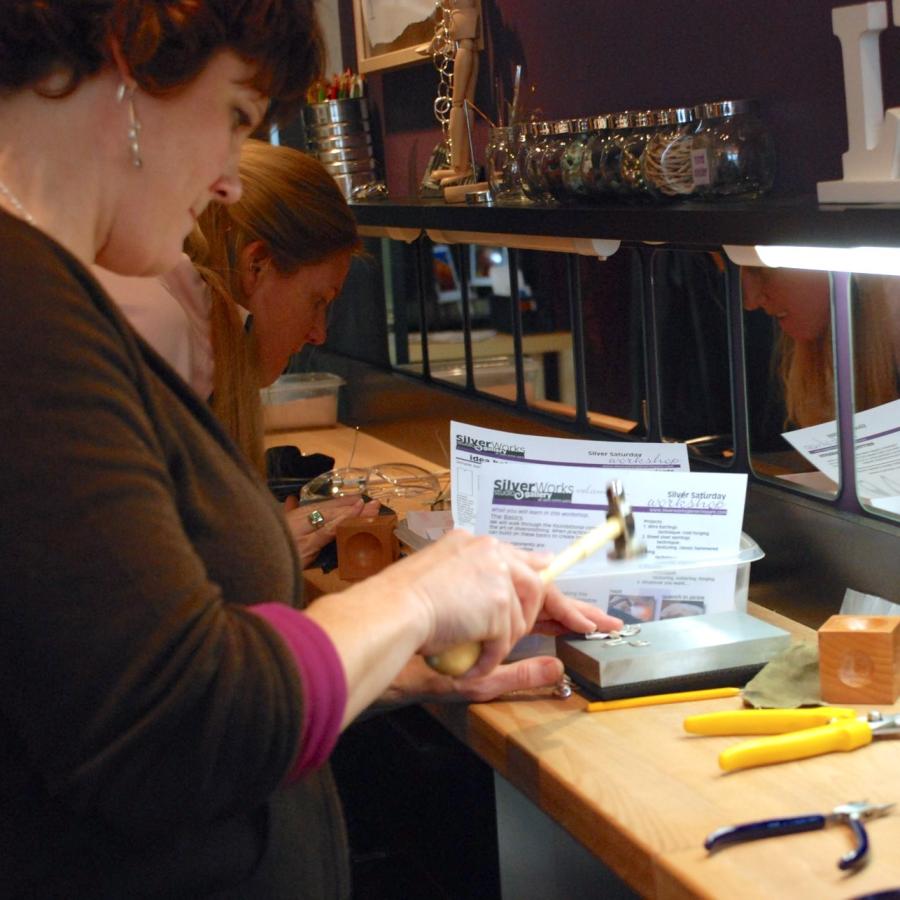
In this first day of a two day workshop the group got to explore texturing, forging, drilling, sawing, and polishing. Tomorrow we play with fire!
- Tools used today:
- ball peen hammer
- planishing hammer
- pliers (round-nose, flat-nose, chain-nose)
- side cutters
- shears
- steel anvil
- files
- rolling mill
- polishing machine
- Materials:
- 1mm round Sterling Silver wire
- 26 Gauge Sterling Silver Sheet
- 26 Gauge Copper Sheet
- Findings: Ear wire
