- SWX Content
-
Home
- Commerce
- Commerce 2
- Landing Page 1
- Landing Page 2
- Landing Page 3
- Landing Page 4
- Landing Page 5
- Landing Page 6
- Landing Page 7
- Landing Page 8
- Landing Page 9
- Landing page 10
- Landing Page 11
- Landing Page 12
- Slideshow - Boxed Width
- Slideshow - Full Width
- Slideshow - Fullscreen
- News - Rich
- News - Default
- News - Card
- News - Focus
- Layouts
- Services
- Products
- More
- Contact
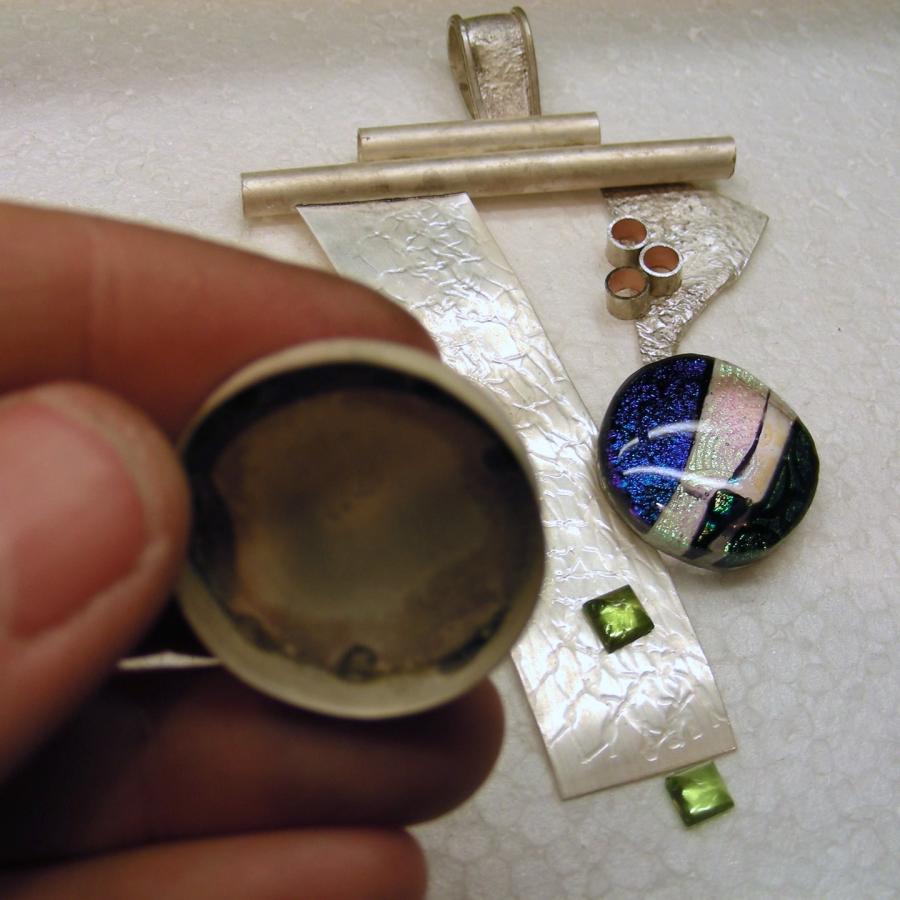
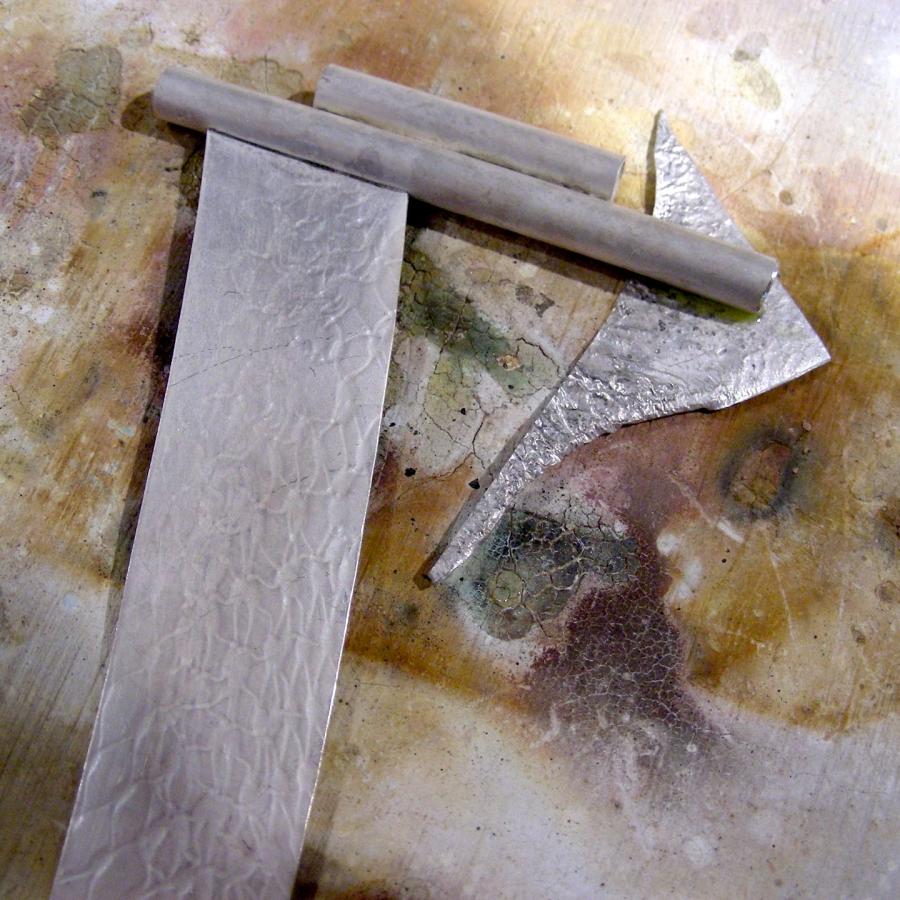
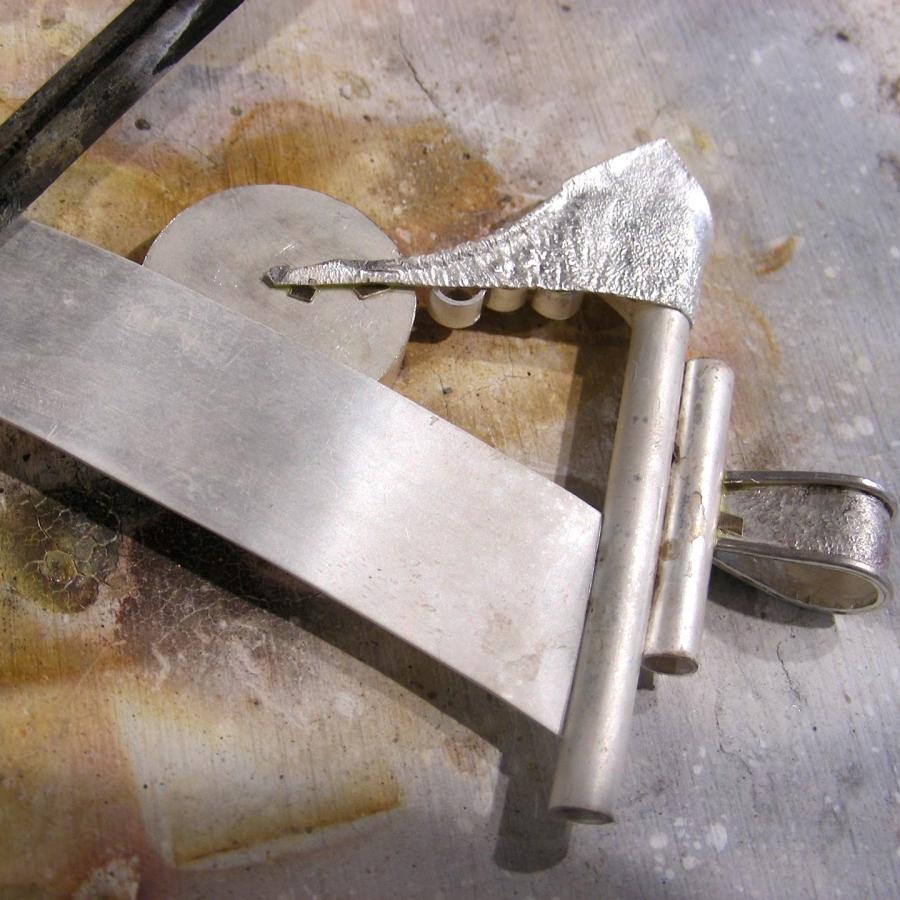
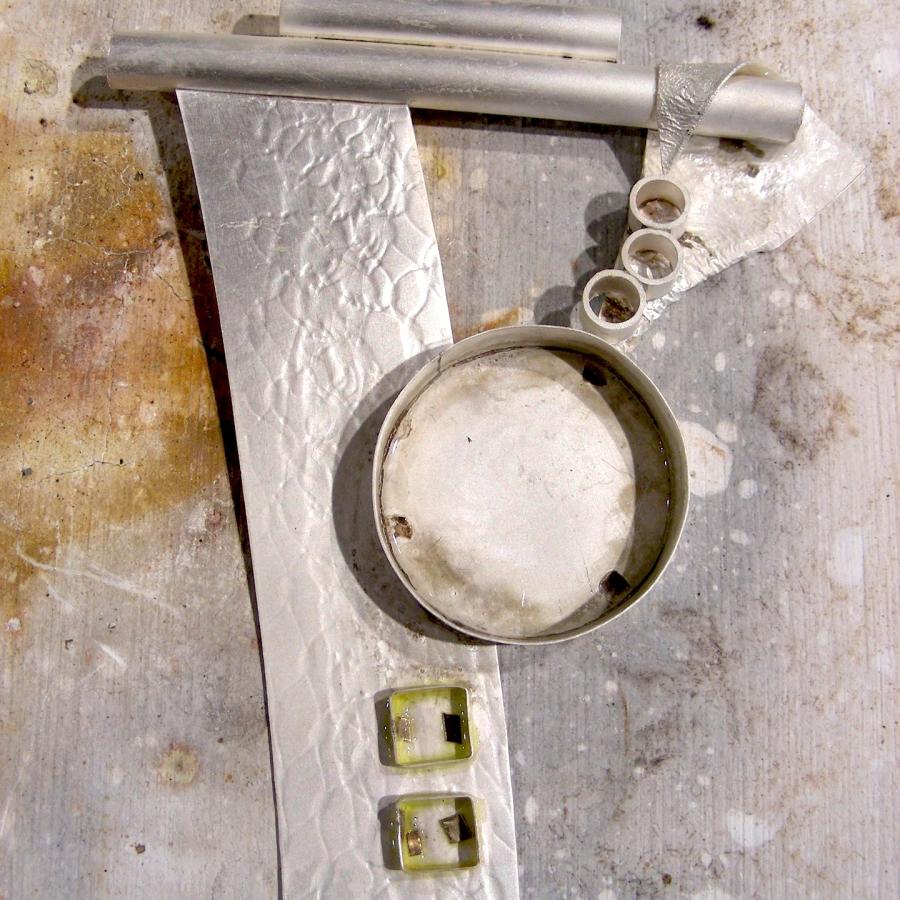
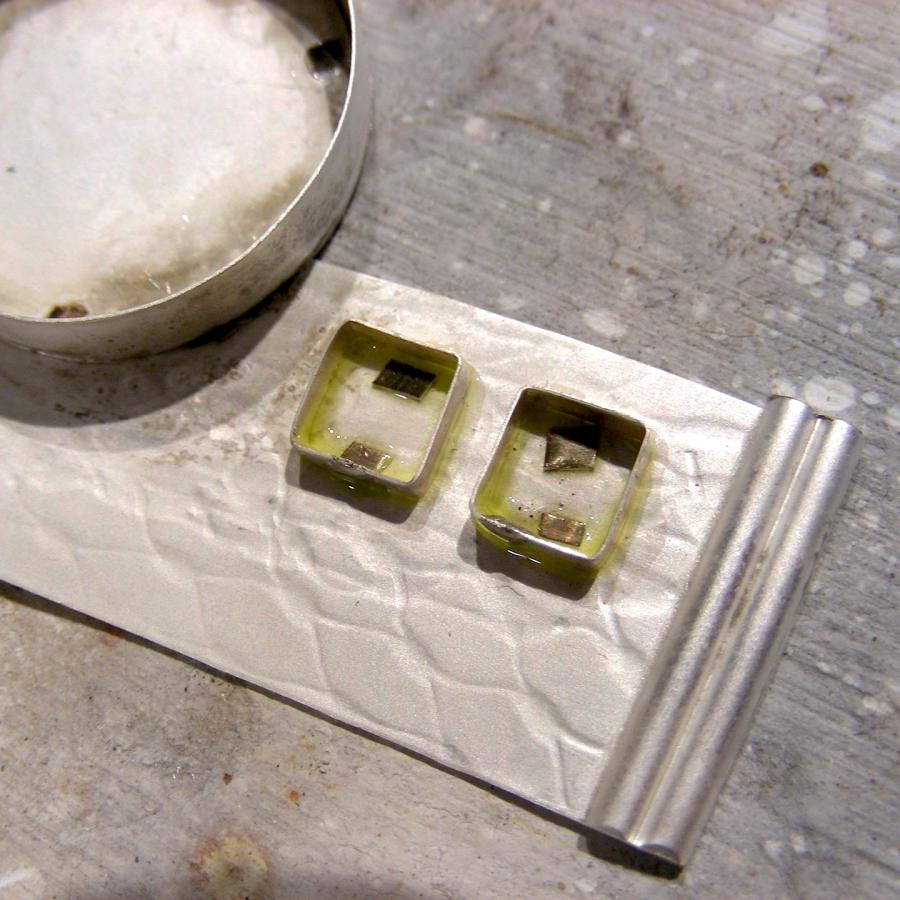
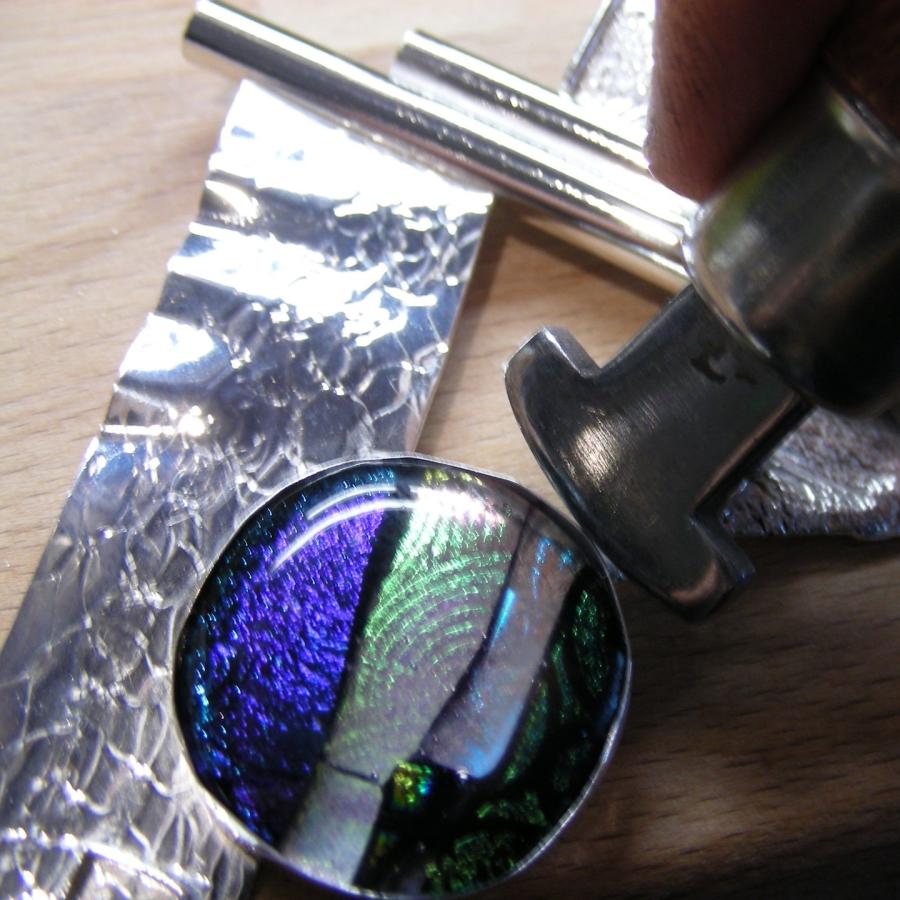
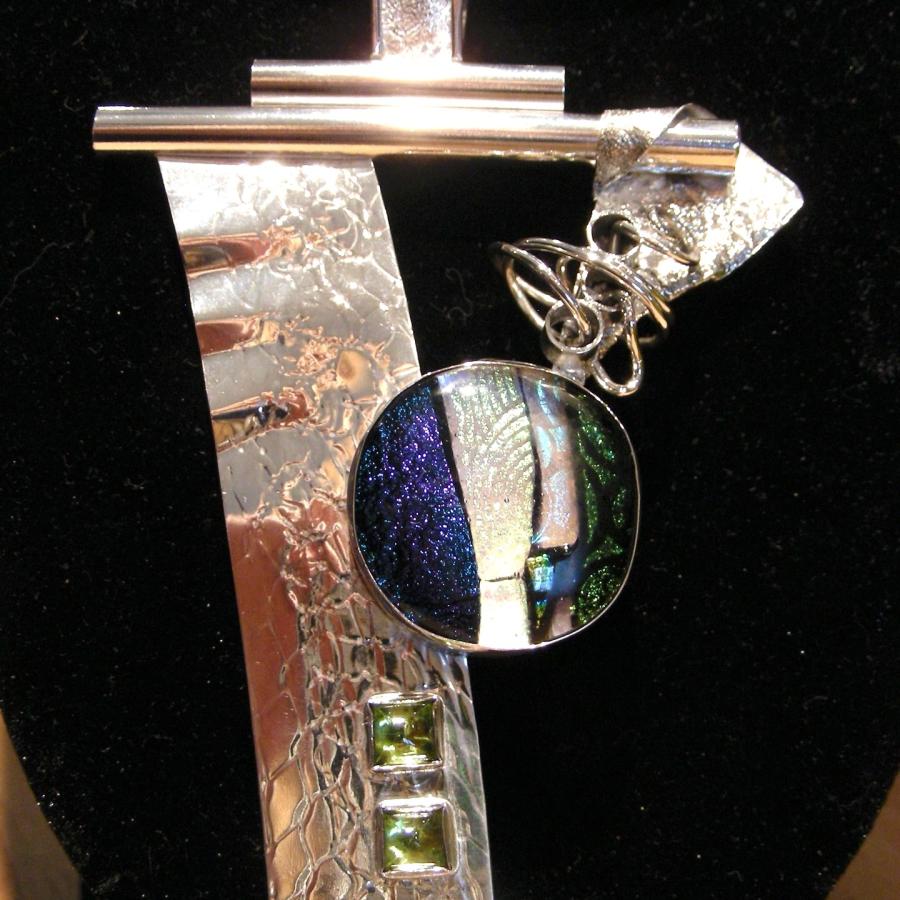
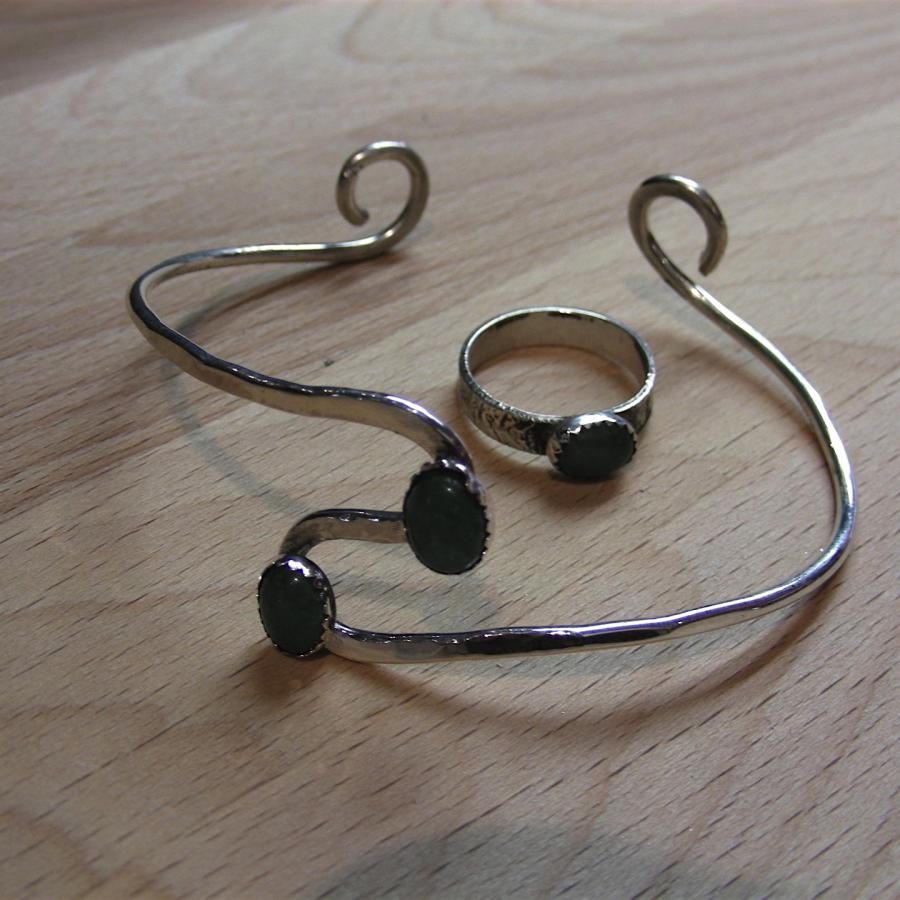
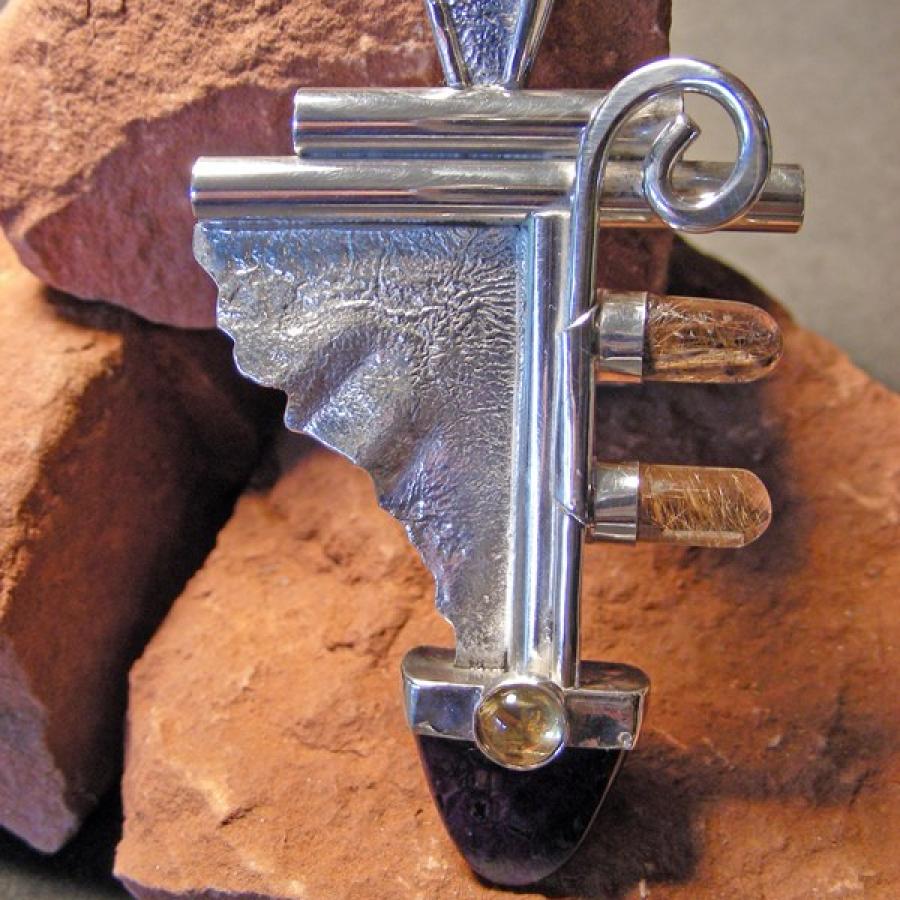
A spark of inspiration from a gift of glass brought forth this little piece. Several techniques were used including a texture created by the rolling mill.
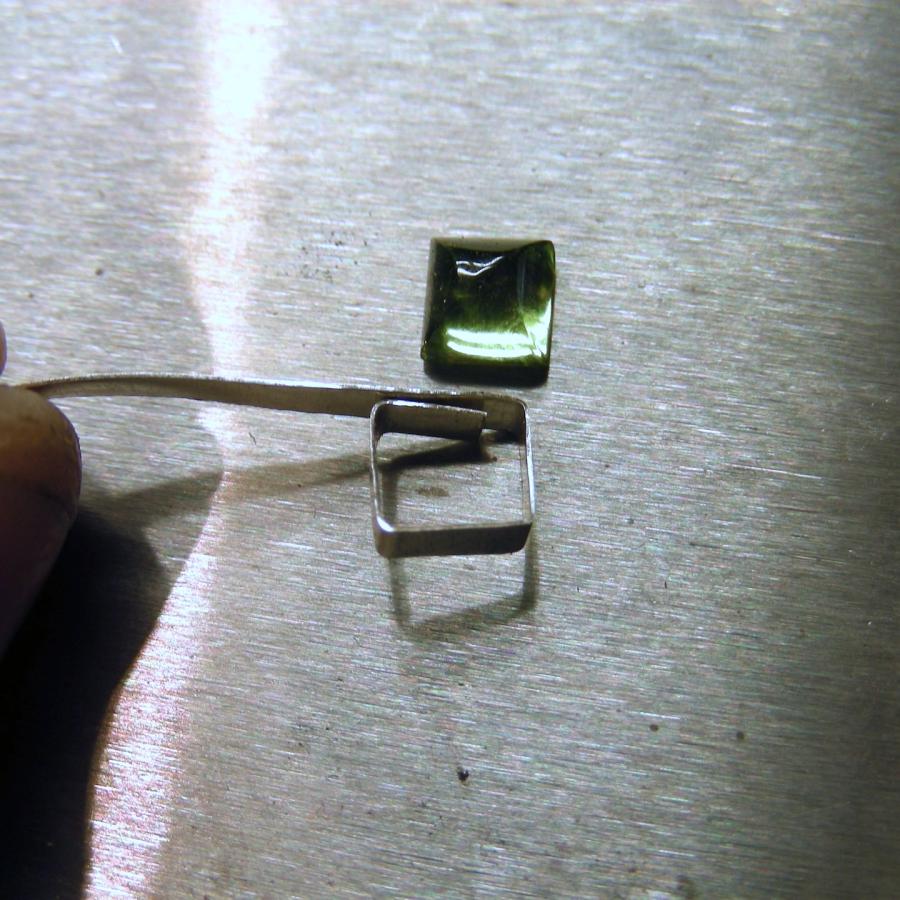
The stones are square cabochon peridots. The tiny square bezels are the last solder because they are so thin and delicate.
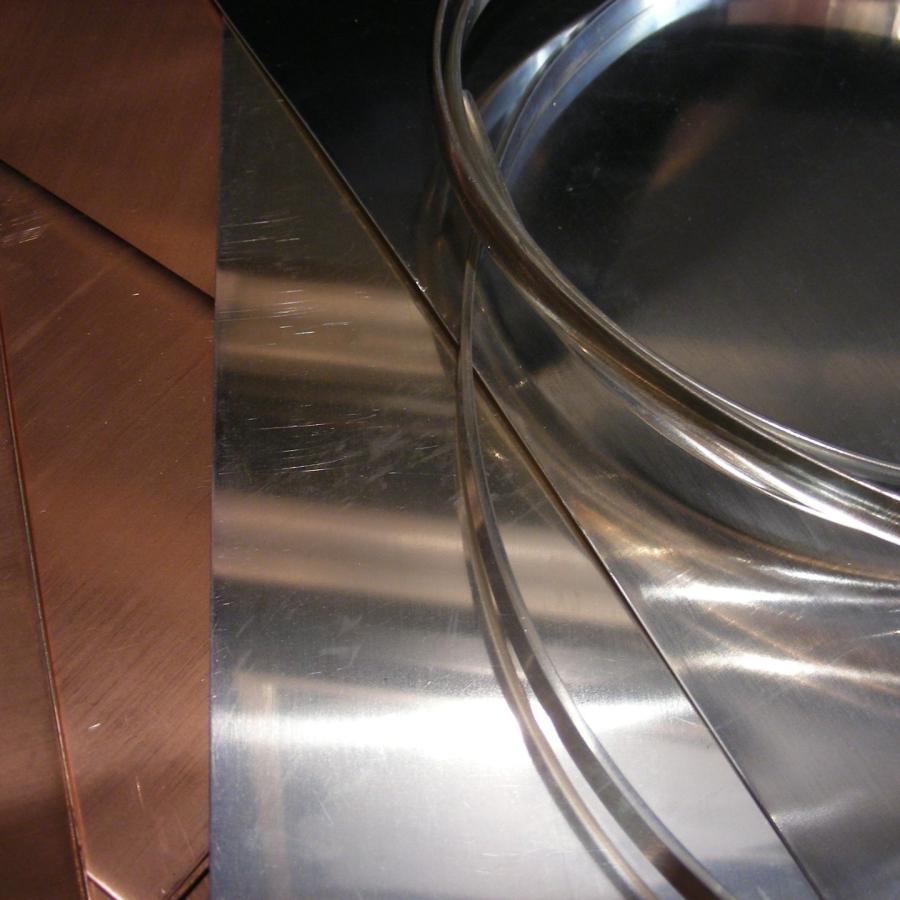
New shipment of goodies comes to the studio today. Lots of silver sheet, some copper, and some lucious low-dome wire waiting to be realized into bracelets. Yum!
It always amazes me how inspiring raw materials can be. Like the proverbial blank canvas, a little silver sheet and wire just screams with potential. I love it!
Hmmm... what will these become?
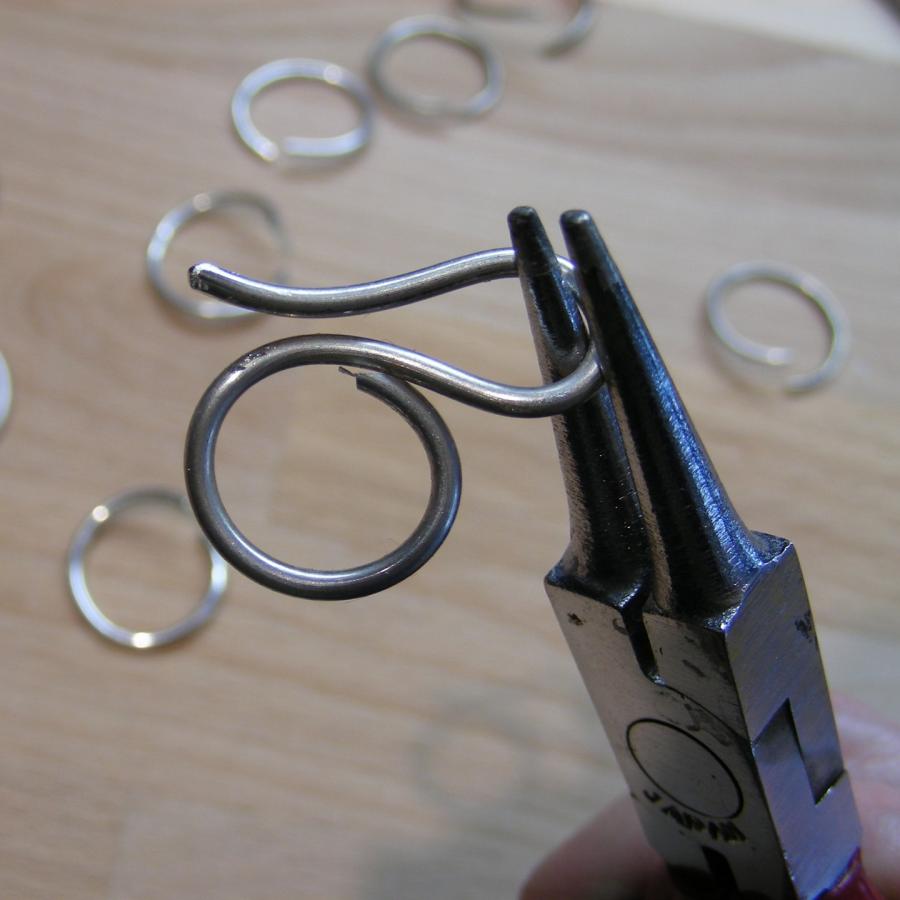
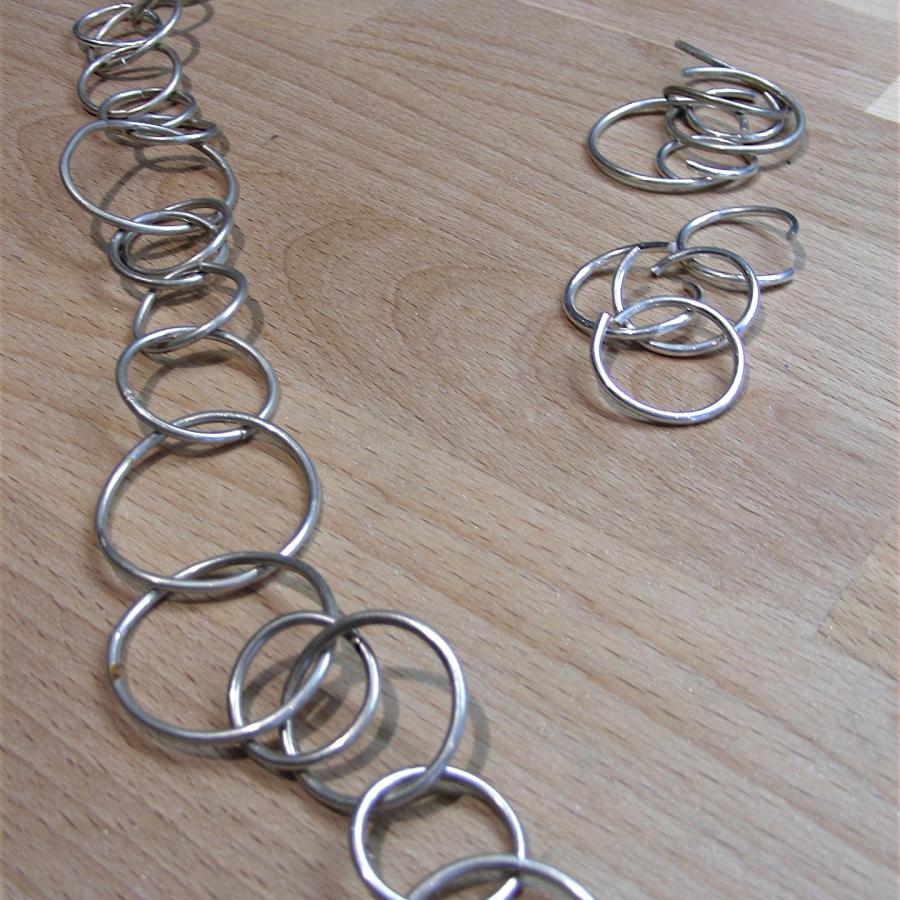
I am working on a very simple chain design using a circle loop. Although the repetition of creating the circles gets a little boring, the end results in a beautiful and fun necklace.
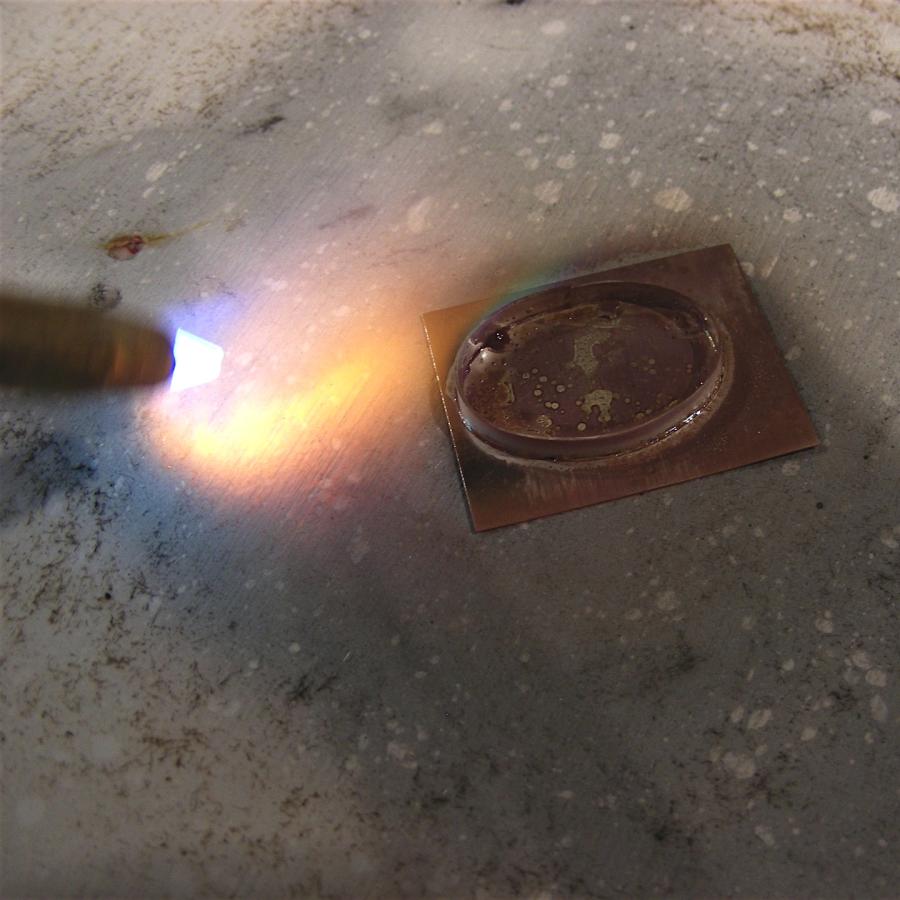
In the third session in the Beginning Silversmithing Class we covered bezel construction. This is a challenging next step in creating beautiful jewelry. All the girls did great tackling this multiple solder challenge. And all successfully constructed their very first bezel!
Now it is on to bigger and better things incorporating this new knowledge into designs.
Tools used today:
- pliers flat-nose
- shears
- files
- polishing machine
- torch
Materials:
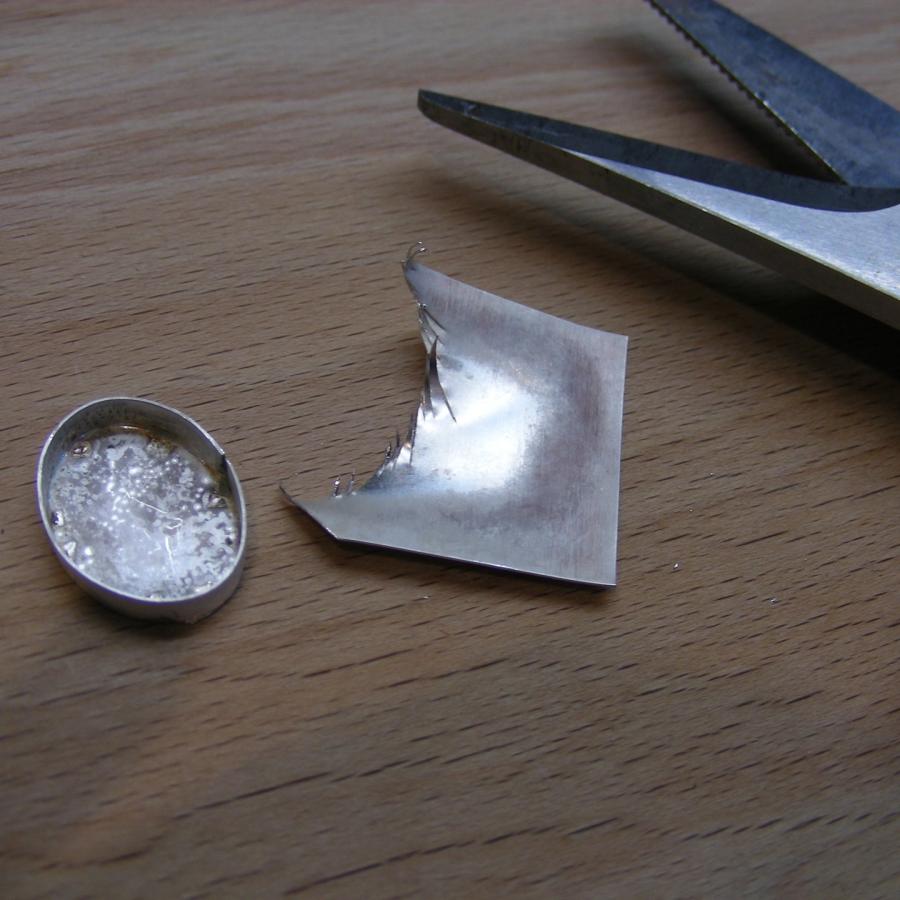
- 26 Gauge Sterling Silver Sheet cut for bezel
- 30 Gauge Sterling Silver Sheet for backing
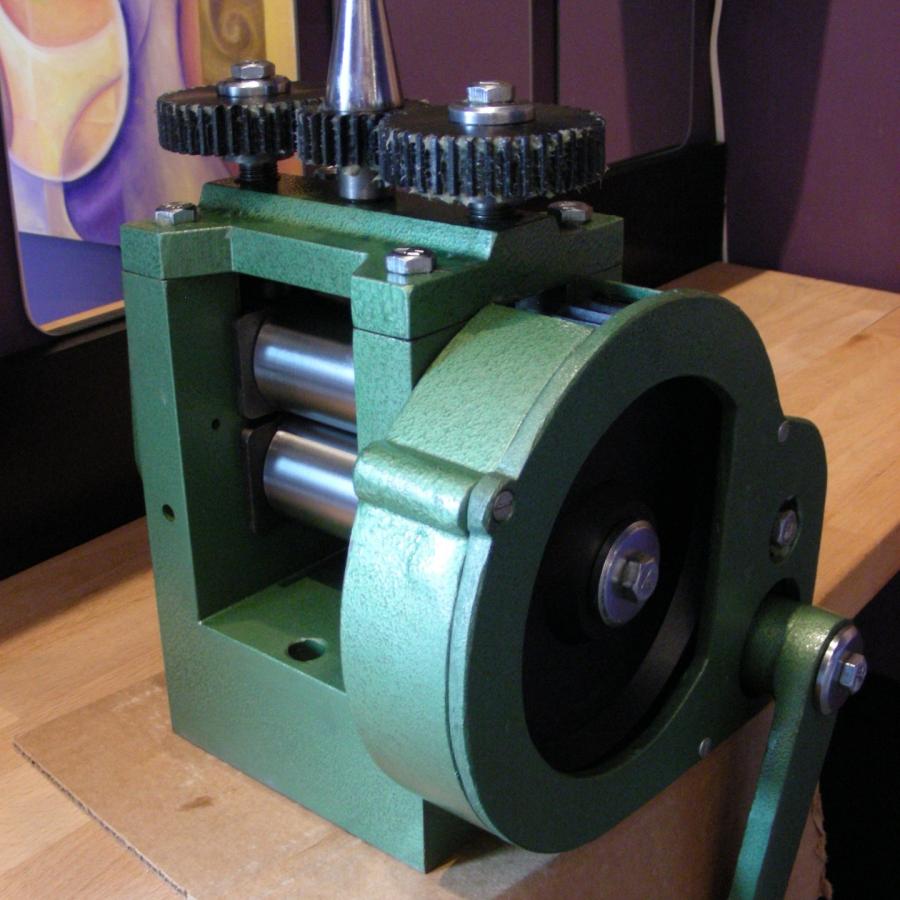
Today I am celebrating the new addion of a rolling mill to the studio. This tool will allow us to create interesting textures, and change sheet and wire gauges.
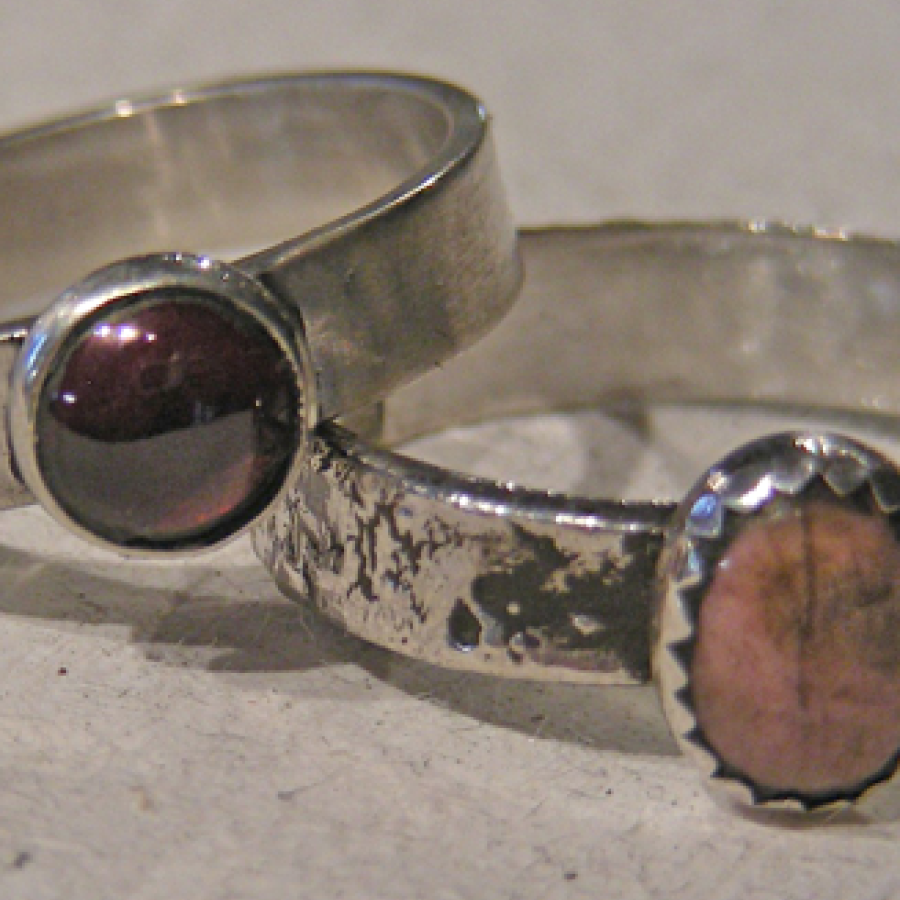
In the second session in the Beginning Silversmithing Class we covered the foundational skill of soldering. The first project we did to learn this skill was a basic band ring. Taking it to the next level, we then incorporated a bezel for a stone. The second project was either a pendant or a bangle, again incorporating a bezel set stone. The class did great! Evidence of this is pictured below with some of this evening’s completed projects.
Tools used today:
- ball peen hammer
- forging hammer
- pliers (round-nose, flat-nose, chain-nose)
- shears
- steel anvil
- files
- polishing machine
For reticulation and forging:
- torch
- third hand
Materials:
- 1mm x 4mm Sterling Silver Rectangle Wire
- 2mm Round Sterling Silver Wire
- Findings: Prefab bezel cups
It is a strange feeling going out to your driveway, getting the paper, then opening it up and seeing your work spashed in the pages. Kind of surreal actually. I am grateful that the Gazette thought that my little show here at the park was worthy of a mention.
The Show is: Journey’s Past and Forward, Dec 12-Feb 6
A collection of pendants that each have a story.
I had the fortunate experience of being interviewed by Jordan Edwards, a staff writer at The Gazette. The article shows up in the Arts & Entertainment section of tomorrow’s paper, but there was an appetizer version on the web today that was kind of fun.
The web Q & A sort of focuses on me. The article focuses (thankfully) on the studio and the show that is presently in the gallery, “Journey’s Past & Forward”.
Thanks so much Jordan!
The first session in the Beginning Silversmithing class was last night and what fun it was! It is always very cool for me to see how creativity emerges when a person is given a few simple tools, and these girls were great! The class began with a couple of cold projects that introduce the tools used in silversmithing. Some silversmithing terms like “annealing” and “work-hardening” were also discussed. And the best part was plunging right in and playing with the metal. And look at what these women made the very first night!
Bravo ladies!
We finished up the evening by lighting the torch and playing with fire. The girls each got a chance to heat some silver to a “reticulated” state, one of my favorite techniques for creating texture.
- Tools used today
- ball peen hammer
- forging hammer
- pliers (round-nose, flat-nose, chain-nose)
- side cutters
- shears
- steel anvil
- files
- polishing machine
- For reticulation and forging:
- torch
- Materials:
- 1mm round Sterling Silver wire
- 26 Gauge Sterling Silver sheet
- Findings: Ear wire
I hopped the train to Philly with my husband Bryan this week and took a stroll into the country’s oldest jewelry district. Mostly populated by diamond dealers and folks that sold traditional gold jewelry, I was pleasantly surprised to find a tool supply shop down a little alley sidestreet.
Shelves and shelves of goodies that only a metal craftsperson would love, Mandrels, drill bits, rolling mills... I began to salivate the minute we walked in the door.
Traveling with my husband, the salesperson automatically approached him in an assumption, completely ignoring my five foot blonde stature.
It happens all the time.
Later it became clear who was actually doing the shopping.
I scored a couple of great bezel mandrels, a new flat file, some earring displays, and a new forging hammer.
And all the while the hustle and bustle of city, behind-the-scenes transactions, in multiple languages, taking place. It is that kind of buzz that gives the craft, and its long history, its romance. Like the vintage polishing machine that is displayed in my gallery, it is a reminder that the art of silversmithing is not a trend, but an art form practiced through the ages.
A trip well worth the train fare.
Working towards a themed show in February, I am experimenting with a more rustic approach than I have before. Over the years I have become a perfect-finish-nazi, and this approach is going to break away from that. The goal... discovery.
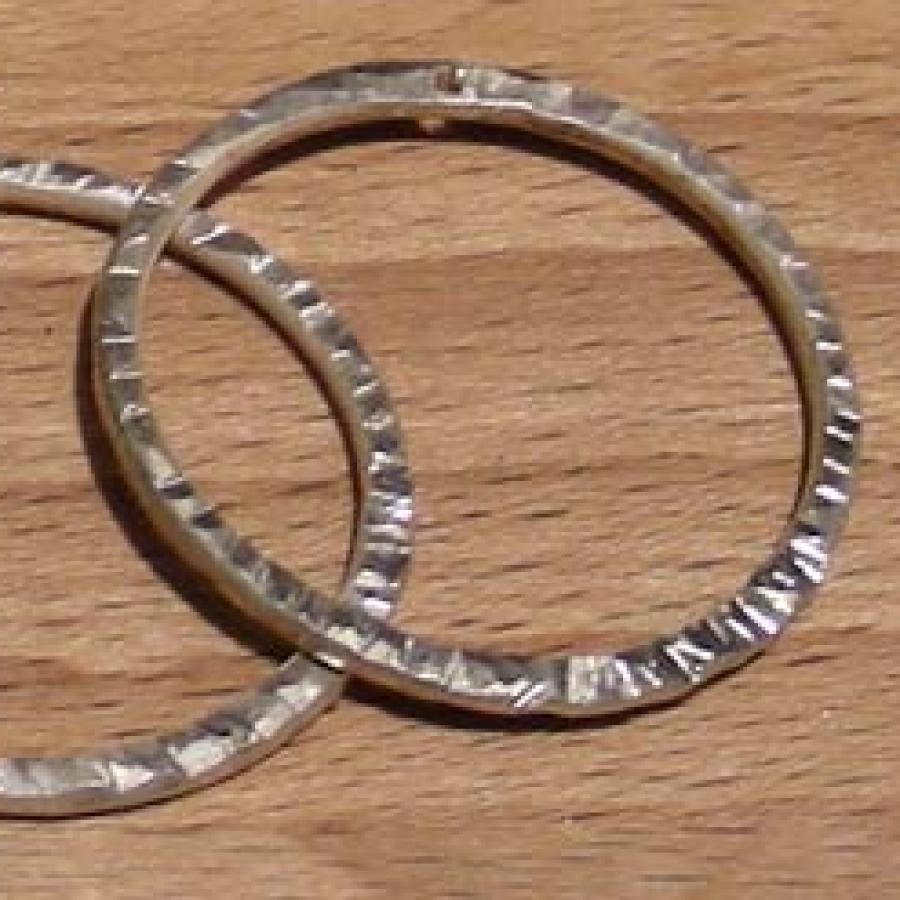
This approach is a let-loose, bash away at the metal kind of thing. These rustic hoops are simple rings using 2mm wire, soldered at one joint and then hammered with the point edge of the hammer in a very random fashion. To add to the rustic nature... these may remain unpolished. I will do one set polished to determine which works best.
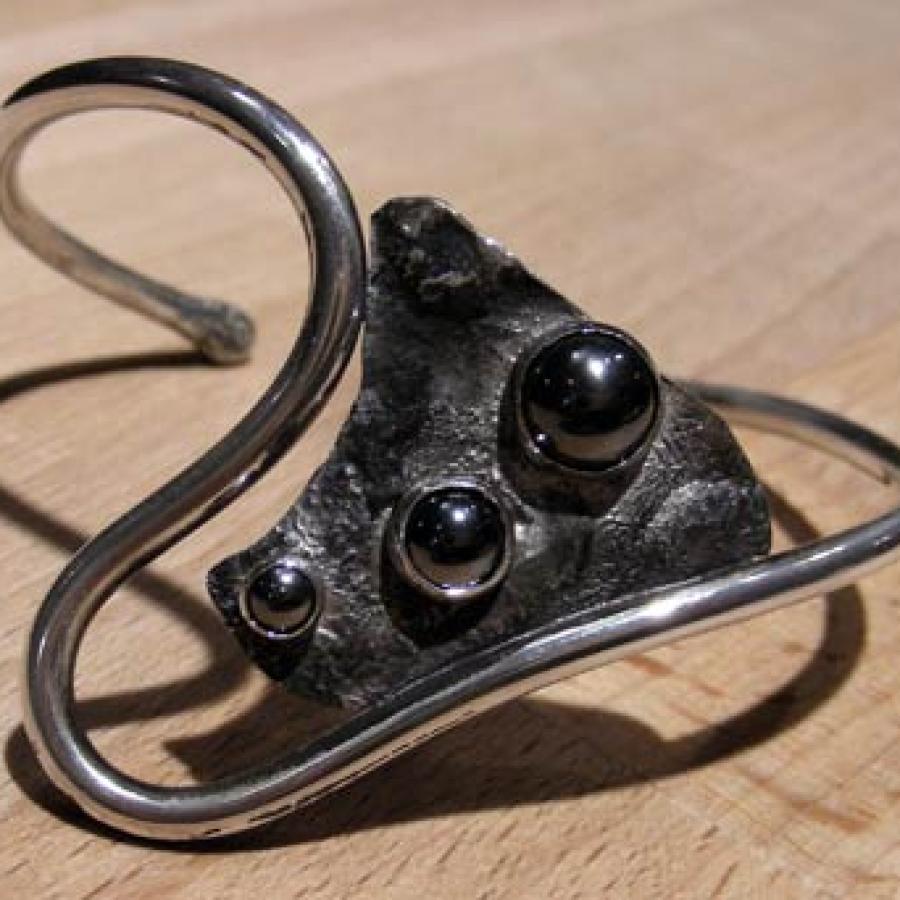
The second approach which isn’t too far from my normal style but a jacked-up version of it, is the incorporation of very rough surface combined with the smooth. I have always liked the contrast and I use it here in this “spider’s eyes bracelet”. The material used: 3mm round wire fused at the ends and bent, reticualted sheet, round bezels (4mm, 6mm & 8mm) and Hematite.
Silver Saturday is the new one day workshop at SilverWorks and today was the first one in this new space. From 10:30 to 4:30 workshoppers got a glimpse at the craft of silversmithing while learning all the basics. A very hands on experience, my first students did amazingly well with their new skills and produced some pretty advanced stuff.
Thank you, Doyle, Laurel, and Ben for being such great sports as the first workshoppers in the new space!
You can find a Silver Saturday offered once every month (except January). The next one is Feb 13, just in time for Valentine’s Day. You can register here.
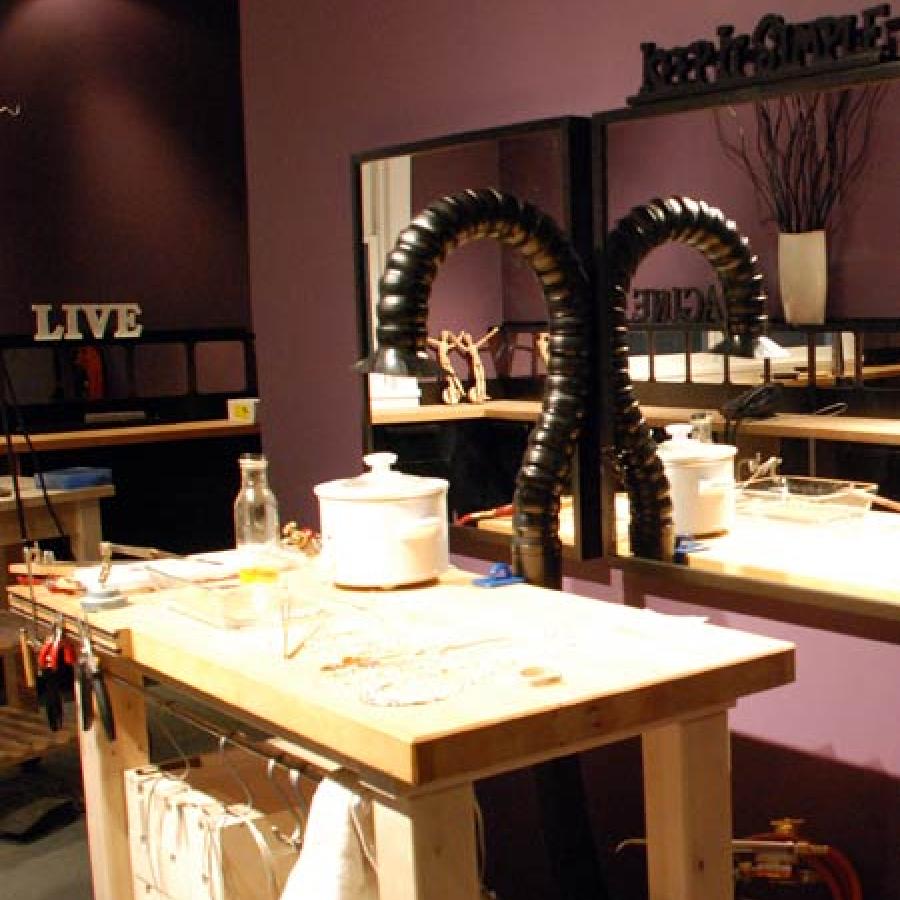
The newest addition to the studio arrived and now we can all breath easy. Its a fume extractor.
What we are lovingly calling the big question mark due to its shape, will keep the air fresh and clean with the handy flip of a switch.
Although I have to admit never using such a device in twenty years of smithing, we are making every effort for best practices in the new studio.
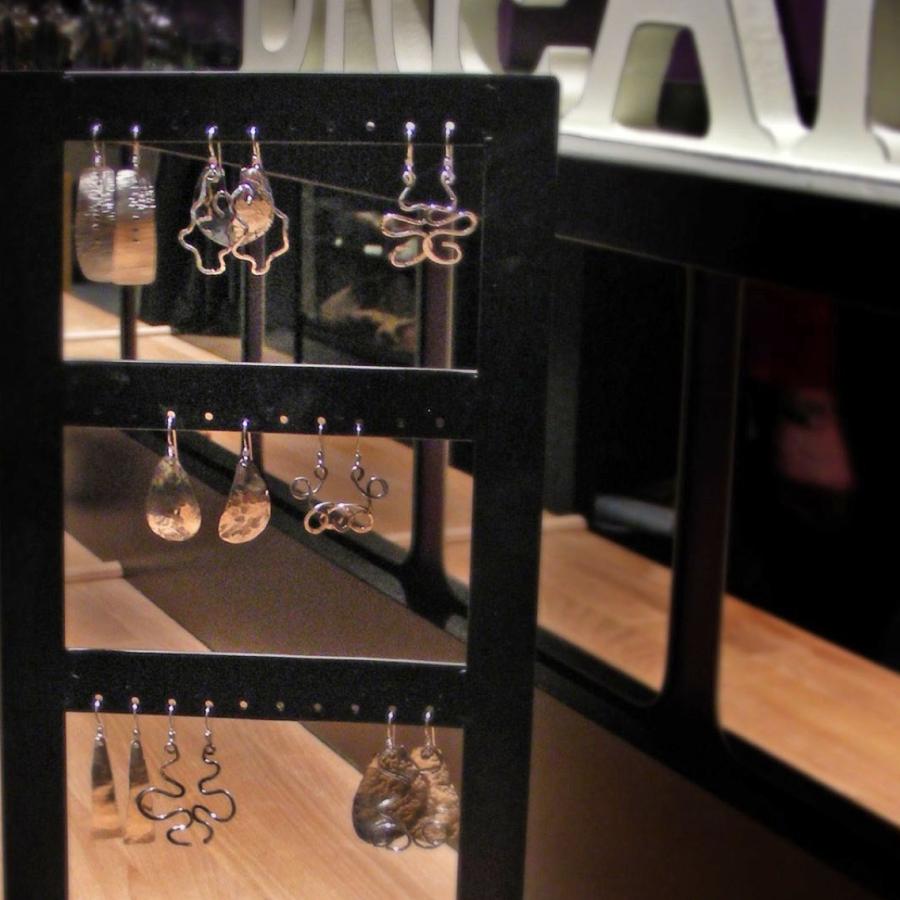
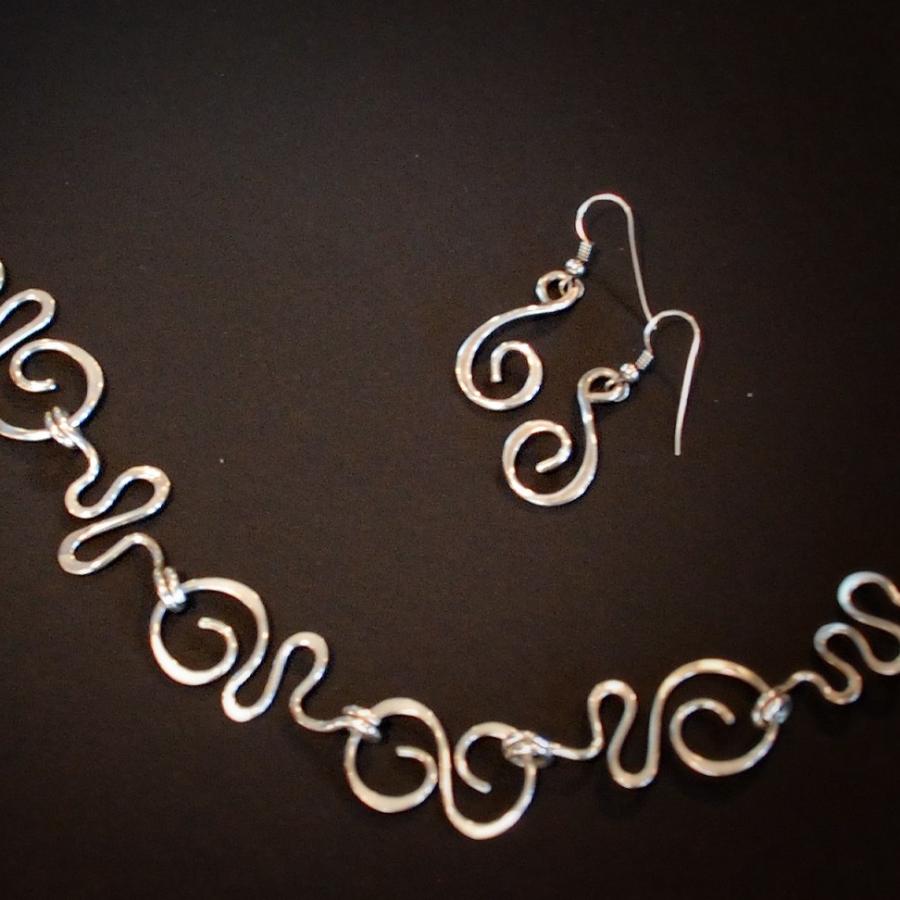
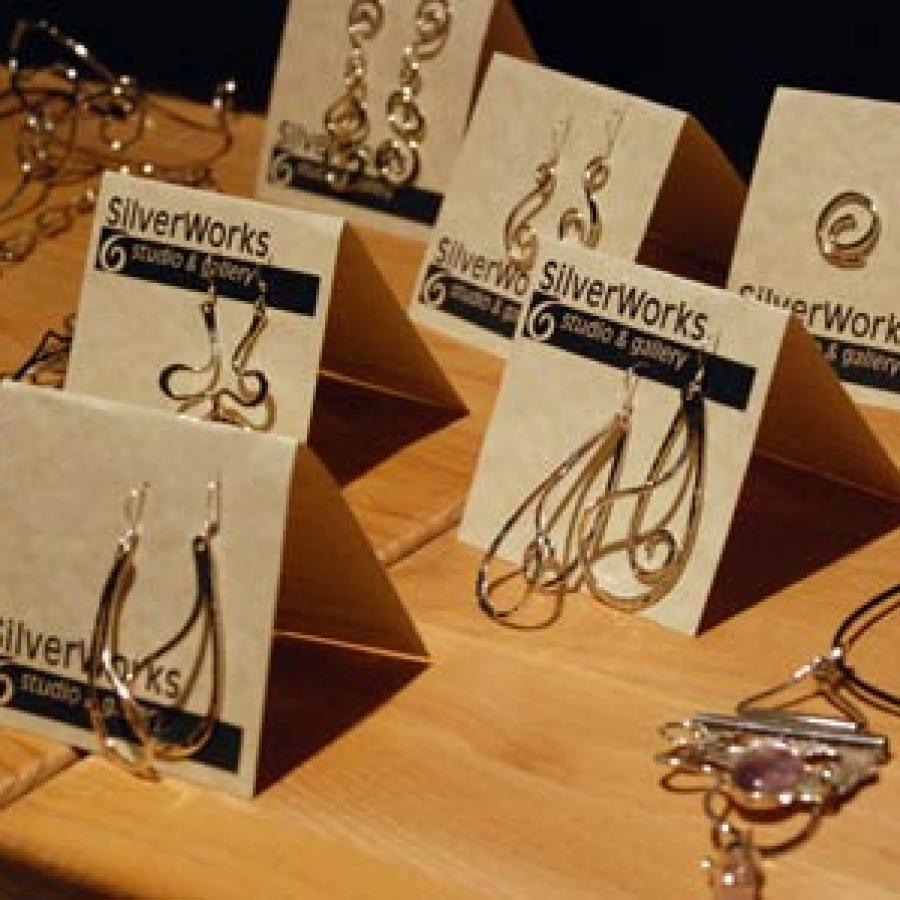
A sample of work for the holiday sale at the Popcorn Gallery here at Glen Echo Park. Silverworks has a selection of earrings, pendants, and my favorite Swirl Necklace. The exhibit and sale starts November 27th and runs through the holidays.
Show Reception, Dec 12th 6-9pm
- Swirl Necklace - $195
- Earrings - from $25
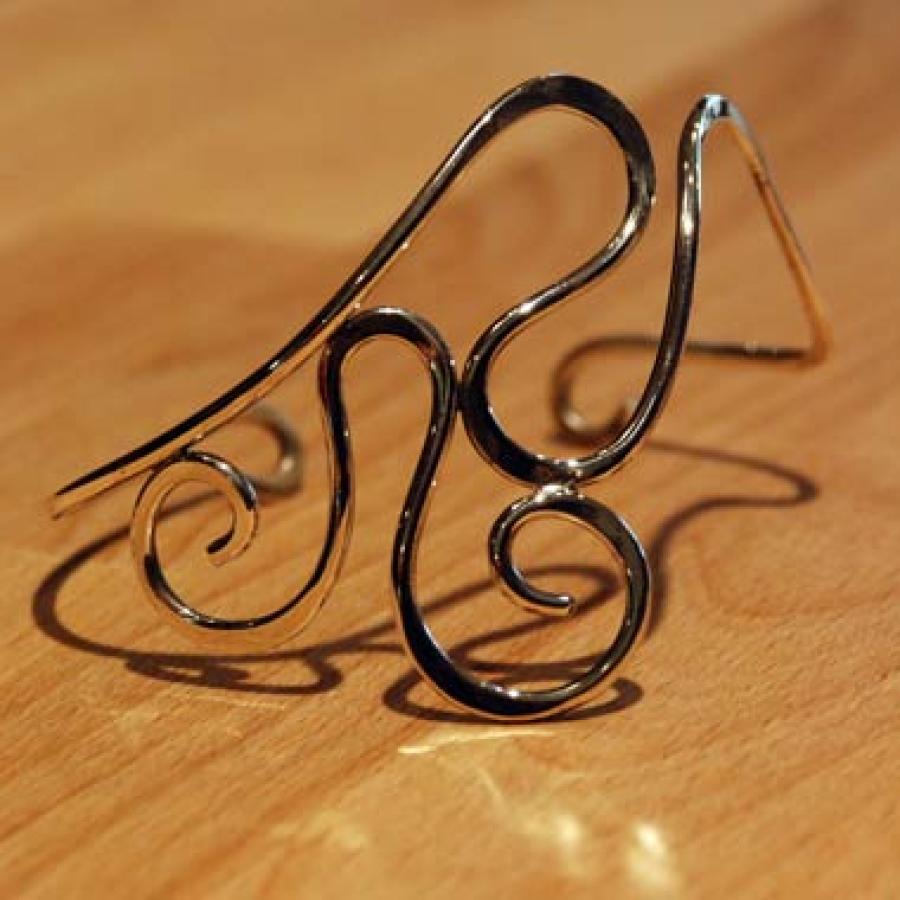
- Swirl Bracelet - $65
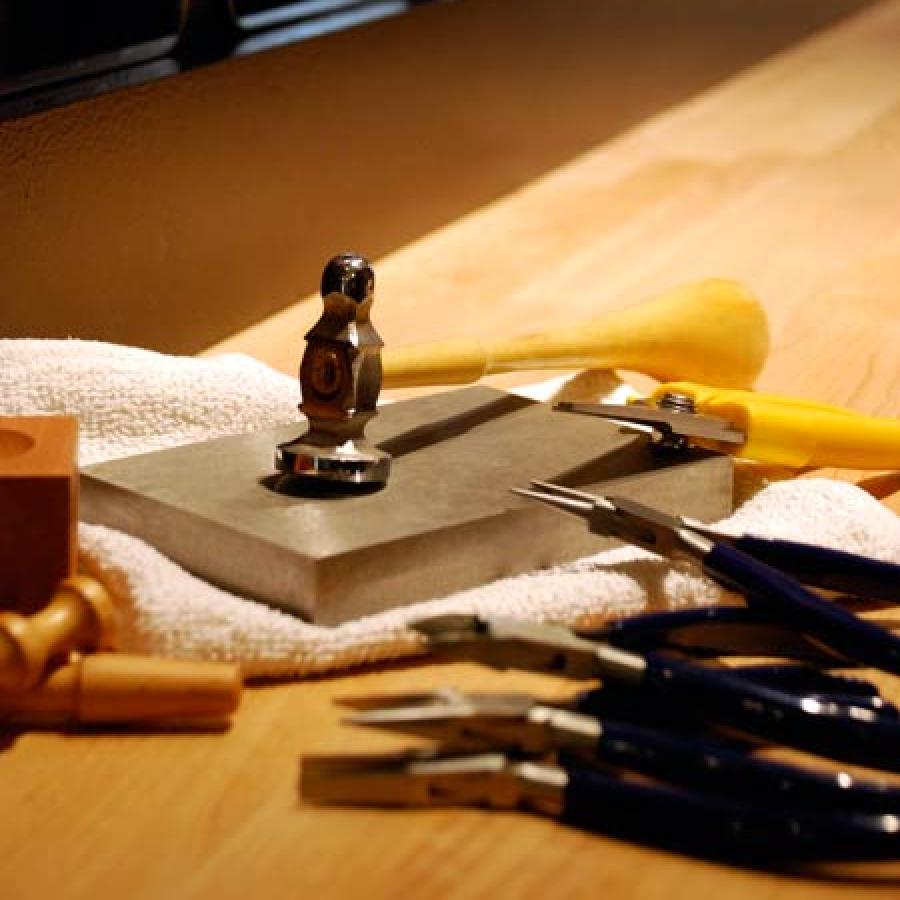
The new tools arrived for the students today. I have been working with the same tools for so many years that it was like Christmas getting these bright and shiny new toys. Objects brimming with opportunity.
Shears, anvils, dapping blocks, saws, pliers, and ball peen hammers with a nice mirror finish. The pliers made the ones that I am using blush with embarrassment. These things are mighty fine in the hands.
What fun!
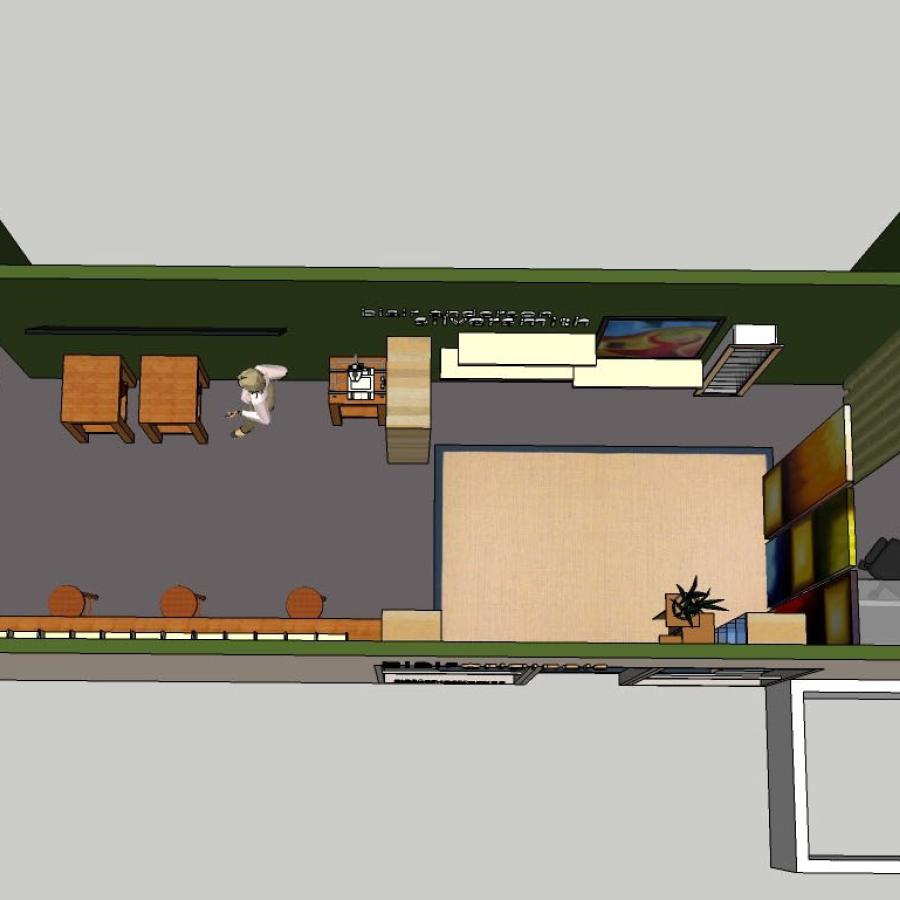
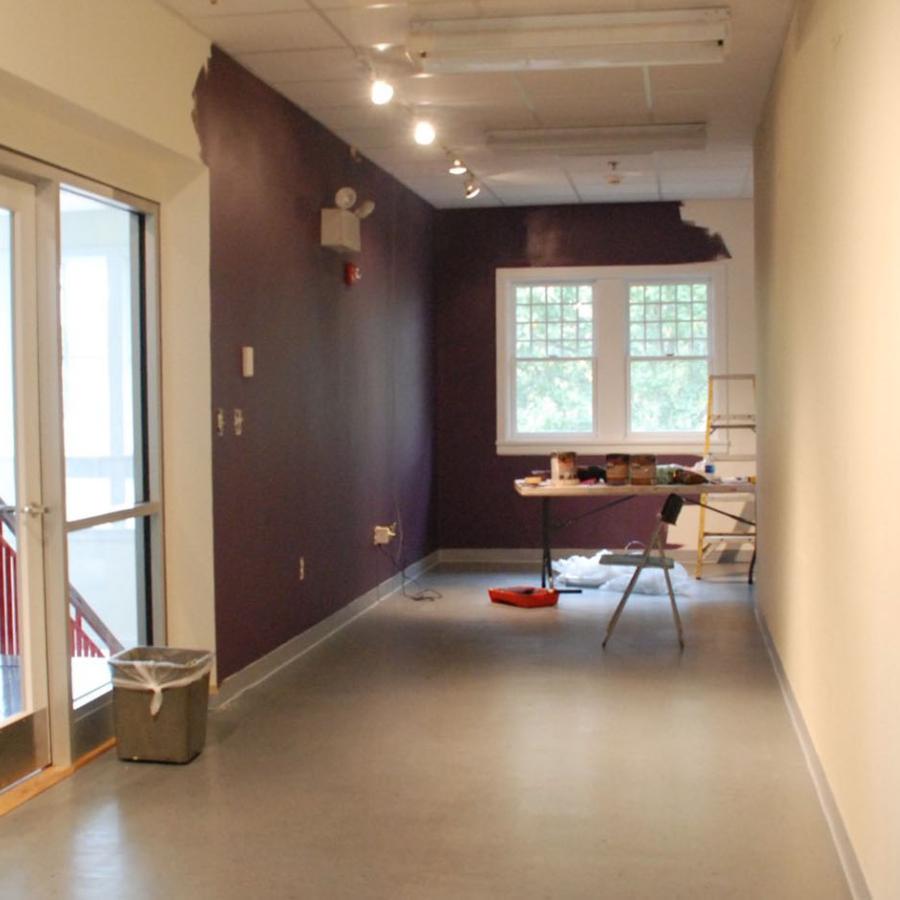
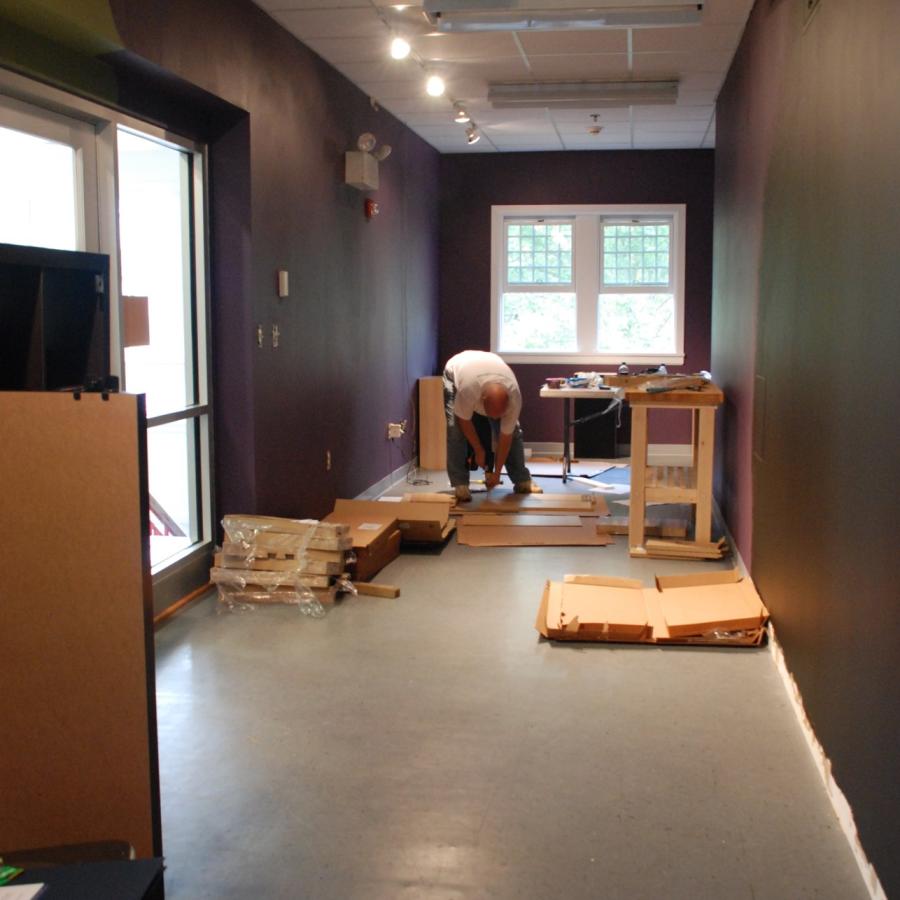
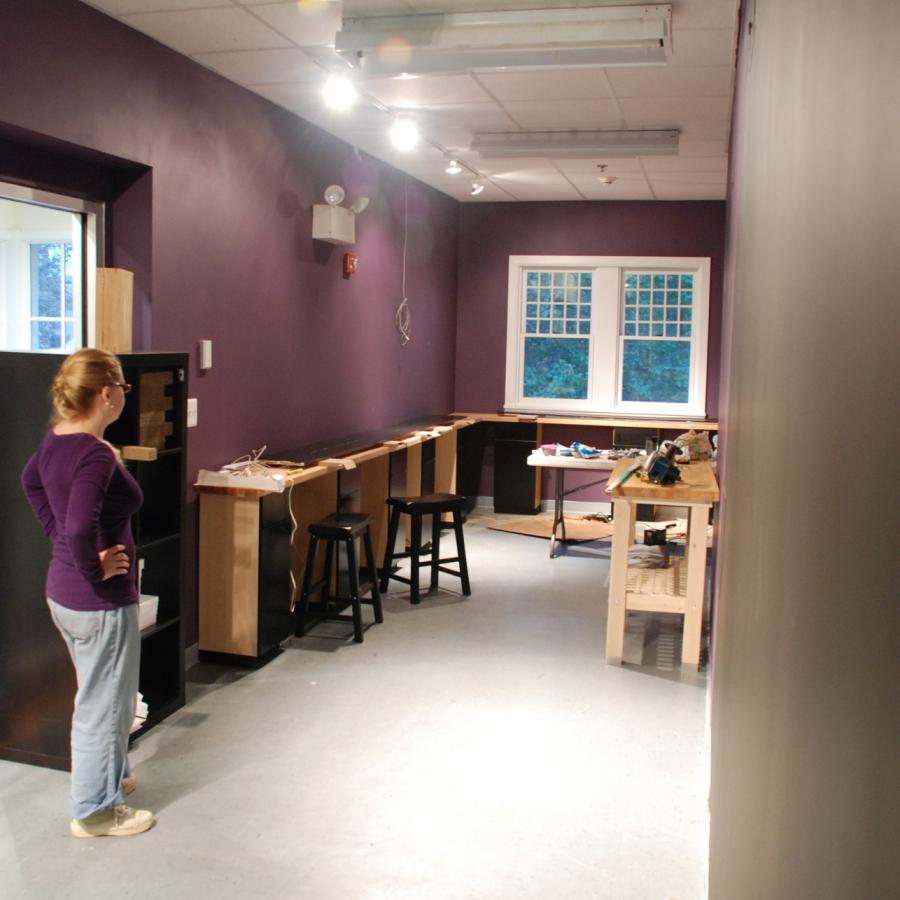
Although I am grateful for being accepted as the newest artist in residence at the park, the space in which I am to create my studio presents some challenges.
It’s like a long hallway.
Eight feet wide by thirty eight feet long with a niche on each end.
But I believe any space can be made to function beyond its perceived potential (just like people!) And with any design, something that appears to be a challenge may just be a creative opportunity.
The Plan
The Color Scheme
Paint: Purple, green, black.
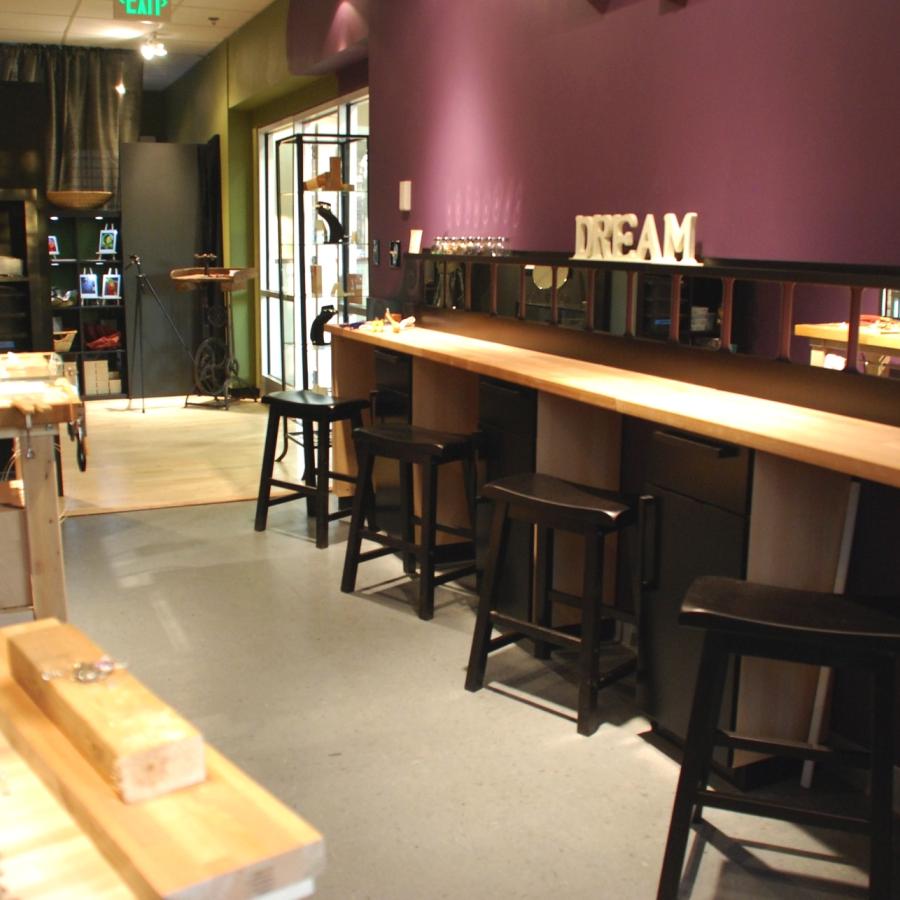
Surfaces: Natural wood, black cabinets. The foundational color is a deep purple in the workshop area, accented with black that carries into the gallery portion, then a kiwi green in the office area.
The Furnishings
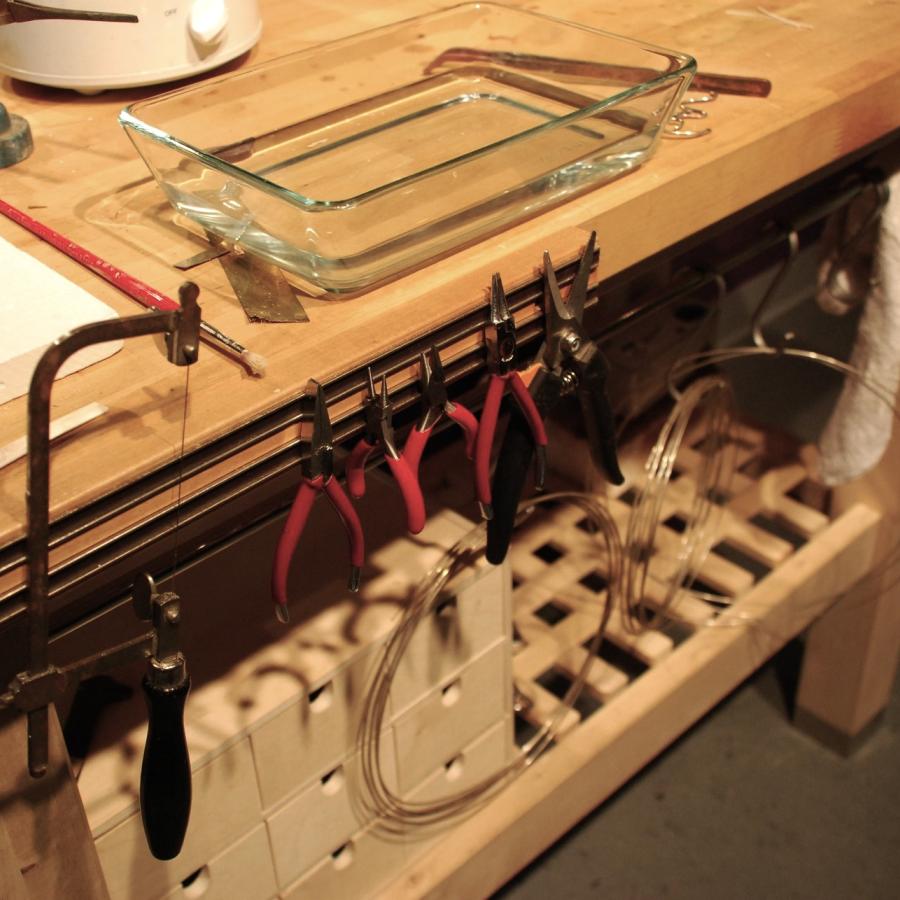
Although I am setting up a workspace that would normally demand a “jeweler’s bench”, I have never been fond of the traditional multi-tiered bench often found behind glass in your retail jewelers. I have always worked on a larger bench with ample room to move around. And to set up a space as a class setting for eight students I opted for one long counter-top using 12” x 15” cabinets for support which create niches for stools, and a wooden table for a soldering station.
The Flooring
The existing flooring is a composite lino often found in hospitals and schools and works great for a workshop (I even have it at home).
But adding some birch wood flooring helps define a space between the workshop and the “wee gallery” as well as adding a little class.
Display & Storage
For the gallery I chose simple glass & wrought iron cases for display to compliment the wood floor and black wall. My wearable art pieces are framed in natural wood frames that also compliment and contrast with the black wall.
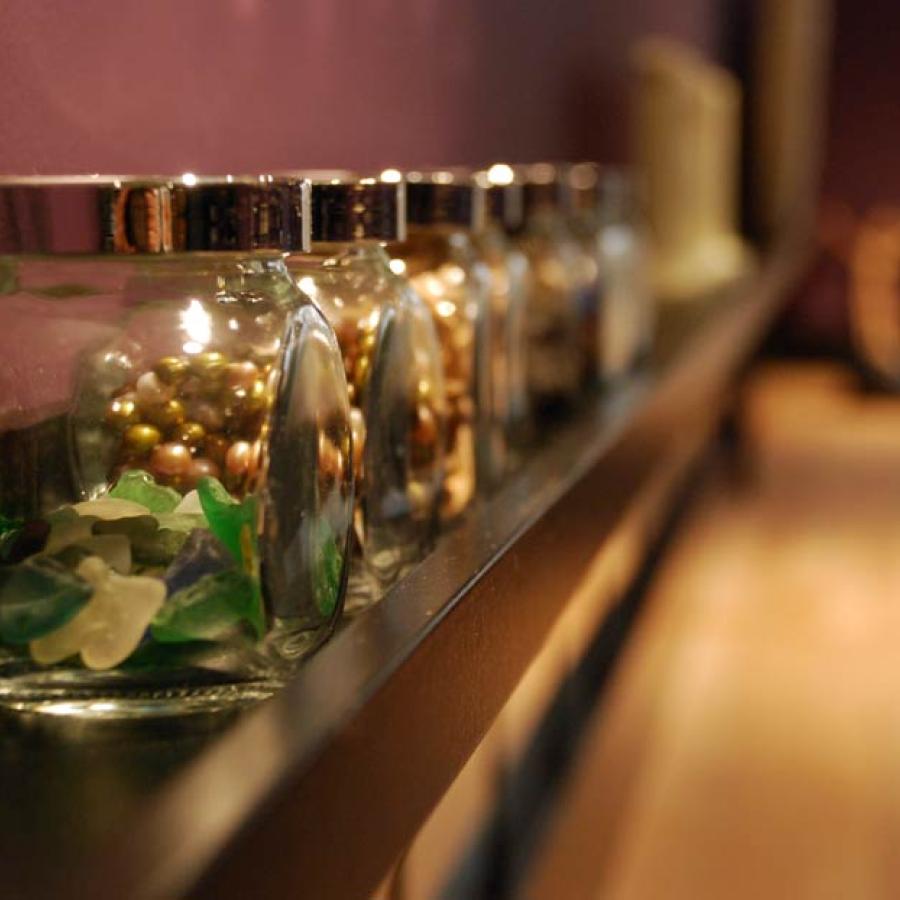
With a small space, efficiency is important but storage doesn’t need to be boring. Narrow wall sheves that sport spice jars provide great storage for stones, solder and small items as well as create a visually interesting in inspiration prompting element.
